At Isai Ambalam

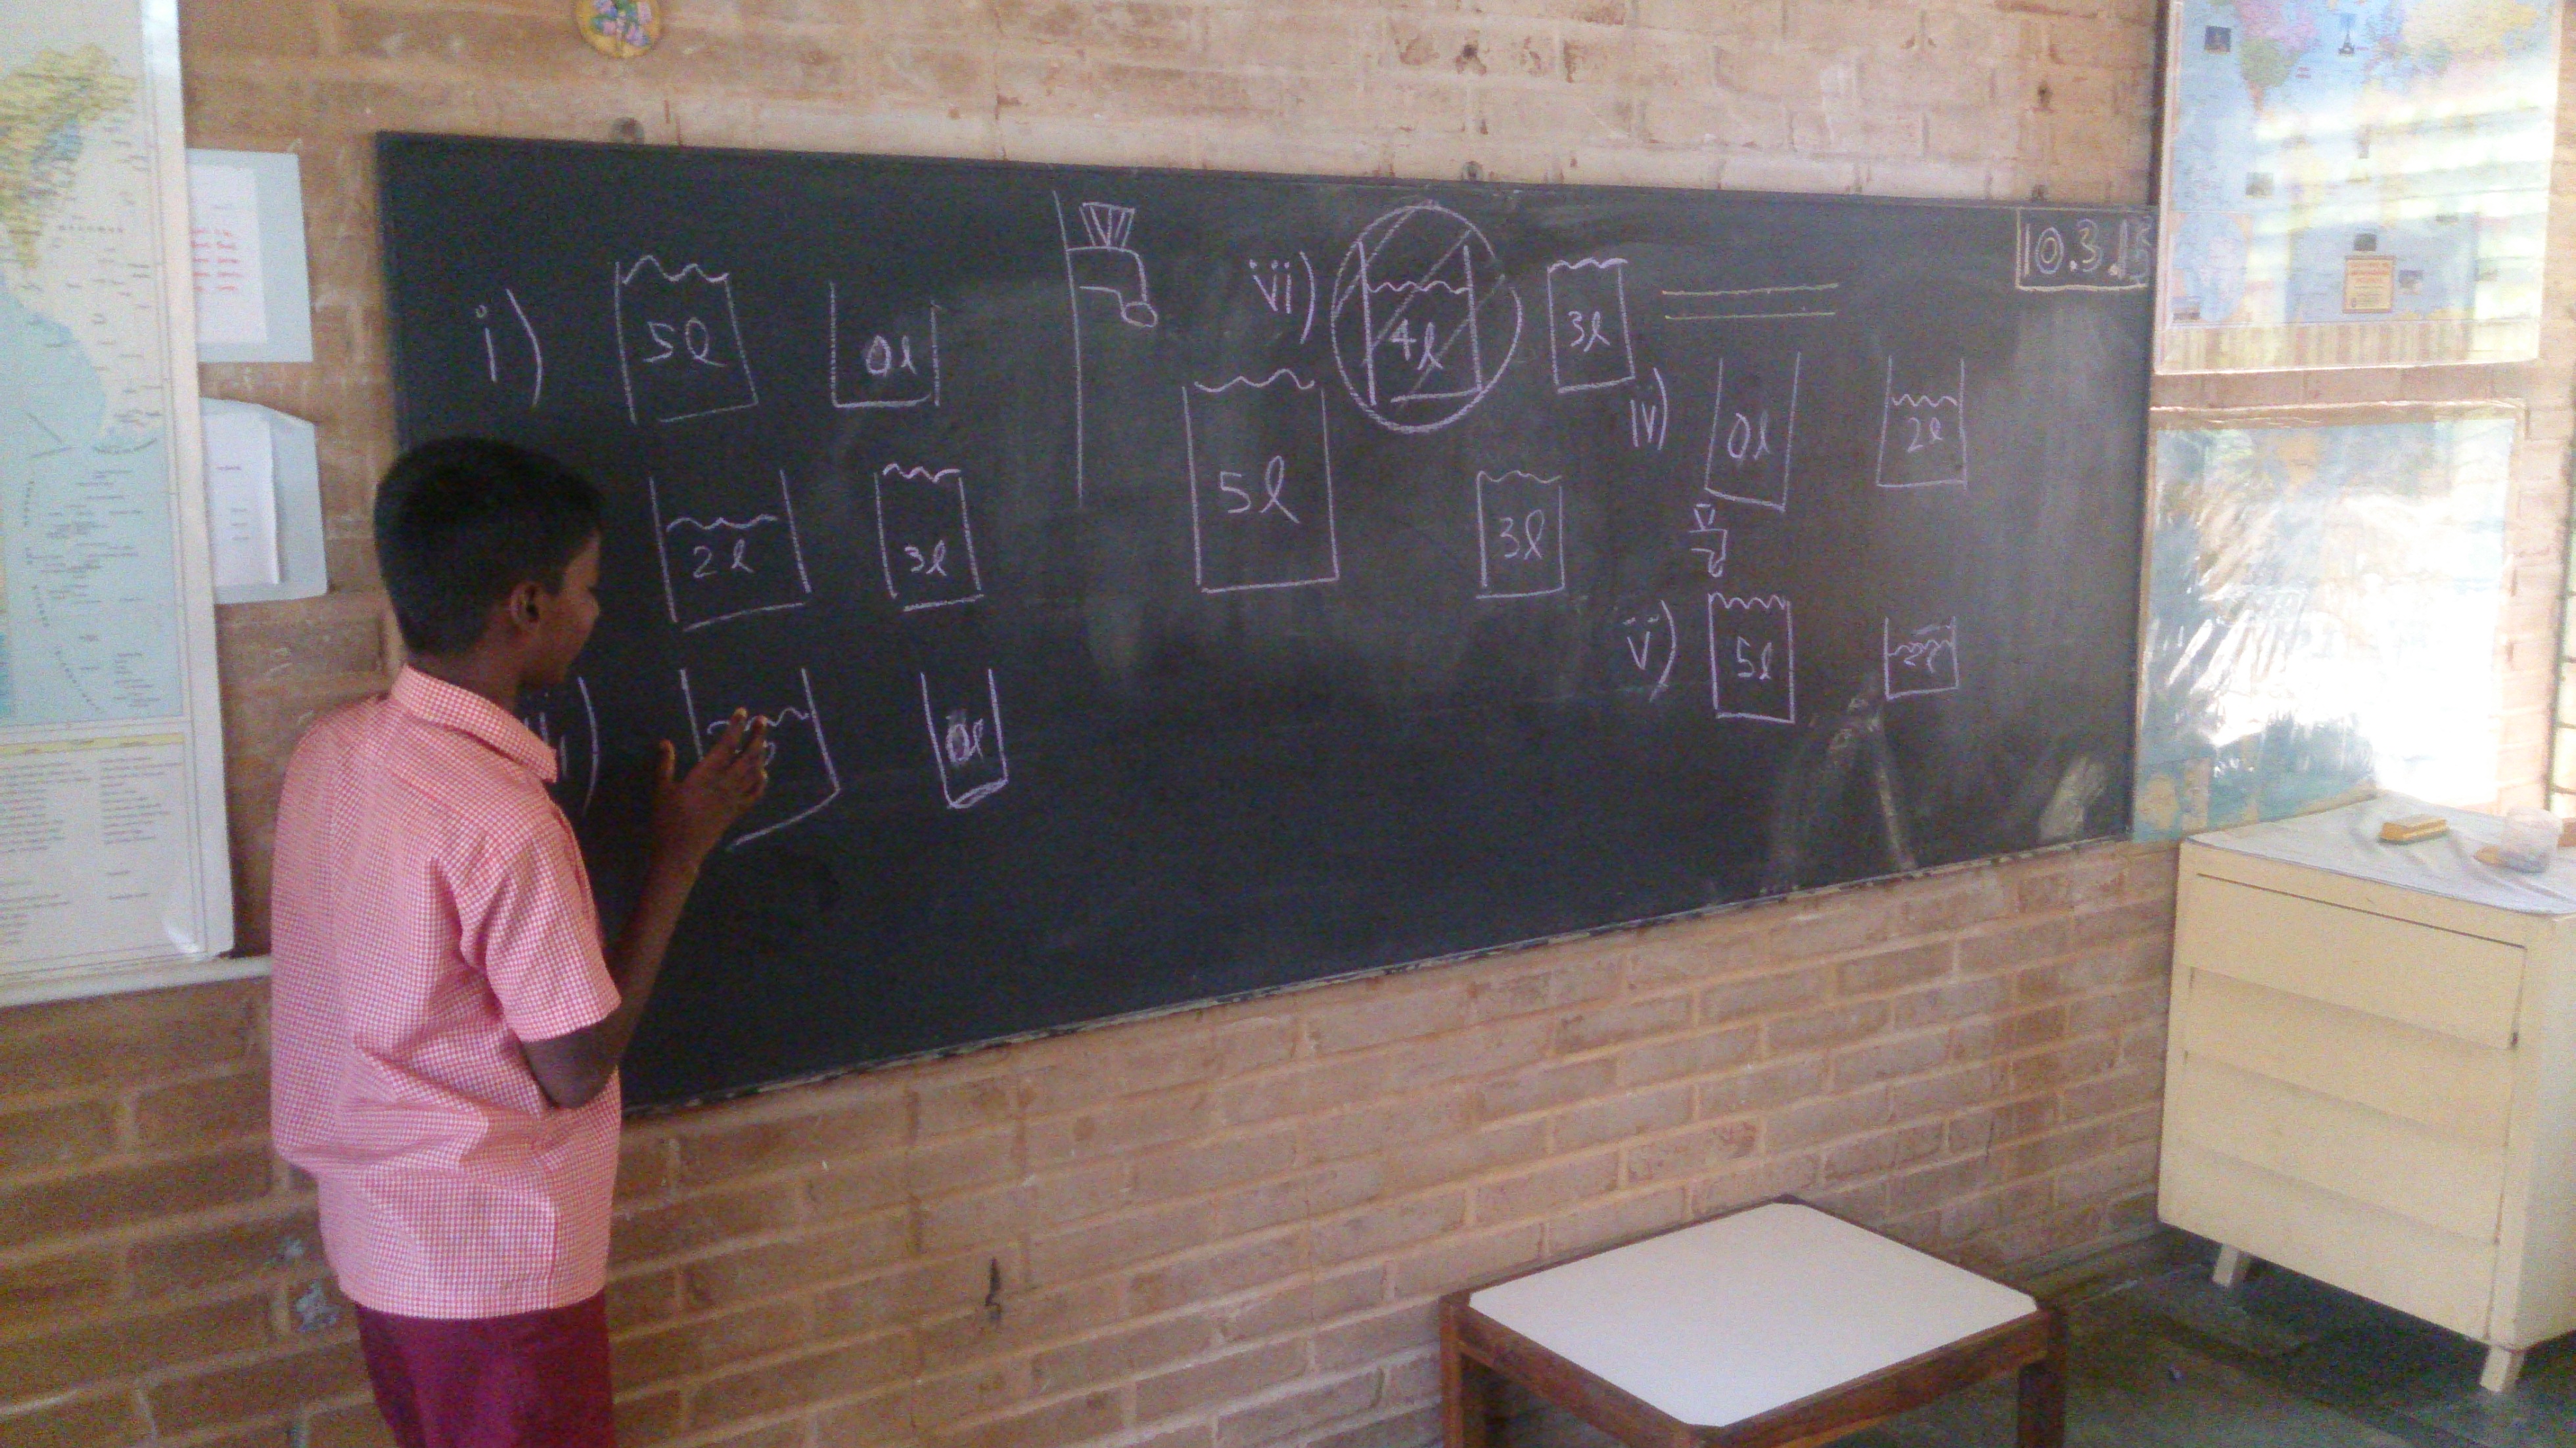
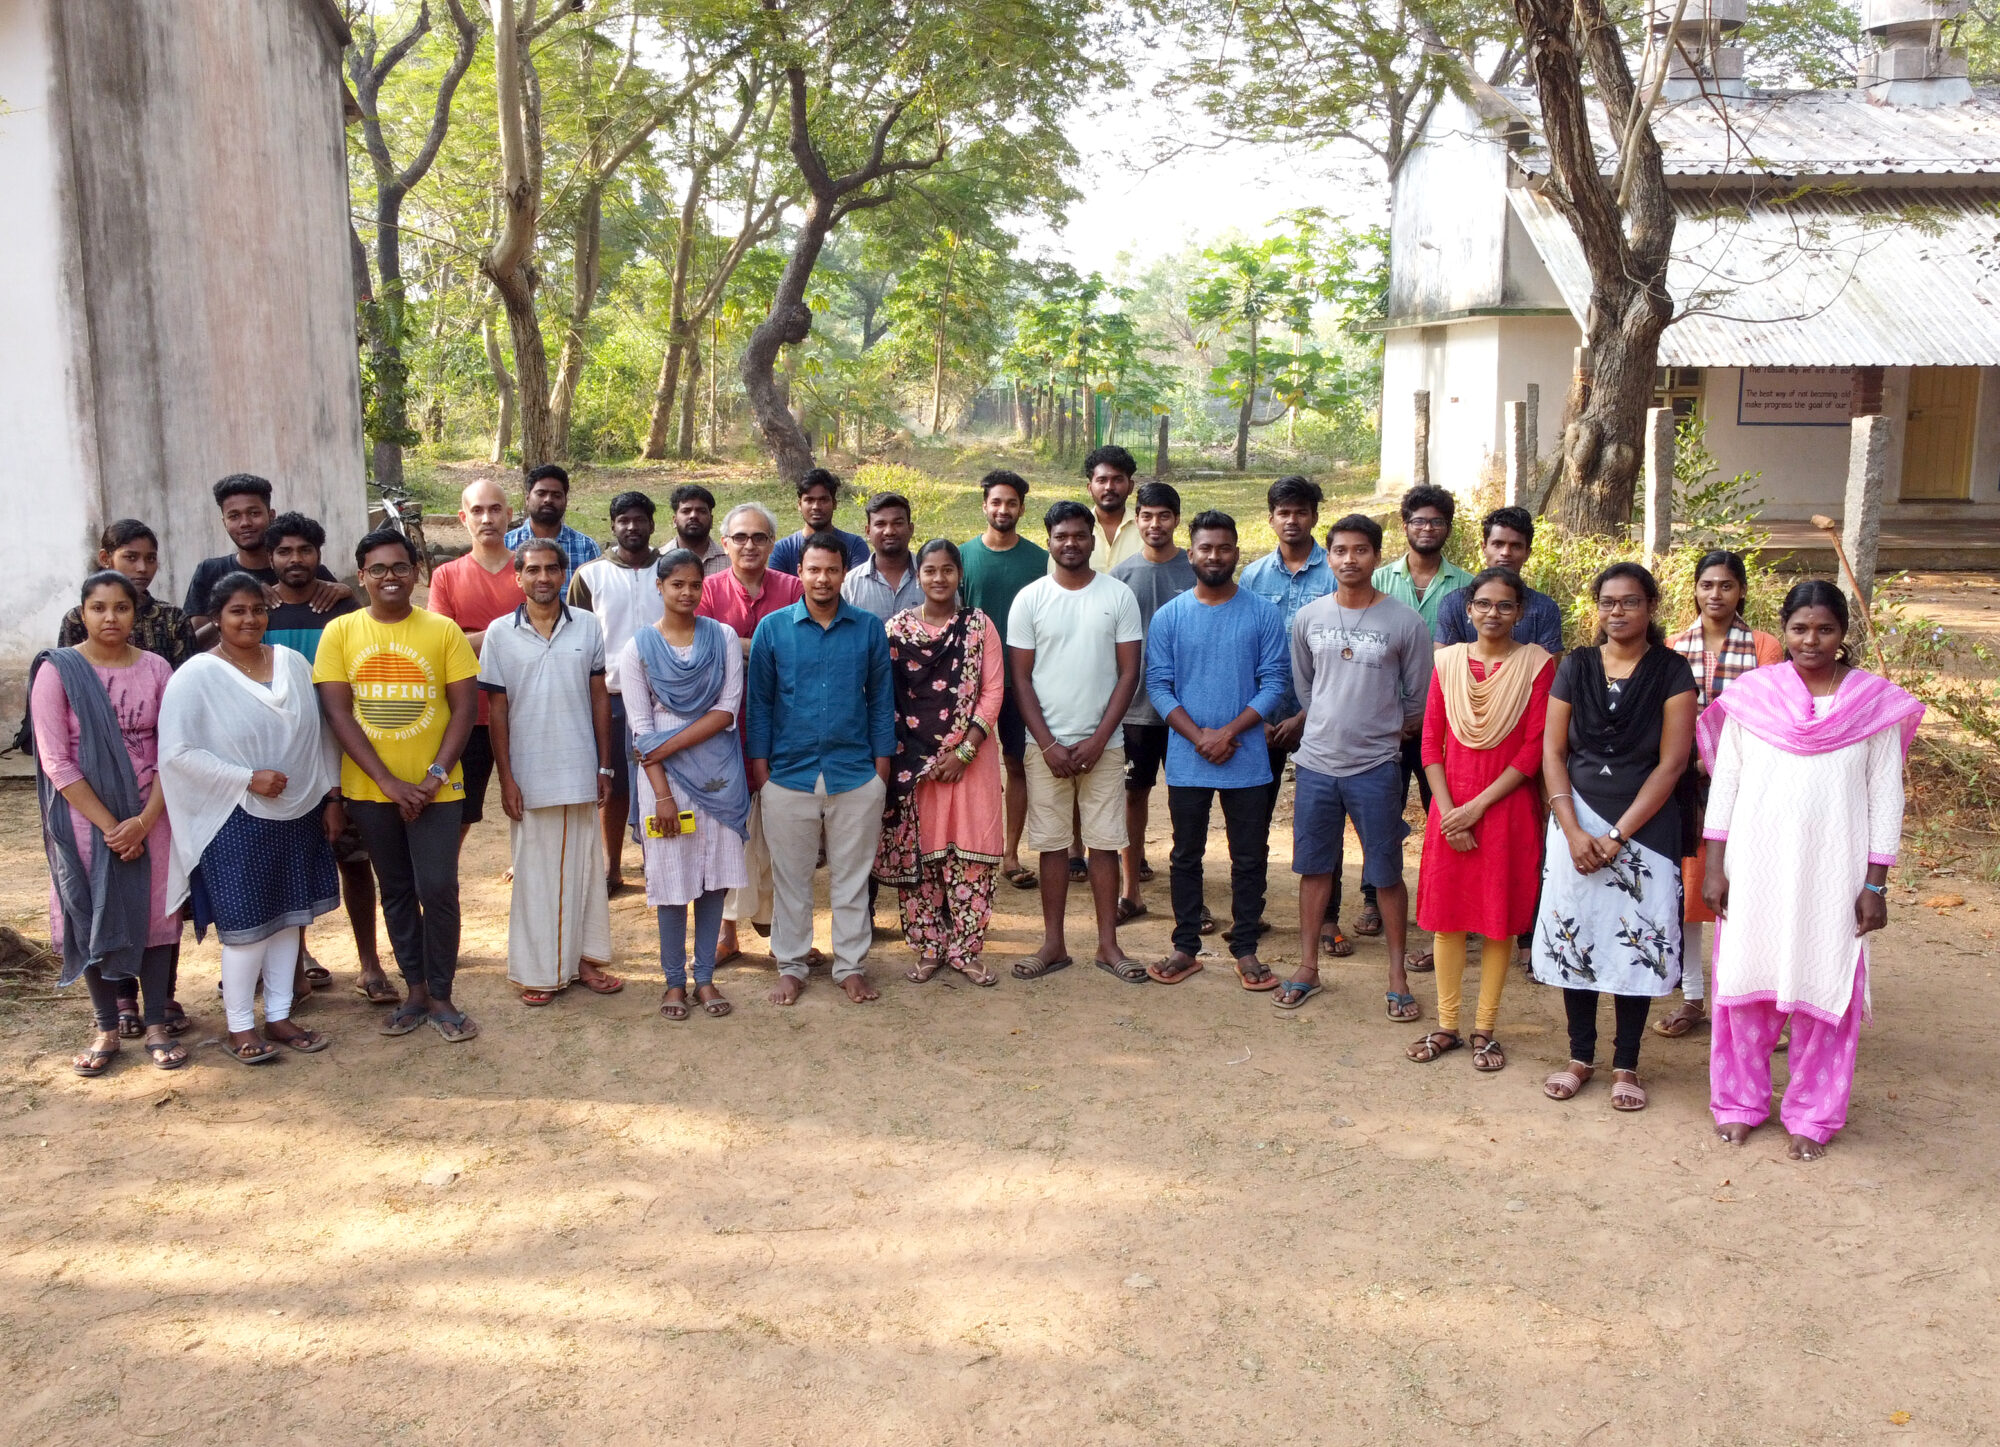
For the first few weeks I decided to teach and learn with the 5th graders at Isai Ambalam middle school, at class we worked out many logic puzzles. The class was at the stage of working out multiplication and division. Speed,distance,time and interrelating each other to form stories of multiplication and division were introduced…

e.g.: if a car travels at a speed of 25 km/hr, what will be the distance covered by the car in 4 hours?

indexScreenshot from 2015-04-11 15:12:12

The students multiplied and came up with a solution, by saying that the car would cover a distance of 100kms. The same story was made into division

e.g.: if a car covers 100km in 4hours, what is the speed of the car? The speed of the car is 25km/hr

Screenshot from 2015-04-11 15:04:11the students were able to make out the stories, as we got into creating many different stories I started to realize that not all students did understand what they were making up, some got confused or did not understand the units..

I asked the students how far was their home from school, well there were many loud answers, but each answer terminated with a unit of distance( the lesson learn ‘t was to never ask a general questions to the whole class, or else expect a chorus answer if you don’t want that to happen, be more specific and select a random child to question) . They all knew that time was in hours, but the units of speed and distance always seemed to confuse them until they came to realize that speed is the amount of distance covered over a certain period of time….

the real reason was that the majority of the students did not understand English very well, being bilingual is very very important. But once the conversation starts in Tamil( mother tongue) its easy to forget the conscious of switching back to English…

by the time these few weeks passed the relation with the class grew stronger, I came to realize that there were some four students who seriously did not know what they were doing in mathematics class… every class has a few slow learners, but having students who could not multiply, or even added by using their fingers seemed a little bit odd. I decided to take into consideration these four members of the classroom.

The five of us would sit together and start to solve some multiplication problems, after a while they seemed to get a handle of the multiplication… but the problem showed up in the addition part after multiplying two, two digit numbers… simple additions required finger counting, they could not do mental calculations. If asked what is five plus six they would take five fingers and then start to count six fingers, to see that number 1 was left after adding five plus five and the answer was 11 was not that obvious.

DSC_0523To create a change the abacus was introduced and still it was a little hard to see the fives, as the whole ten beads were the same colour. Now the abacus was taken apart and every five beads were altered so as to see the simple pattern of fives. After this, the pattern was seen that when one adds five to seven the remaining number of beads is two and the answer is twelve. To have broken the pattern of finger calculation which they were stuck with for all these years felt awesomely superb. But after a few days with the abacus rigorous training was difficult and the student seemed to be getting a littler tired of beads counting….

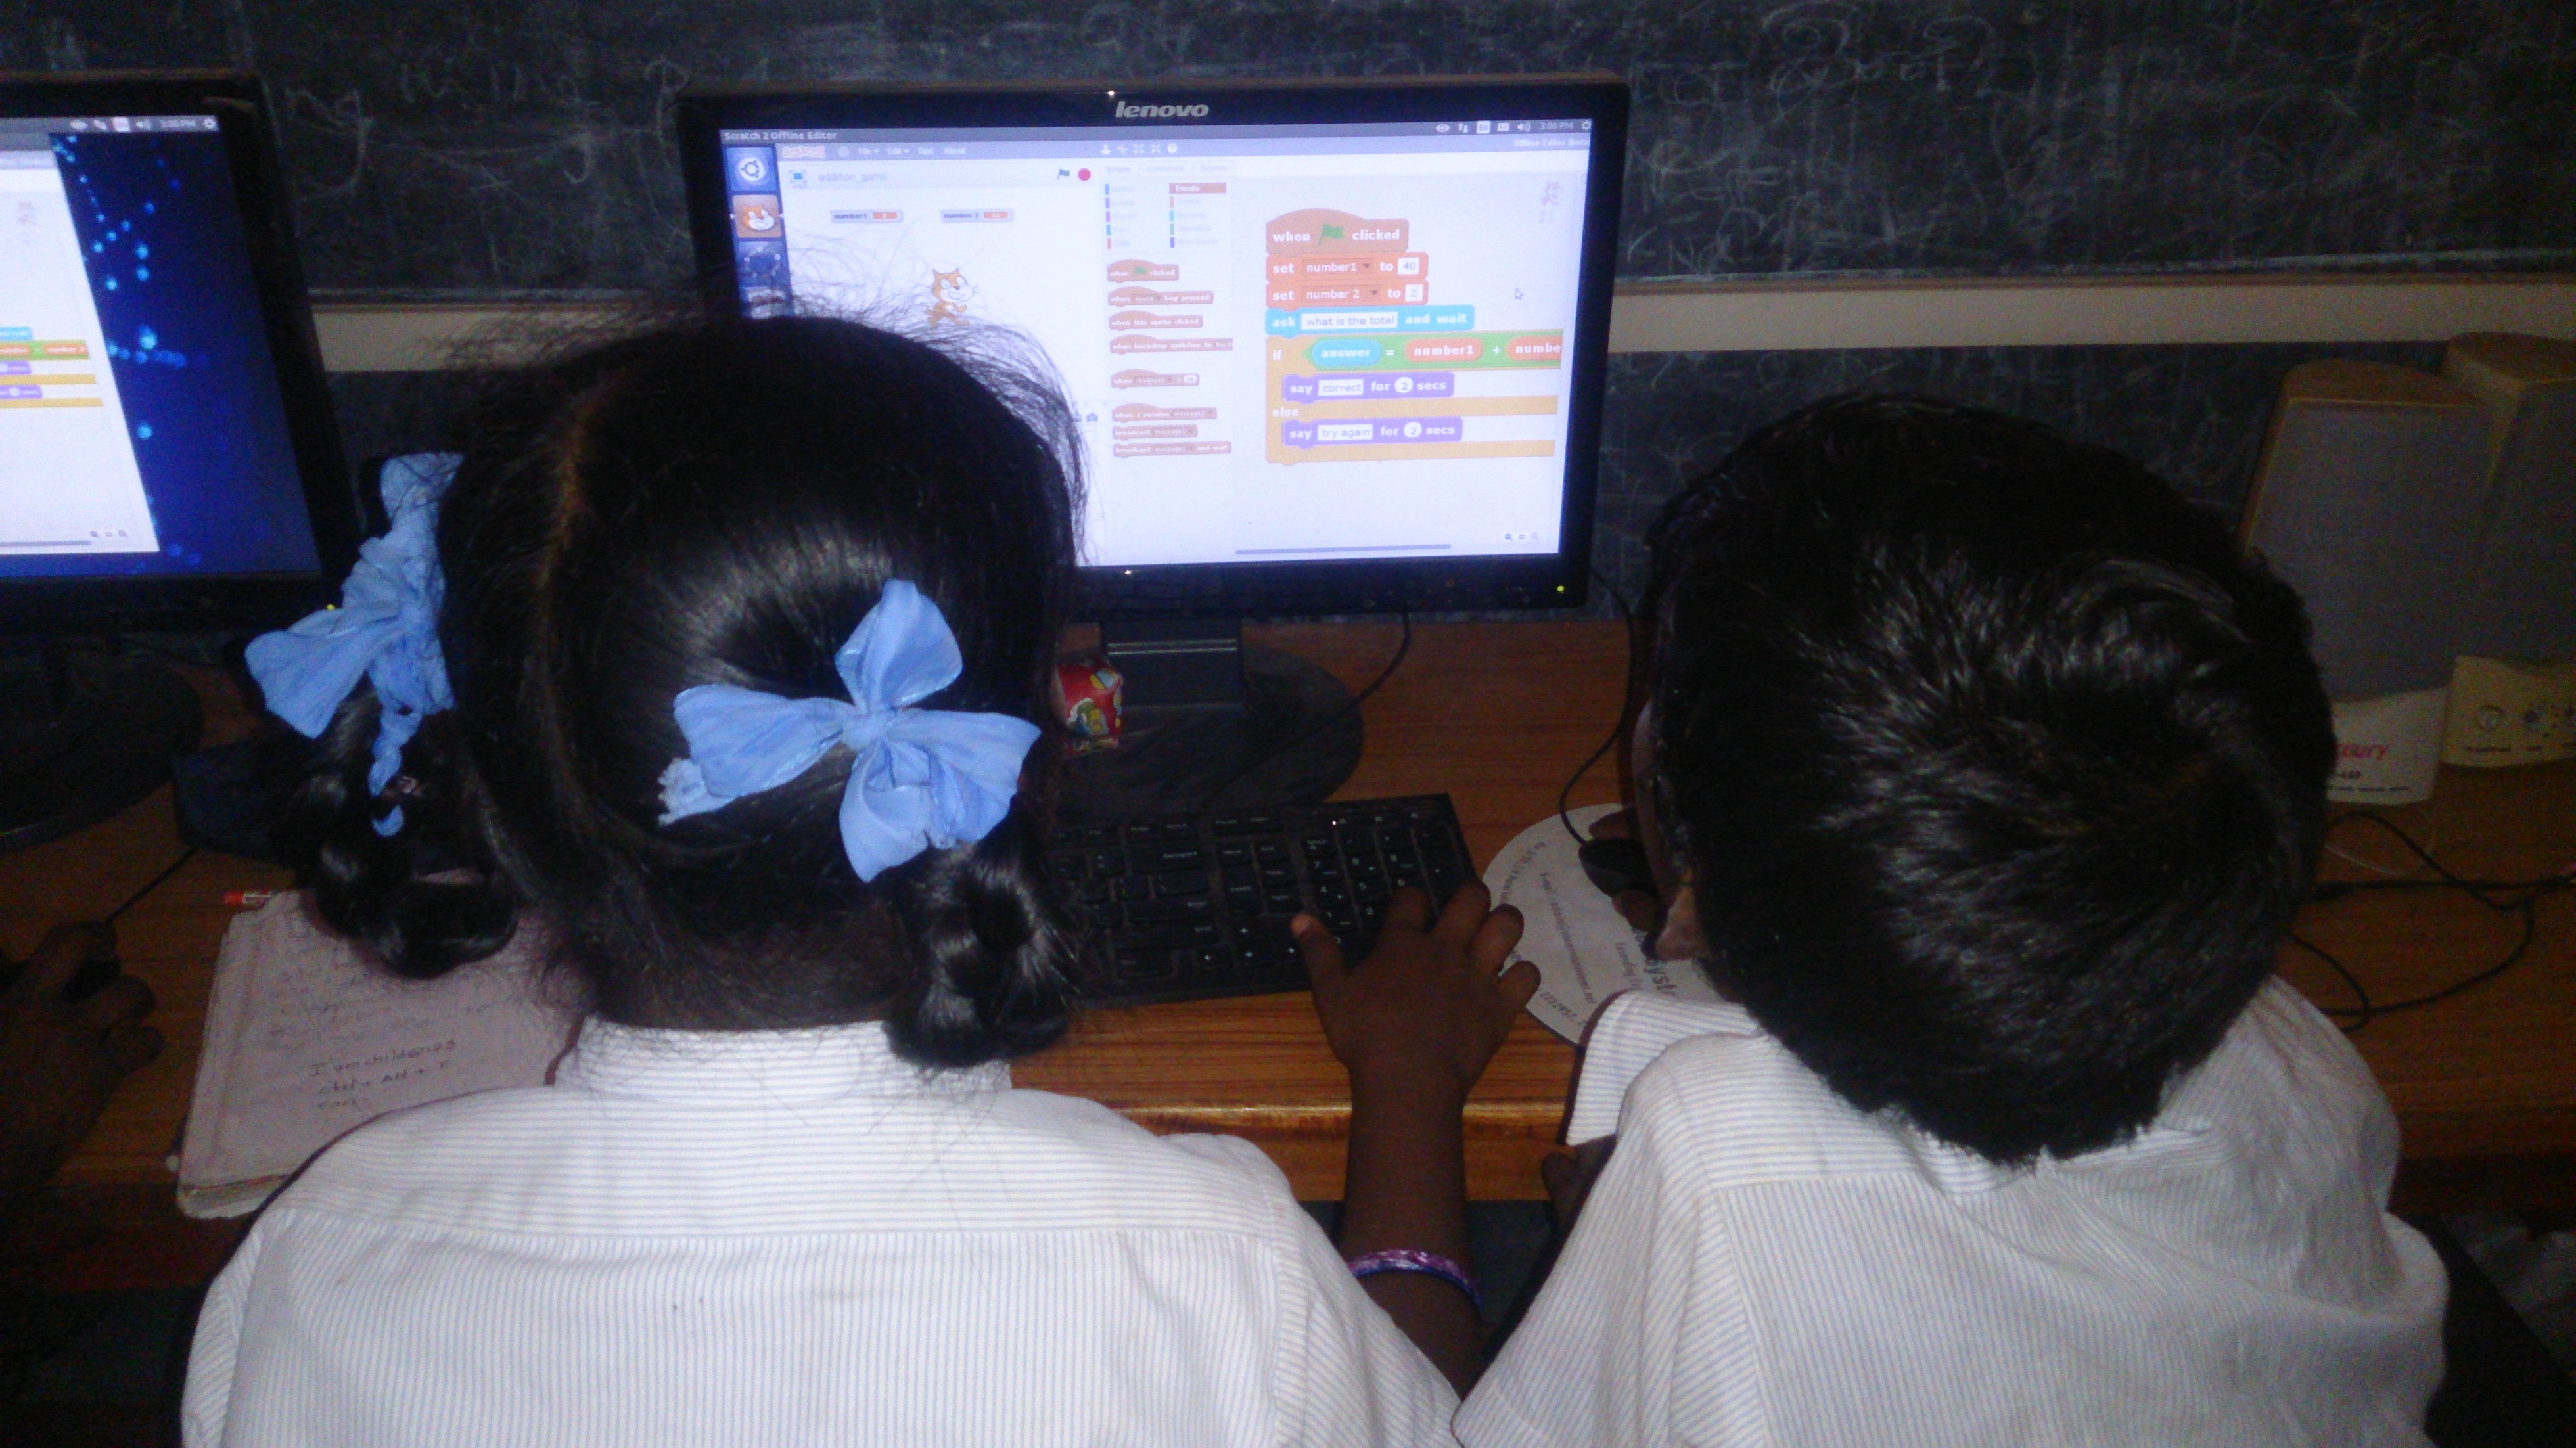
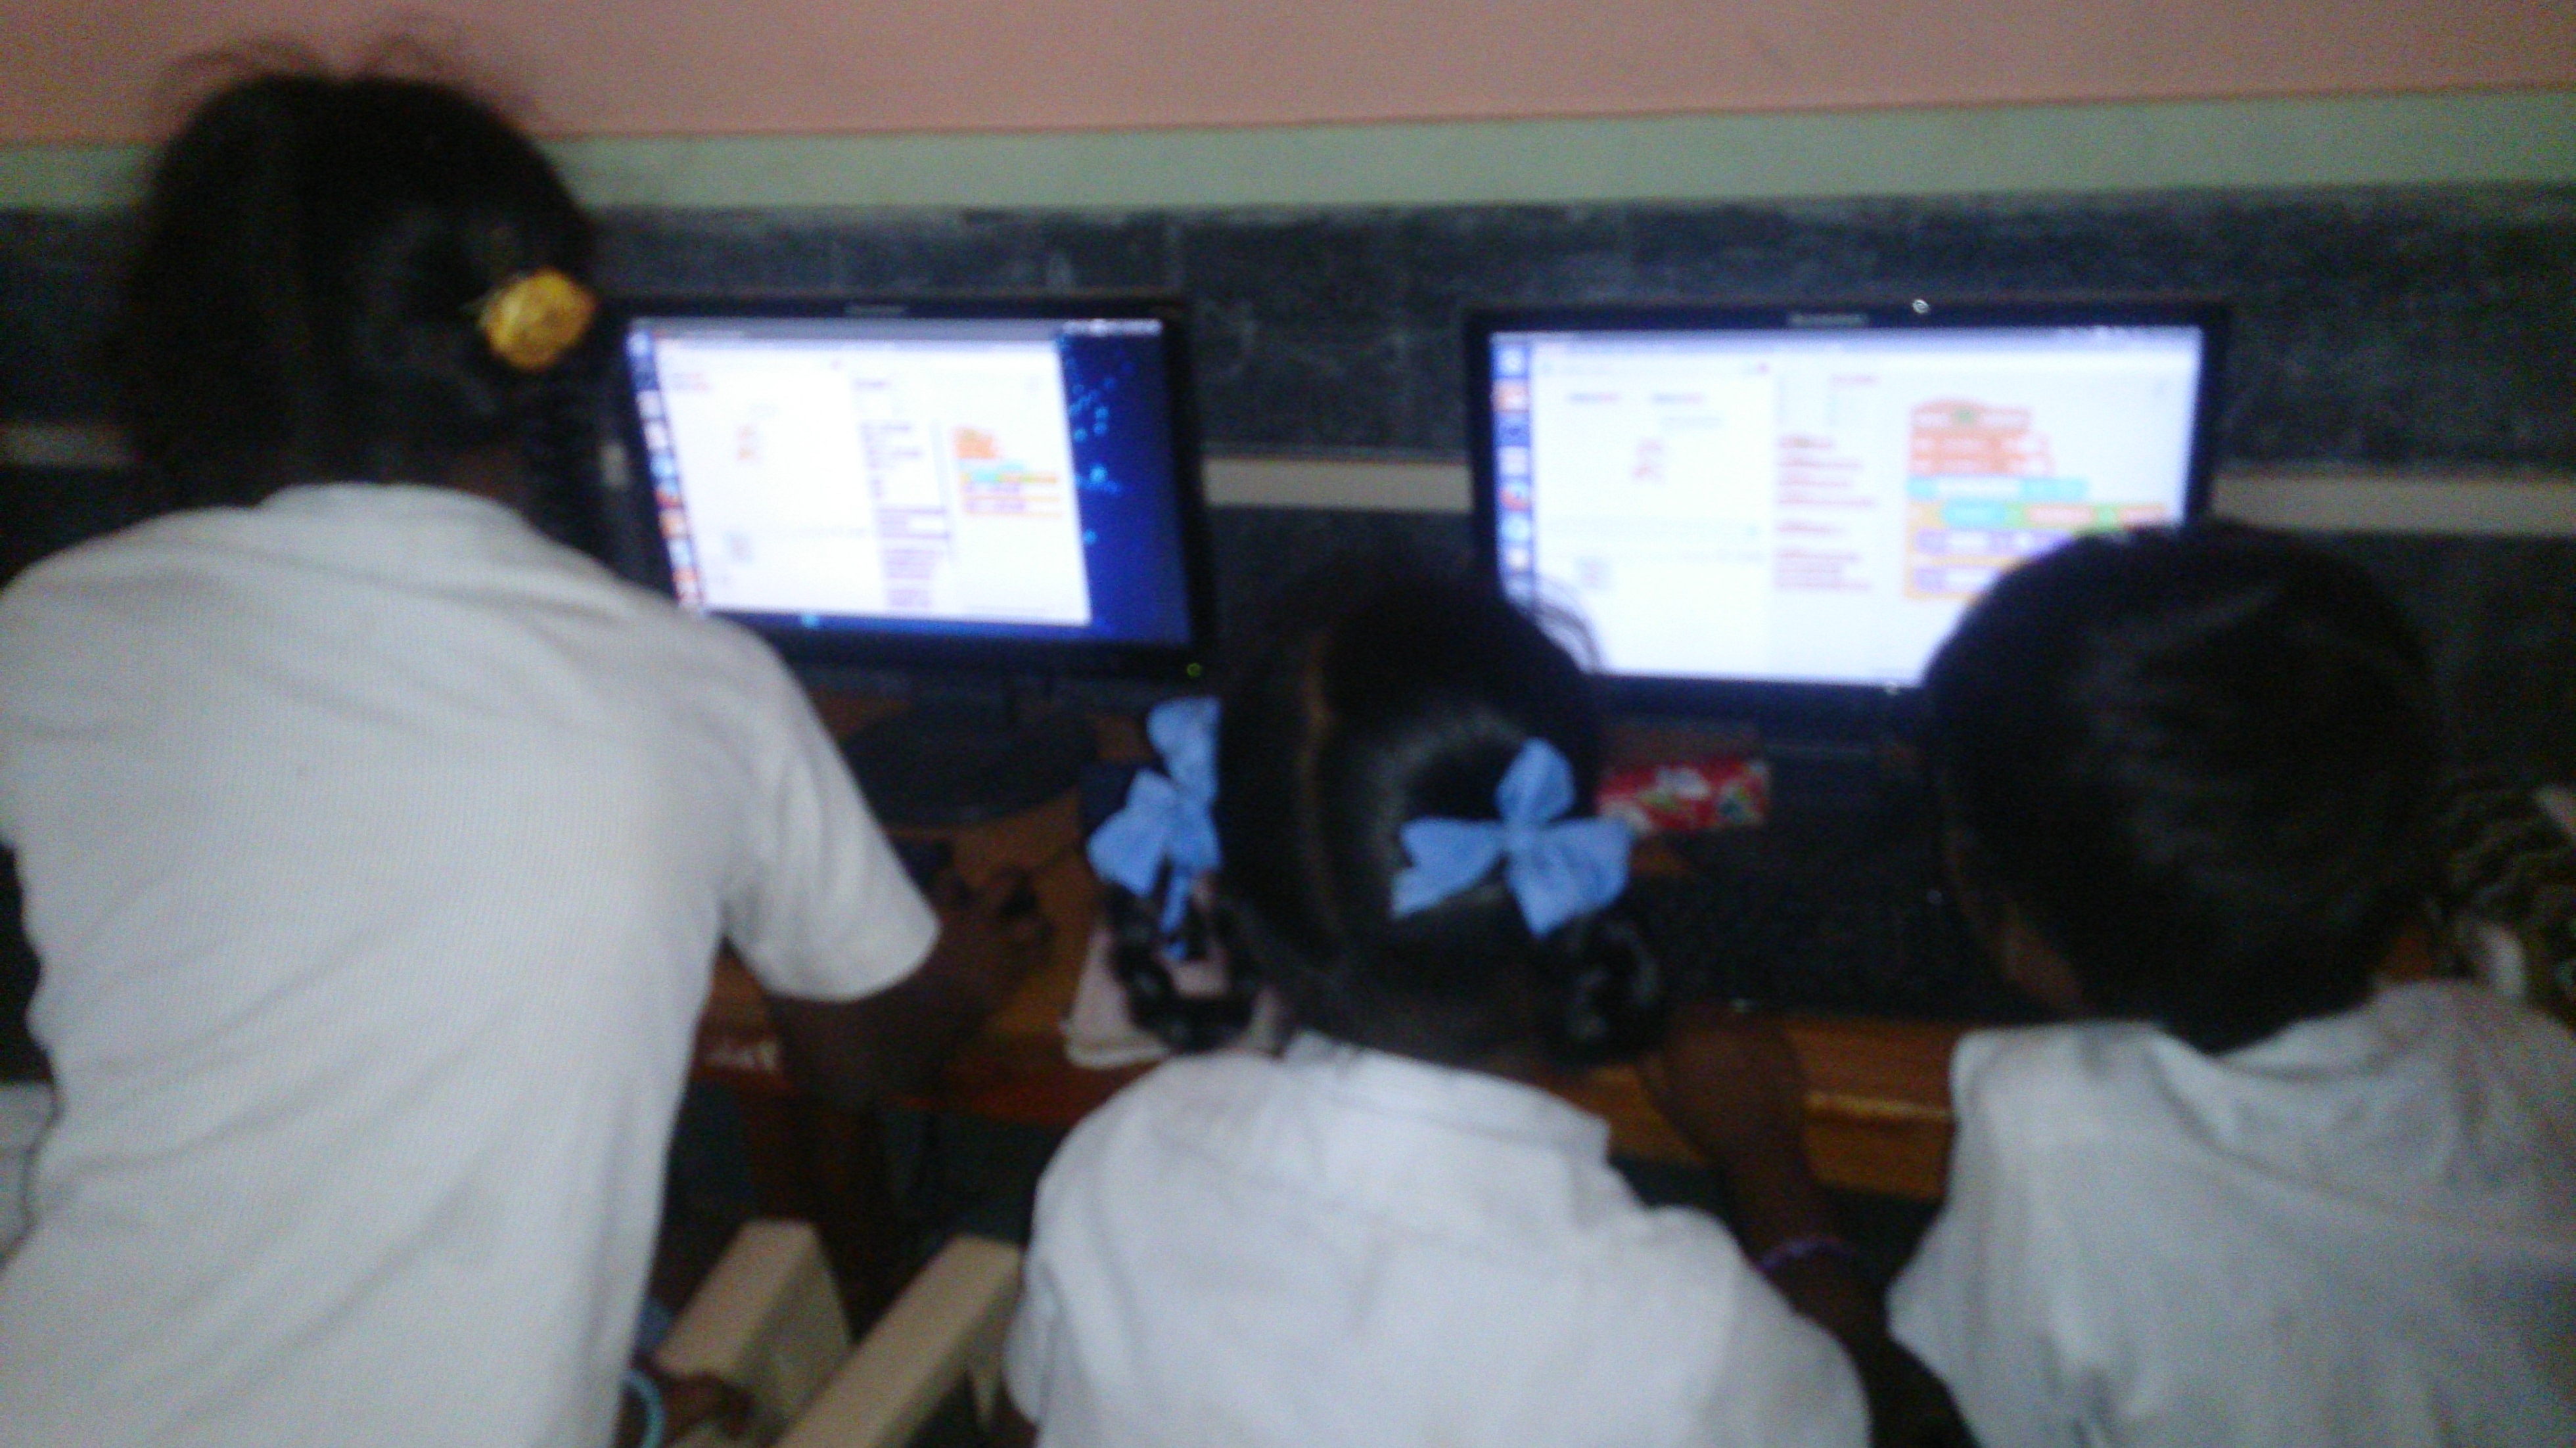
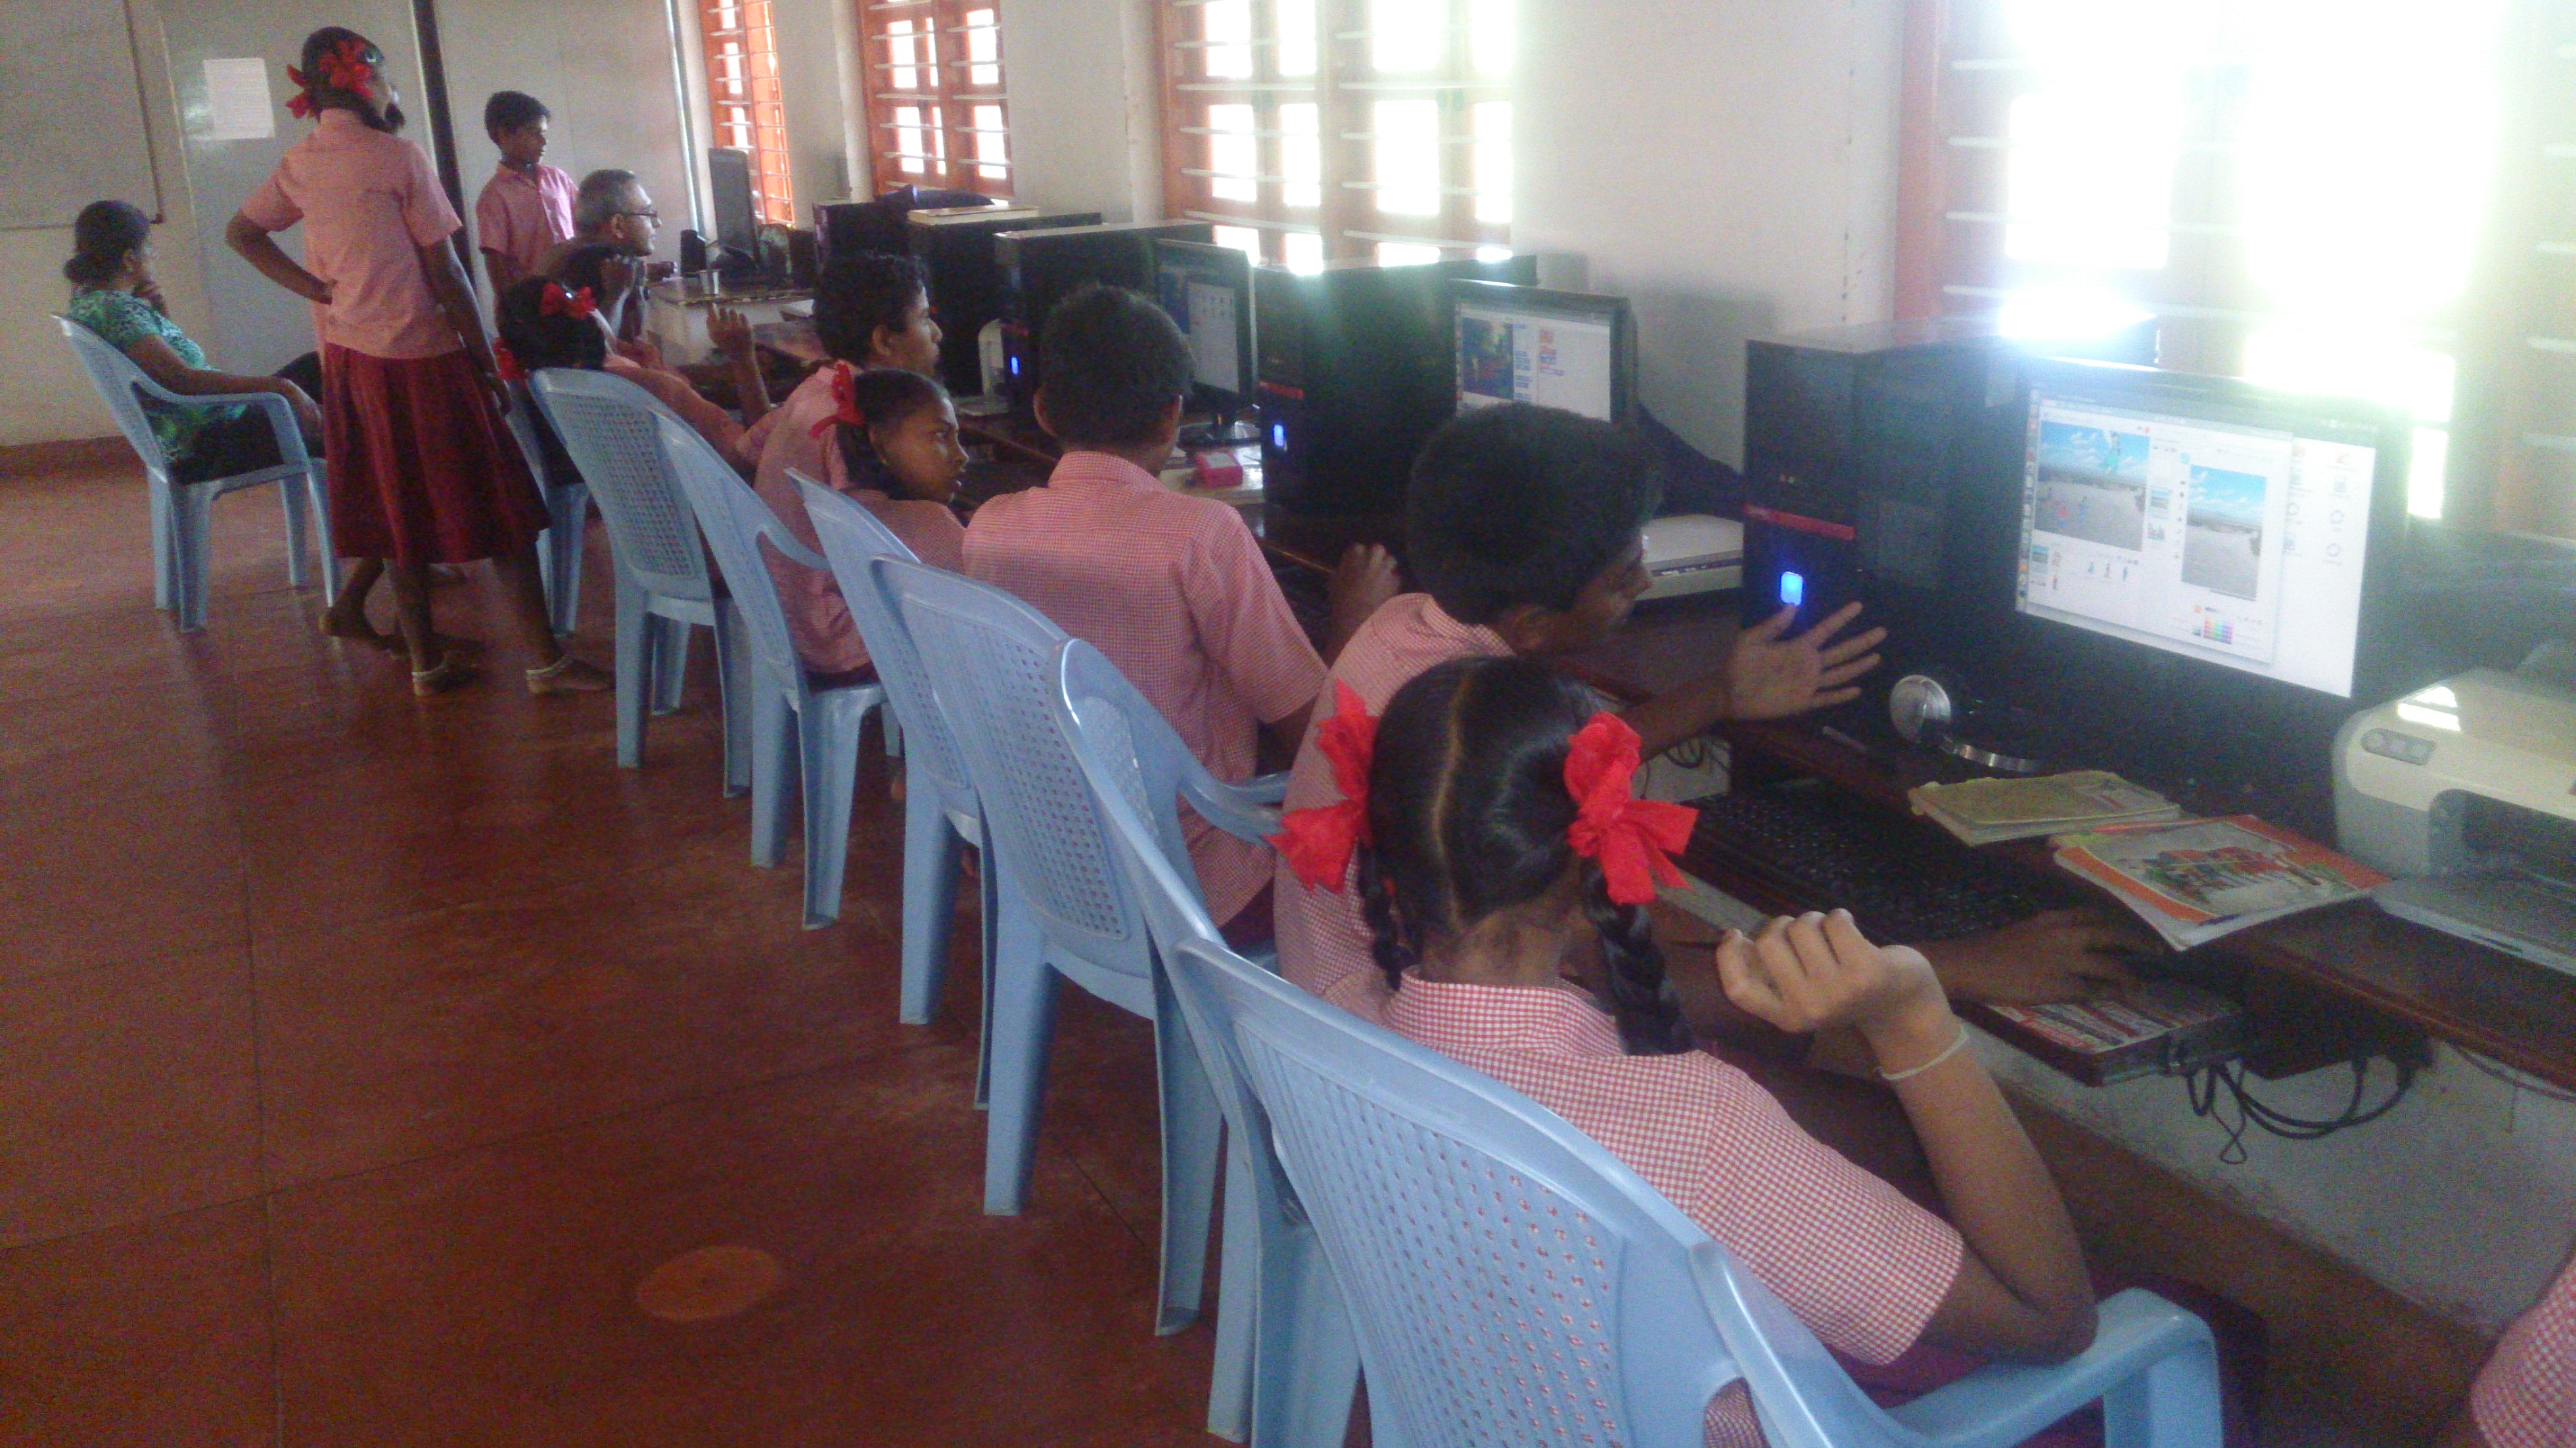
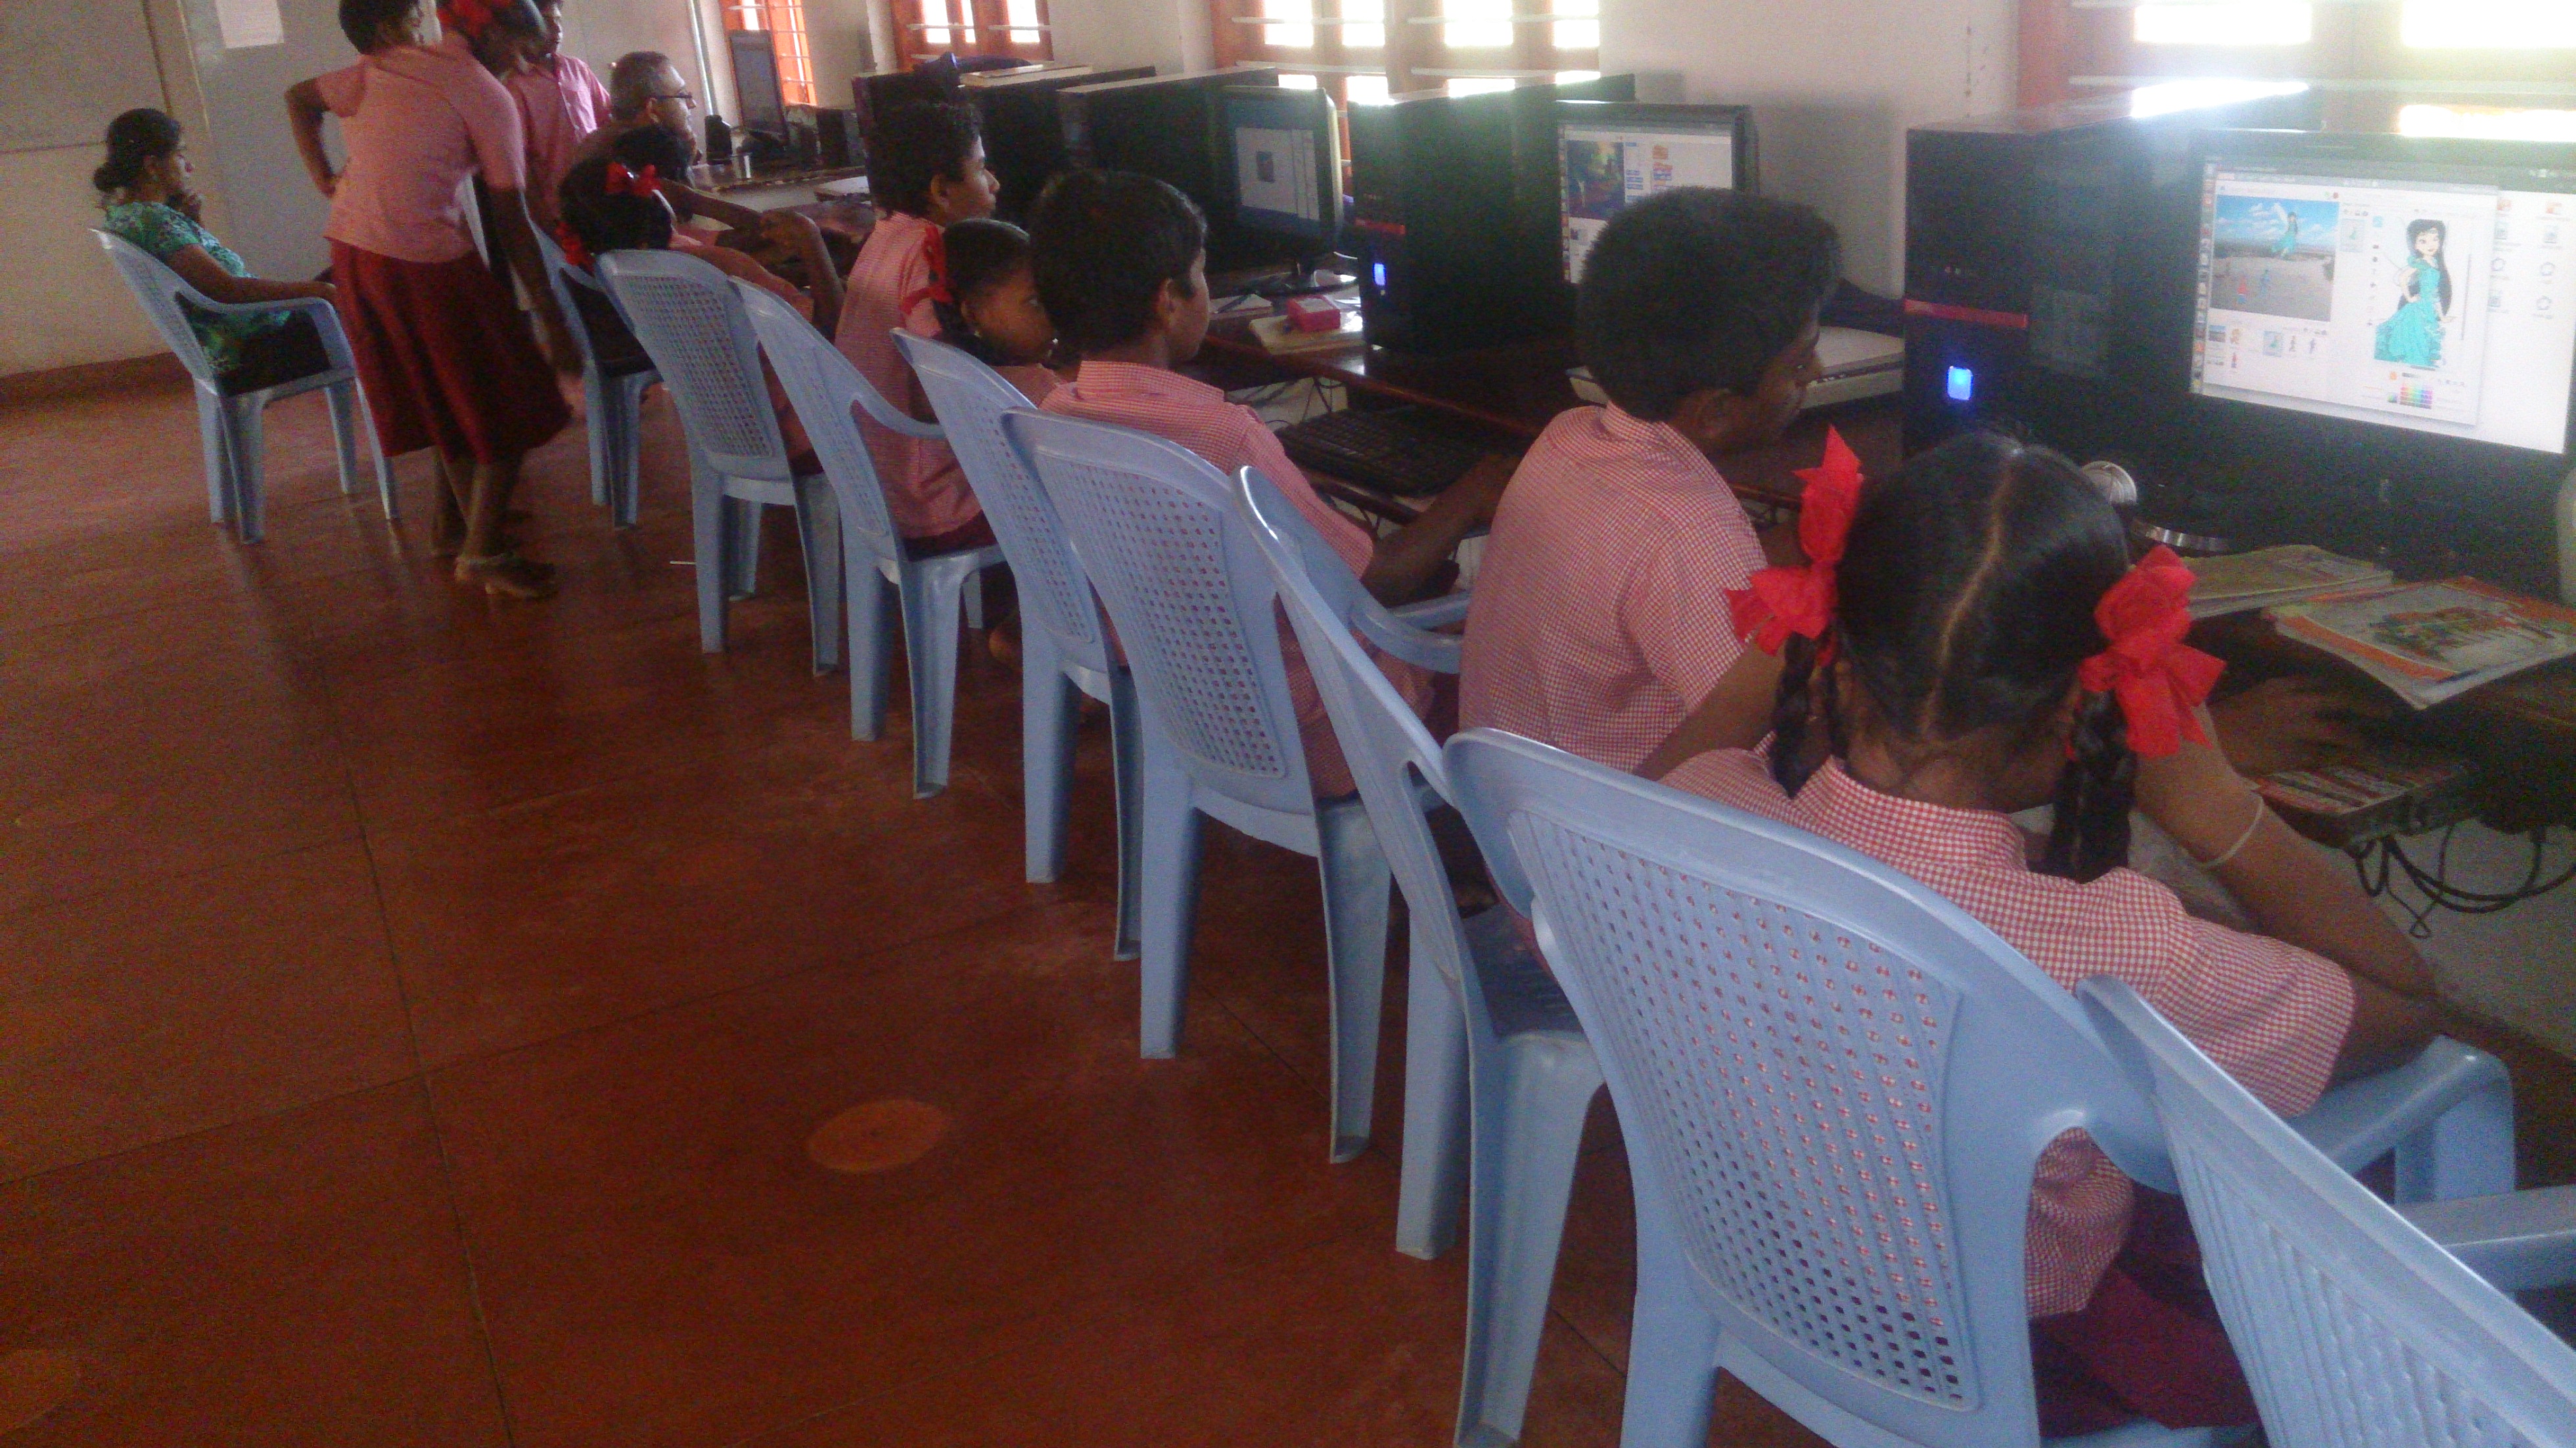
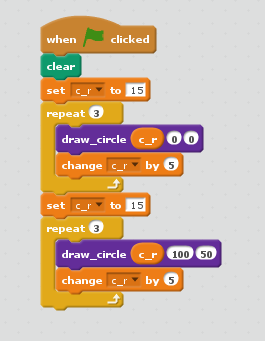
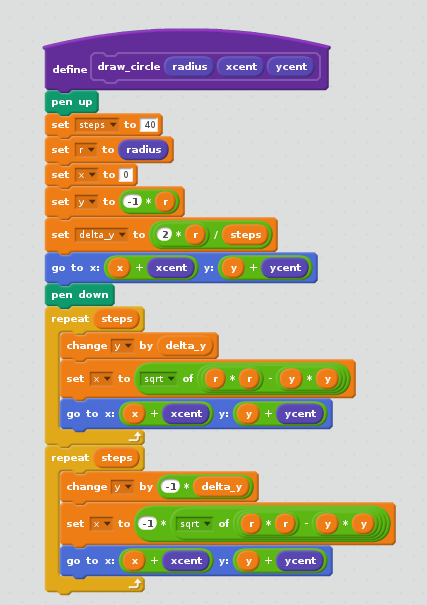
that is when introducing scratch programming seemed to ignite a little spark, as a team we came together and built a small script that added two digit numbers. The children were so excited and eager to solve the sums in scratch than before with the abacus. Now doing mental calculations seemed to easier than before.

https://scratch.mit.edu/projects/56560028/

DSC_0516 DSC_0517


Scratch stories with Udavi 8th graders

Scratch stories with Udavi 8th graders

The 8th graders at Udavi had made stories on the theme ‘ if i had wings ‘ , they were wanting to depict their stories with scratch. The time offered was four English class hours on that week, and so the fun began… on the first day all the students had worked through an idea of what they wanted to depict with scratch programming, and when asked to pair up as a team and do their work, the usual boy-boy and girl -girl teams appeared. To make things more collaborative and interesting we mixed up the pairs into boy – girl.., asked on what aspects , criteria they were willing to do evaluate the work. They came up with the following

-UnderstandableDSC_0511

-Colourful

-Creative

-Beautiful

-Using Proper Language

-Interesting

-Teamwork

The class was just so amazing, all the children were totally focused on their work as a team there were no cross talks between teams.

DSC_0512The students used the Internet to get their characters and backgrounds. Gimp was introduced to them as and editing tool.


DSC_0513On the 2nd and 3rd day the children continued working with their script. They were also engaged in giving feedback with the mentioned aspects. Towards the end of the last assigned day all the projects were decided to be merged as to make a single video. The students amongst themselves coordinated and went along other teams that were still engaged in their scripting, and started to explain the process of merging files.

Circuit Analysis

Circuit Analysis pdf

crk1

let us take the above circuit into consideration, with three nodes namely:

crk2

and i is the current passing through them.

1. Considering node v2 :

crk3

2. Now at node v1 :

crk4

3. To determine vin :

crk1crk2crk4

4. The current i can written as :

crk1

5. v1 and v2 in terms of vin

crk3crk2


Powering up an LED

PoweringUpLED pdf

Powering up an LED

ledcalc.com ; A useful tool to determine the value of resistors to be used in the circuit.

V = I × R (Ohm’s law)

supply voltage = 5V

resistor used = 2 x 33ohm resistor connected in parallel = 16.5 ohm

to determine current ; I = V / R

5 / 16.5 = 300mA

(Power supply voltage − LED voltage) / current (in amps) = desired resistor value (in ohms)

To calculate the amount of power that the resistor will dissipate;

Power Rule: P = (I × V ) W
If a current I flows through through a given element in your circuit, losing voltage V in the process, then the power dissipated by that circuit element is the product of that current and voltage: P = I × V.

led1 led3

DSC_0263

Speede V.2

SpeeDe V.1 -pdf

upgraded features ;

– 12 v battery

– improved LDR sensitivity

changes made ;

– 12 v battery

On Speede v.1 we used 2x 9v batteries, one for driving the arduino board and another for powering the laser. This did not suit the device as it kept on draining up the batteries. Which made us upgraded the battery source to a 12 v rechargeable battery, but the laser and the arduino kit could only handle 9v supply. This made us connect an IC 7809 from the battery source and then supply the components ( ic 7809 simply burns the excess voltage i.e.3 v and provides a supply of 9v as an output)

DSC_0490 DSC_0443 DSC_0444

– improved LDR sensitivity

The LDR’s sensing the laser were affected by external light sources, this compromised Speede’s ability to work in a brighter environment. In order to eliminate this factor, two pvc tubes were fitted around each LDR.

DSC_0447 DSC_0450

Capacitor

Capacitor pdf

Capacitor

Information

A capacitor (originally known as a condenser) is a passive two-terminal electrical component used to store energy electro statically in an electric field. The forms of practical capacitors vary widely, but all contain at least two electrical conductors (plates) separated by a dielectric (i.e. insulator). The conductors can be thin films, foils or sintered beads of metal or conductive electrolyte, etc. The “non-conducting” dielectric acts to increase the capacitor’s charge capacity. A dielectric can be glass, ceramic, plastic film, air, vacuum, paper, mica, oxide layer etc. Capacitors are widely used as parts of electrical circuits in many common electrical devices. Unlike a resistor, an ideal capacitor does not dissipate energy. Instead, a capacitor stores energy in the form of an electrostatic field between its plates.

When there is a potential difference across the conductors (e.g., when a capacitor is attached across a battery), an electric field develops across the dielectric, causing positive charge +Q to collect on one plate and negative charge −Q to collect on the other plate. If a battery has been attached to a capacitor for a sufficient amount of time, no current can flow through the capacitor. However, if a time-varying voltage is applied across the leads of the capacitor, a displacement current can flow.

phase

a


cap


Capacitors are widely used in electronic circuits for blocking direct current while allowing alternating current to pass. In analogue filter networks, they smooth the output of power supplies. In resonant circuits they tune radios to particular frequencies. In electric power transmission systems, they stabilize voltage and power flow.

An ideal capacitor is wholly characterized by a constant capacitance C, defined as the ratio of charge ±Q on each conductor to the voltage V between them

capequ1

capequ2


Simple Motor With the 4th Graders


DSC_0455 DSC_0457DSC_0459To design a simple motor all we need is a number of batteries, neodymium magnets, metal screws or nails, and some copper wires (they do not get attracted by magnets, and they conduct electricity).


The 4th graders were super excited when Bala and I entered the class with a box on our hand. Then i explained that we would be doing a small experiment with magnets and some batteries. We split the class into four smaller groups and handed each group the required number of components. The explanation on how to connect the components was shown, and the children made their own motors. While doing the motor they realized that when the batteries polarity were reversed the direction of the spinning screw also reversed.


water-bowlsOnce the children were done with the motor, they did a puzzle on water and weighing.

” If you had a 5-liter bowl and a 3-liter bowl, and an unlimited access to water, how would you measure exactly 4 litres. ”

all came up with interesting ideas and explanations.

DSC_0474 DSC_0473


The way we installed Ubuntu

Installing Ubuntu pdf

This is how we installed Ubuntu 14.04.1 LTS
image-installdesktoplongtermsupport-1

1. Using a USB drive Most newer computers can boot from USB. You should see a welcome screen prompting you to choose your language and giving you the option to install Ubuntu or try it from the CD. If your computer doesn’t automatically do so, you might need to press the F12 key ( Dell laptops) to bring up the boot menu, but be careful not to hold it down – that can cause an error message.
image-installdesktoplongtermsupport-2

2. Prepare to install Ubuntu

We recommend you plug your computer into a power source

You should also make sure you have enough space on your computer to install Ubuntu

We advise you to select Download updates while installing and Install this third-party software now

You should also stay connected to the internet so you can get the latest updates while you install Ubuntu

If you’re not connected to the internet, we’ll help you set up wireless at the next step.

3. Setting up updates

we used the APTonCD and Synaptic Package Manager application to install all the updates from another system, which helped us minimize downloading time for updates. Hence we installed Ubuntu by un ticking the box marked “Download updates while installing.”

4. Allocate drive space


4Use the check boxes to choose whether you’d like to Install Ubuntu alongside another operating system, delete your existing operating system and replace it with Ubuntu, or — if you’re an advanced user — choose the ’Something else’ option


 5.Begin the installation

5

Depending on your previous selections, you can now verify that you have chosen the way in which you would like to install Ubuntu. The installation process will begin when you click the Install Now button. Ubuntu needs about 4.5 GB to install, so add a few extra GB to allow for your files.


6. Select your location
6If you are connected to the internet, this should be done automatically. Check your location is correct and click ’Forward’ to proceed. If you’re unsure of your time zone, type the name of the town you’re in or click on the map and we’ll help you find it.

TIP: If you’re having problems connecting to the Internet, use the menu in the top-right-hand corner to select a network.

7. Select your preferred keyboard layout


7Click on the language option you need. If you’re not sure, click the ’Detect Keyboard Layout’ button for help.


8. Enter your login and password details, and wait for installation

8image-installdesktoplongtermsupport-9

9. That’s it

10All that’s left is to restart your computer and start Ubuntuing.

Cartesian Coordinate System

Scratch cartesian circle_s pdf

To draw a circle using Cartesian coordinate system

1.

ccs

2.


pythagoreantheorem

A Cartesian coordinate system is a coordinate system that specifies each point uniquely in a plane by a pair of numerical coordinates. Considering two points x and y on the x-axis and y-axis which meet at (x,y), this produces a right angle triangle with base of length x and height y. Here we could implement Pythagorean theorem which states ; The sum of the areas of the two squares on the legs (a and b) equals the area of the square on the hypotenuse (c). now applying to the above fig we get.

x,ywhere ‘r’ denotes the radius of the circle, which can be drawn by keeping either x or y a constant and varying the others value.

To run the script ;                                                                         Script ;

scScreenshotofcode

  • the step are defined to 40.
  • setting radius of the circle to r
  • defining x position to 0
  • defining y position to -r ( i.e.. To start the circle from the point (0,-r))
  • determines the centre of x and y.Pen down starts to draw
  • the first loop repeats for the number of steps i.e..40
  • y value is changed with respect to delta of y .
  • x is set to the modified equation of circle i.e.. x= √(r*r) – (y*y)
  • this draws only a semi circle starting from the point (0,-r) to the point (0,r)
  • hence we require a second loop to draw the other half of the semi circle.
  • the second loop repeats for the number of steps ie.40
  • y value is changed with respect to delta of – y.
  • y is set to the modified equation of circle i.e.. x= – √ (r*r) – (y*y)
  • this draws only a semi circle starting from the point (0,r) to the point (0,-r)
  • hence the other half of the semi circle is dawn.

Now this whole script is user defined to perform 3 concentric circles around each points (0,0) and (100,50)

The Drawn Circles;

 screenshotoutput

reference : http://en.wikipedia.org – image 2