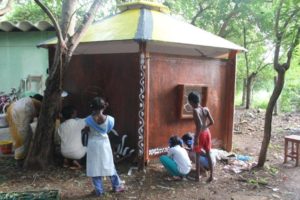
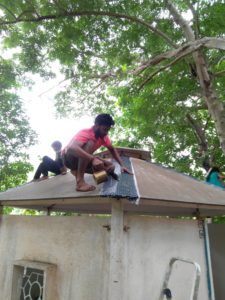
Roof:
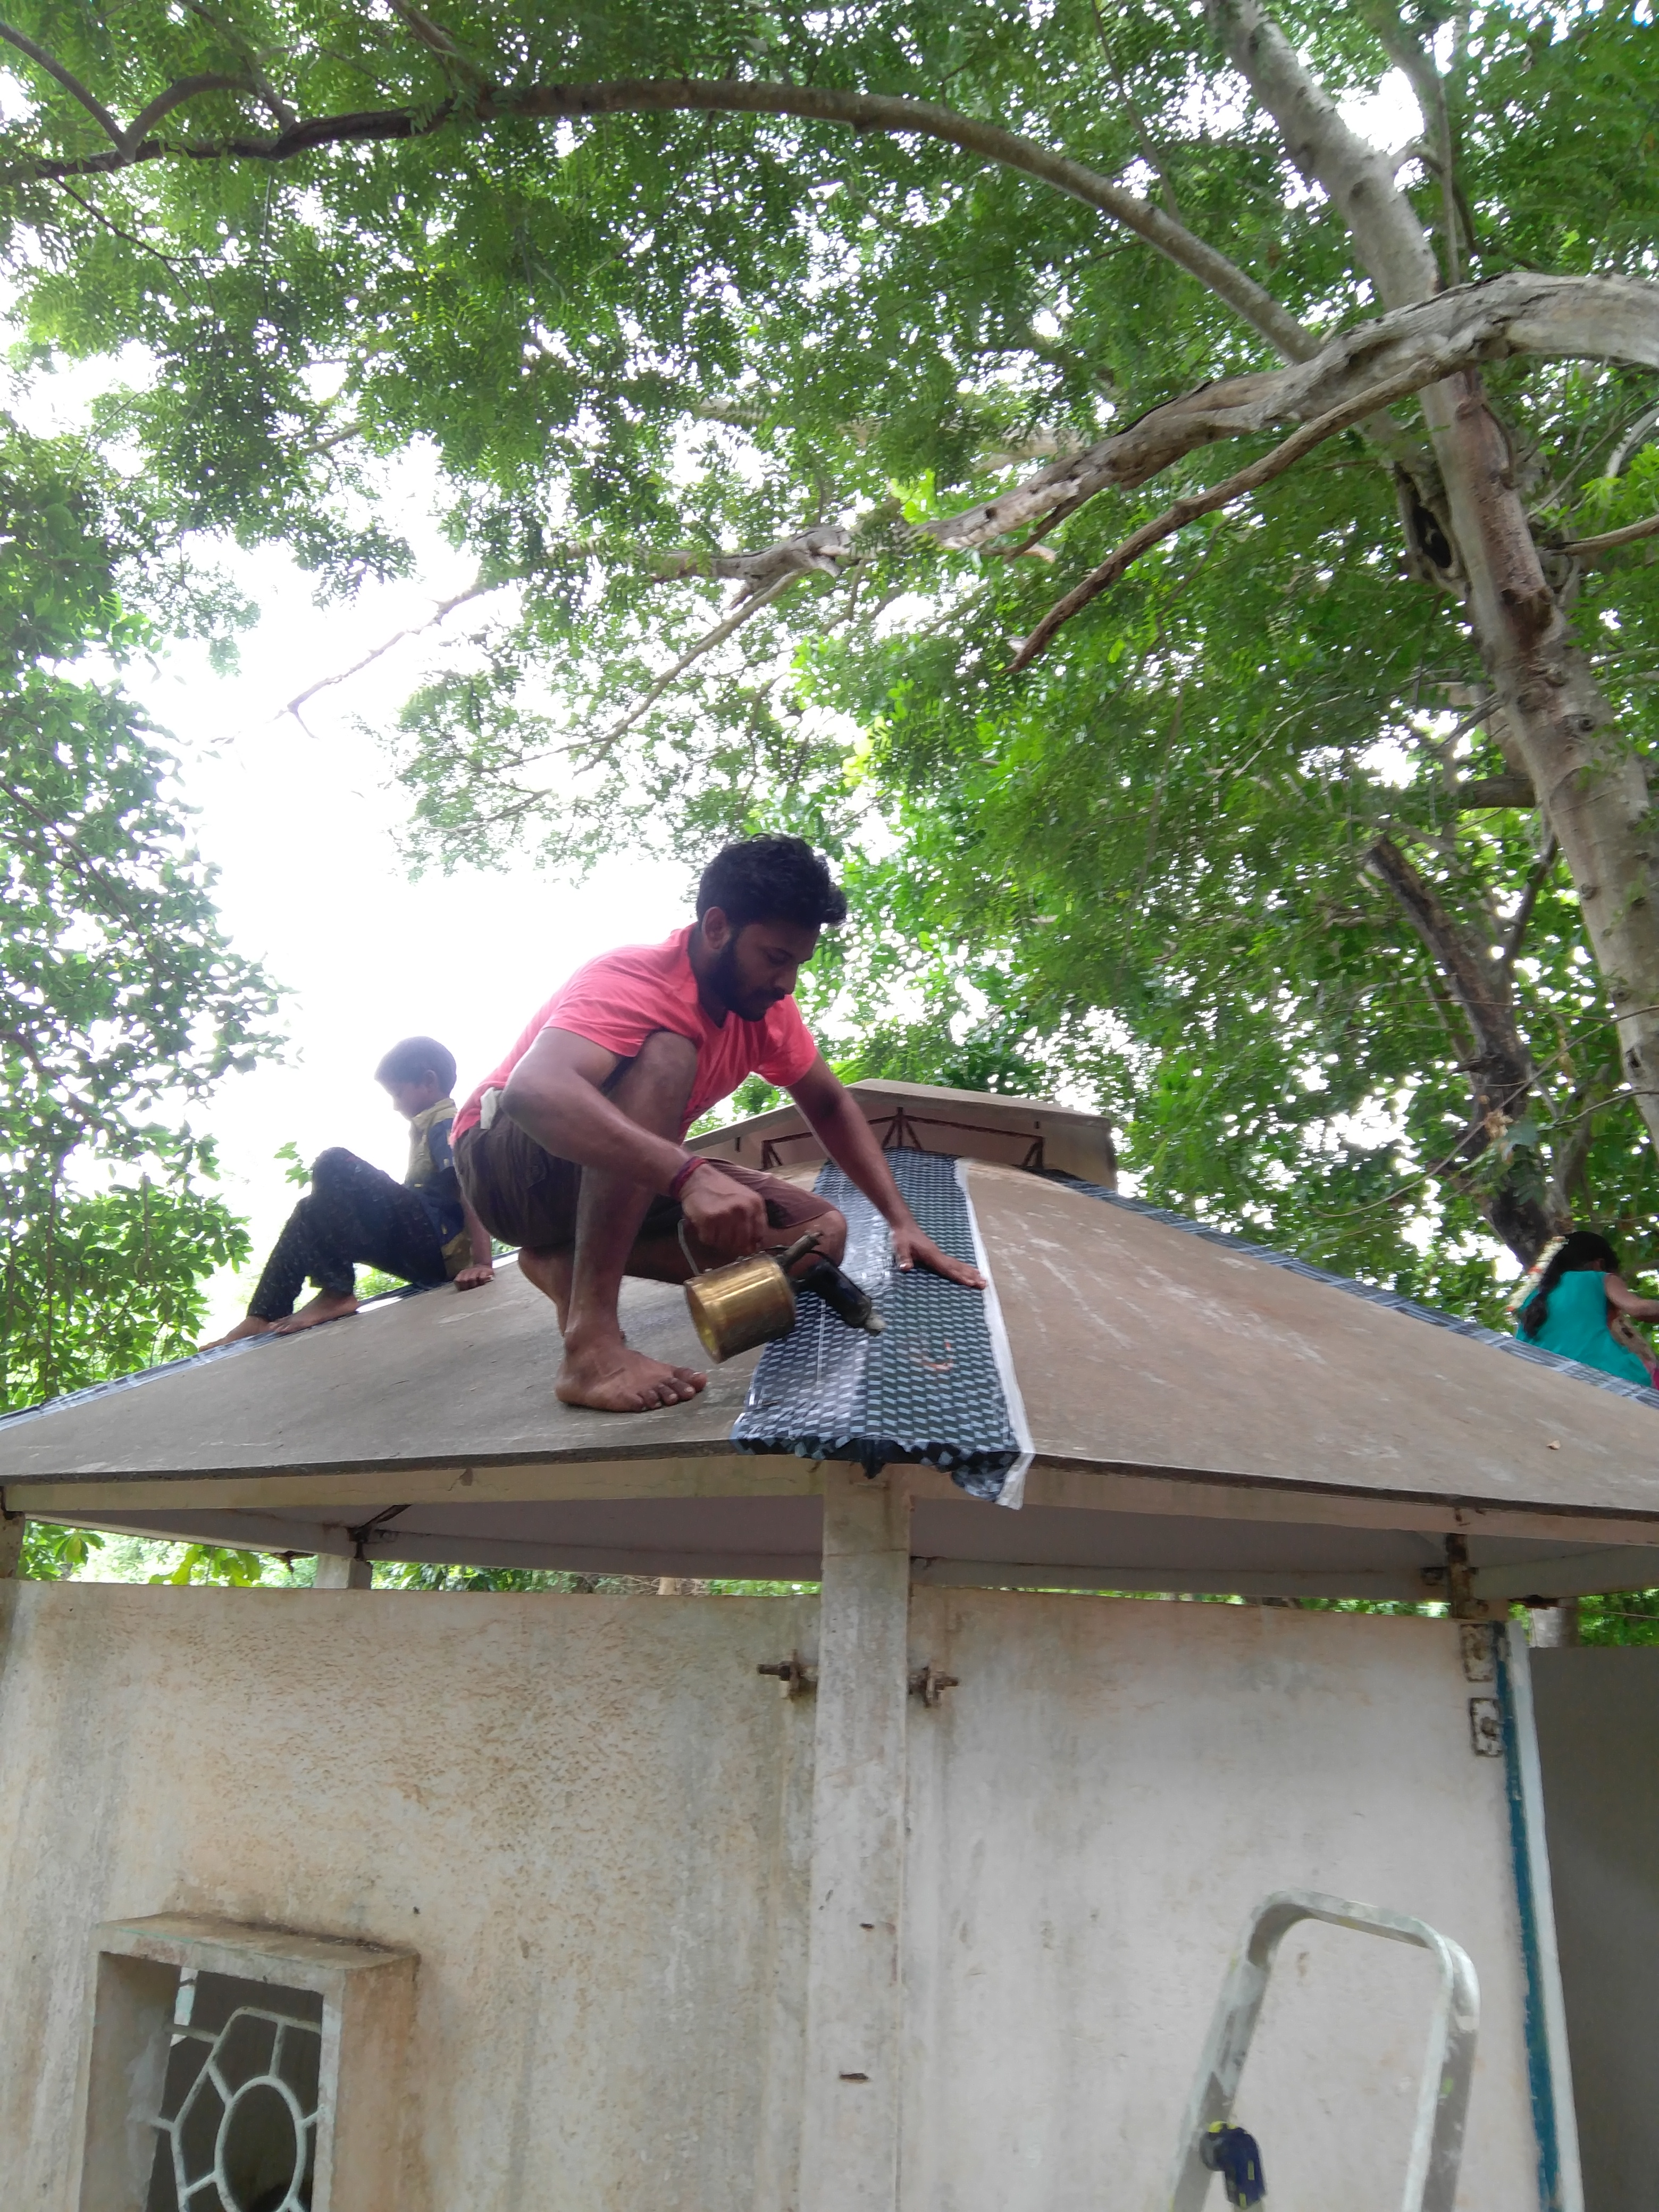
The Roof was built with slabs that were attached together with bindings, and sealed off with some material that had become torn and corroded. Thus making rain water seep in. The solution was covering the cracks with tar sheets. Naveen had got the excess sheets from the repair works at Aura Auro Design’s Lab. He also got a Flame thrower that was antique 😉 (We along with the children had a time figuring out how to light it up) It was a manual tool we had to compress air and it would send out a mixture of kerosene and air that would burn. eventually 🙂 . The children started to measure and cut out the tar sheets from a roll. Naveen and the children placed the sheets and heated them to stick on the roof with the flame thrower.
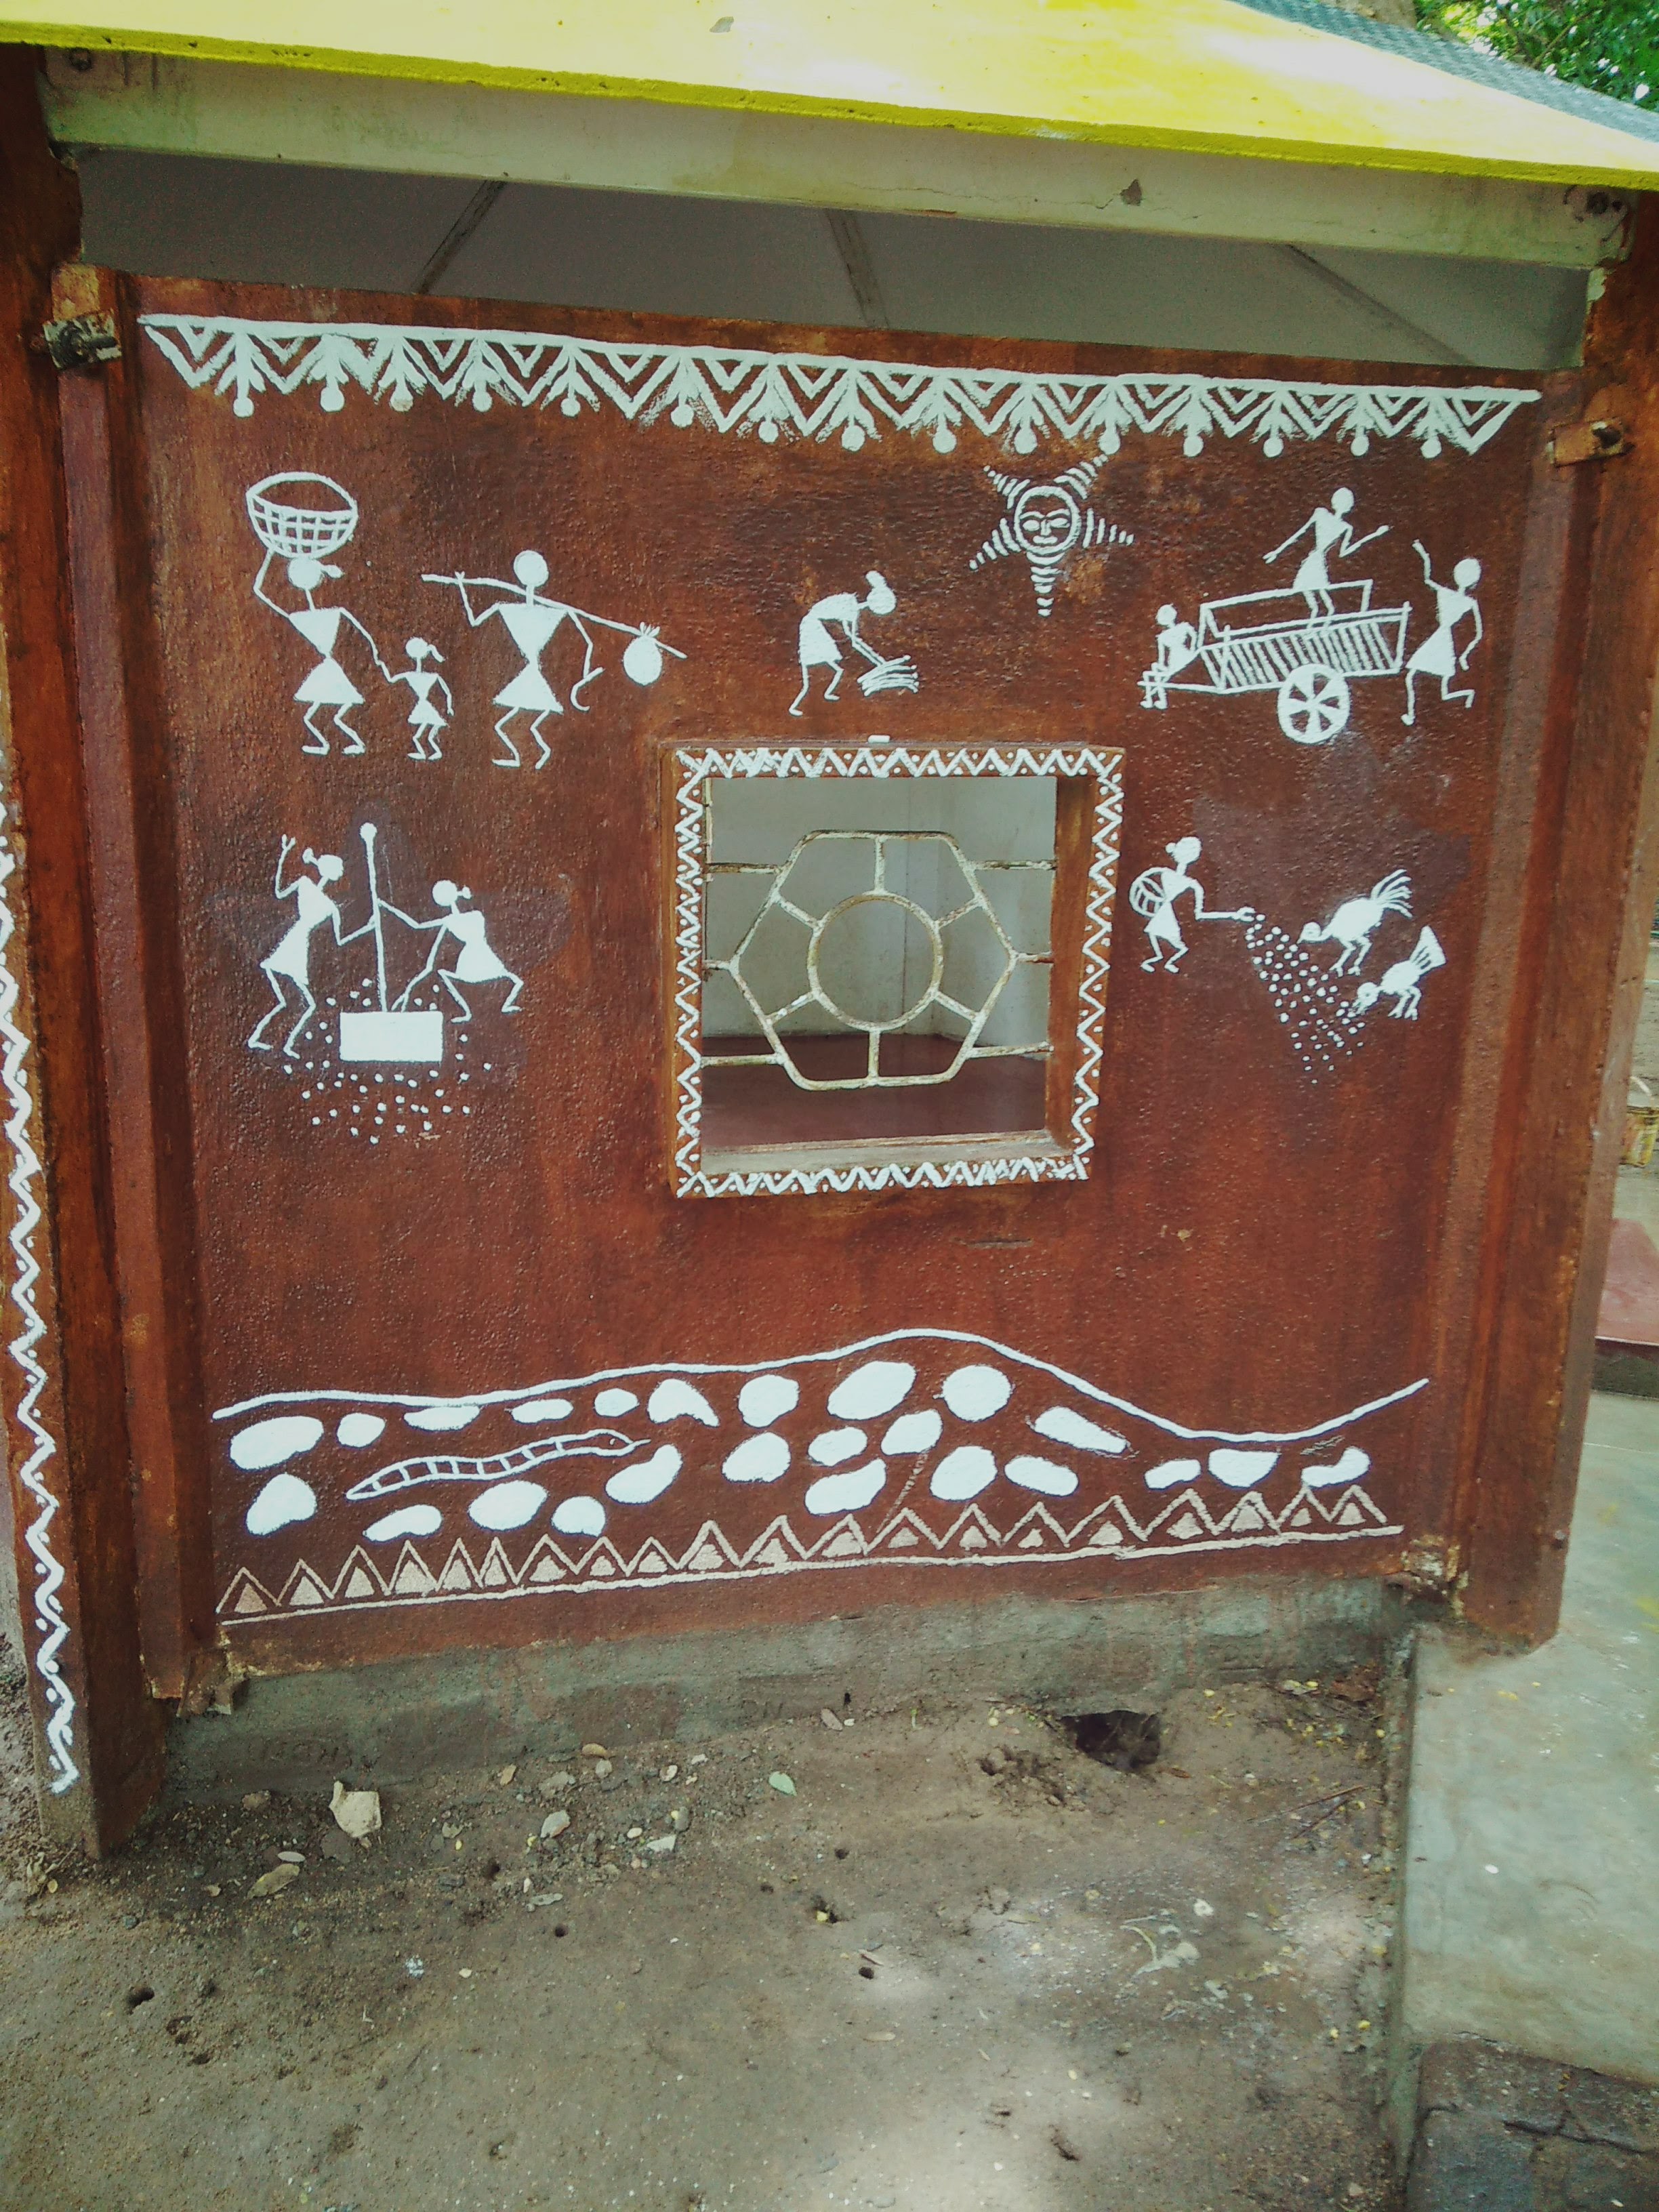
We hope this will prevent rain water from seeping in. The roof was then painted with a bright yellow oil paint. We bought 6 liters of oil paint. Children started painting during their sleepover. It took two evenings to paint 2 coat of painting on the roof.

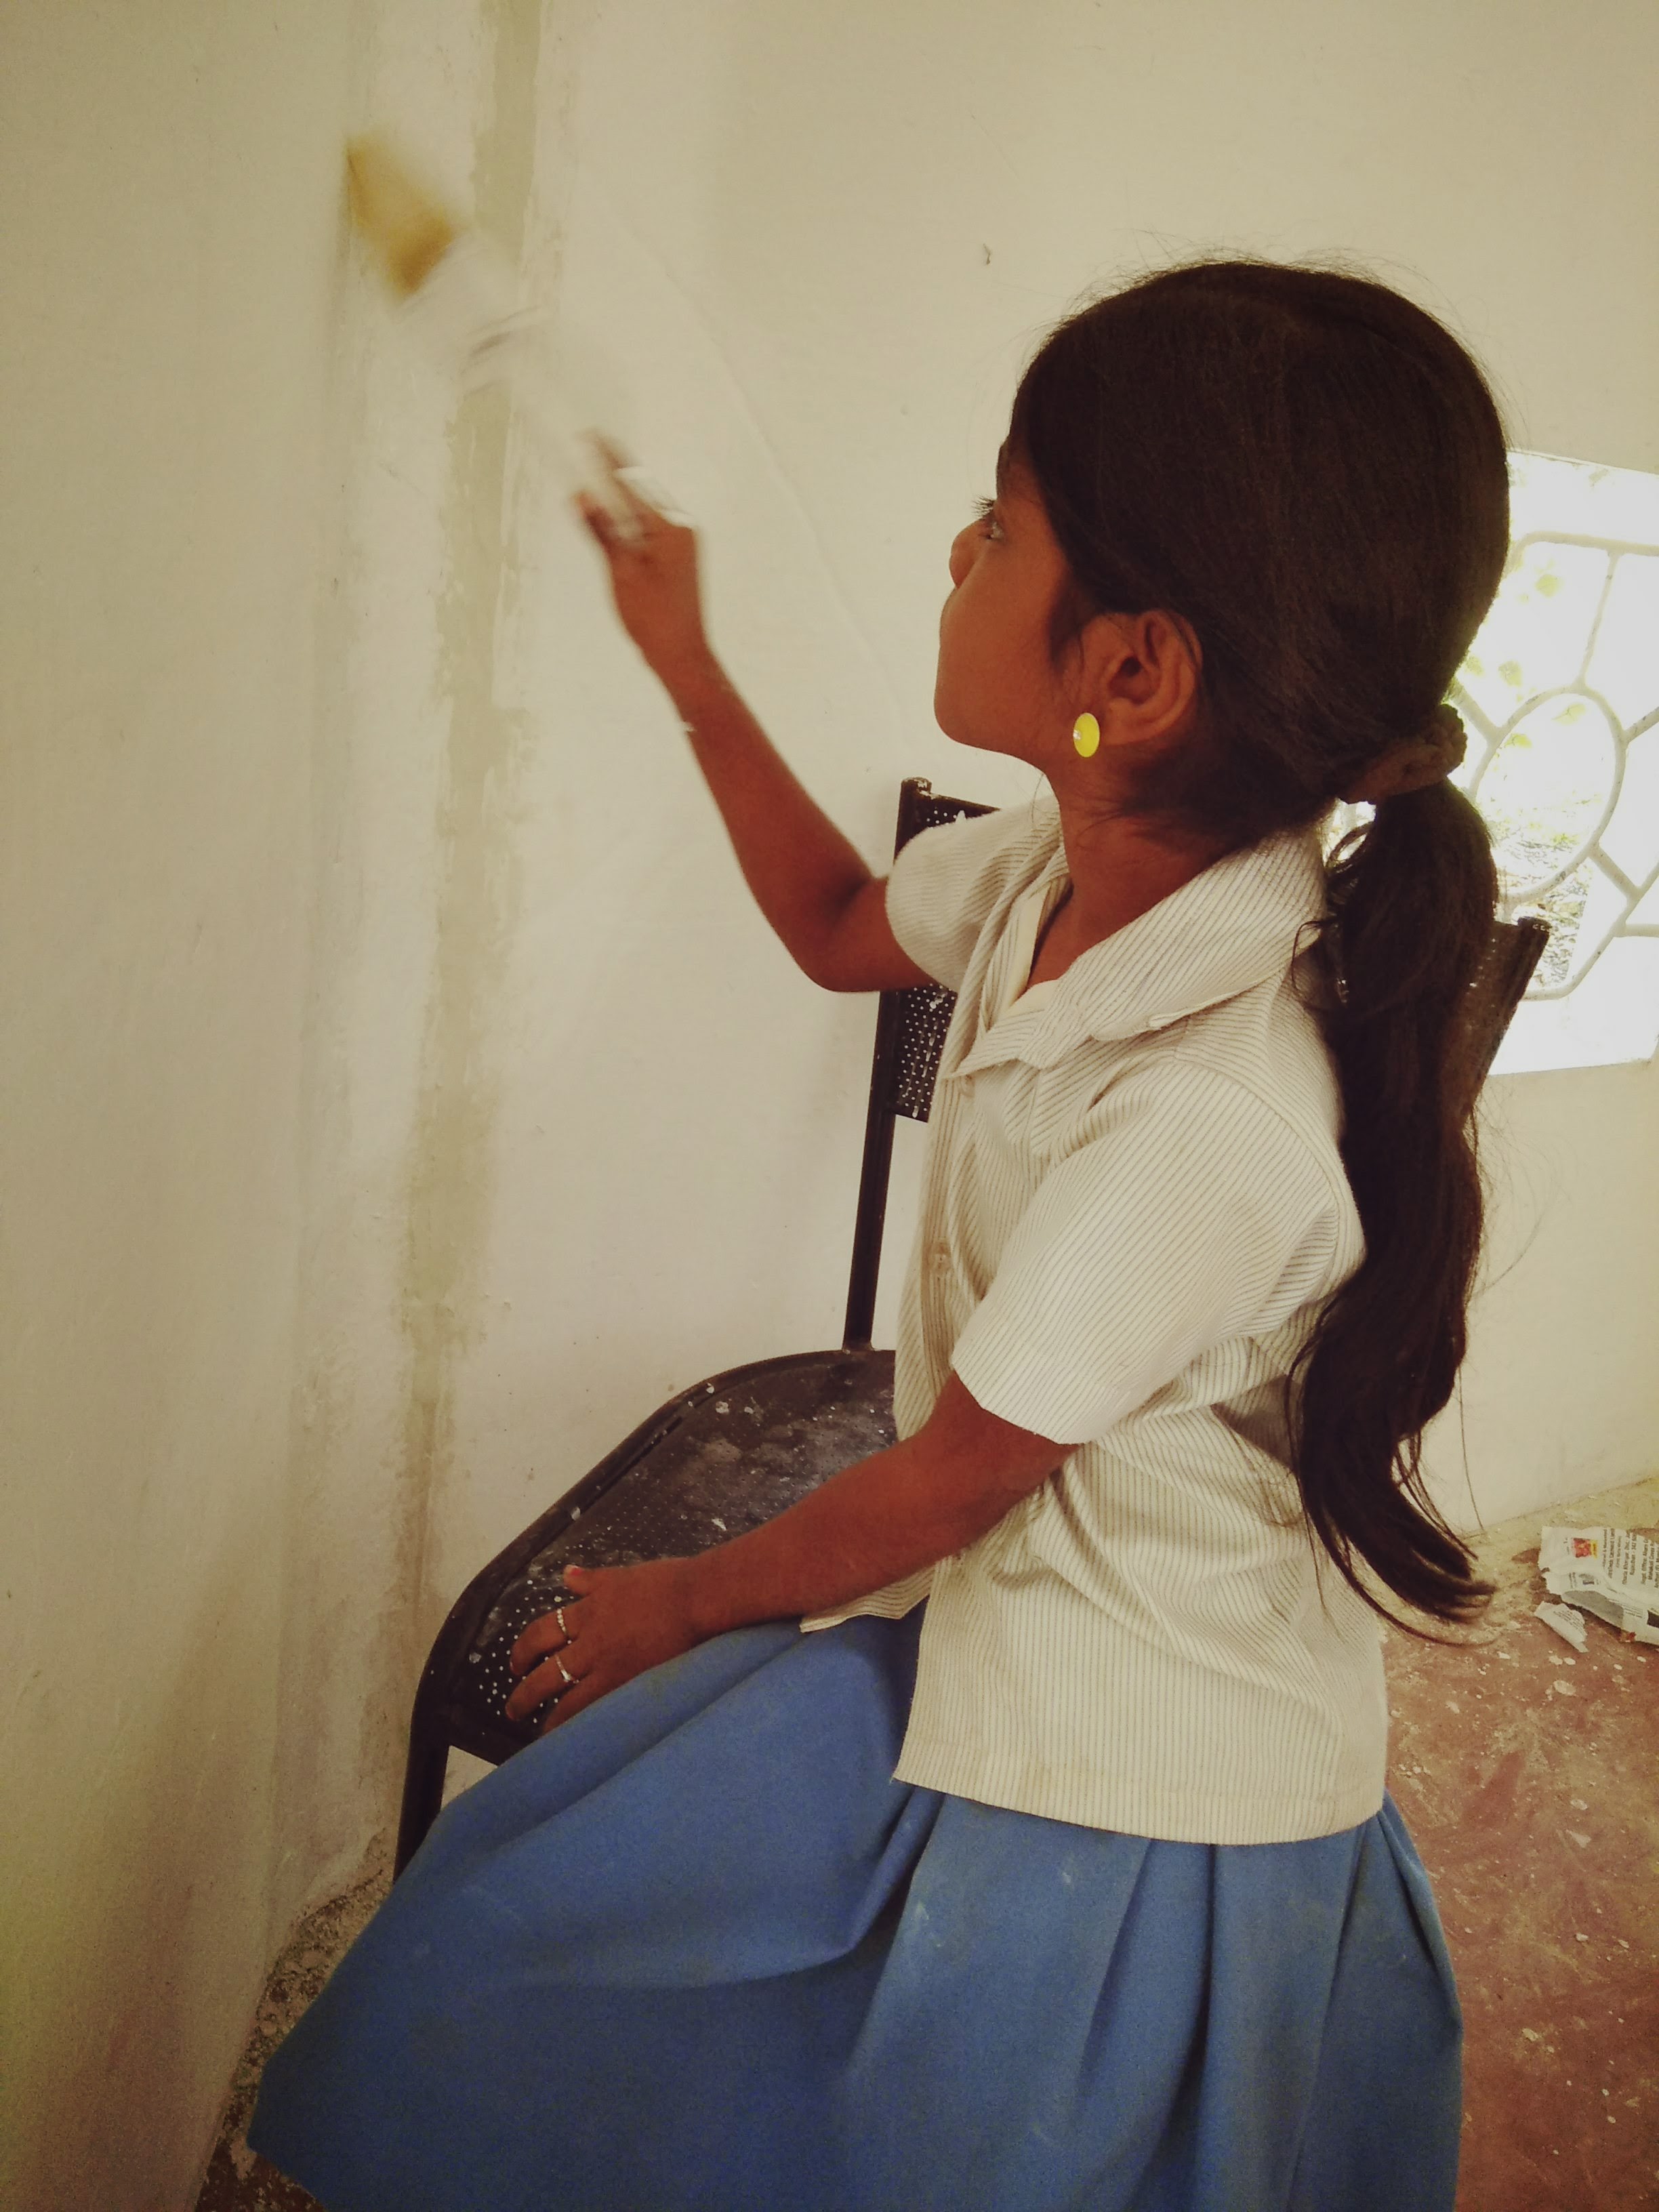
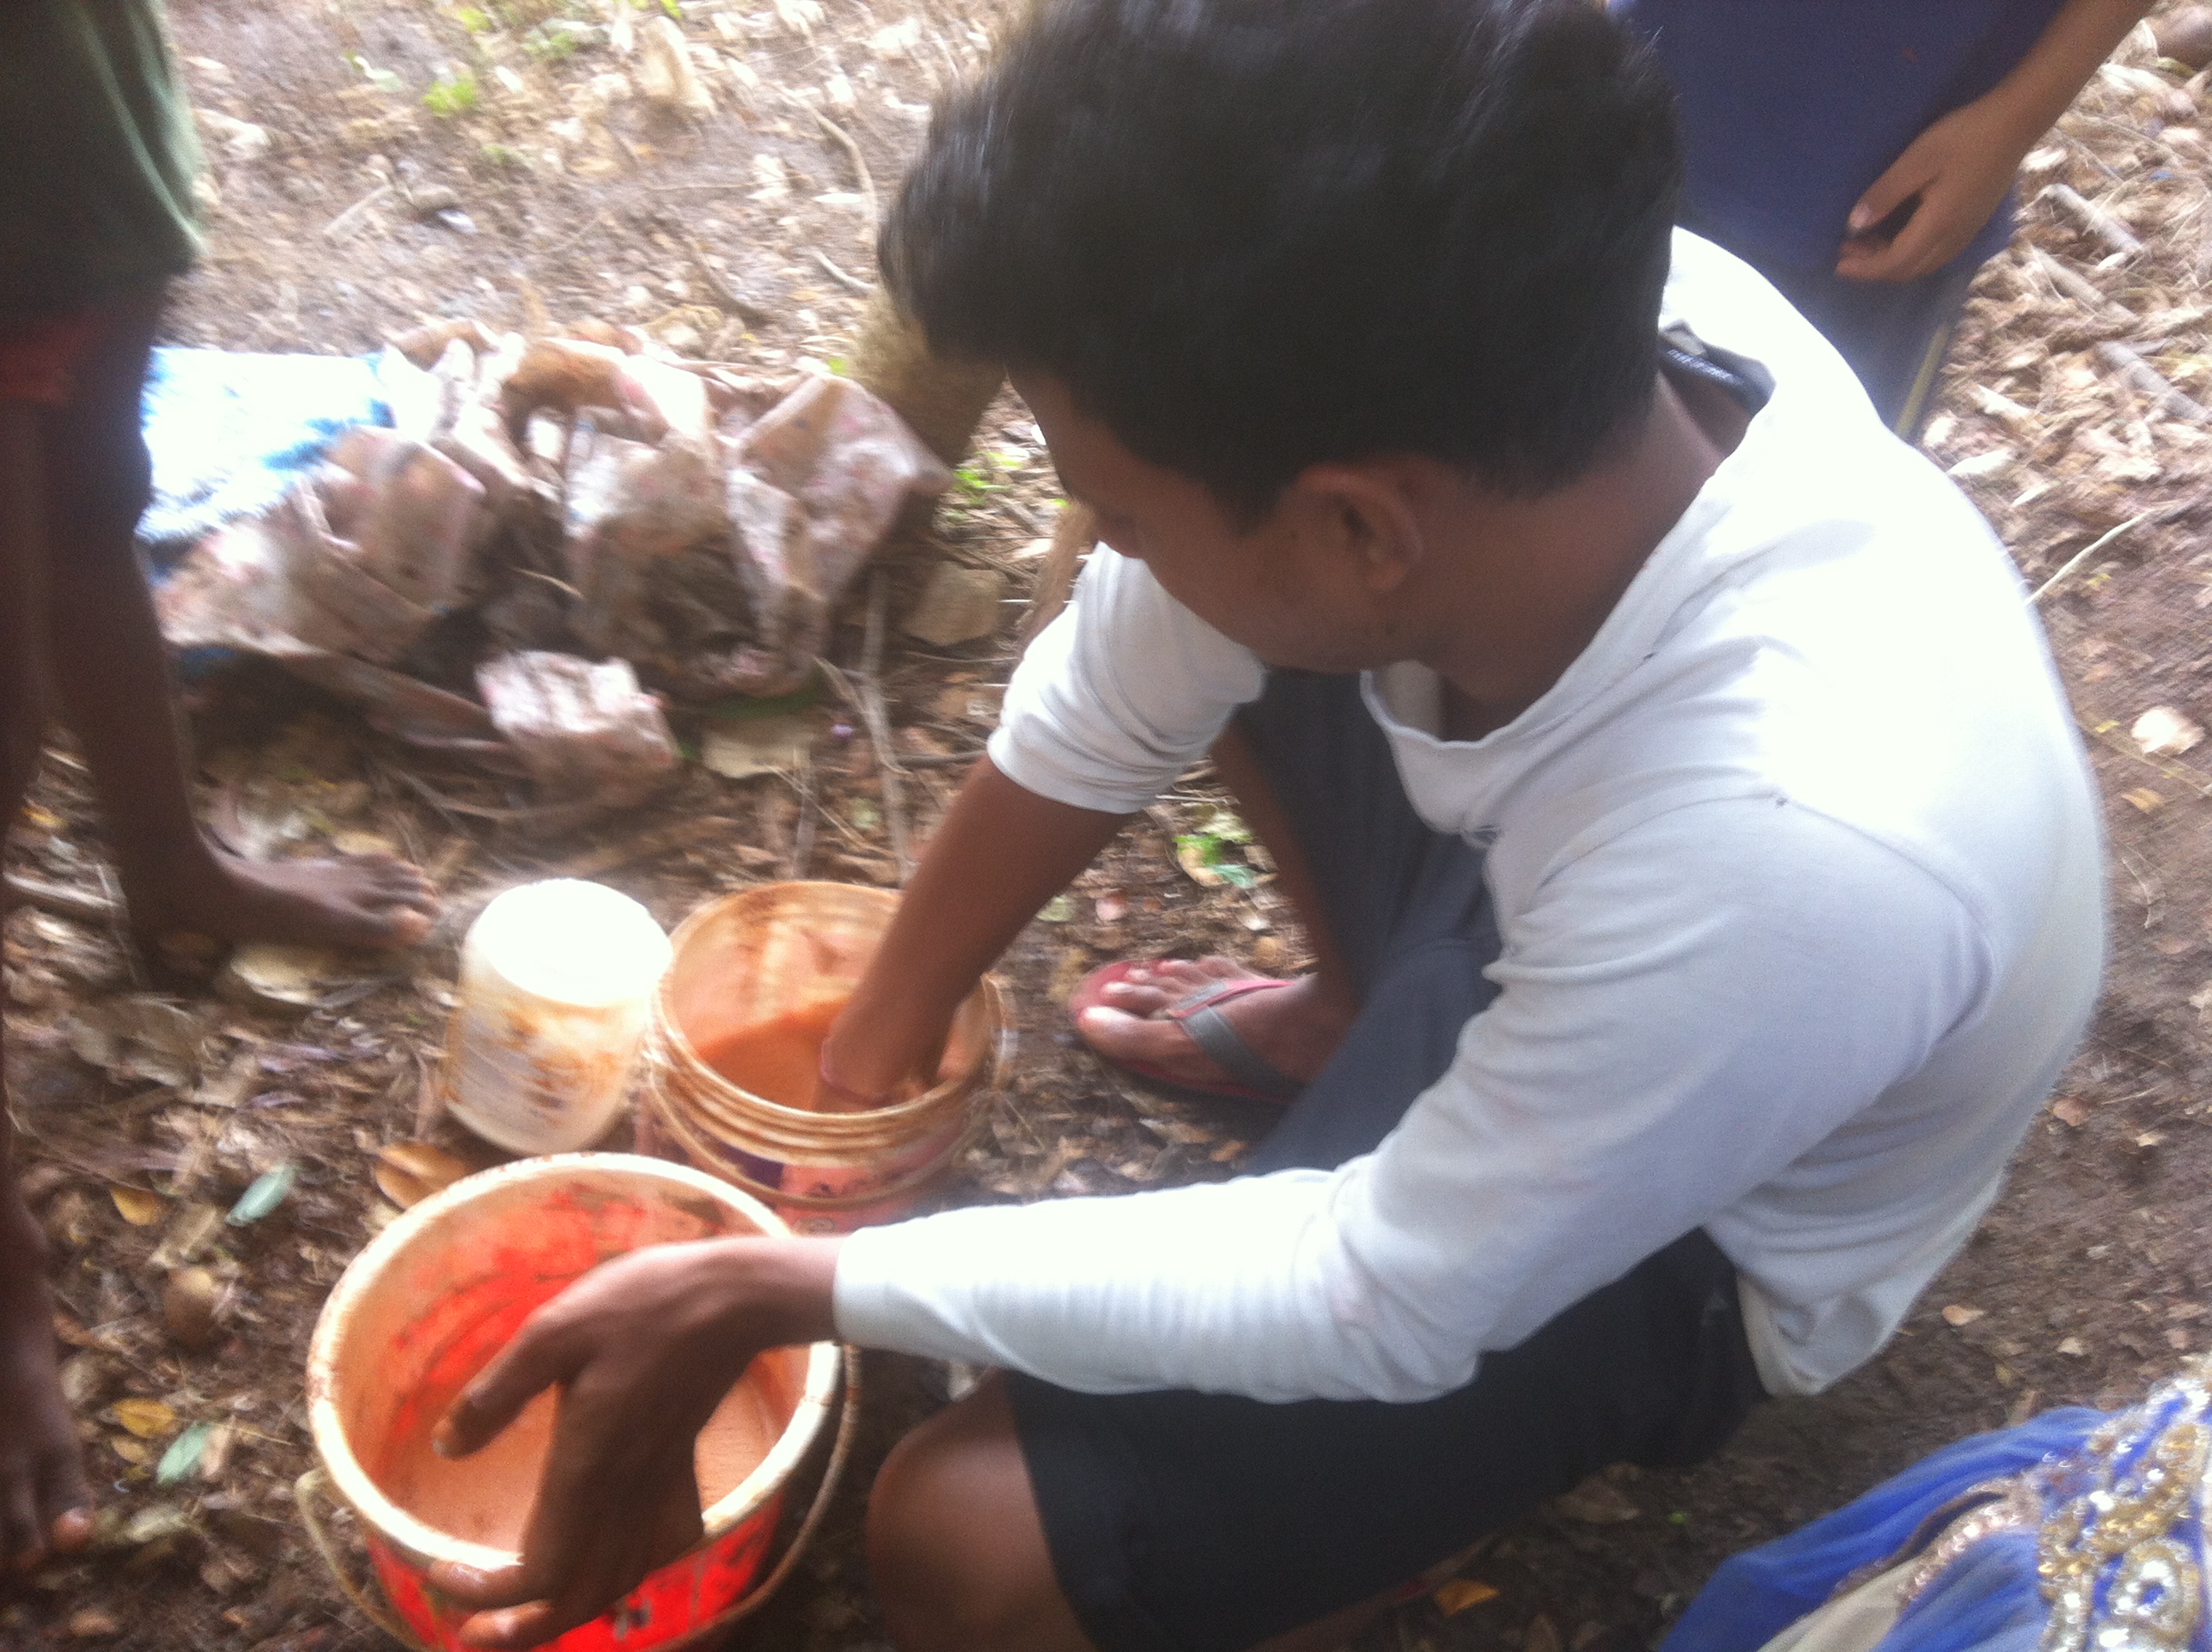
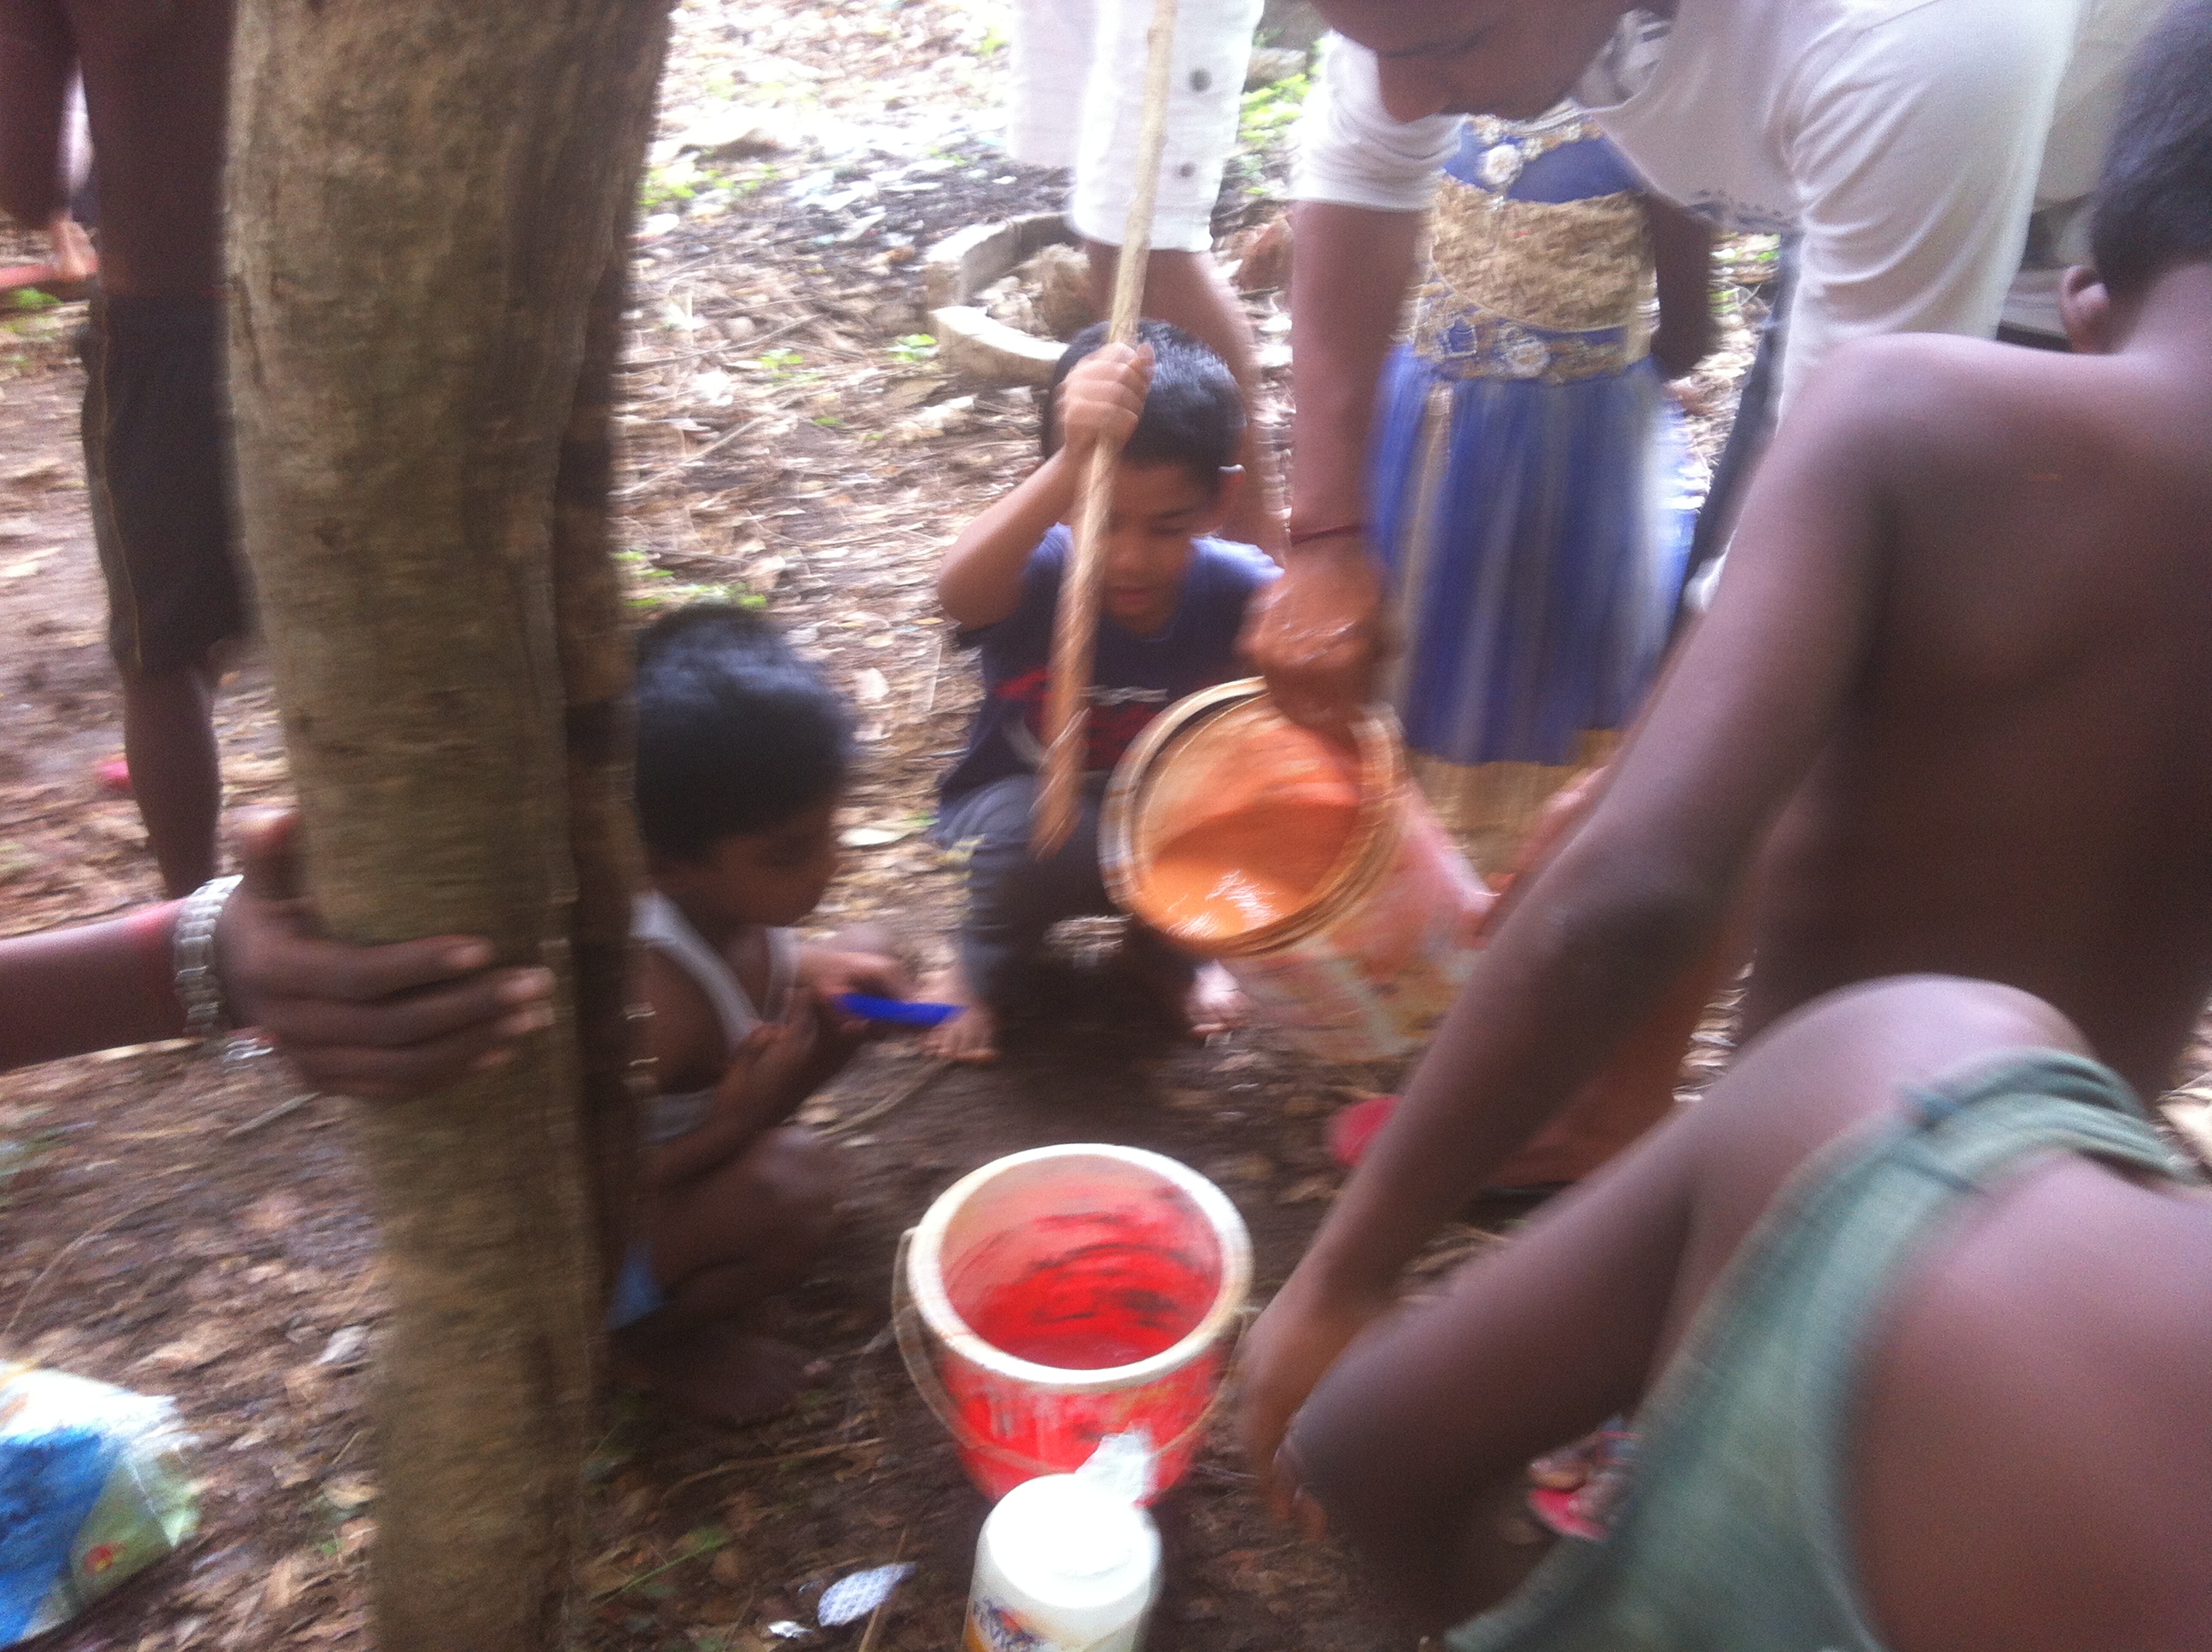
Painting Inside:
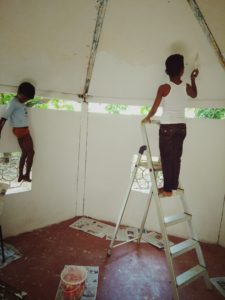
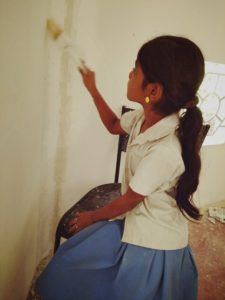
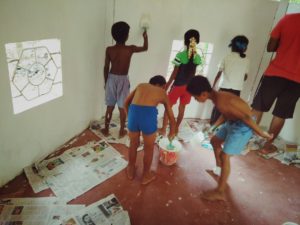
Inside:
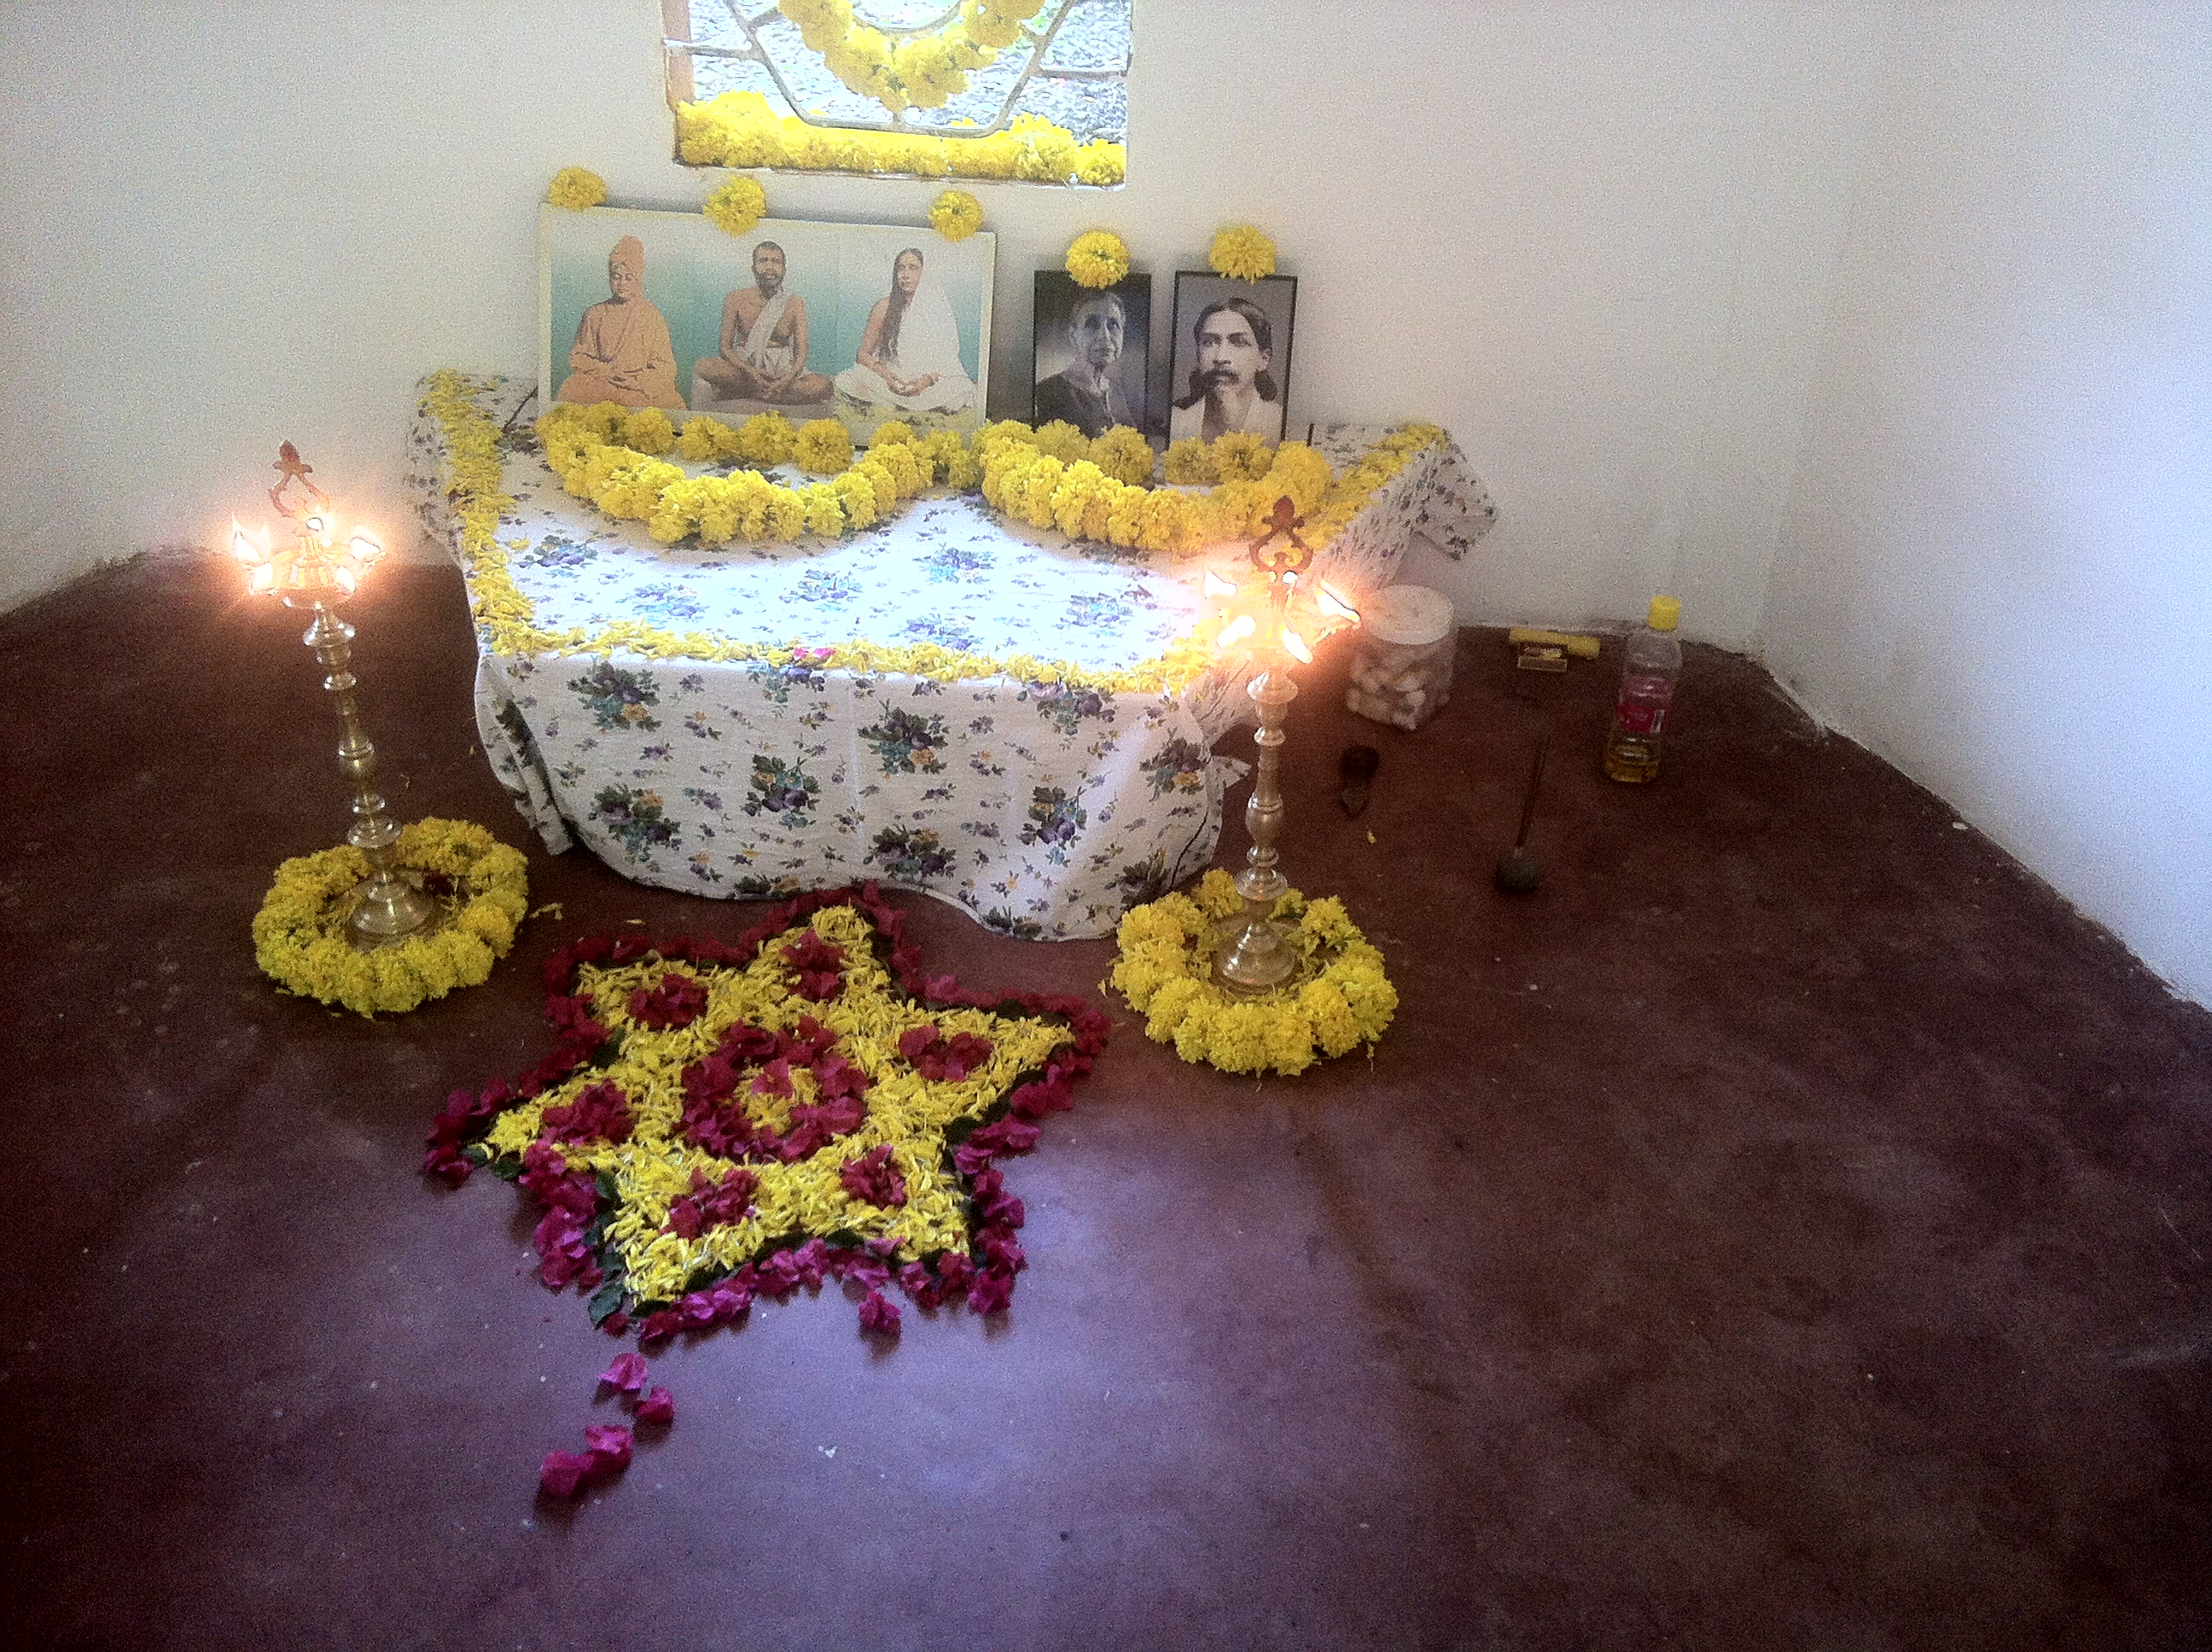
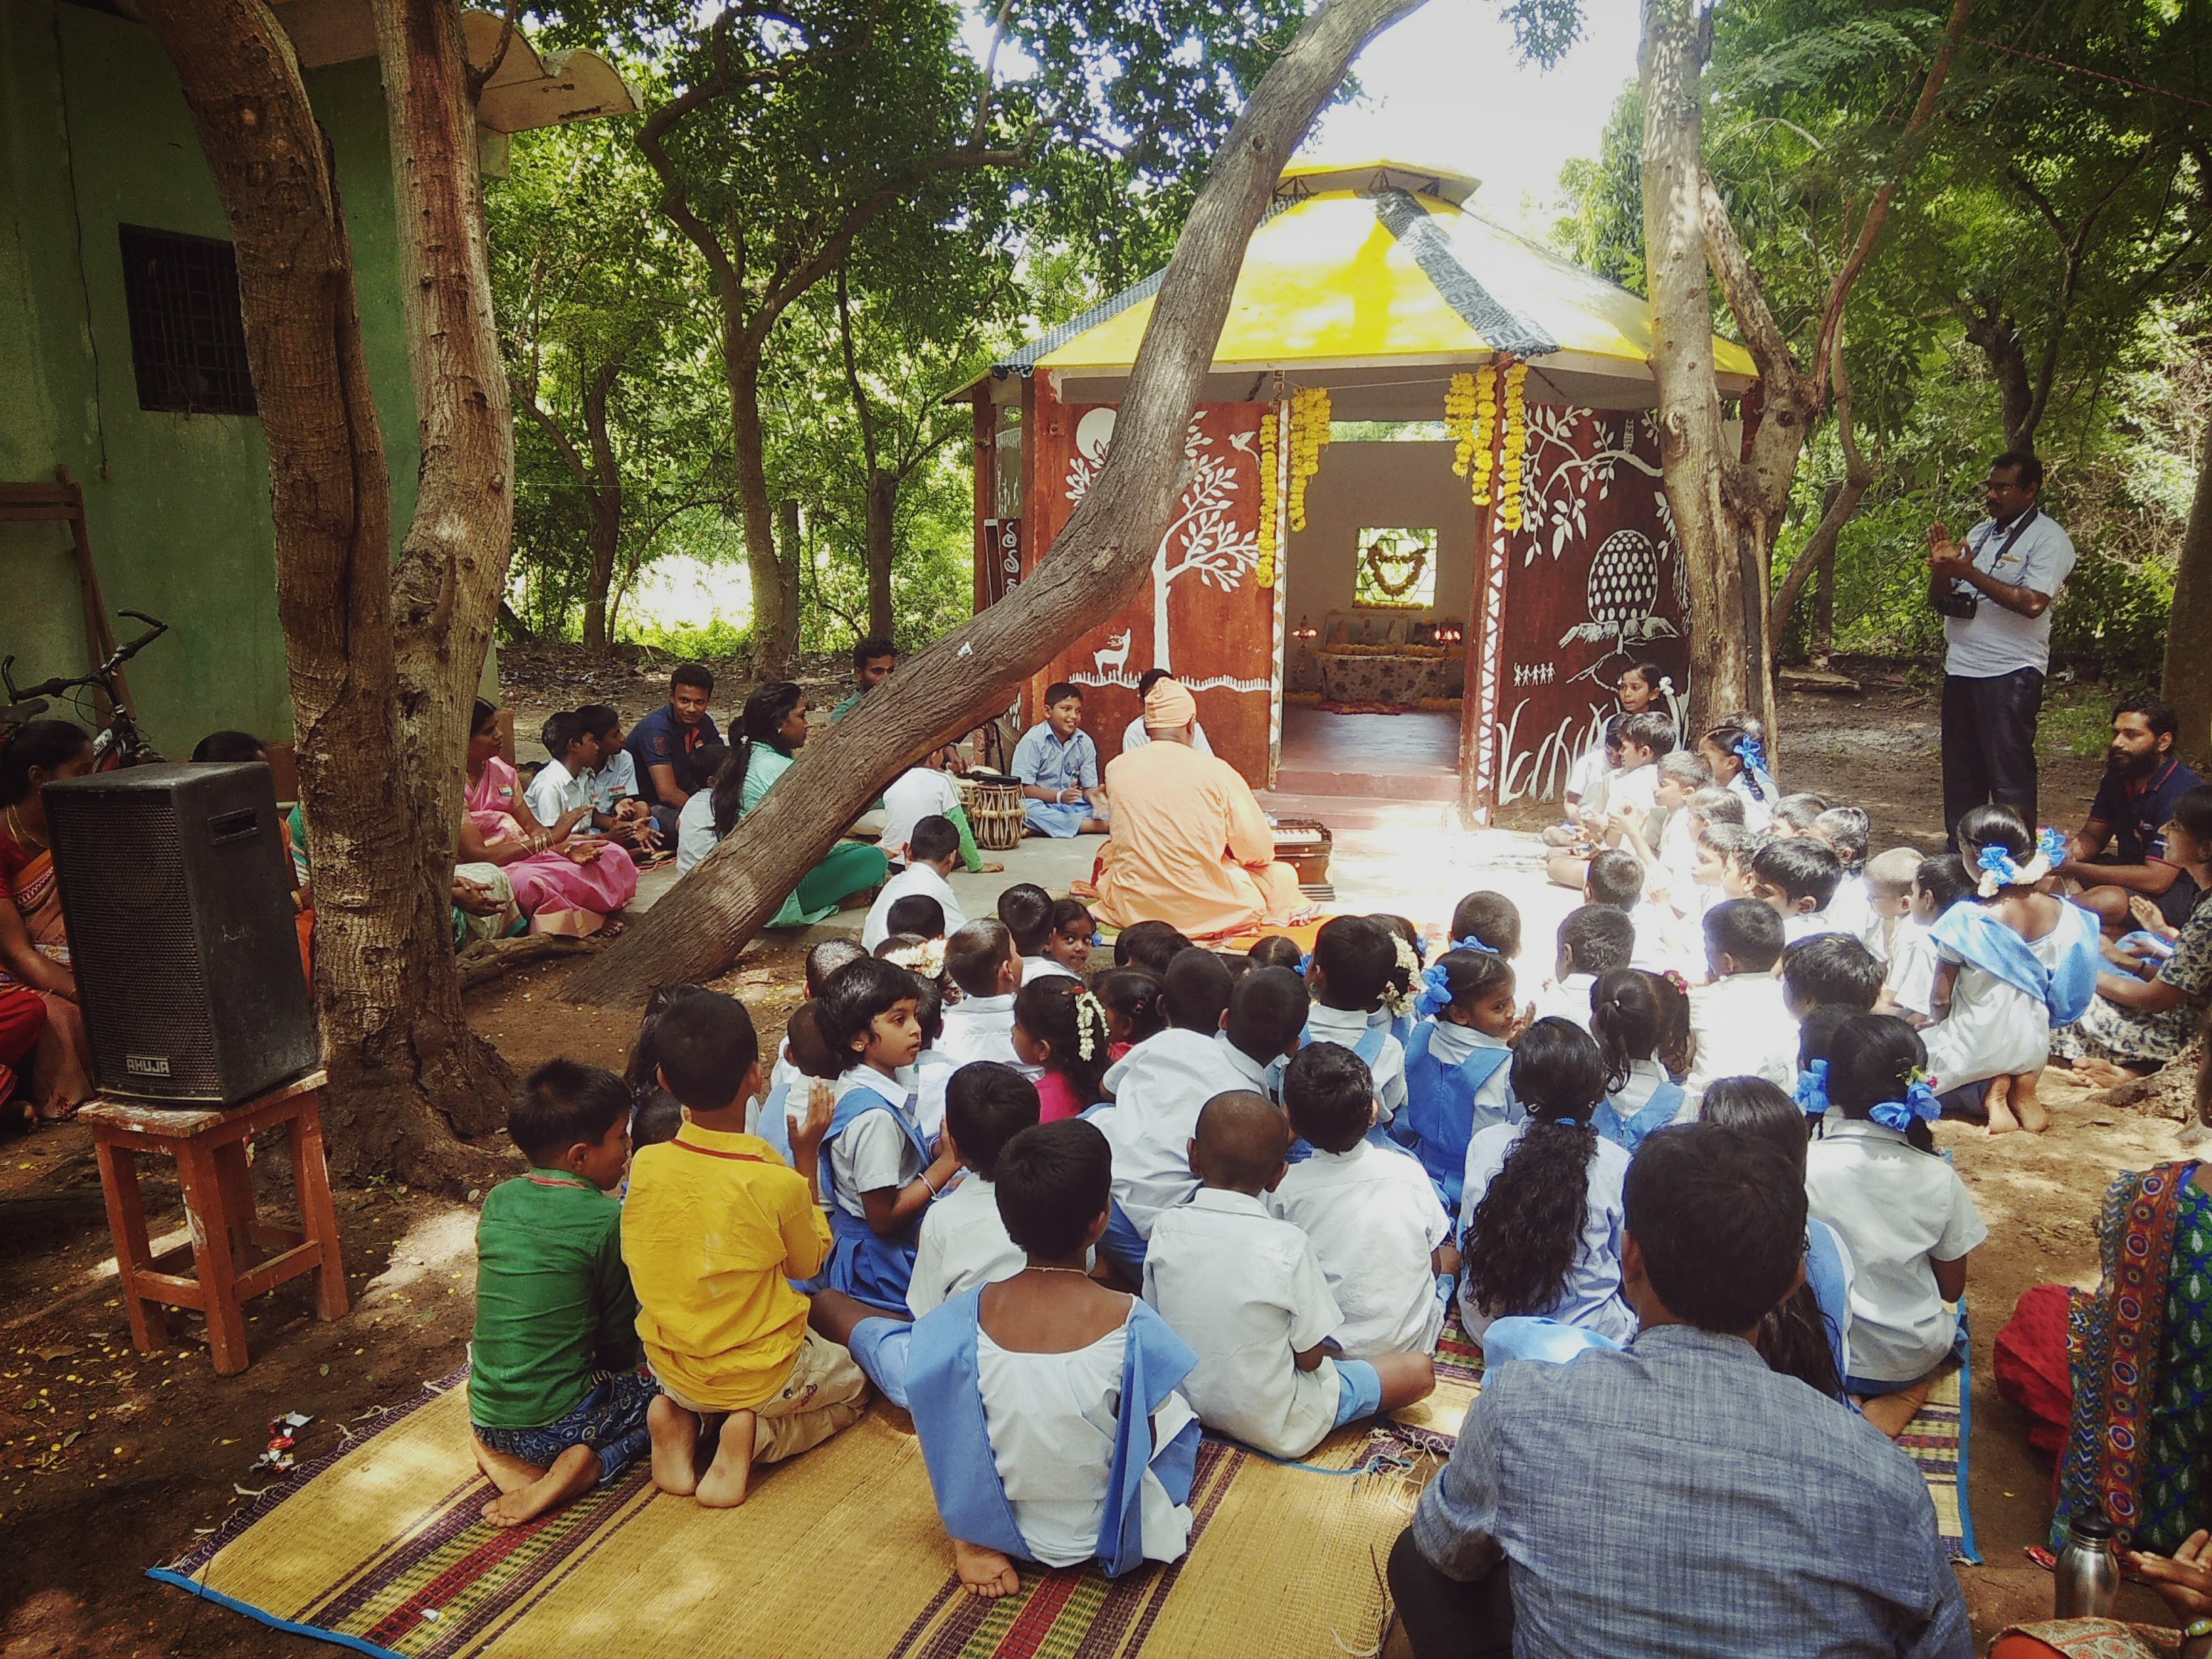
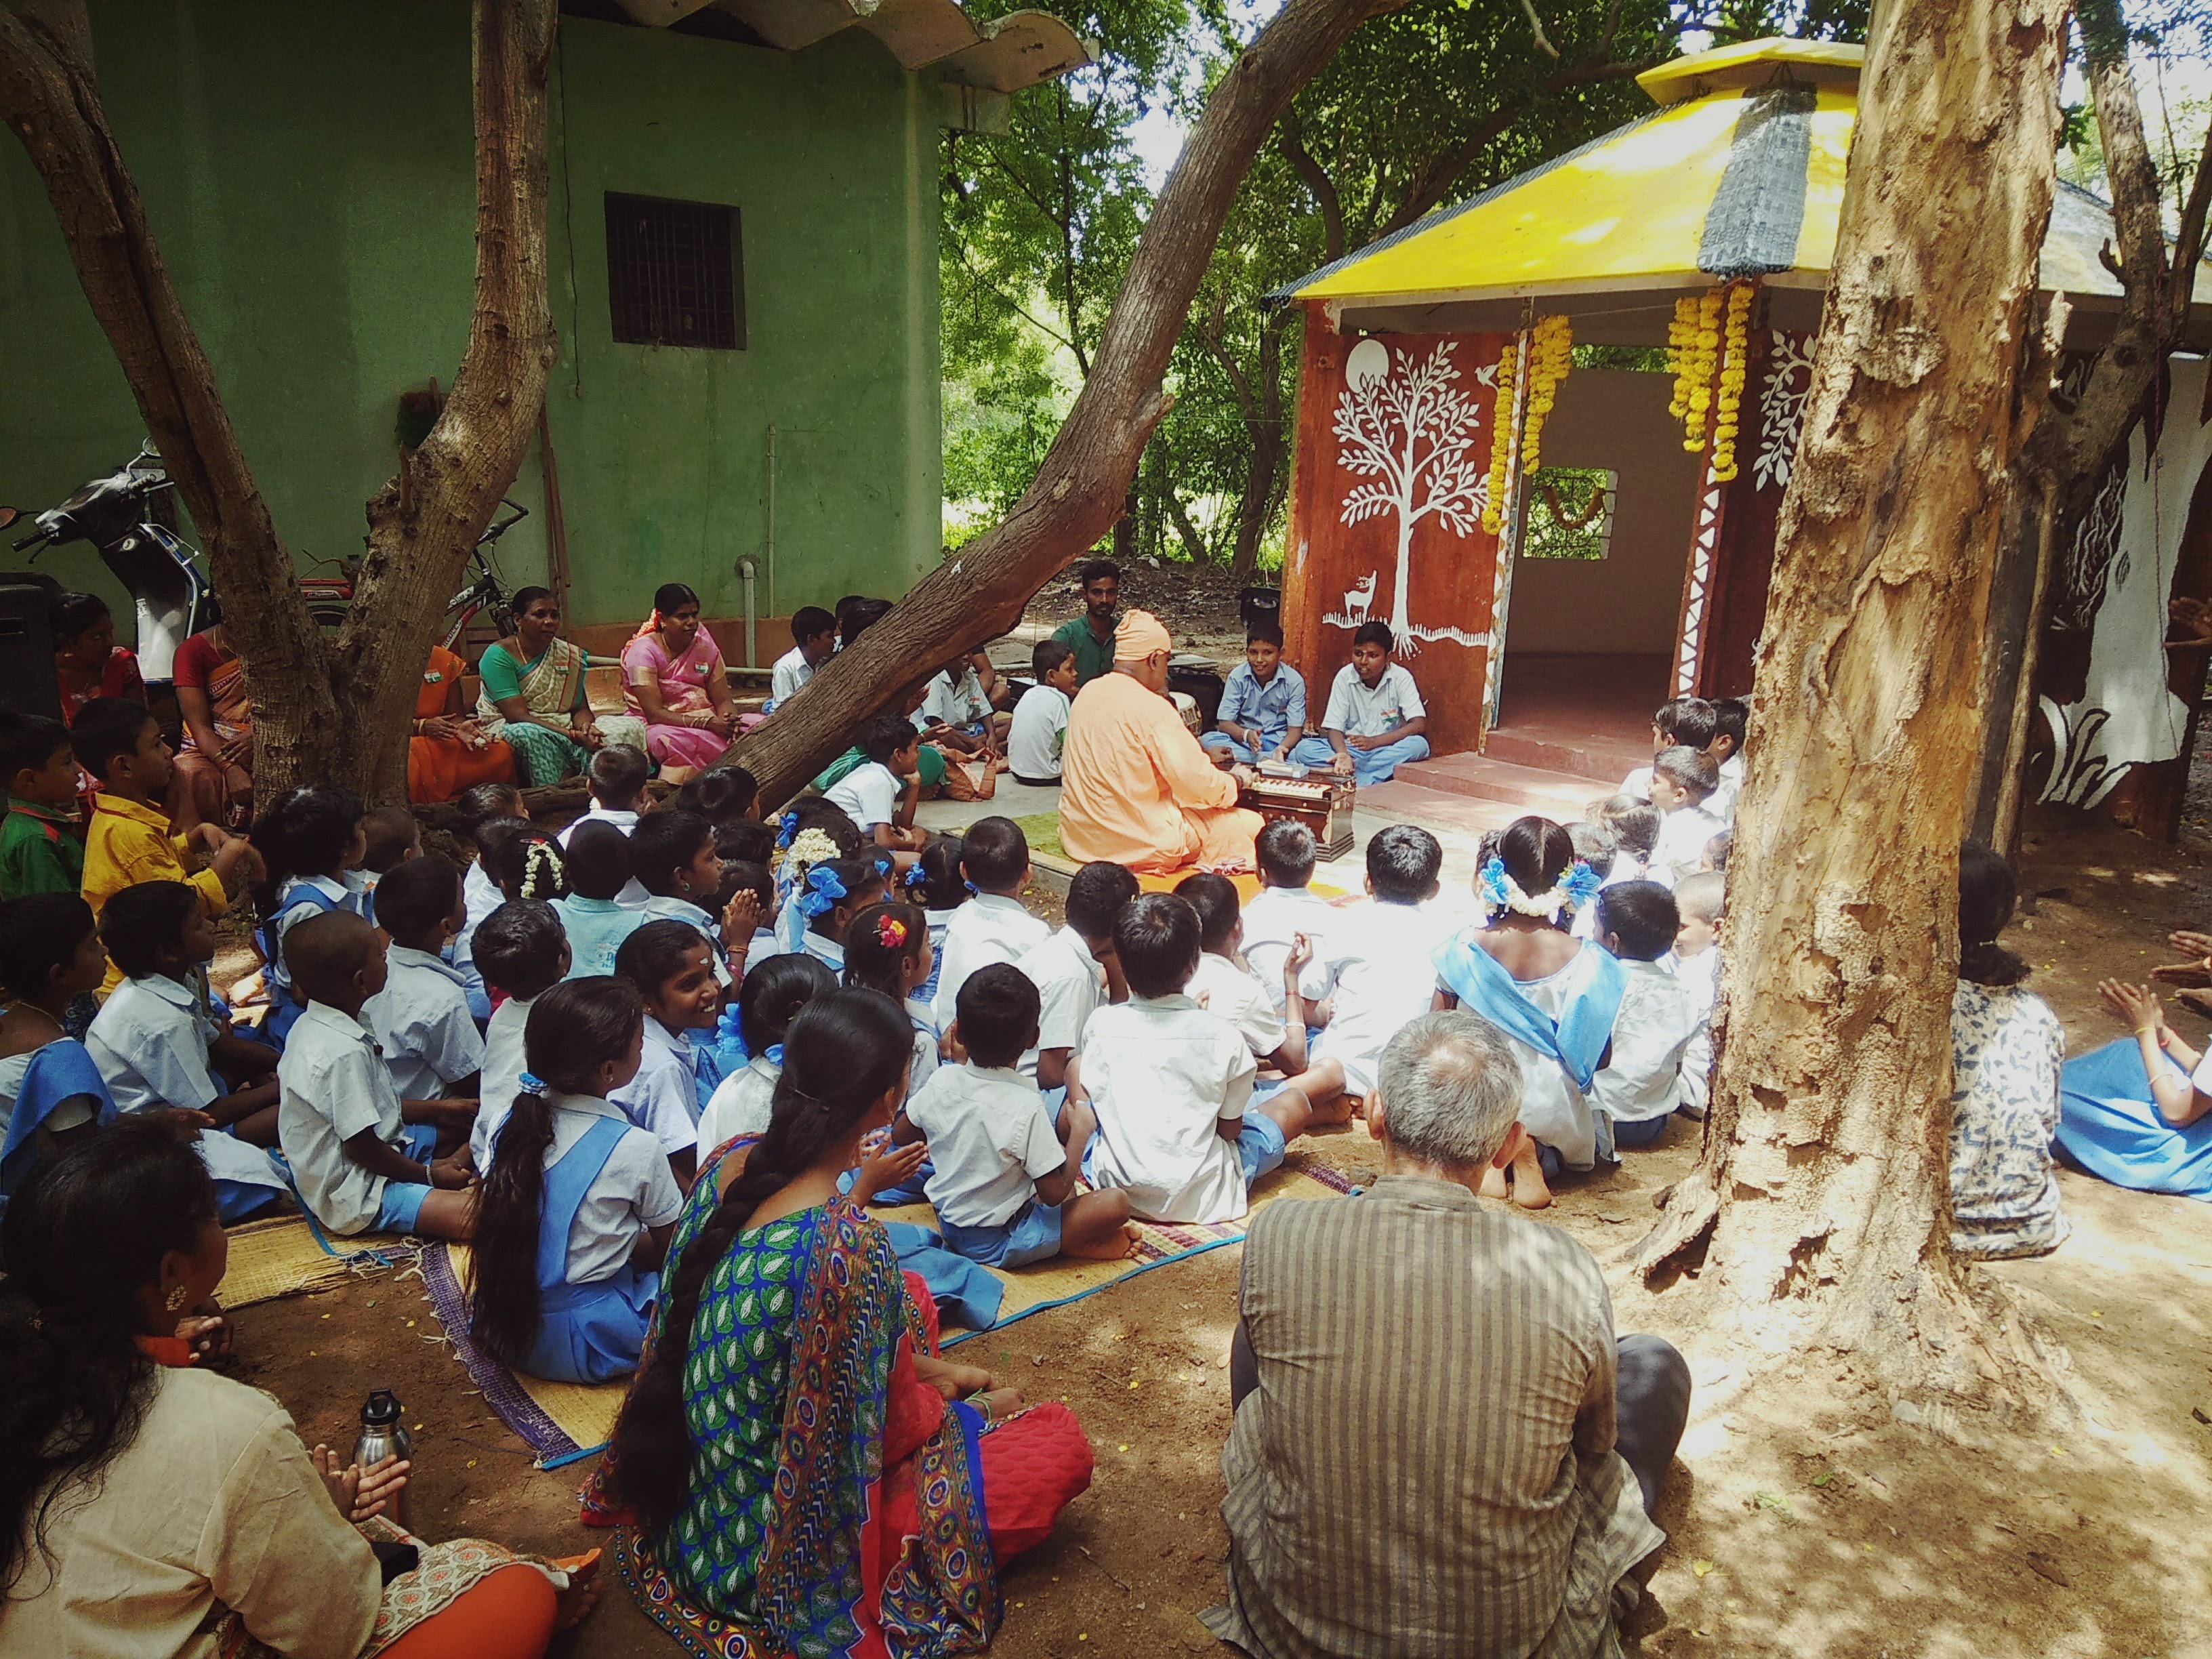
The room was now ready to be inaugurated on Sri Aurobindo’s birthday. We had as our chief guest, Swami Sarvasahananda from Ramakrishna Mission, Chengalpattu. He graced our space with his blessings, talk and music. That morning the school was abuzz with activity. Children had stayed over the previous night to participate in the dawnfire meditation. When we came from there, we were working on decorating the clay room. Garlands were made, photos of Sri Aurobindo, Mother, Sri Ramakrishna, Sarada Devi and Swami Vivekananda were decorated. Lamps were kept ready for the opening. Children with help from their teachers got the PA system ready. The harmonium and tabla were arranged. Gopal from Mantra pottery joined us that morning to do clay work. It was a session that children and adults enjoyed. The Swamiji lit the lamp and invited the teachers to do the same. Once the lamps were lit, we all connected with the Divine Mother through songs that the Swamiji and children sang. For those who could remember how forlorn the room had been, it was touching to see how the same little room was shining with all of us invoking the Divine.


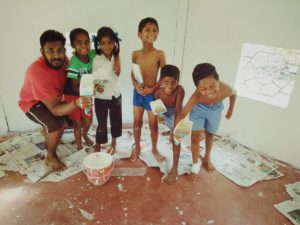
As one of the facilitators in creating our clay room, I witnessed the transformation of a space we had neglected over the years into a bright space that we look at every day. That we can transform our environment with one-pointed concentration, team-work, openness to learn, consecration of our work to the Divine are learnings that will stay with us and reveal themselves to us as and when we are ready to understand them.
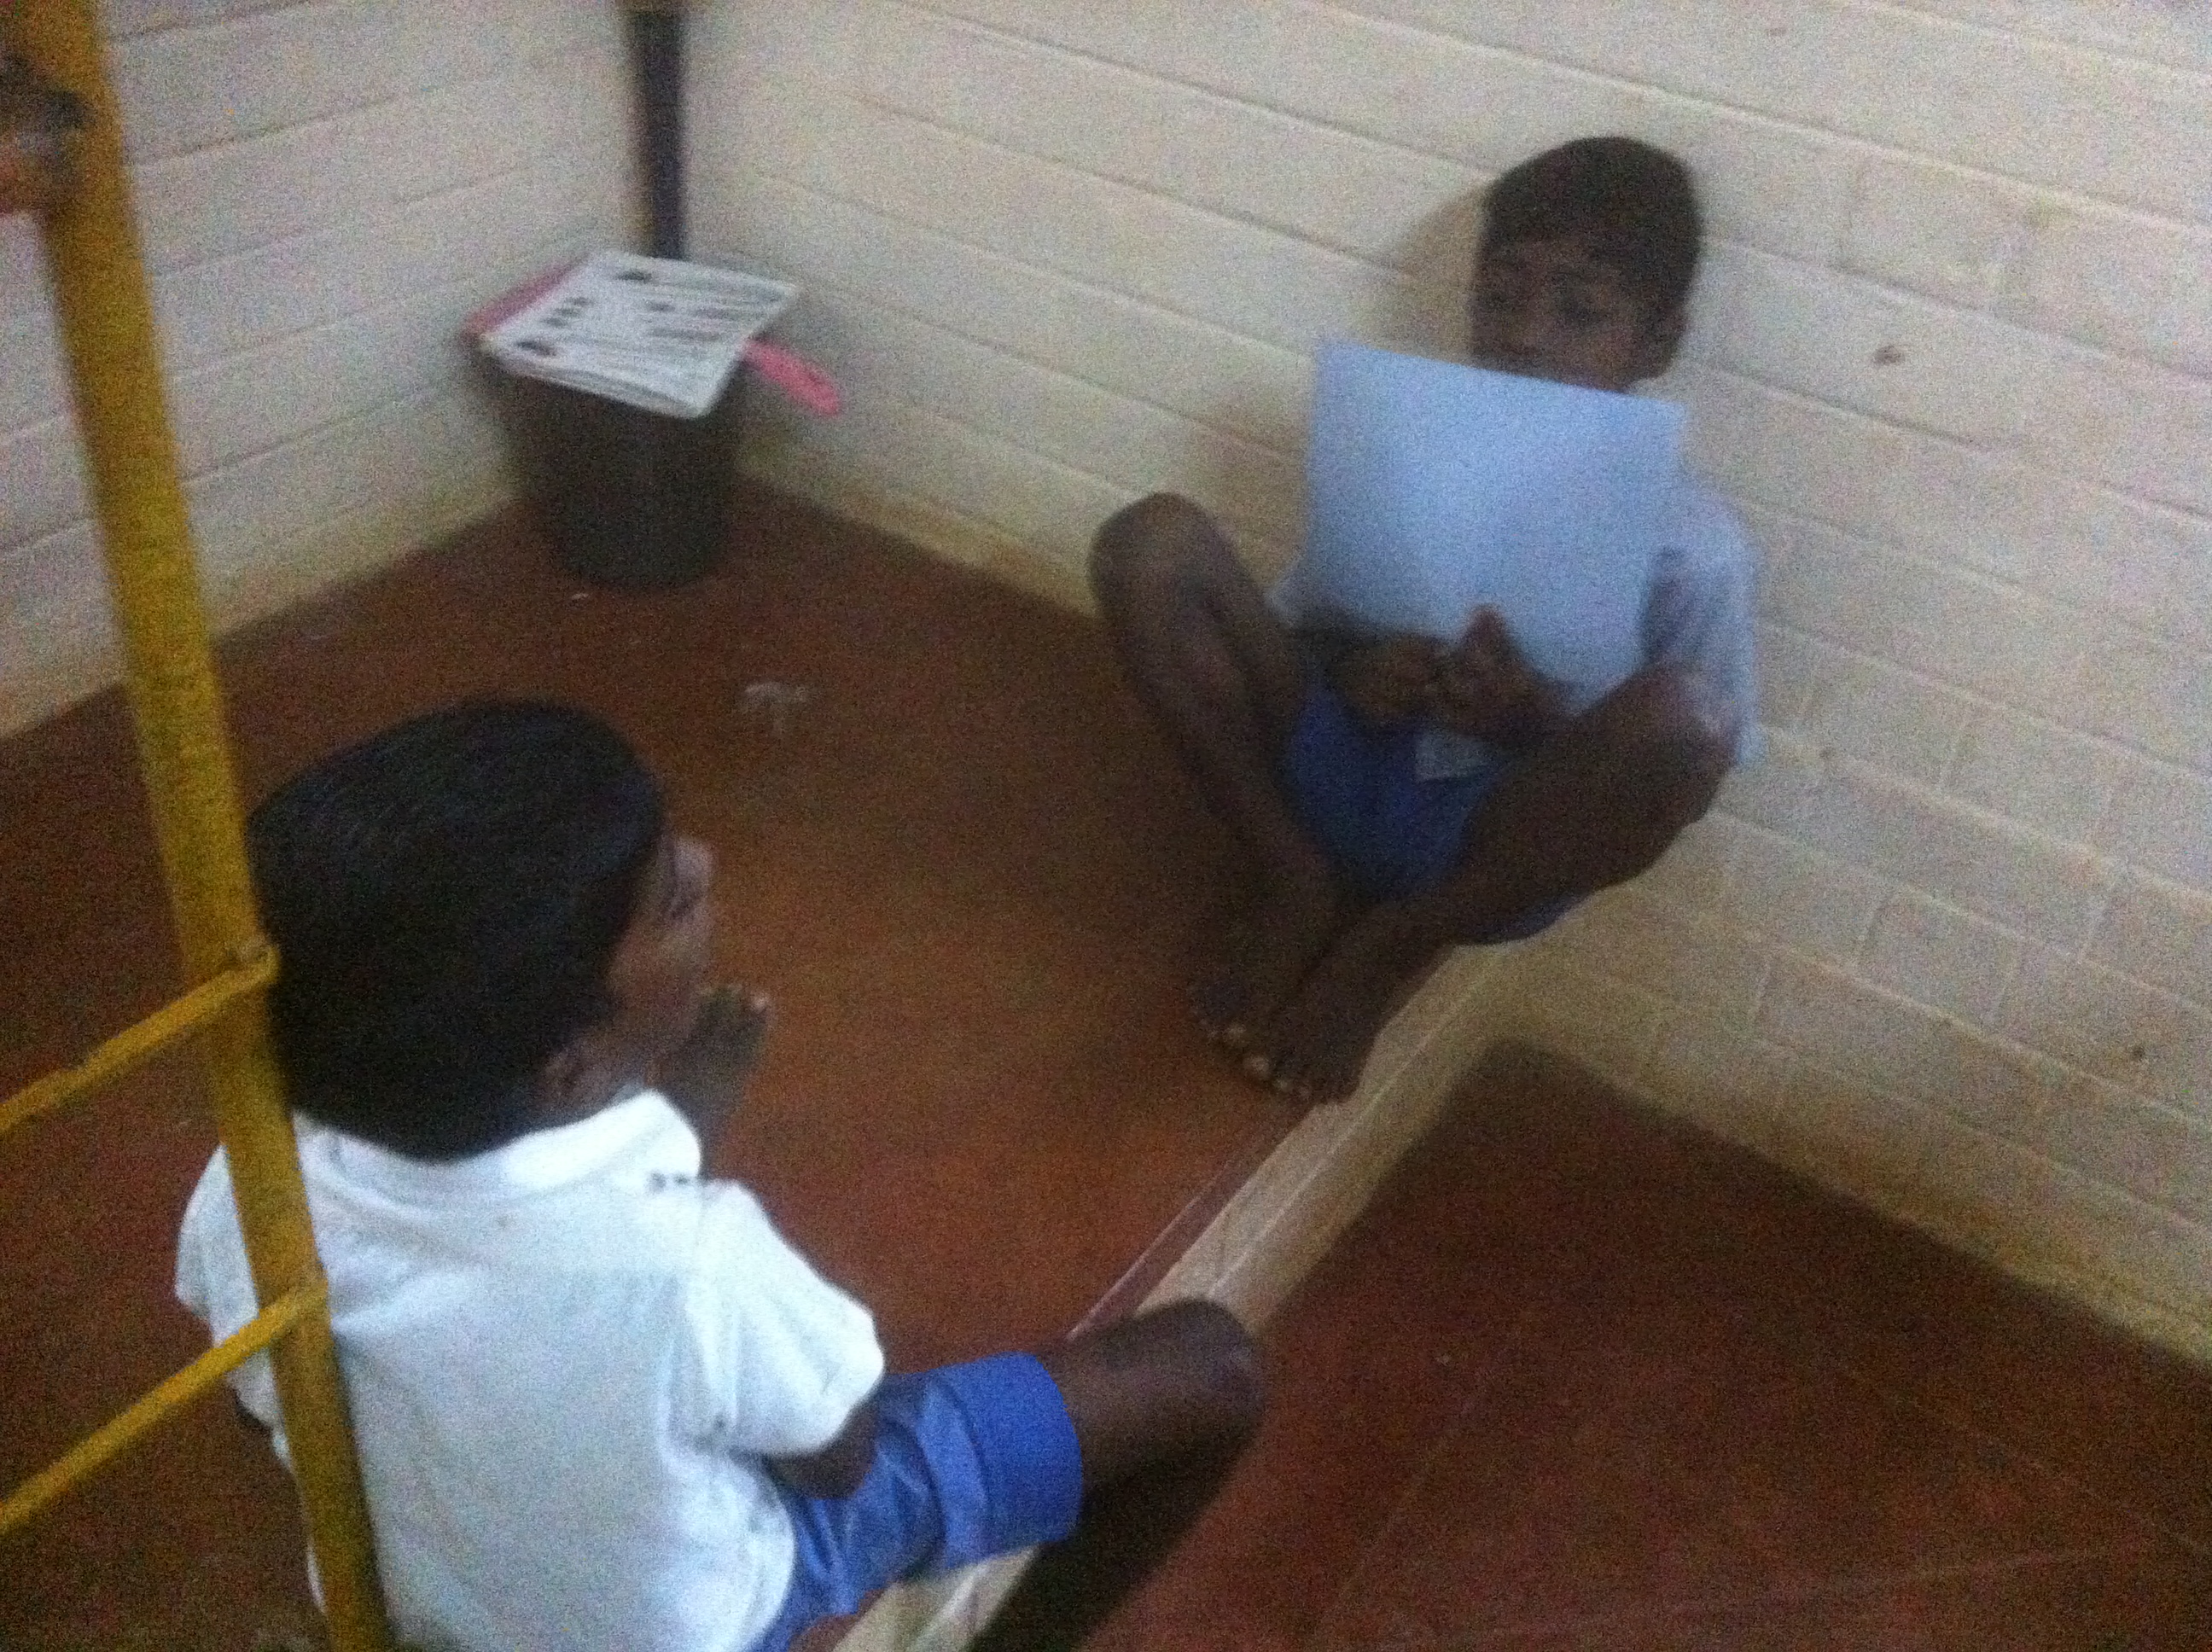
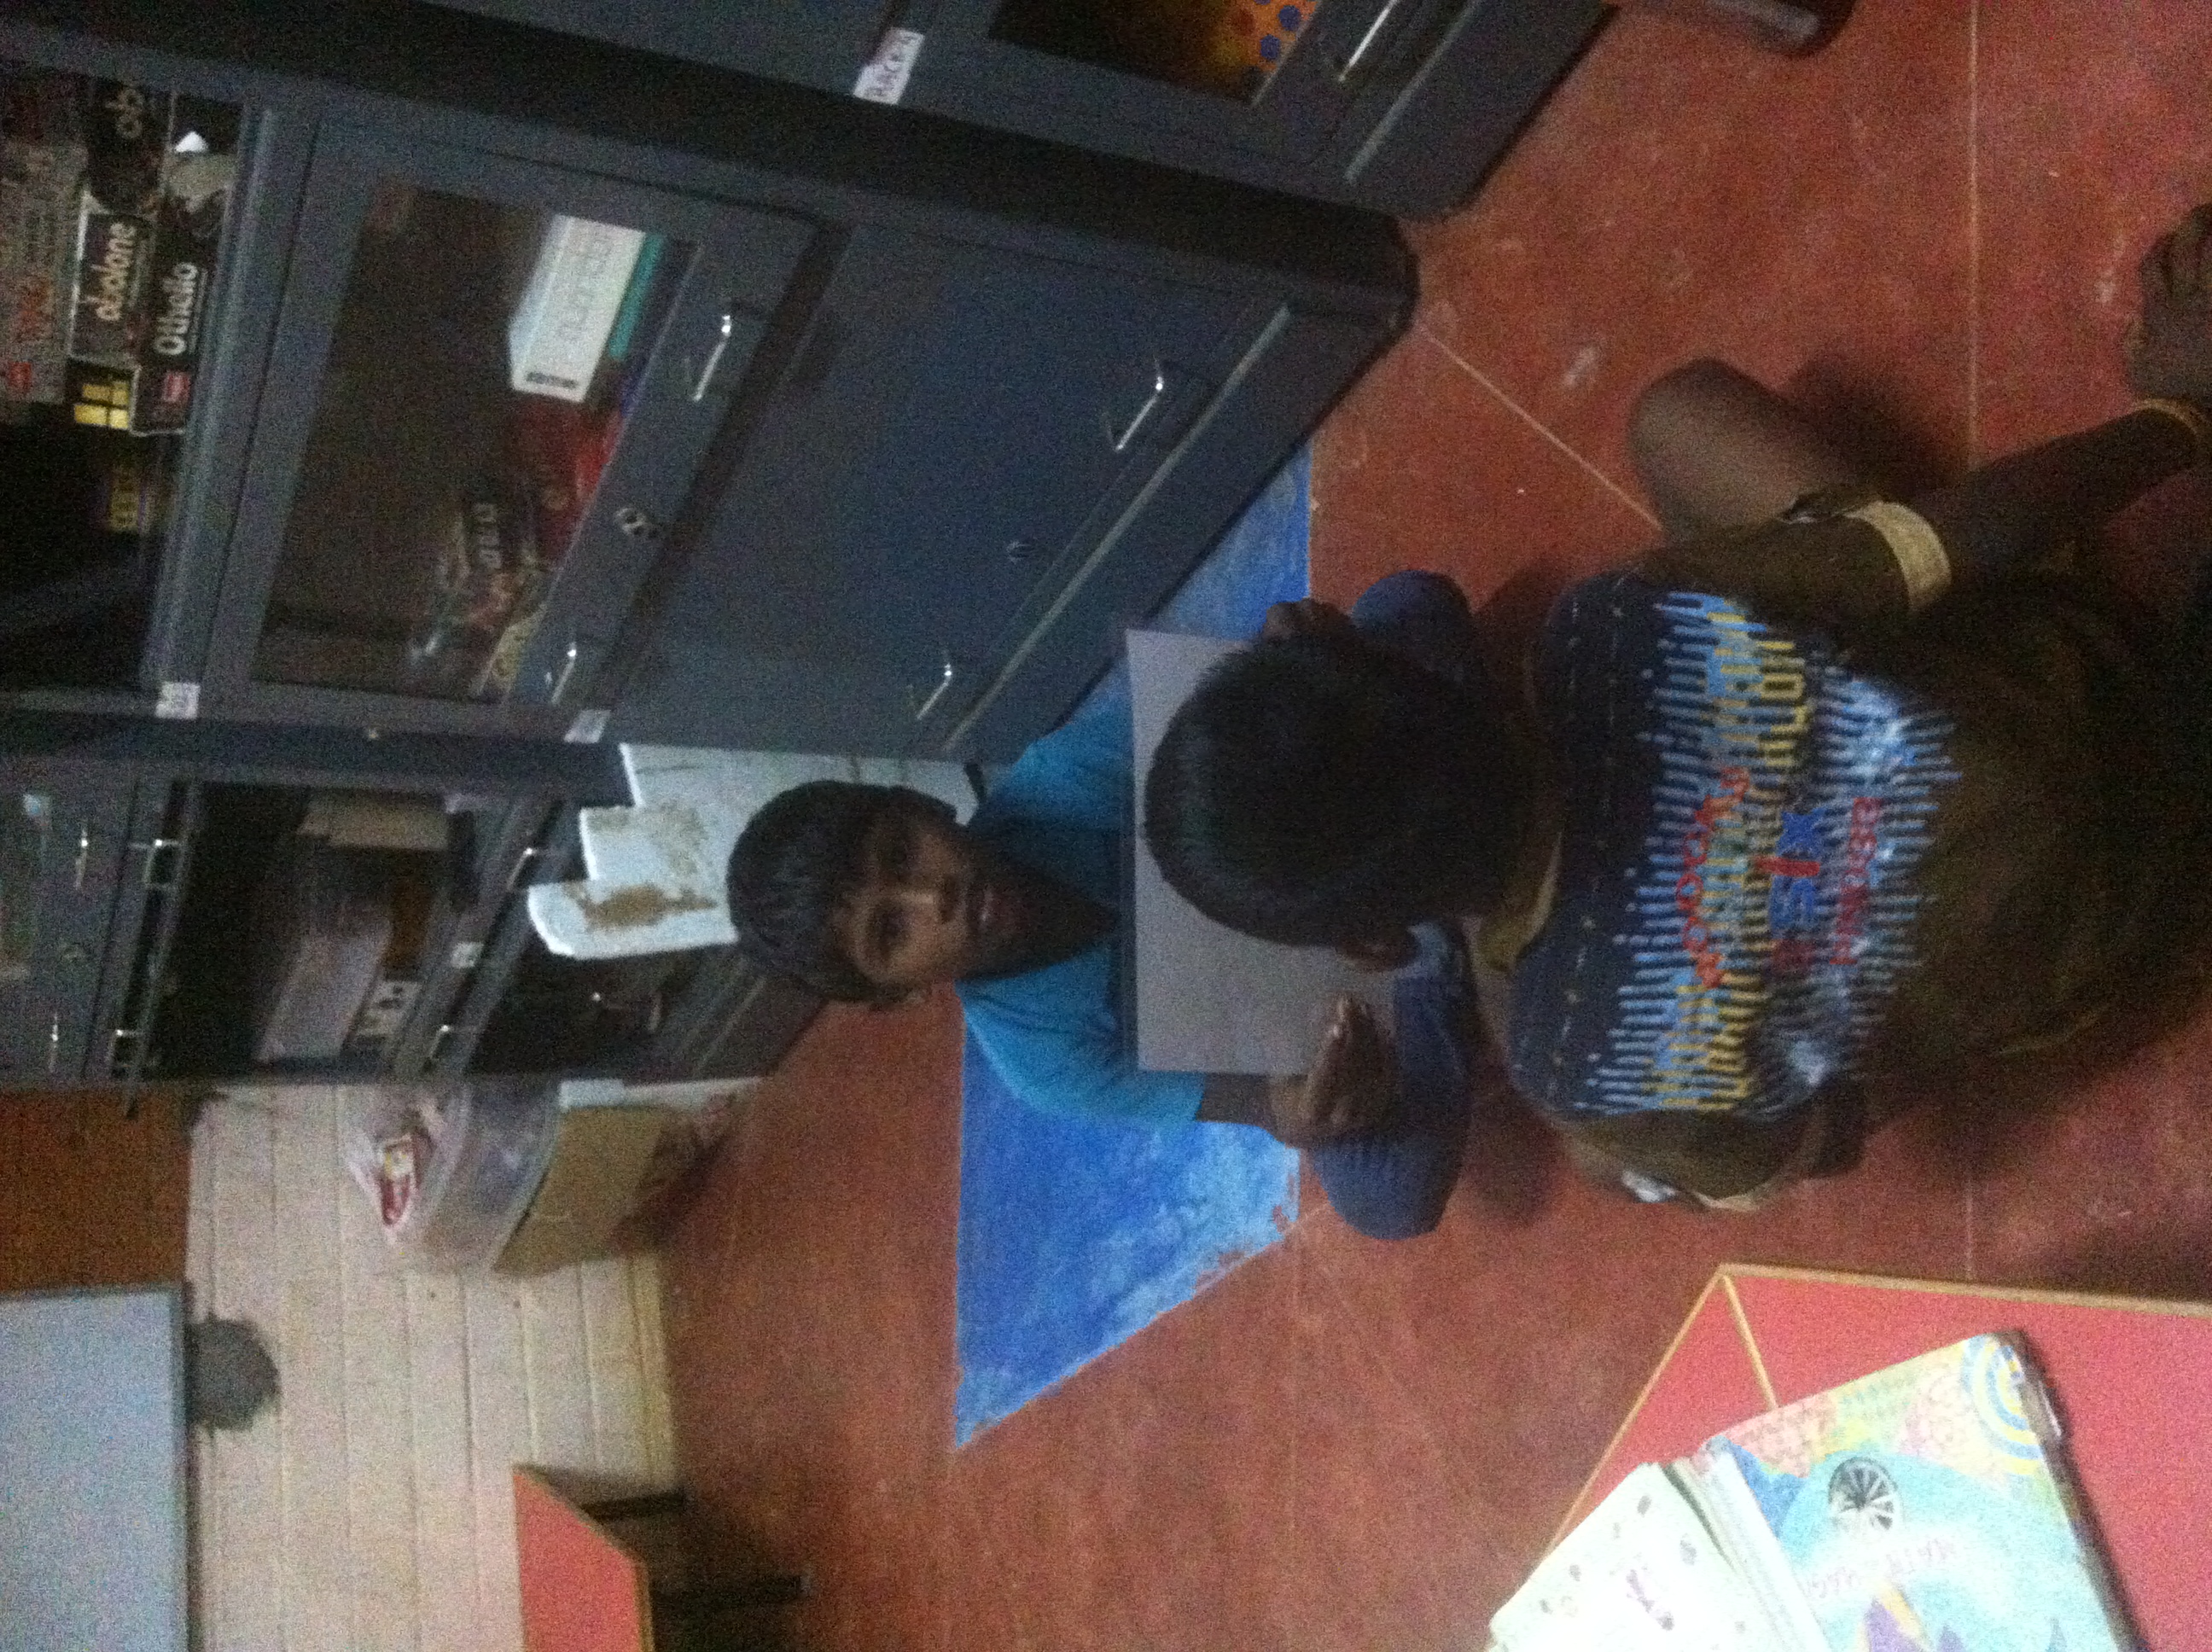
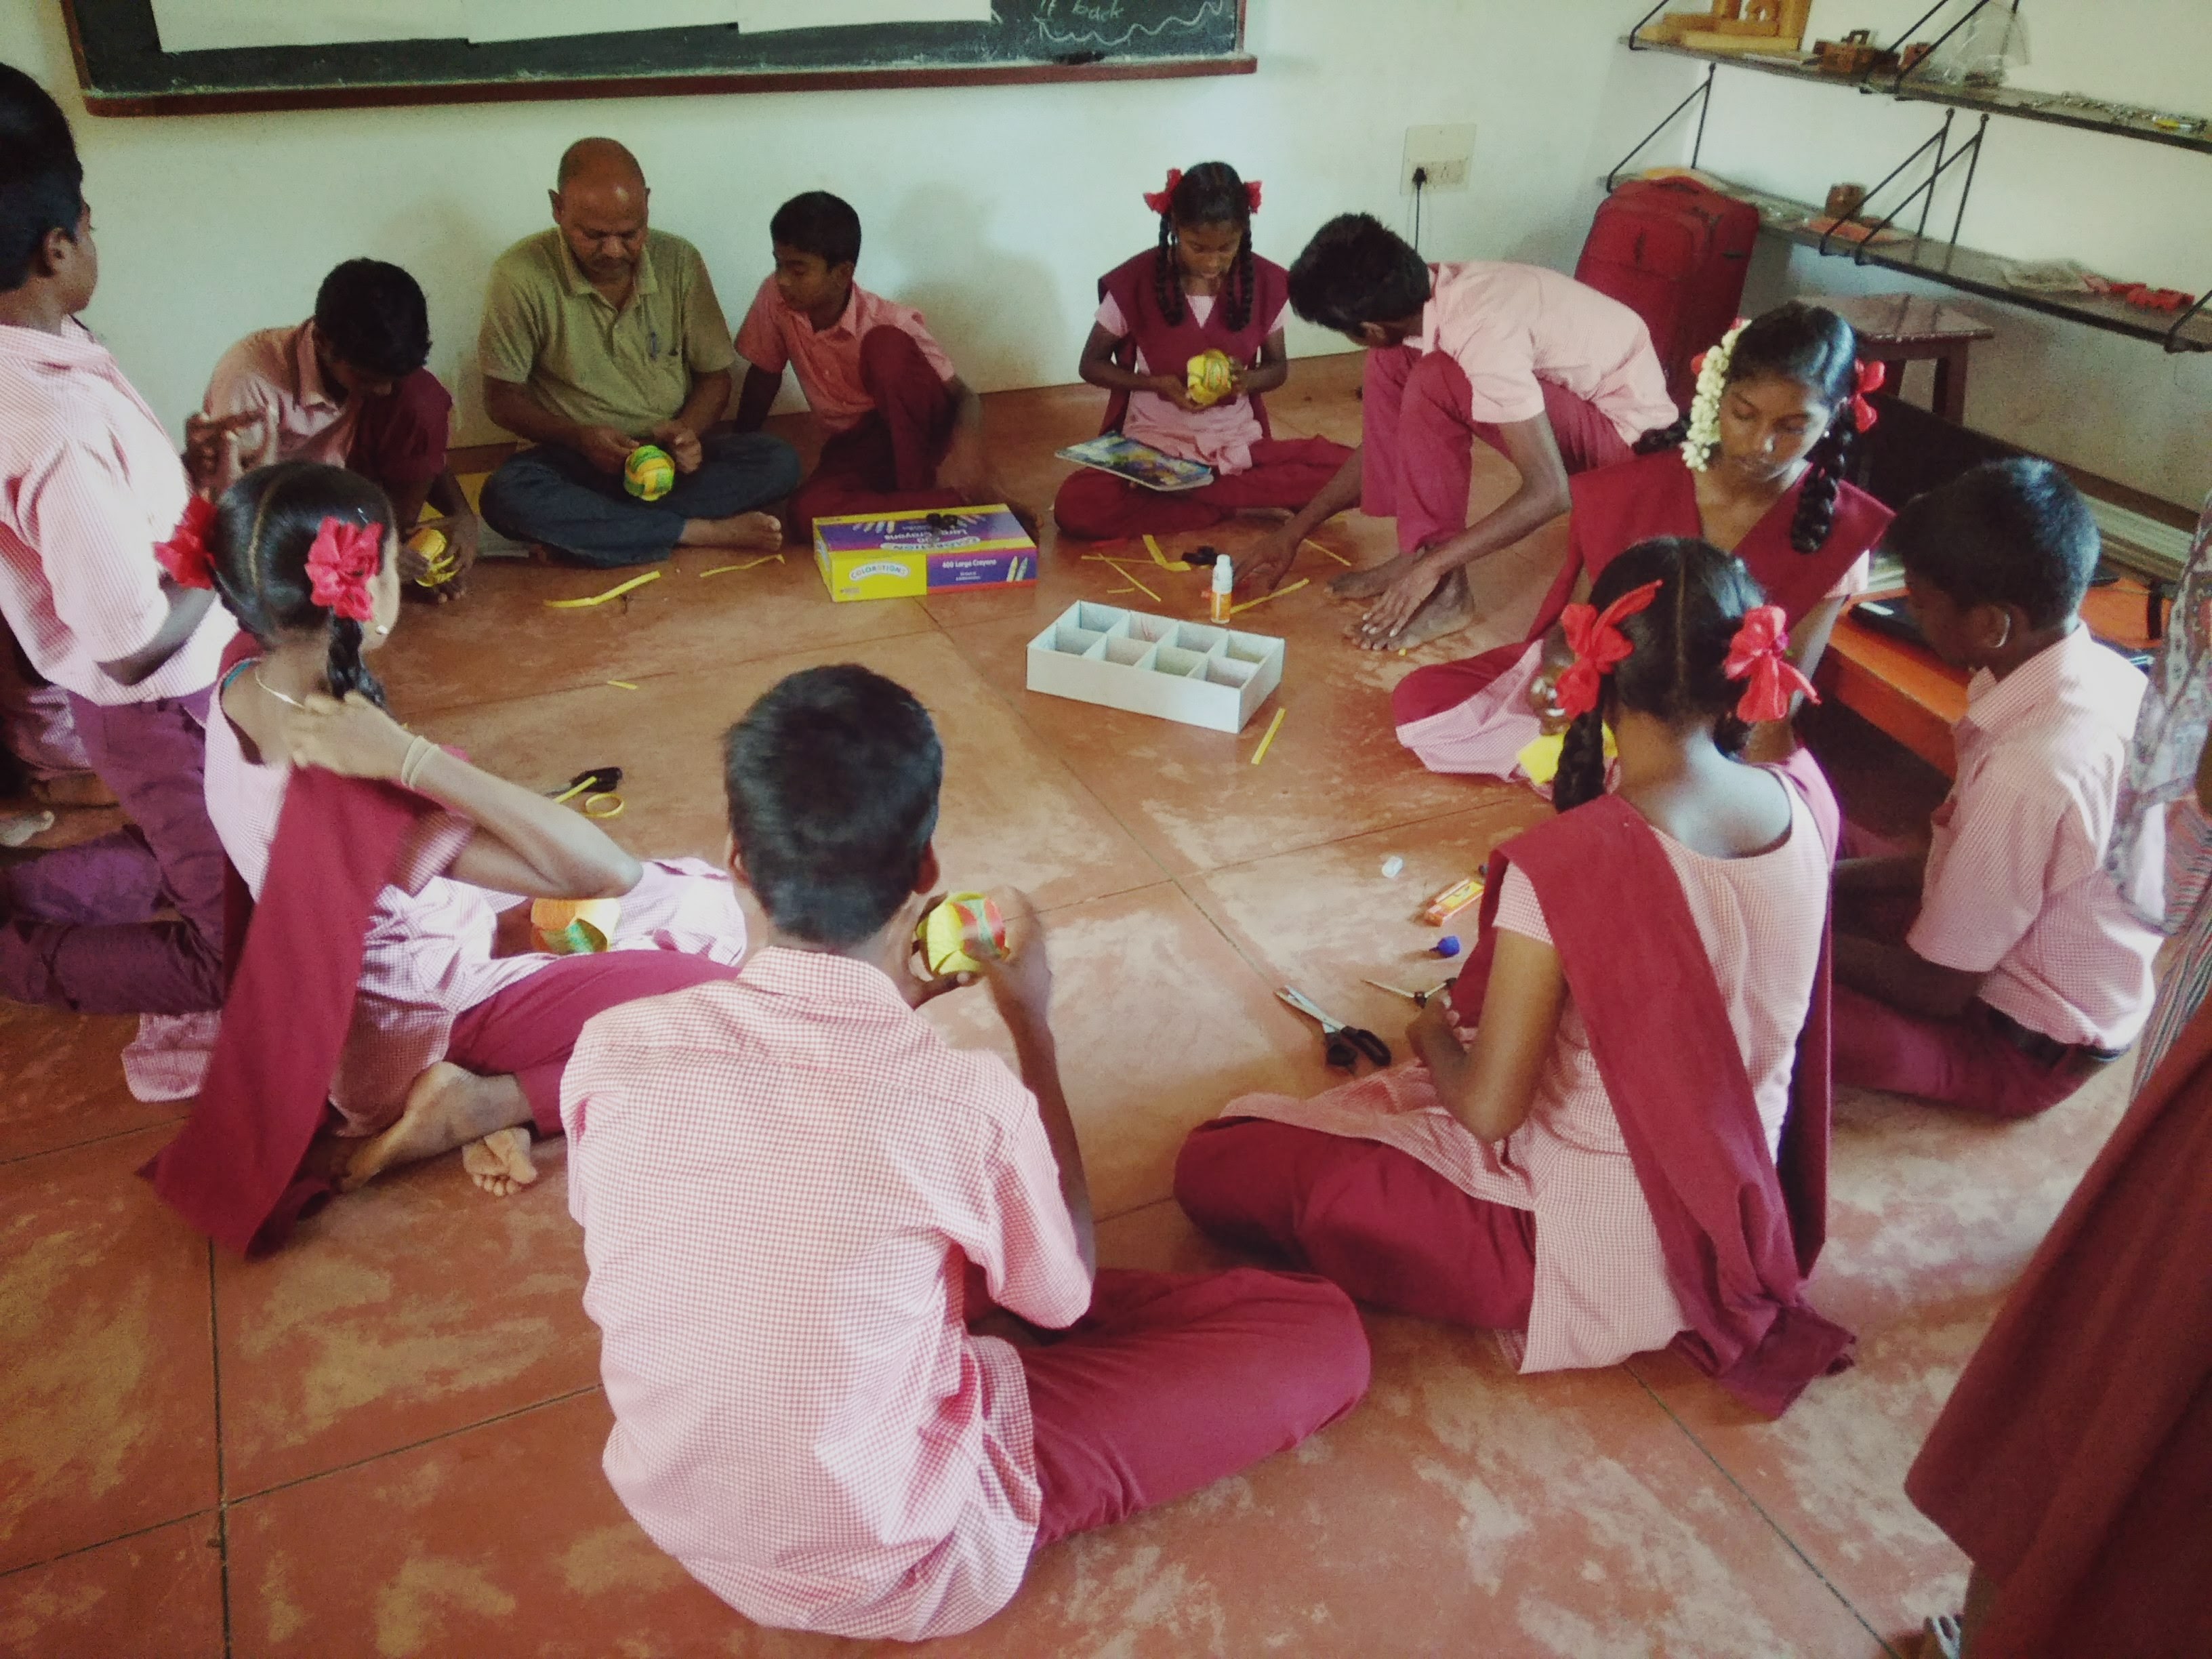
When I was working with the children in the clay room I learnt to be patient. Involved all the children and gave equal opportunities to all the children. Learnt team work from the children. I saw sharing and caring from the children while working as a team for my self and for others.