Basic Hands-On Electronics Course:

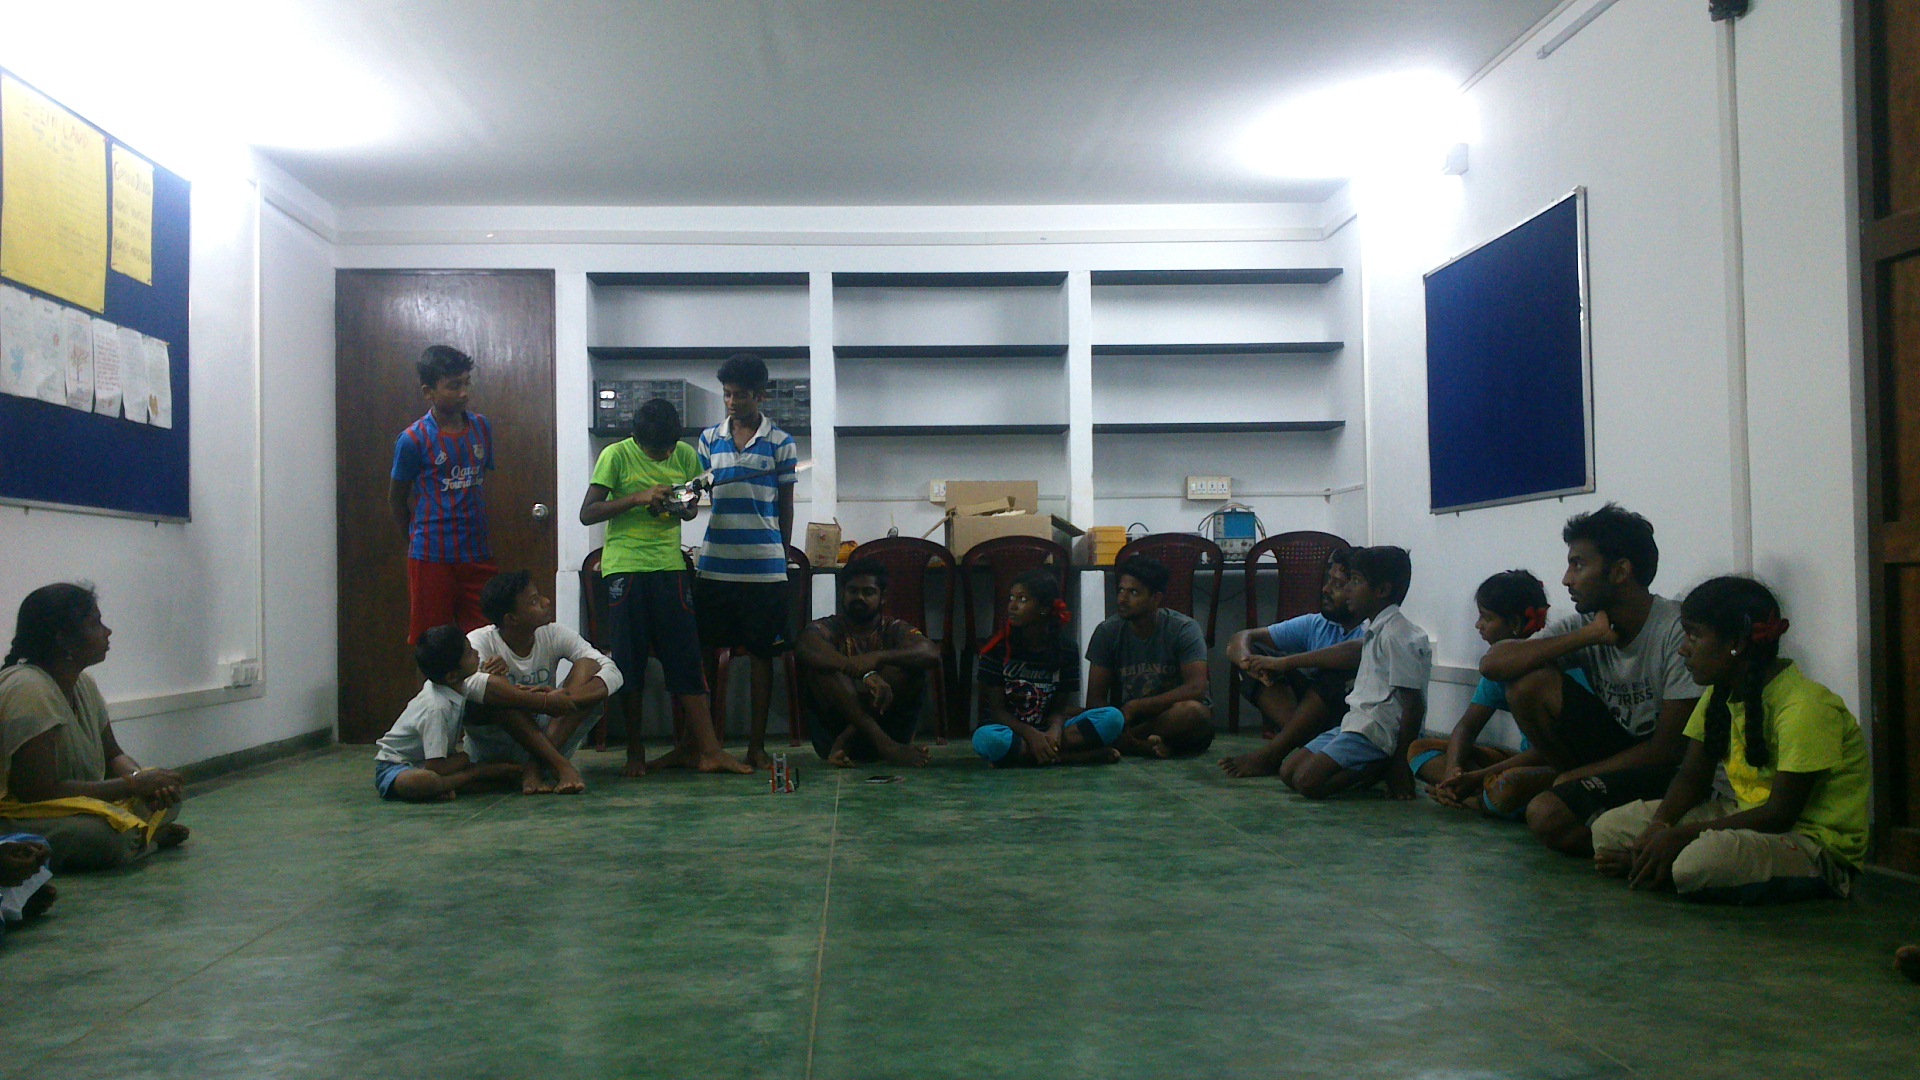
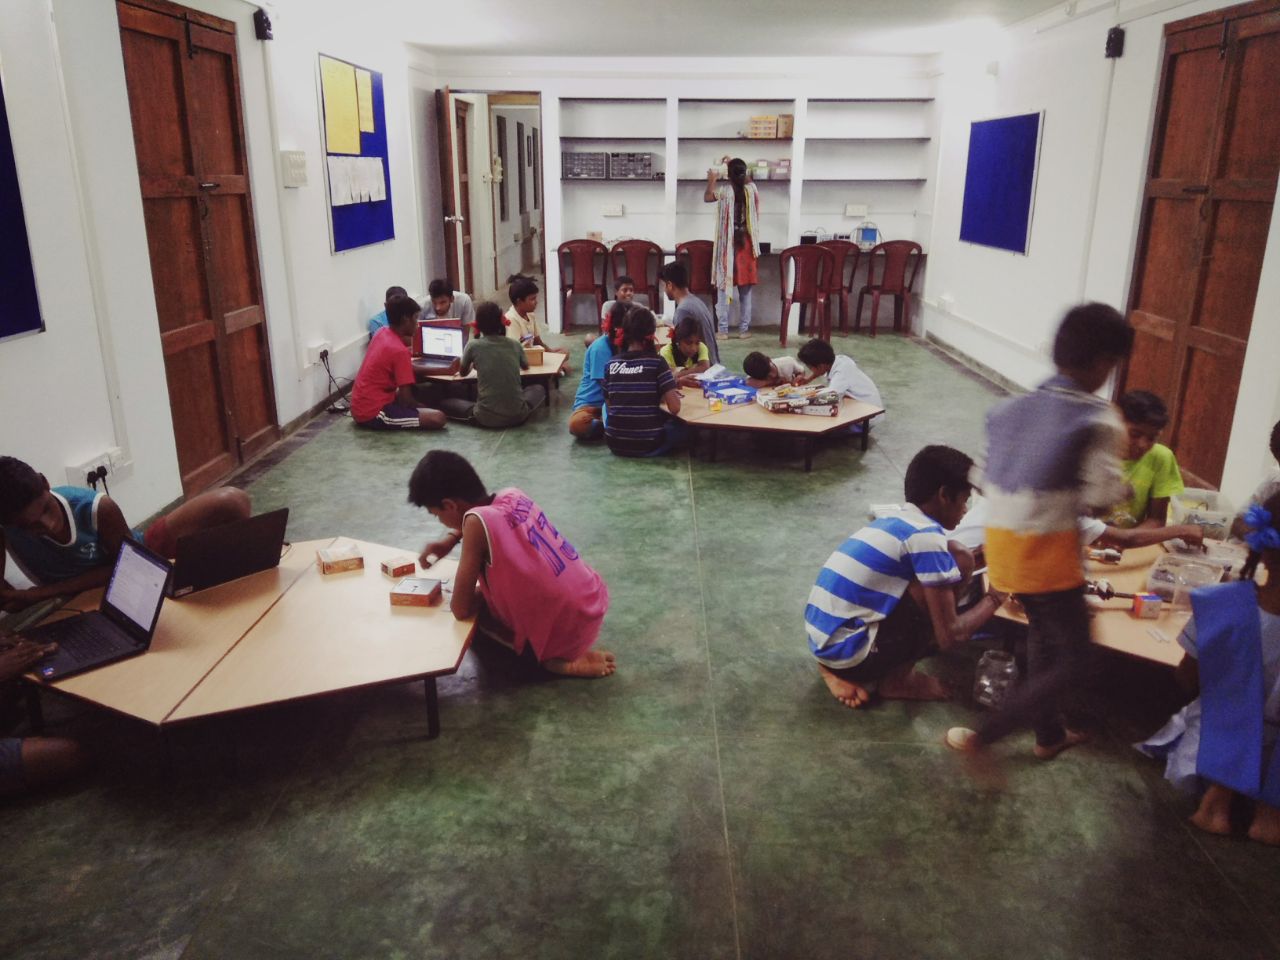
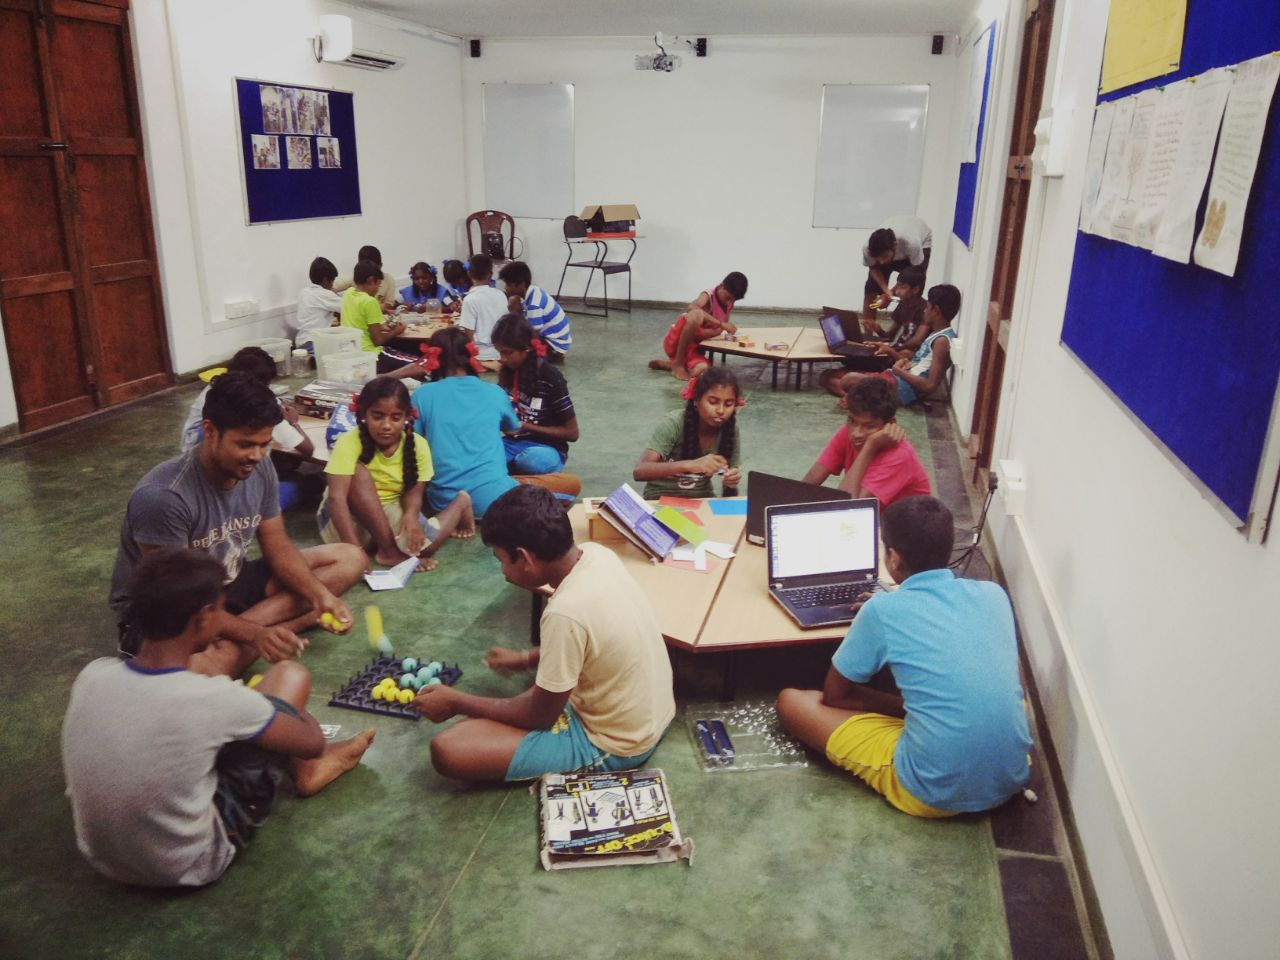
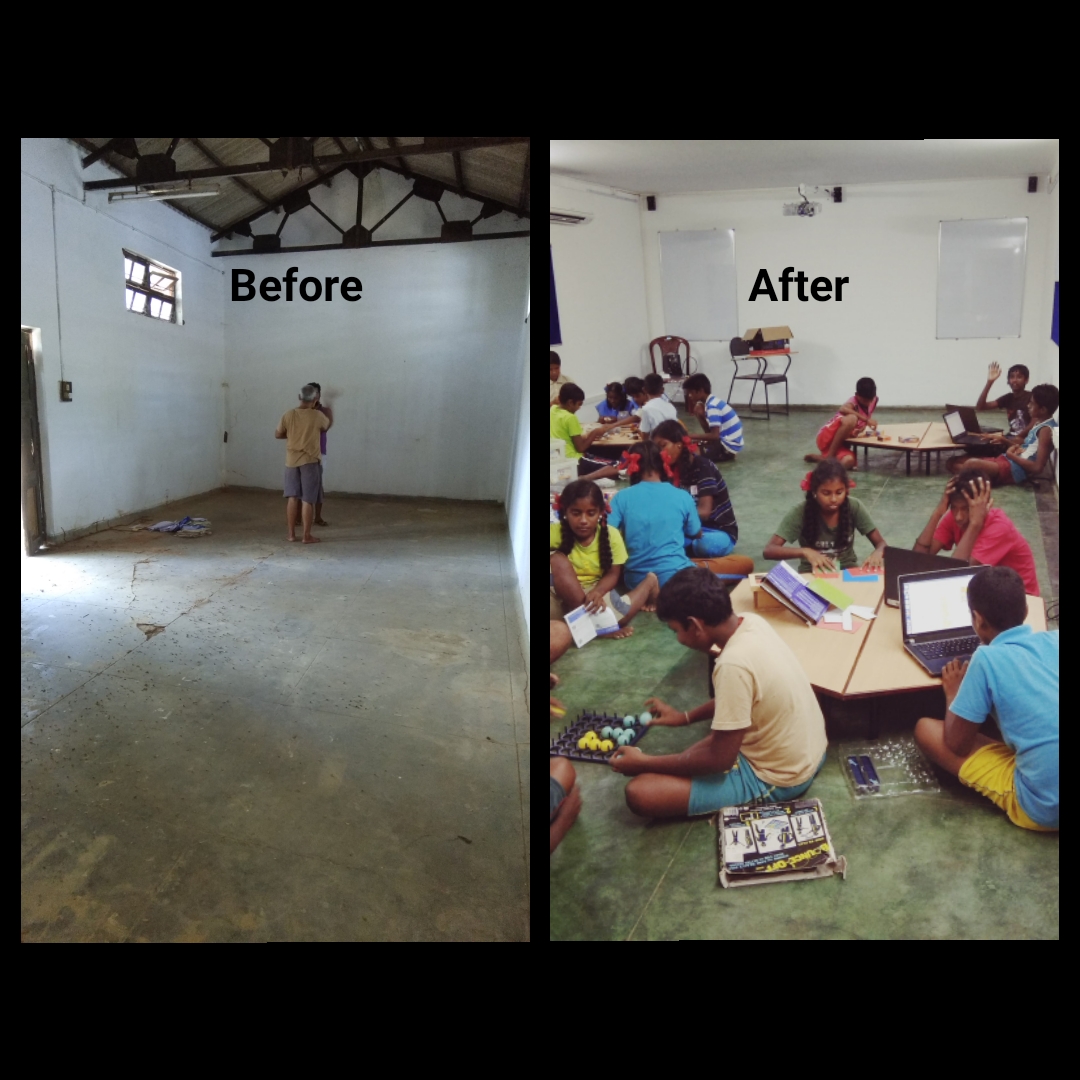
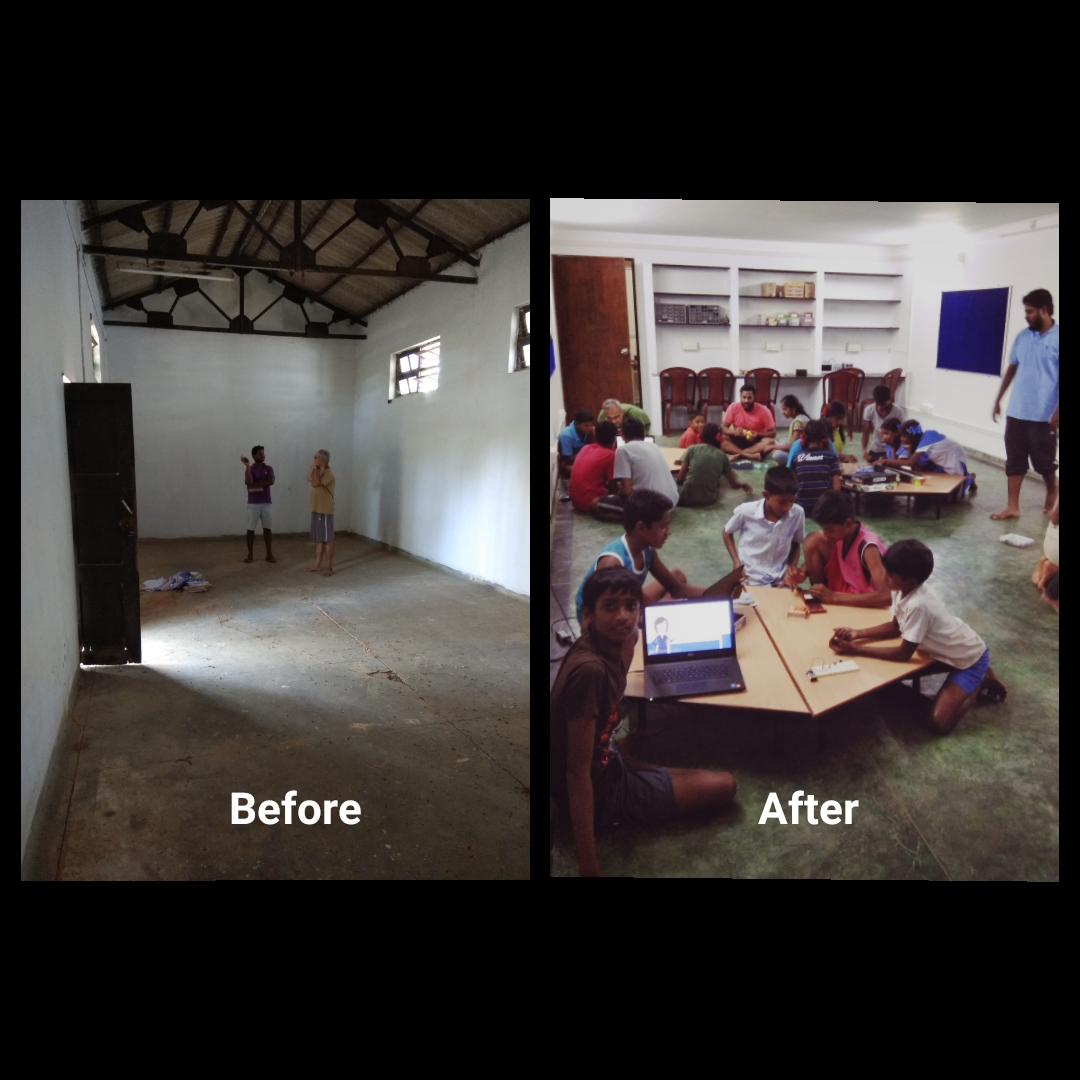
The two weeks short course on basic hands-on electronic course(From Dec. 7th till 21st ) has been started.

Ragu Prasanth and Siva who are professors by profession. Ragu Prasanth is now volunteering in STEMLand and Siva  is working in Isai Ambalam School. They both feel that practical learning is missing nowadays. So, they are offering this course.

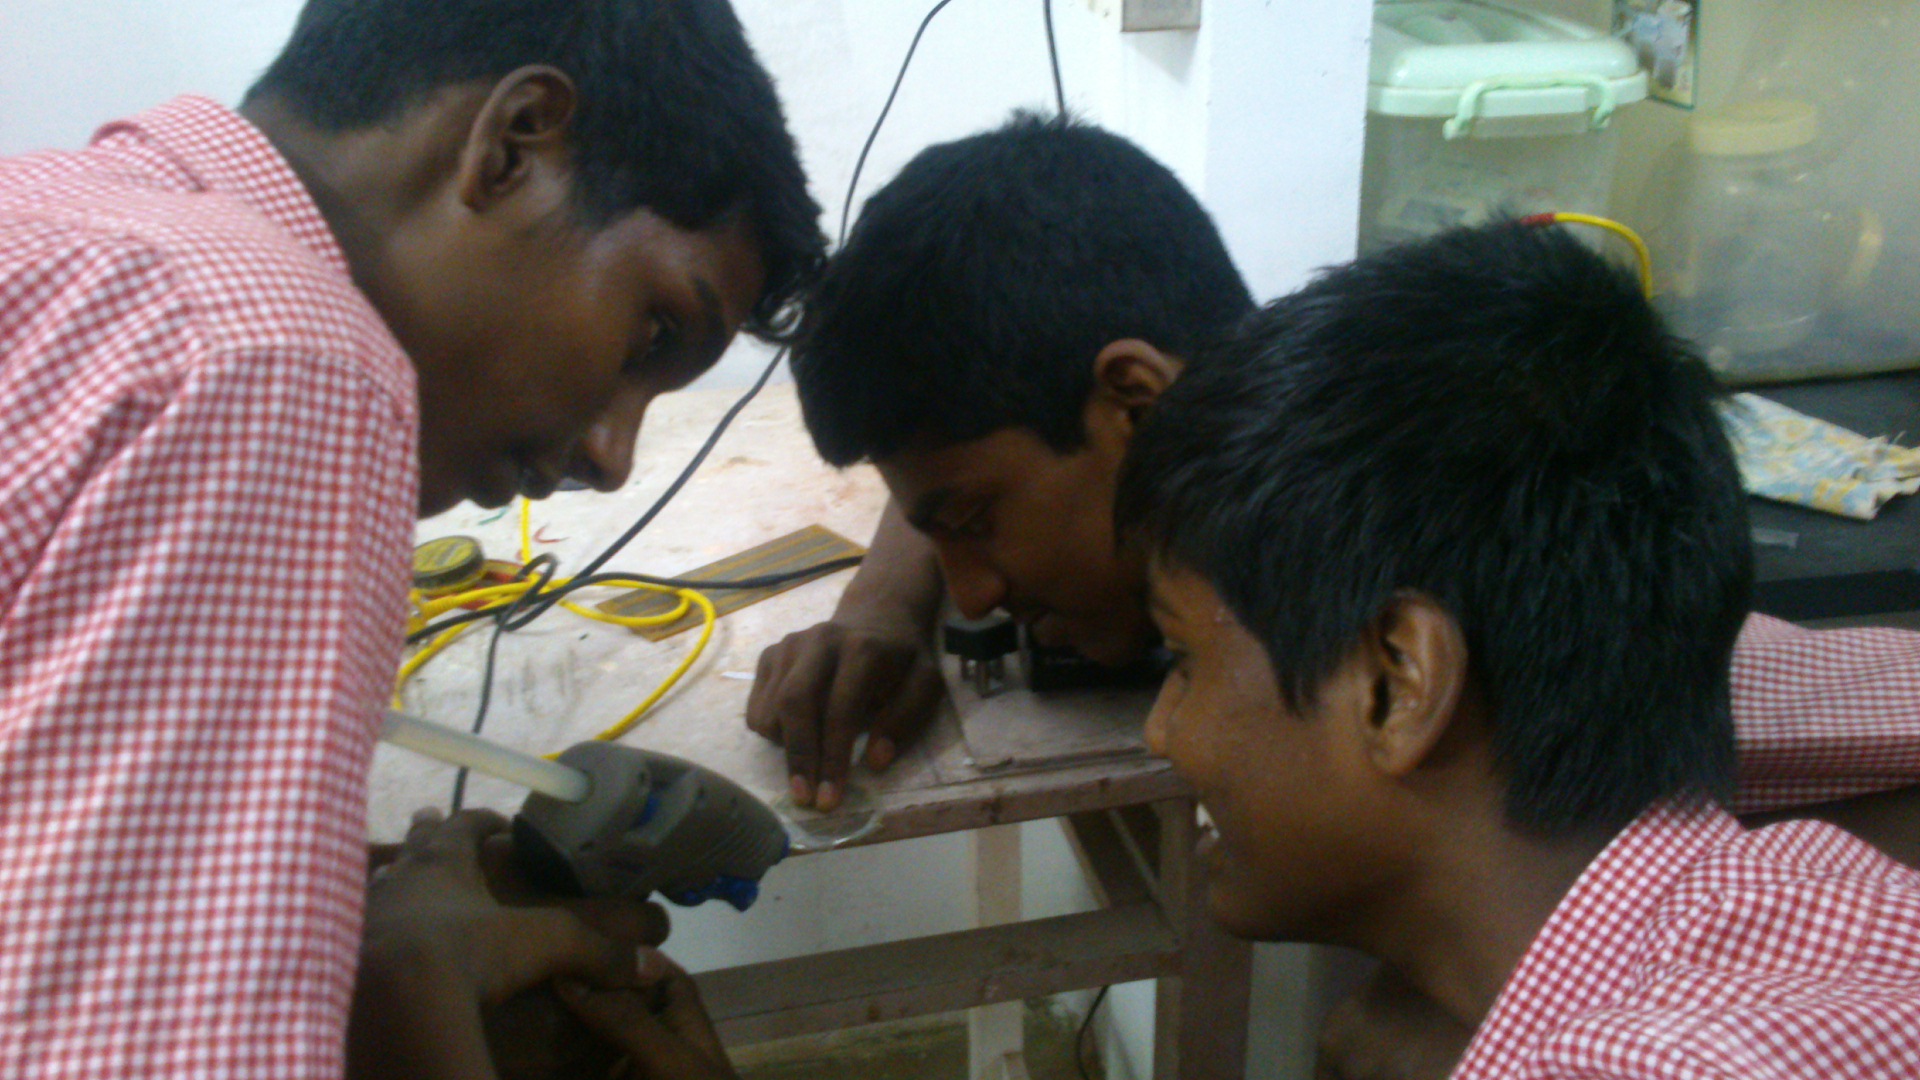
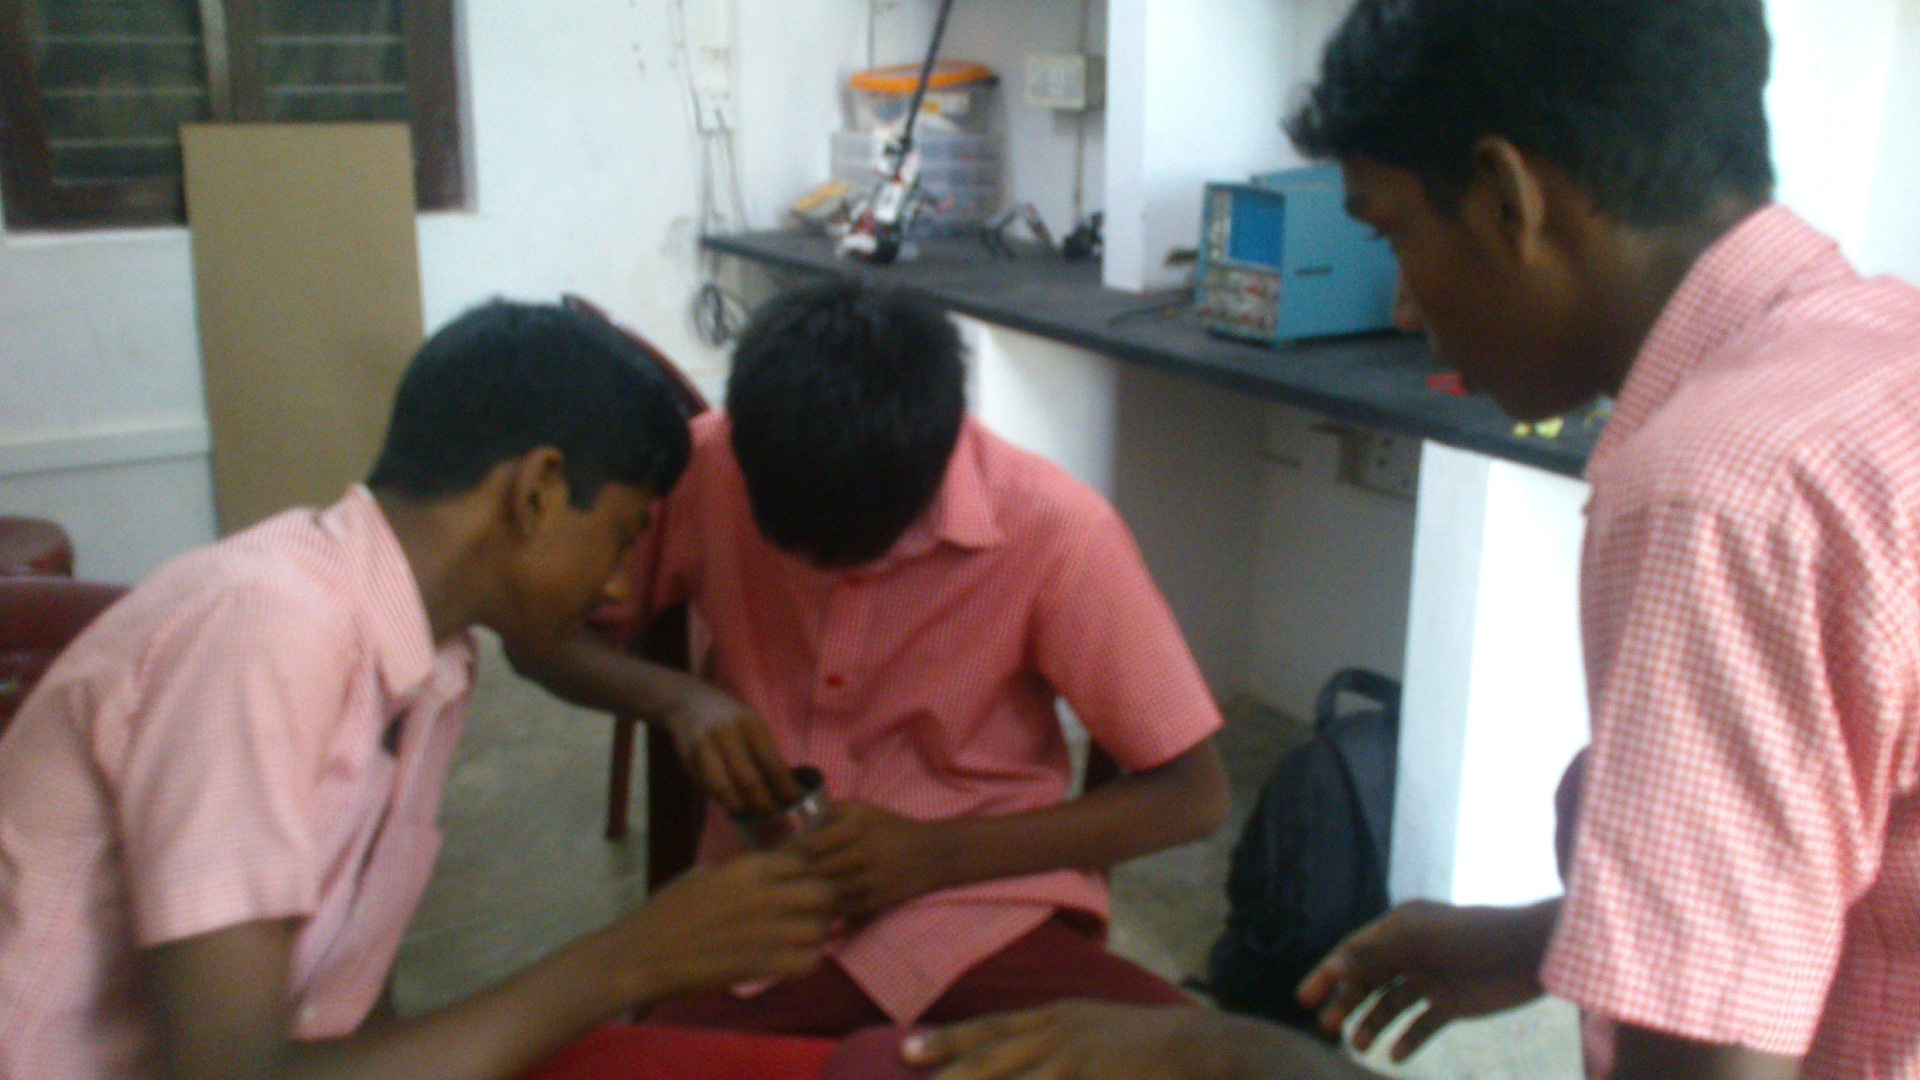
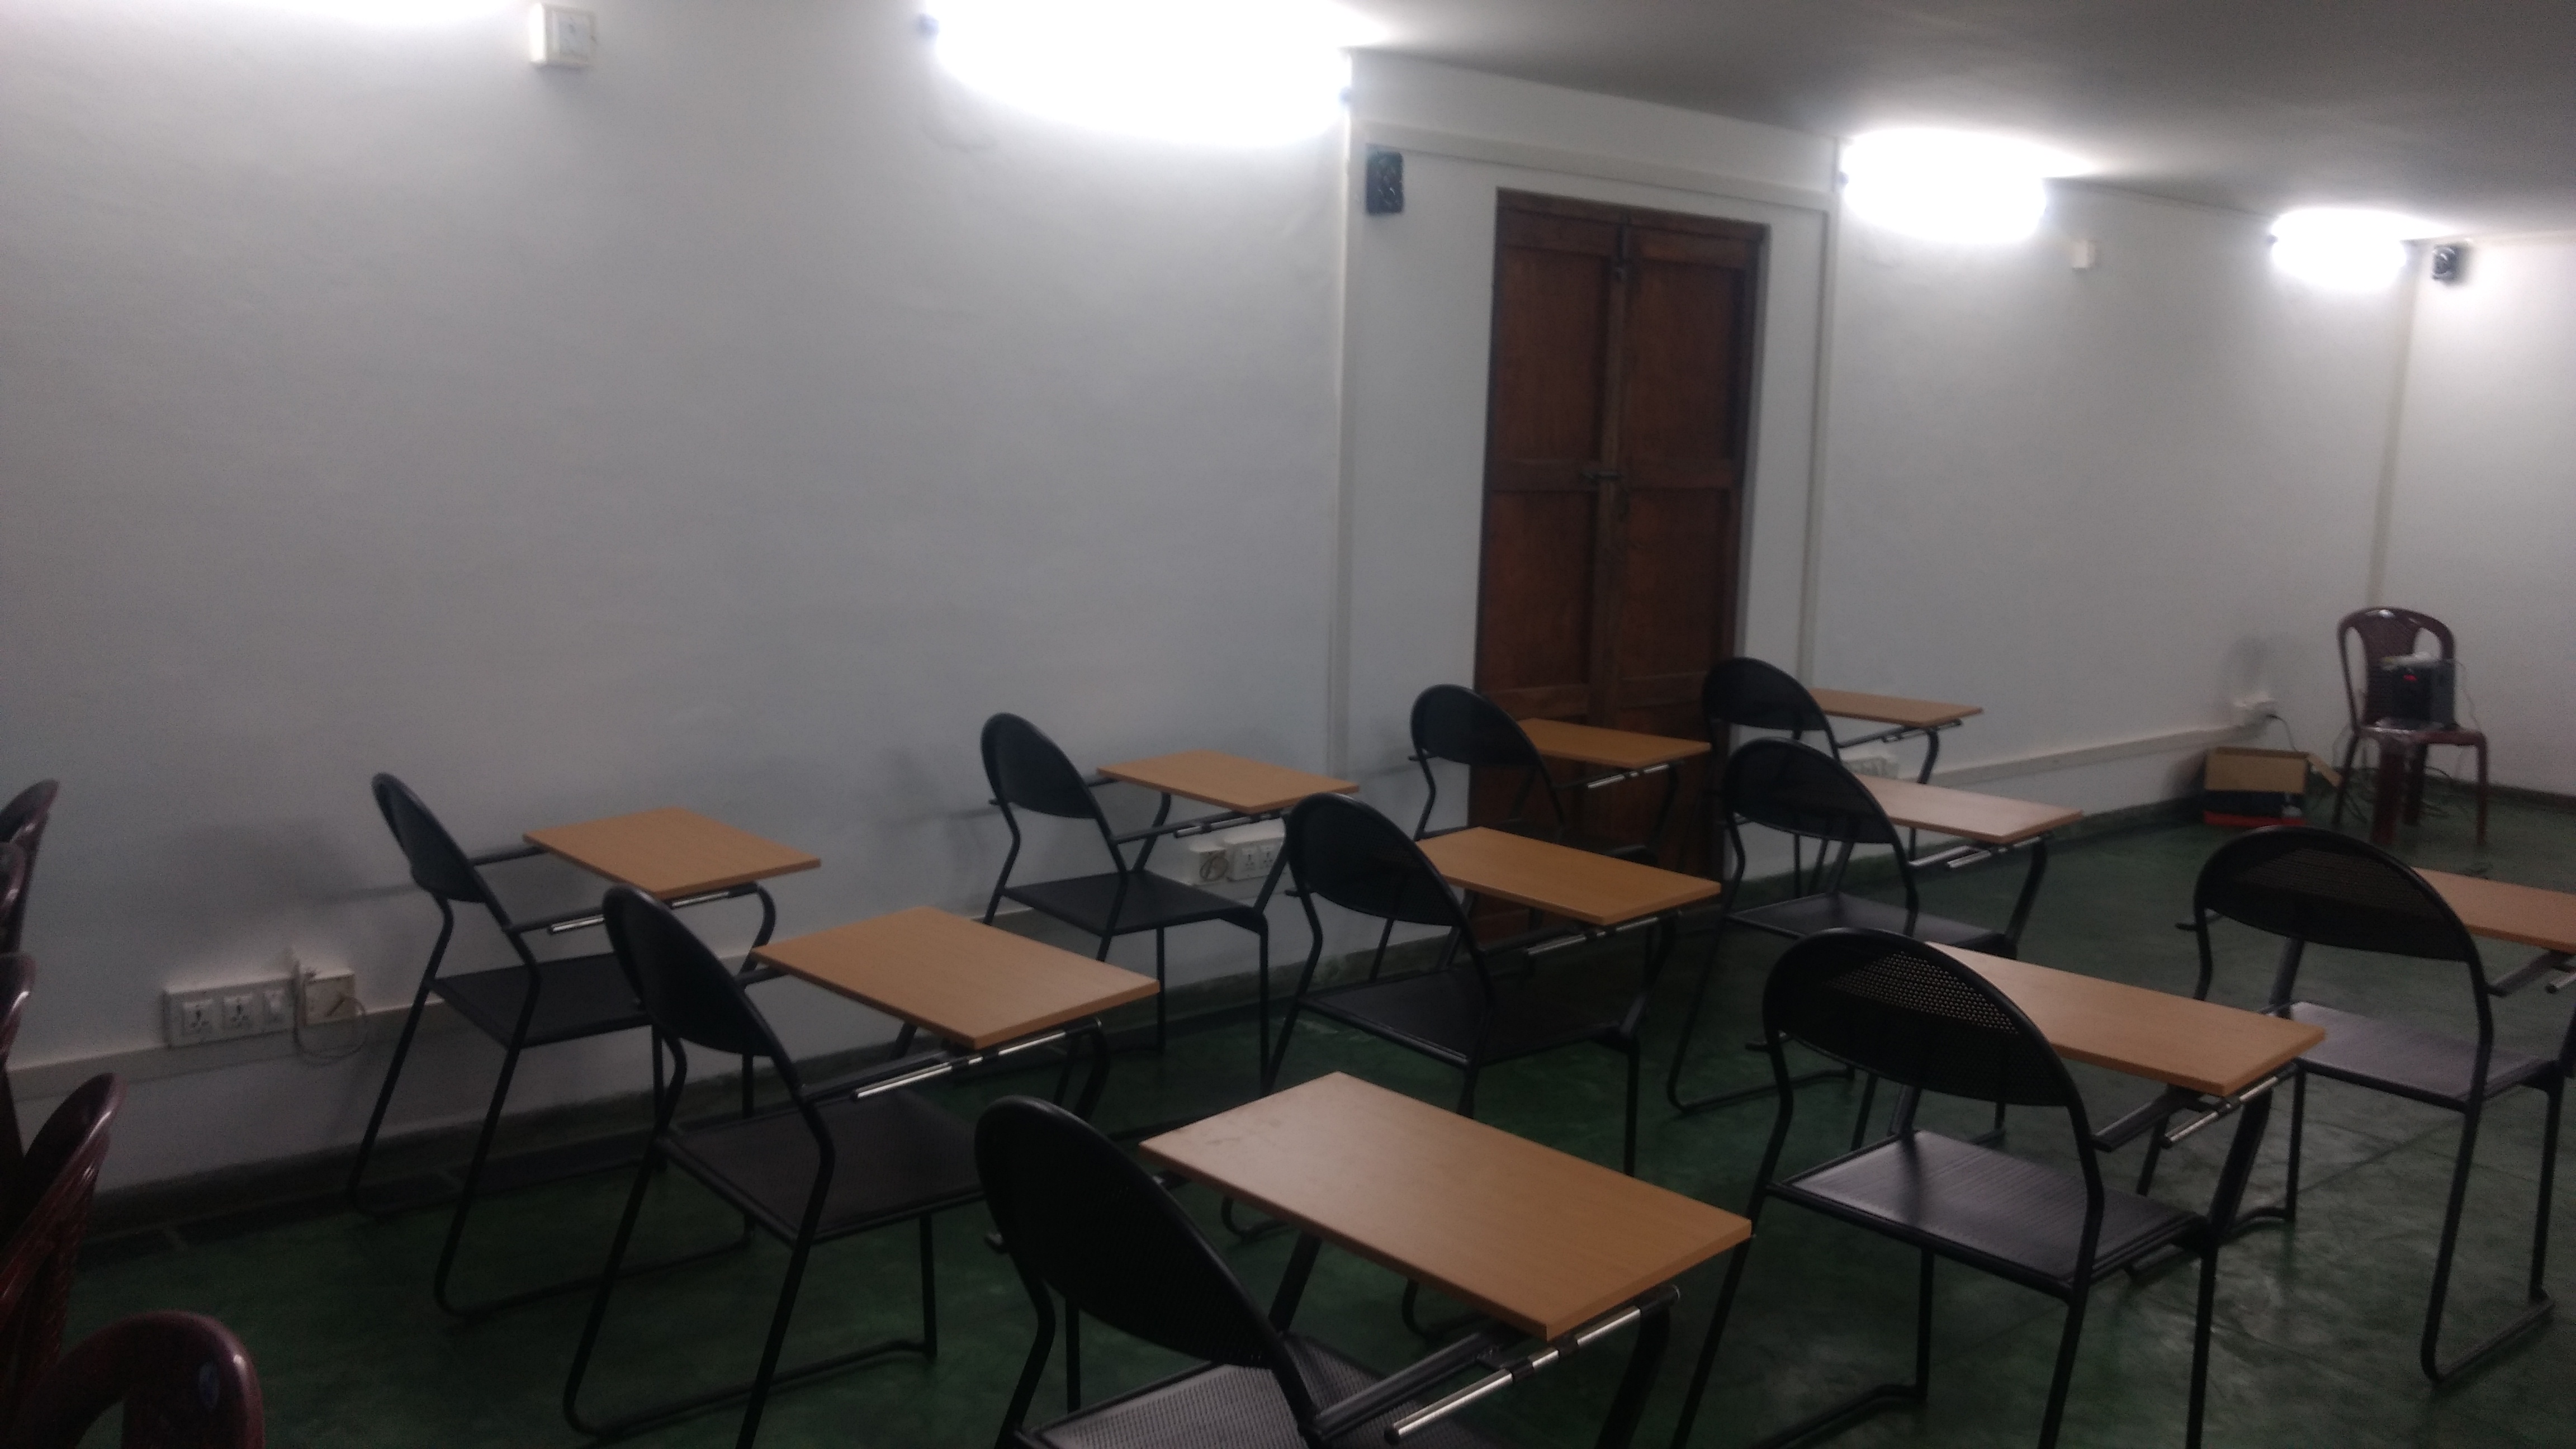
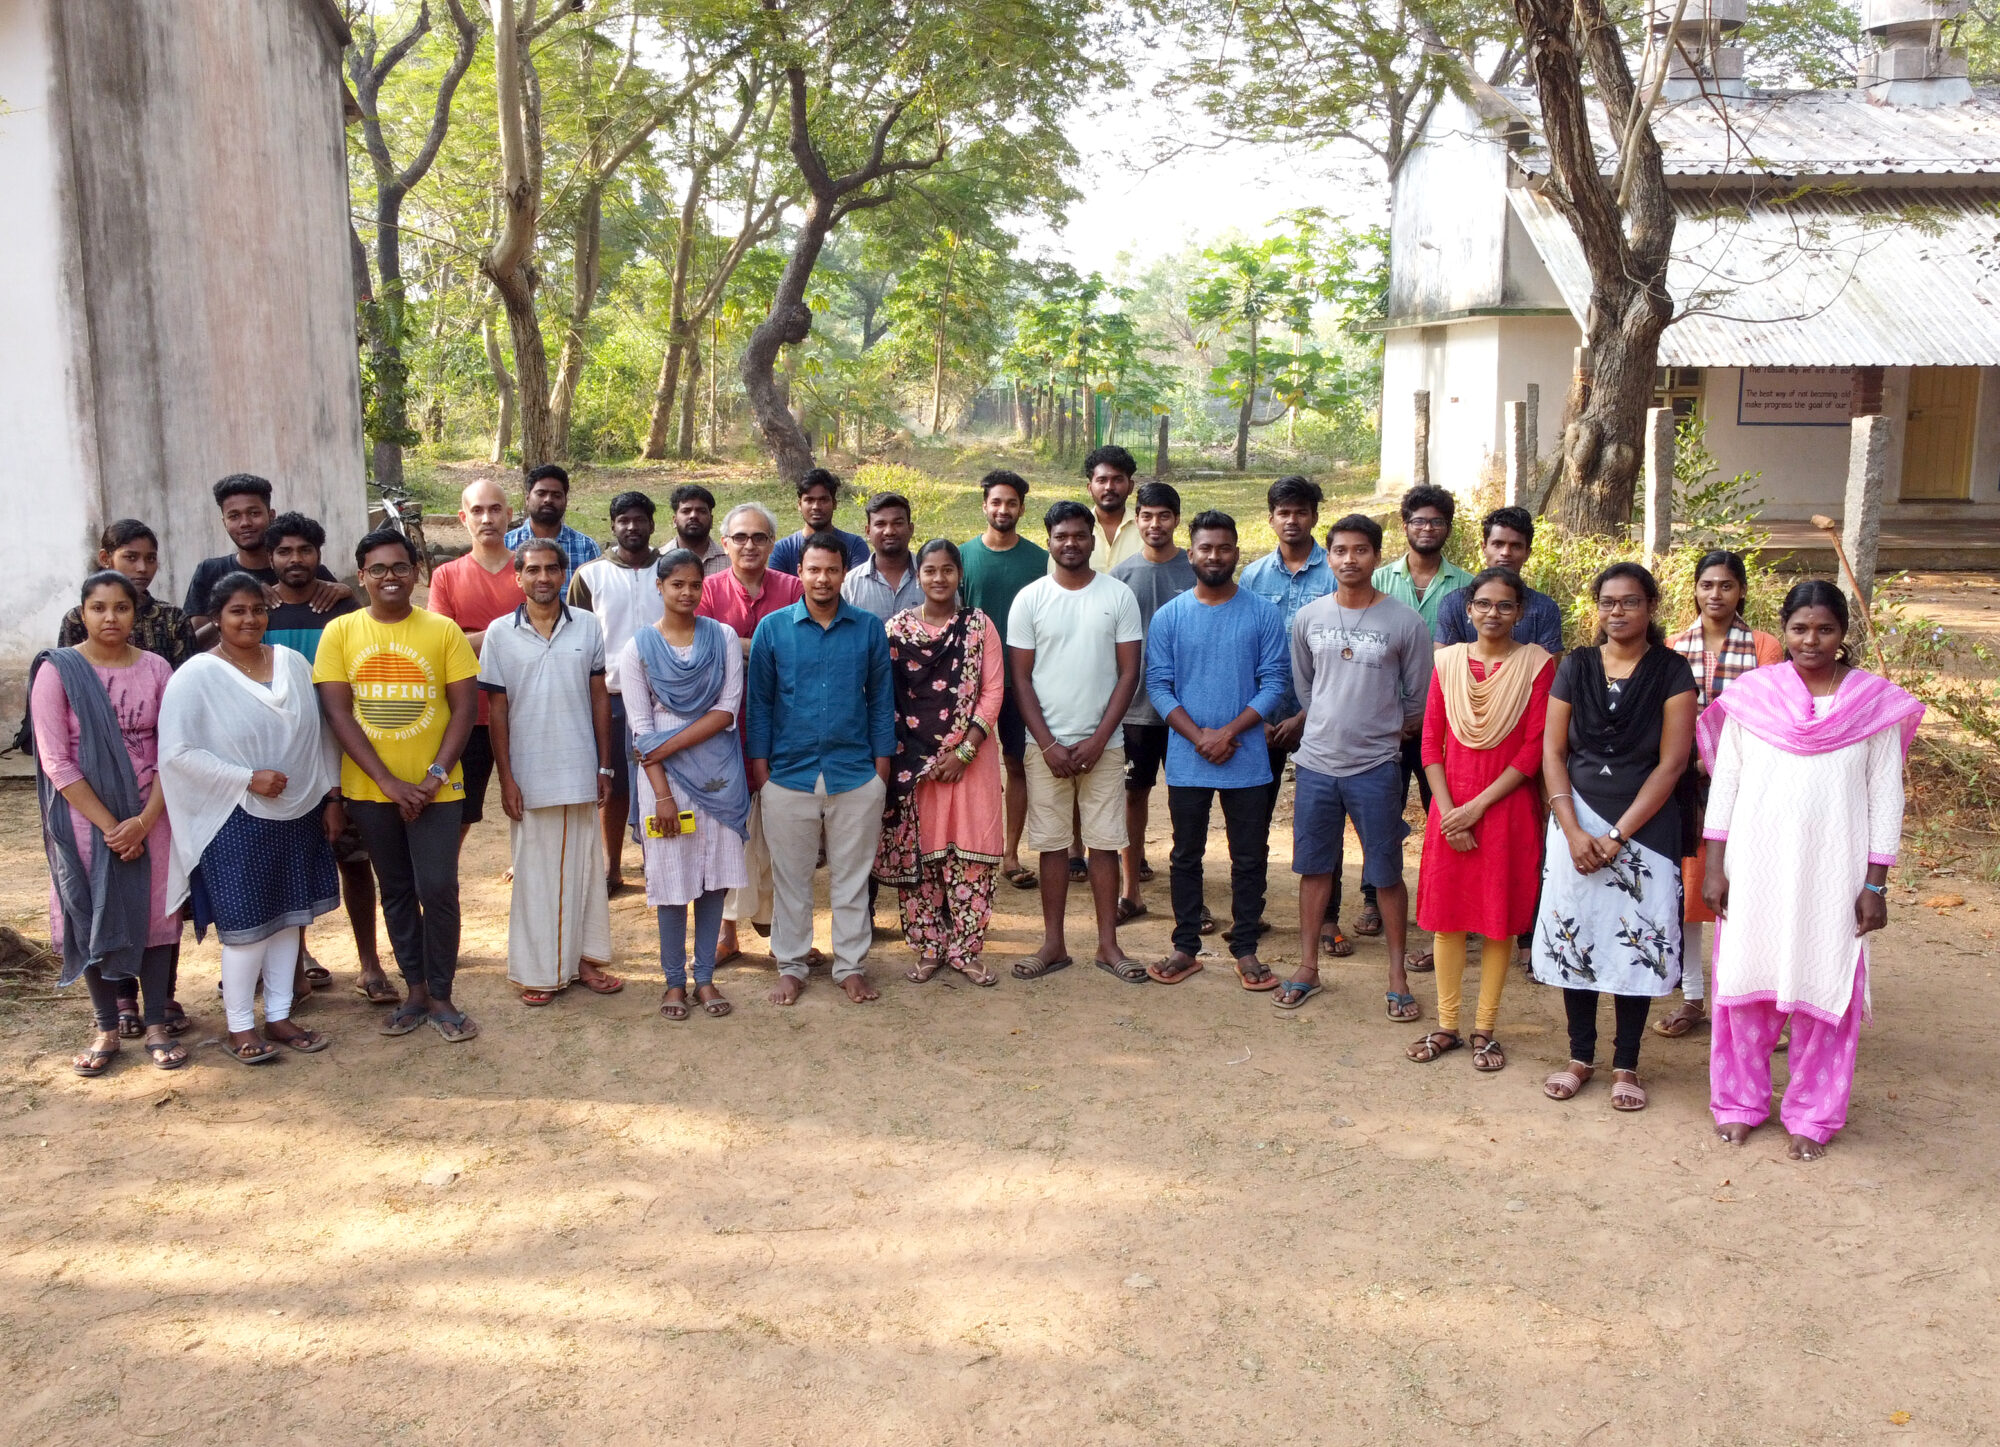
For the class we had participants from the previous electronics course and we also had children,youth and adult from and around Auroville.

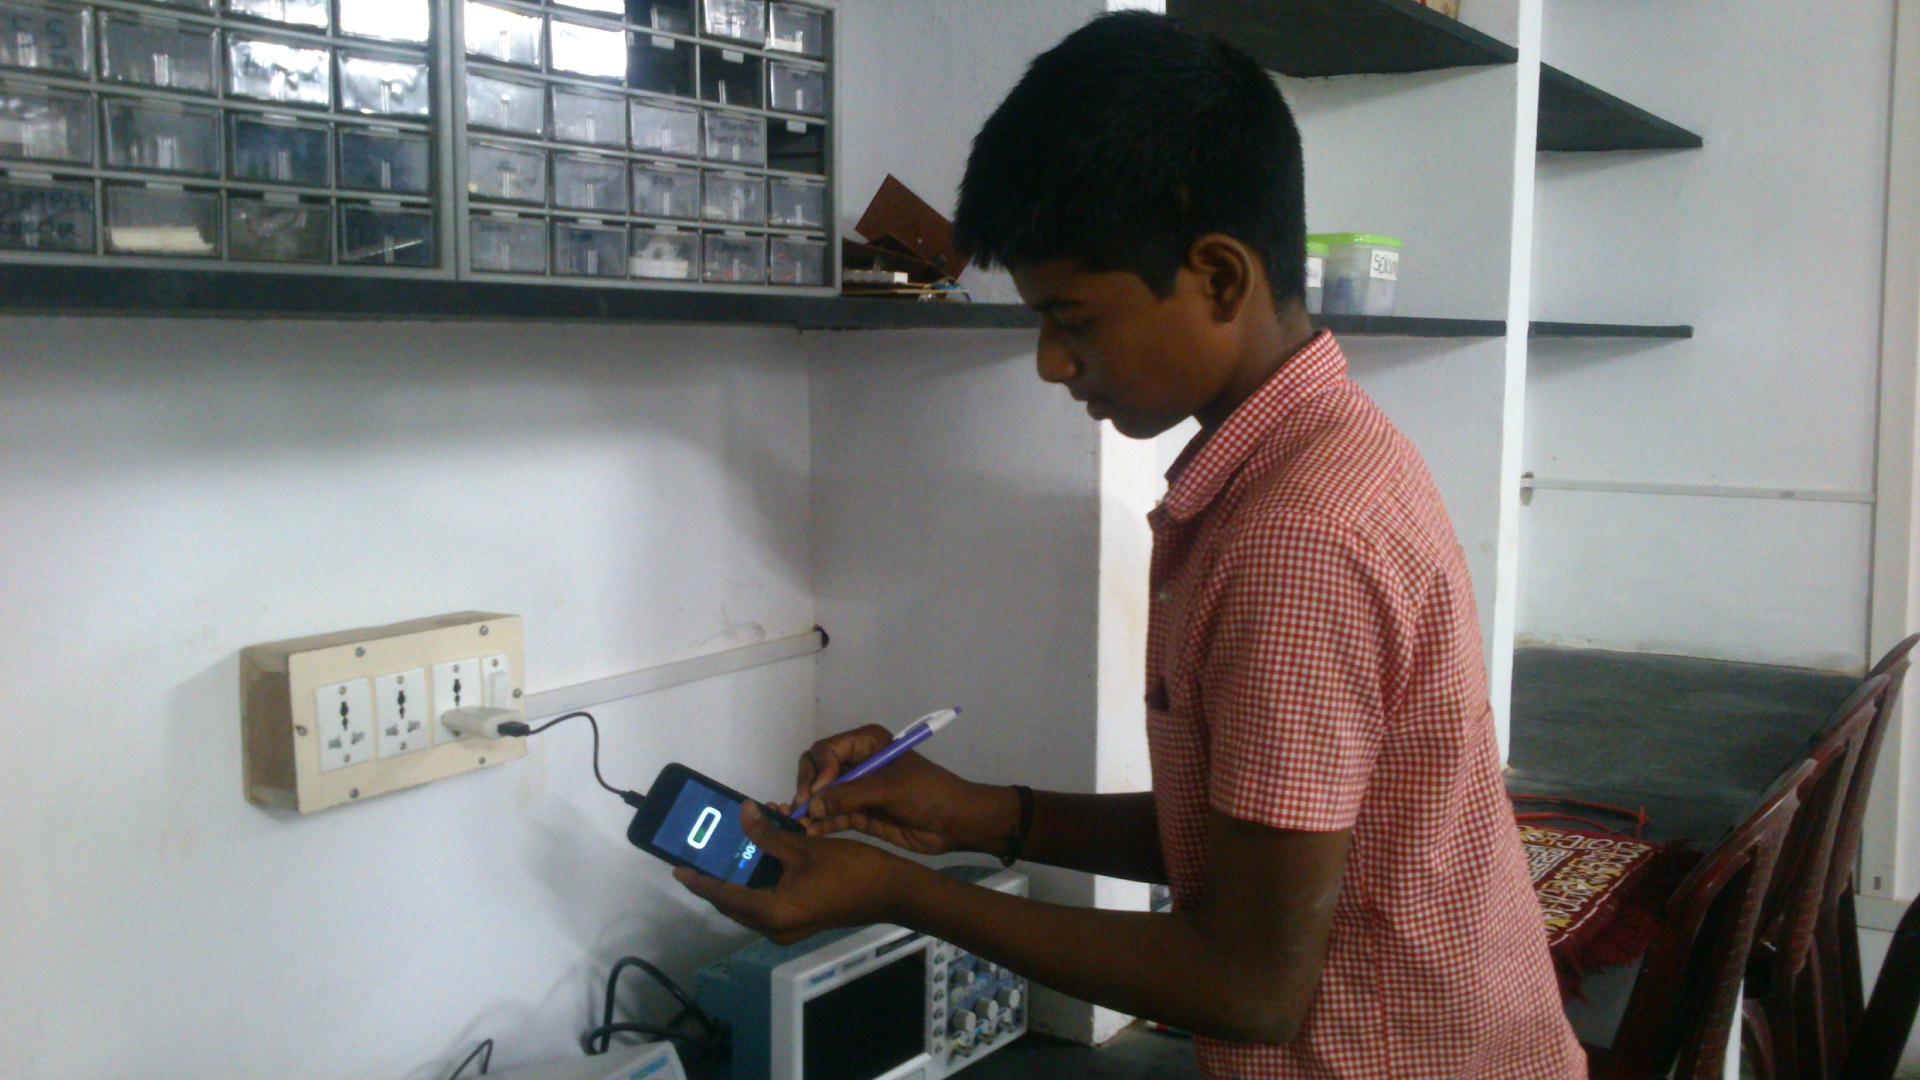
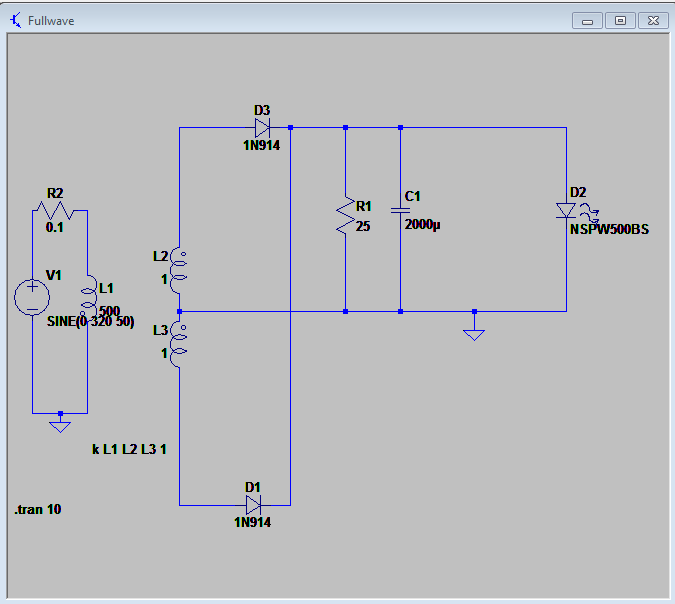
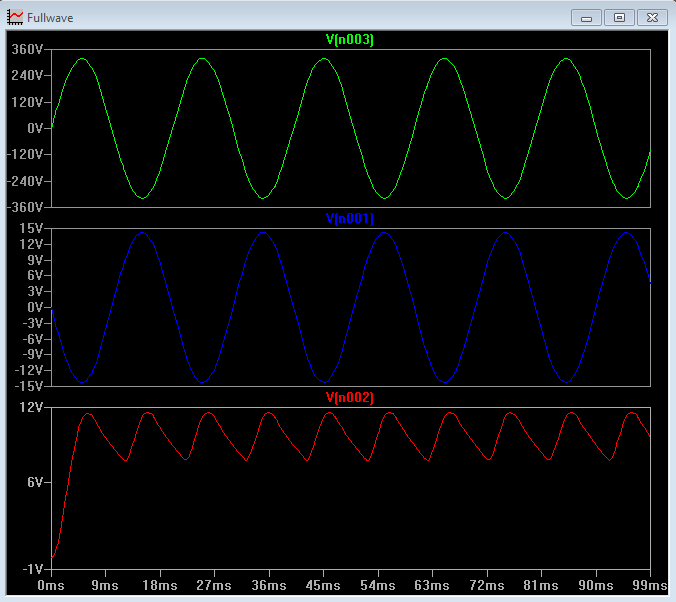
On the first day of the course we saw the difference between Electrical and Electronics. How to find the faulty breadboard. I also learned how to use the oscilloscope and add two signals. The class was new and interesting.

Patterns with 2nd standard

In Isai Ambalam school 2nd graders had a difficulty in finding the pattern. When I use Dienes blocks and jodo cubes to identify the patterns. I asked the children to arrange the cubes in different orders that they have seen it in real life. I split  them into two groups and asked them to arrange th cubes in patterns. They started doing that and then shared how they arranged the numbers from 1 – 10.  When I used the Dienes block it was difficult for them to tell how many blocks are used visually. Then I used Jodo blocks it was big and they were in different colors. Children were able to tell the different patterns. They were able to see it visually and they were able to draw it on a paper.  They helped each other to identify the pattern. They were able to tell the different patterns that they saw in their house.


9th and 10th activity class

On Tuesday 9th and 10th had activity class. Children from 10th wanted to make a magnifying glass. They took a plastic bottle and carefully cut out two circles. They joined those two circles at the edge using glue gun and left a small gap. They dip it into a glass of water and filled it. But they found that the water was leaking. They tried it again using Fevistick. Their exploration creative ideas were really inspiring. With the remaining parts of the water bottle that was been cut were been joined together and formed a mini water bottle.They put some mud inside the bottle and kept a flower and few grass and made it as a flower vase.


On the other hand a 9th student had a mobile phone which was not working. He found that the battery was not charging properly.One of the wire that goes to the battery was broken. He soldered it and charged the battery and turned it on. It was great to see that the mobile gave and sound and turned on. He called everyone who were there in the room and showed them that he made it to work. He was so happy to see that it was working.

Making Homopolar motor with 7th graders

Janani and Vishal made a homopolar motor. Janani got excited when she saw this experiment online and she wanted to build one on her own.

Making:

Materials needed: 1*AA battery, 3*neodymium magnet, Coper wire of length30cm.

Step 1: Place the three magnets at the negative terminal of the battery.

Step 2: Bend the coper wire as shown in the figure. Make sure it is not insulated, if so please scratch the wire till you get rid of the enamel.

Step3: Put all of them together. Place the coper bend wire on top of the positive terminal of the battery and other end touching the negative terminal of the battery.

Take a look at the video:

  • The current in this homopolar motor flows in the presence of a magnetic field. When a current flows in a magnetic field, it will experience something known as the Lorentz force. The Lorentz force is what causes the wire to spin around the battery.[1]
  • The wire connects to the battery at three points. One point of the wire is on the positive terminal, and the two ends of the wire are near the magnet, on the negative terminal. The current flows out of the positive terminal and down both sides of the wire. The magnetic field pushes the current outwards, causing the wires to rotate.[2]

sources:


Silicon Structure

Arun and I, we wanted to make a 3D Silicon structure using Judo Straws to see how it is structured. We found the below video on You Tube and replicated the same

One silicon atom has four shared oxygen atoms. The centre part(the four green straws joining together) inside the cube are Silicon atoms and the corners of the cube are each 4 shared oxygen atoms.

I-smart class inauguration and the night before it

On Saturday we inaugurated the Ismart class room in Udavi. 9Th std children from Udavi and children from Isai Ambalam had a sleep over on Friday to decorate the place. Children from Isai Ambalam brought their projects to demonstrate during the inauguration. They were so excited to see the Ismart room. They kept all the chairs out and cleaned the room. Then they all went to STEM Land and brought all the electronics components and the materials to the smart room. Also they took the mindstorm and the games with them and kept in the room. All the children and the facilitators played a game where they were split into pairs and shared three things about them to their partner. Then each one of us got up and shared about our partner to everyone in the circle . It was really great to play the game through which the children from Isai Ambalam and Udavi came to know about each other and formed a good relationship between themselves. Then children shared what they learned and enjoyed in STEM Land and they explained how the mindstorm works.

They played games and were enjoying. They even chose their place in the room to present their projects for the next morning. Later everyone had dinner and got freshen up and watched a Ratatouille movie. Then it was time to sleep and everyone went to sleep. The next morning children got freshen up and split their work among themselves. Some of them decorated the the place using colour papers and some of them made a Rangoli in front of the room and beautifully coloured it. It was interesting to see children taking up responsibility by themselves and giving their best. The inauguration was from 10.30 to 2.00. By 10.30 A.M 8th std children came with their projects and games and organised their place. They decorated the Rangoli with colourful flowers and inaugurated the room by lighting up the candle. Every one were informed the purpose of the I-smart class and each one of the children, facilitator, volunteer and guest lit up a candle and started the day. It was nice to see all the candles floating on the water gently as everyone went around the room and explored their learning. Children gave lot of effort to complete their projects and to record them. Their recorded projects were played on the projector and children were challenging the guest and the volunteers to play games with them which was the fun part. A volunteer who came to learn programming had also did a project in scratch and presented it. Isai Ambalam children showed their EBD on honey bee and their bamboo torch, Udavi children showed their mindcuber which solves Rubik cube, mobile applications that they have created, visual representation of algebraic identities, puzzles and games. The I-smart class was filled with technology and logical thinking which inspired everyone. Then everyone had some snacks. Then the 9th and 7th graders came with their projects and replaced 8th graders. They lit up the candles one by one and started their presentations. Everyone enjoyed the day and were really impressed by children’s growth and their interest towards technology and logical thinking.

Isai Ambalam Pond

In Isai Ambalam school for one week there was no water. The bore water didn’t work. We started having a conversation how to over come this problem. During that week it rained a lot. Since it is a slope the water didn’t stay there. The ground was wet. Children wanted build a pond. They started digging the behind Sanjeev’s house. They measured the length of the pond. Then they started digging the pond. After digging they wanted to cement it. Children started buying bricks and cement bags. During sleep over we started cementing the pond and it was really a good experience with children.

We started with the first layer of cement and let it to dry. Then fixed chicken mesh on top of the first layer. We added mesh to prevent cracks. Then again we started add cement as a third layer. Then the pond didn’t look nice without a boundary. So we bought bricks with the children and started making a cylinder shape. Finally we smoothen it with cement. After that we wanted to leave make a sitting bench. We built a sitting bench.

Then we inaugurated the pond by leaving the fish in the pond. We also estimated how much cement bags were used. We learnt to find the volume of the cement bag and the pond. We also learnt to use the mason tools. Children were able to do in a group and everyone had equal opportunities to share their work.

Half wave and Full wave rectifier

I made a model of Half wave and Full wave rectifier using LT spice.

Half wave rectifier:

A half wave rectifier is a device which makes use of properties of a pn junction diode. A PN junction diode only allows the current when it is forward biased. When it comes to real life application we need DC voltage. This circuit converts AC to DC voltage.

Full wave rectifier:

A full wave rectifier uses two PN junction diode which is more efficient and burns less power. It uses both the cycles of the AC wave and gives a smooth curve.

Before – After Images of iSmart Classroom

                                                                                                                                             – Bala Anand

During construction:

The lab in iSmart classroom

Work space getting its false ceiling done:

After completion of work:

-Sundar