How does the world look smaller than it’s size in the map?

How does the world look smaller than itself in the map?

How do I look bigger than myself in the banners?

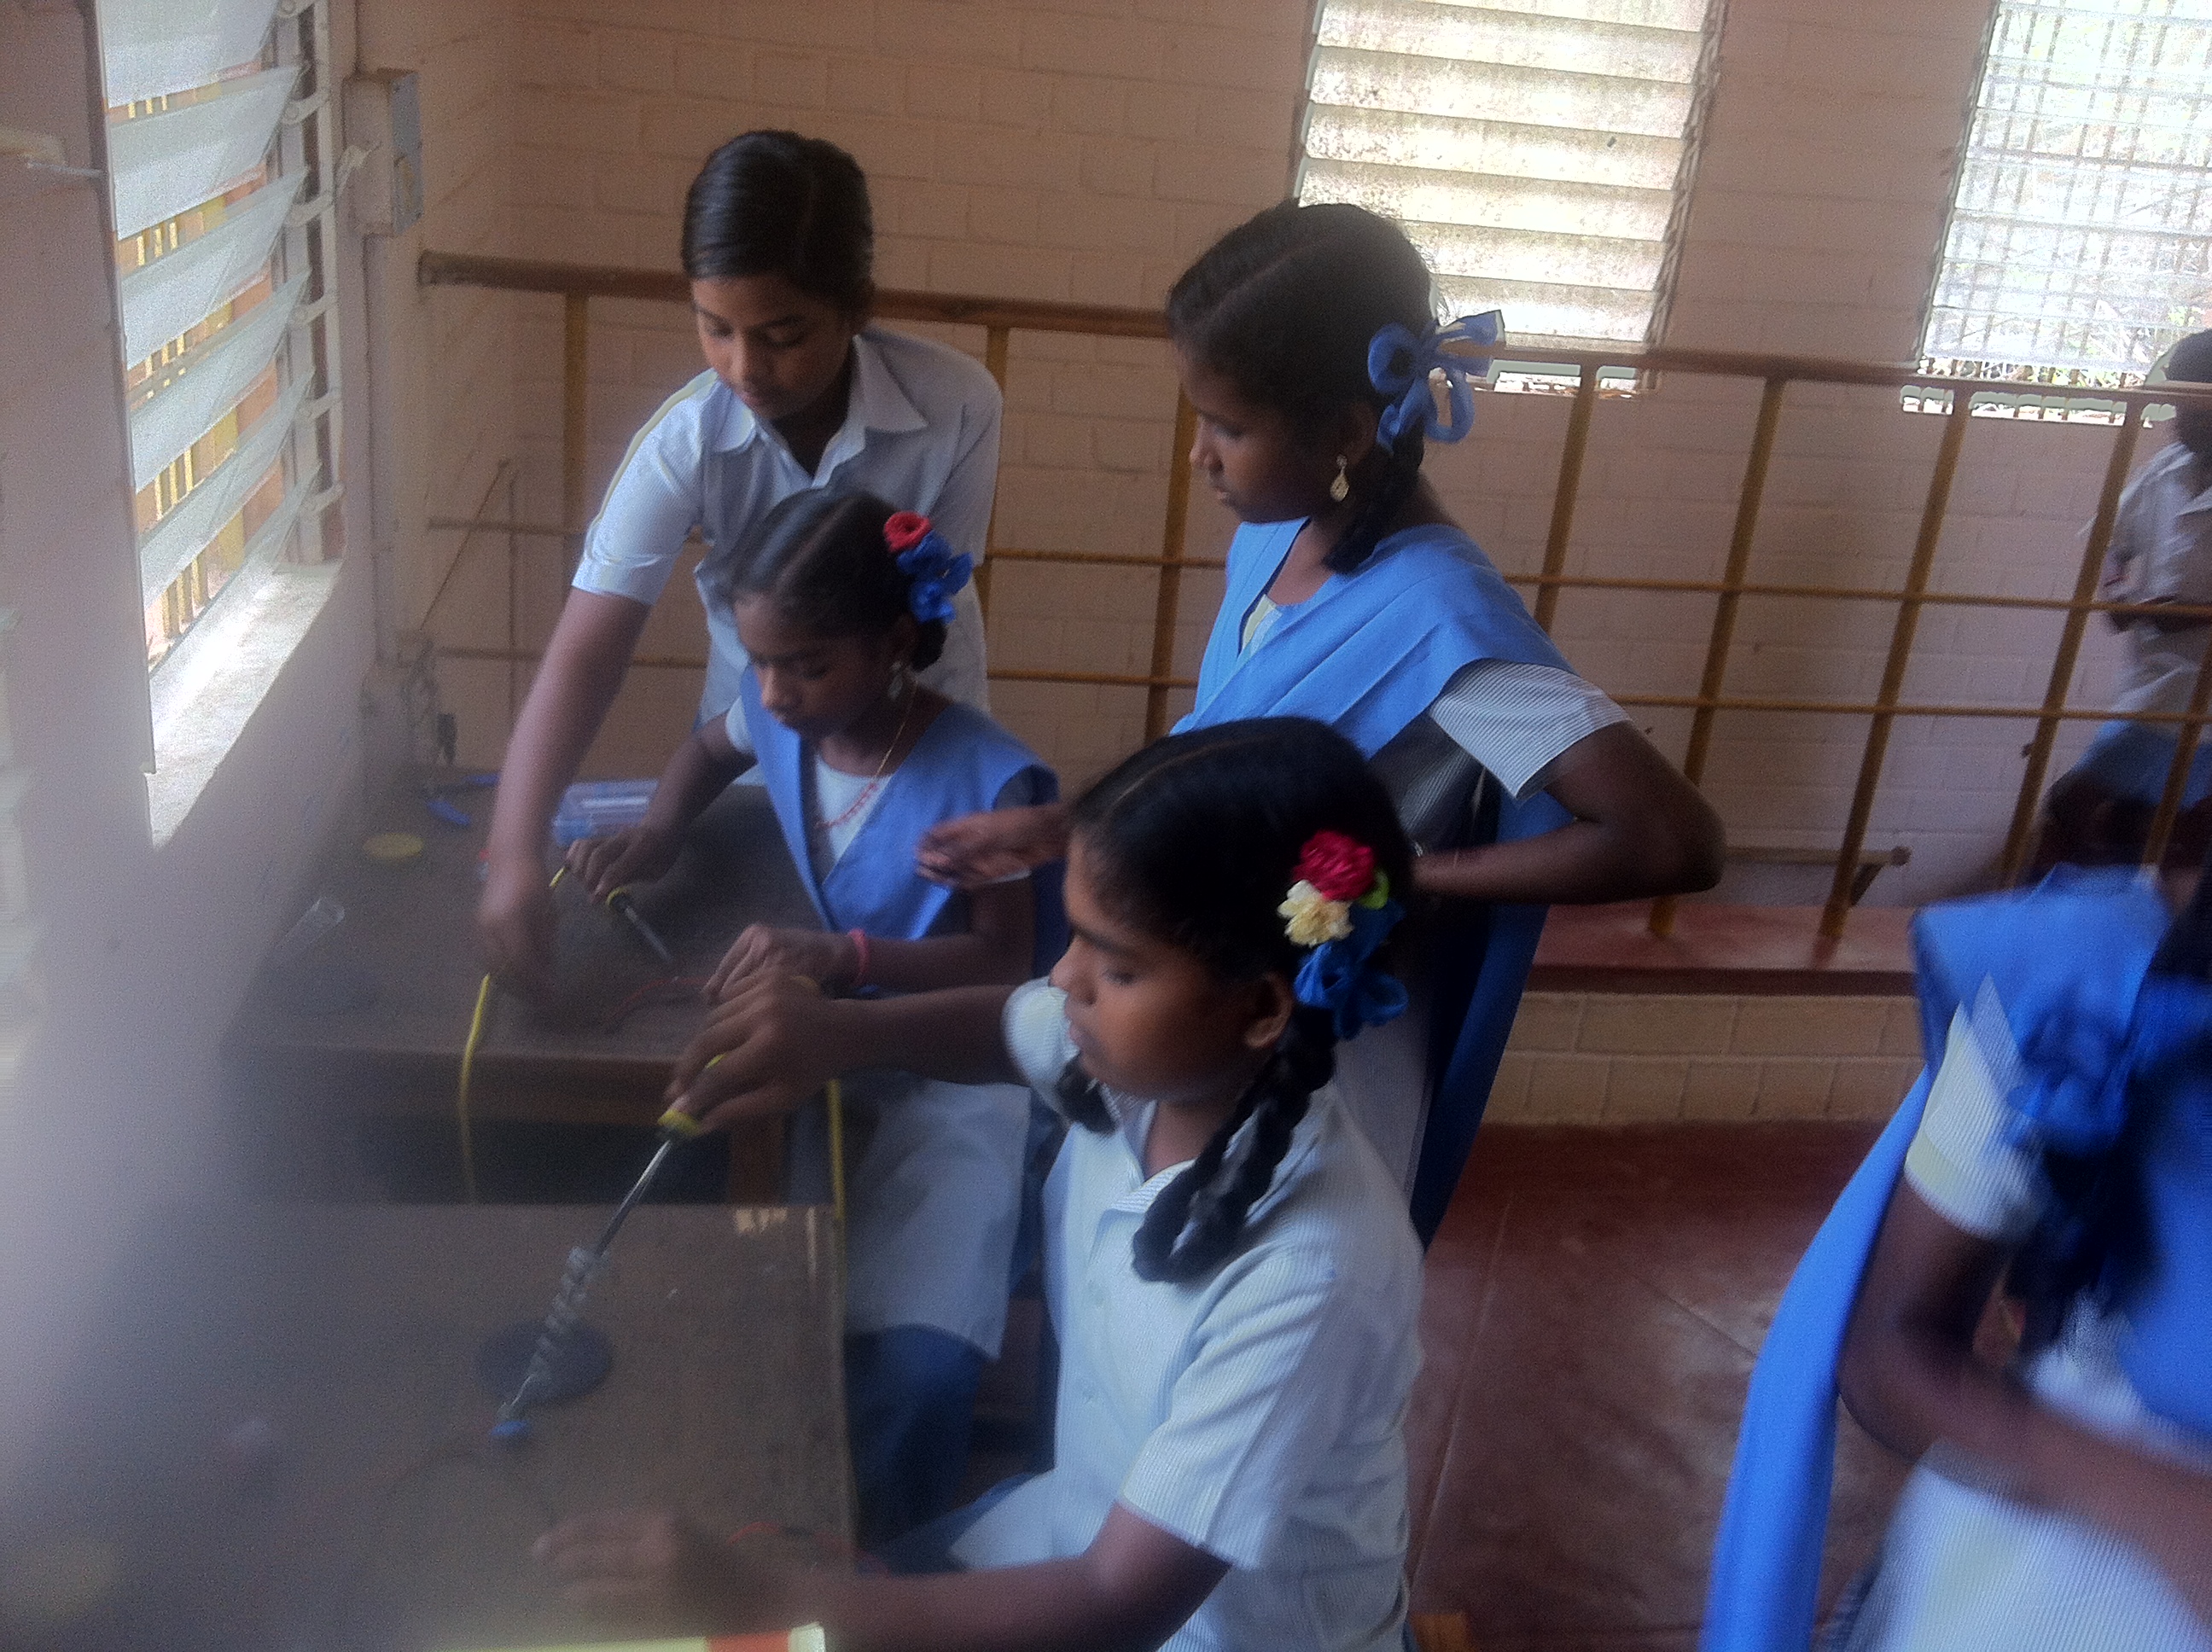
I had this conversation with 7th graders of Isai Ambalam. Few students seemed to be very eager to express their opinion for these questions and they all had started answering for this at the same time. I stopped all of them in the middle and I asked the rest of the children, “did anyone understand anything from what they were saying?”.  ” Yes akka”  Varsha told as if she heard and understood everything that has been told by everyone and rest of them told “No, I didn’t” in cores voice.

“Ok, we will go one by one akka. First I will start”, kameshwari volunteered and started saying, ” Because the world is too big that’s why they( the people who made the map) made it small, otherwise we can’t see the whole world”.

I thought I have to repeat the question as it appeared to me that the child misunderstood what I have asked them. How does the world look smaller than itself in the map? I insisted on the word ‘HOW’. She sat down in her place with the gesture saying that she was thinking.

It seemed that Akash wanted to share something, so I looked at the side he was sitting. ” I don’t know how to say that akka, I’m looking for a word. Give me a moment”, Akash said with a voice of proud and little confusion. Then Prabha(Prabhakaran) raised his hand and started,” Akka I could enlarge my photo as many times I want till it became the size you need, likewise we can reduce the size too. In other words, it’s like Zooming in Zooming out a photo”.

.  IMG_20170321_123006822

IMG_20170321_123107129


Akash interrupted him saying “I found it. The word I wanted to say was times… “. I thought I got the crux of the topic which I had chosen.

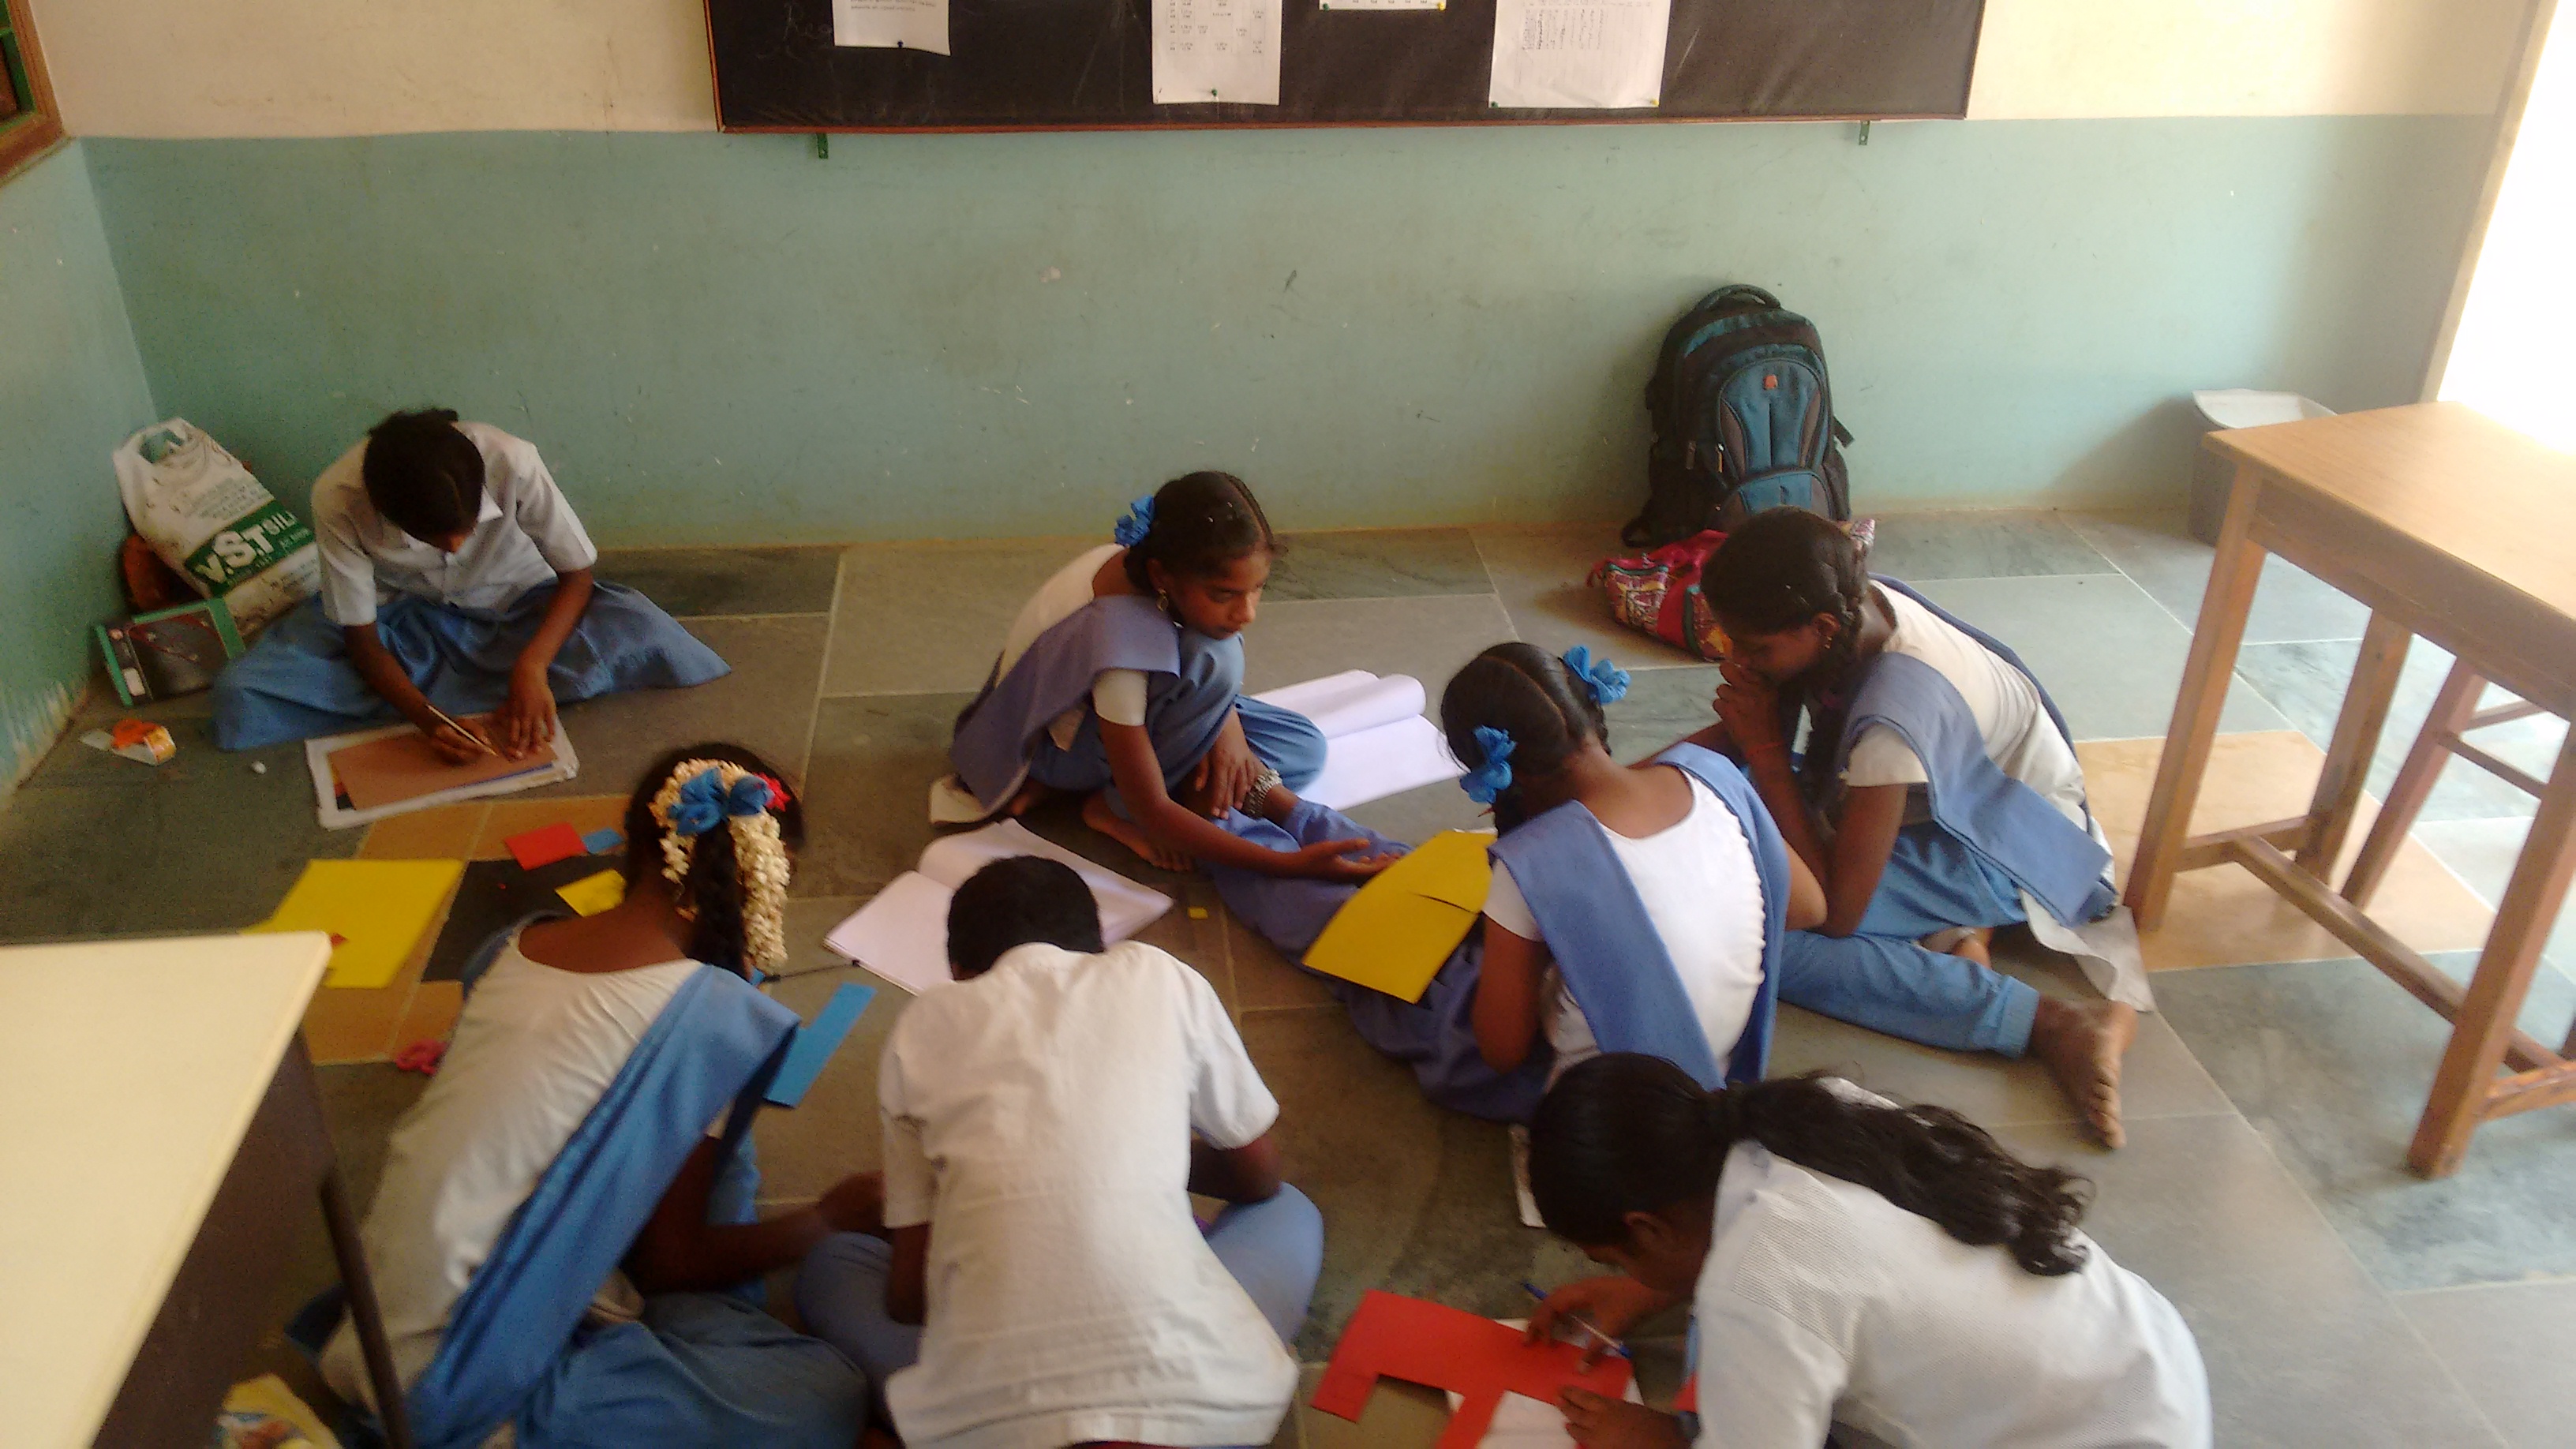
Later they picked up some shapes like square, rectangle, and triangle and scaled up/down to some ratios. I felt satisfied with I had done with children at the end of the class.


7th girls and boys working with SSD (Seven Segment Displays)

The SSD’s had really picked up during the project period with the 7th children after Barani had created a project. The girls started to understand and light up the letters they wanted. They used the multi meter in diode mode to test whether the SSD’s where common anode or common cathode in configuration. Initially they were powering up the SSD’s with a 9V battery, then they started to use the arduino.

IMG_20170321_135523798 IMG_20170321_135159123 IMG_20170321_135150987_HDR IMG_20170321_135527639

link to Barani’s Project: http://www.auraauro.com/circuits-simulations/hardware-clock/

Along with them Nirmal had also joined the team and started to understand SSD’s with the support of Shalini and Sushma.

IMG_20170321_135634311 IMG_20170321_135638893 IMG_20170321_135646582


Isai walk to the lake

Saturday school has started in Isai Ambalam. Naveen and I took the 7th grade and some children from the younger grade to the nearby lake to explore it. Obviously the lake was very dry with very little rain last year. We had different conversations about how the lake was formed, fishes, insects, why the lake is very dry and about a well that was close by etc.. It was quite fun except for the sapping heat.

IMG_20170325_113304 IMG_20170325_114418 IMG_20170325_112908

Soldering Session

7th graders of Isai Ambalam:

Student learnt about soldering in the Stem land. I taught soldering a battery connector to 7th students with a male male connector so that it can be used in a bead board. Then they were able to use the battery connector to connect with a 7 segment display. They learnt to connect a 7 segment display and they came to know about types of 7 segment display. Then they were able to light their names using the 7 segment display.

Prathap

photo 4(2) photo 4(3) photo 4(4)  photo 5 photo 5(1) photo 3(3) photo 1(6) photo 1(7)

Areas with Isai Ambalam Children

The 5th and 6th graders had made a metre square using chart papers to measure its area. They measured and cut a wooden rod and used it as a scale of 1 metre. Everyone were involved and I felt they were responsible for the work they were doing. A girl(Keerthana of 6th grade) used a hack saw for the first time to cut the wooden rod. Children used Dienes blocks to calculate areas of their notebook. Then they tried guessing the area of the 1 meter chart paper by placing their note books on the chart. They came up different numbers.

The next class we had 3rd, 4th, 5th and 6th grade combined class for demonstrating area of a square/rectangle. The 3rd and 4th grade did the activity the older children did the previous class. ie, calculating areas of their notebook using Dienes blocks.

The 5th and sixth grade children measured the area of the chart paper that Arham had put together for the children to measure. The chart paper was 1.6m by 1.4m. They had difficulty in multiplying decimals. They kept on placing the decimal point in the incorrect position. We demonstrated decimal multiplication using graph sheets. They they were able to understand decimal multiplication.

VID_20170317_094604
Combined class. The metre square chart paper can be seen in the middle
IMG_20170317_095650
5th and 6th graders measuring the 1.6m by 1.4m chart paper
IMG_20170317_095638
The chart paper that Arham made
IMG_20170317_102038
Children using graph sheets to multiple decimal numbers


— Arun and Bala —

Savarayalu 13/03/17

Savarayalu 8th Grade Class 13/03/17 

The class started with showing the Piper movie.
What they learnt from the movie:

  1. If we try something we can do everything.
  2. What ever we don’t know, we need to learn.
  3. We shouldn’t be afraid of anything. 
  4. If we have experience we can learn many things.
  5.  We can learn from others.
 Then we asked what would they like to do in Scratch? 

  1. They wanted to draw India map using Scratch.
  2. Parts of the body.
  3. Something with light and sound some wanted to do.
  4. Parts  of animal, bird, rocket, tree.
  5. Some wanted to do poem.
  6. To show name when the mouse pointer is on the vegetable.
Finally Sanjeev showed one example to the students how to separate the body parts of a cat. He introduced vector mode to split the parts of the body. Once the mouse pointer is on the parts of the body it displays the part name. We told them to practice what we taught them. Some student were not able to do on their own and we helped them. And they were able to do it.

At the end of the class we asked what was difficult:

Without using victor mode students were having difficulty in separating the parts of the object.                       

Rigorous:

I would like to be rigorous in time management.
 

Home work:
To create a new project on their own with what they learnt in the class.
Prathap
photo 1(5)photo 2(5)
photo 4(1)

Hardware clock

Recently the STEMLAND name board made using SSD had got dim and the 7th std students took it as a project to fix it. They de-soldered the dim SSD’s and Replaced it with new ones.

Barani got interested in the SSD’s and started powering them up using the Arduino, he manged to code the Arduino to print all the numbers 0-9 using two SSD’s

Then to take a step further he started his quest to build a clock. He had added a counter to light the corresponding diodes  in the SSD along with Sanjeev, this was done using a 9V battery.

As I already mentioned in my blog that Deepanam children built an oscillator. Bharani used the output of the oscillator as an input and made the clock count from 0 to 9.

Bharani making the clock count by removing and inserting the input each time.

Giving input from the oscillator built by Pravina (Deepanam kid).

Arun and Sundar


Checking Hard drive Partitions

To check if your hard drive has more un formatted disk space that is not being utilized do the following:

  1. Right click on my computer icon.
  2. Select Manage
  3. Storage
  4. Disk Management

You will be able to see all the partitions; allocated and un allocated.

If there is un allocated space, format the partition and add label to it and make it active.

The new drive will show up in My computer 😉

Understanding Motors; Bubble Gadget

The 6th std from Udavi,  Had couple of motors in their equipment stock. They were eager on biasing them. It started with removing the gear from the motor and setting a flan blade to it. The children noticed that wind was only produced in one direction when connected to terminals of a battery, it was either inward or outward. So by changing the polarity the direction of rotation also changed in the motor. Then came the idea of creating a bubble gadget( the 5th std students were playing with bubbles during the break, this gave the idea I presume) At first the students used two of the same kind of motors(same RPM) one for blowing air and the other for creating bubbles on a stick attached to a ring made by shaping copper wires into a circle and using glue gun to stick them on. This some how did not work as the both the motors were synchronized together. Then we got a 100RPM motor and used it as a substitute, this made possible of creating the bubbles 🙂 Then they cut wood to make a platform to fit the set up and nailed into a plywood and the setup looks like:


Pie Chart – Learn by Montessori and plot by GeoGebra

A week ago few students ( Kabilan, Vignesh and Punithavel ) came to me with a question and the question was “Akka (sister), what is PIE CHART and how do we do it?. Out of three of them, two doesn’t have a clear idea of what is Fraction. So, we started with Montessori fraction kit. I took the 6th family of the kit ( circle of 6 pieces). I started with a question “6th family has 6 pieces.  Then what is the percentage of it ?”.

“100% akka” the answer came out in a fraction of seconds from all of them with confident voices. Then I took out two pieces from that and asked the same question. That time there were two voices started murmuring something which I couldn’t hear clearly ( I think, that’s what they wanted). I waited for few seconds to Punithavel to complete his mental calculation. He said, “It must be more than 50% and less than 75%” and immediately after he shared his answer he started explaining his thought process to his two friends. He told, ” if 3 pieces give 50%, then 4 pieces could be more than 50% but less than 75%.  They shook their heads as the sign that they understood it but they seemed to confused too. I felt good about his thought process though he couldn’t tell the accurate answer.

Then I asked them to tell a story for that. This time Kabilan started. “Akka I had 6 cake pieces and I gave two to Vignesh and 4 pieces left. I continued with his story asking,” So out of six, you have only 4?”. They said, “Yes”. I asked,” Can you write that in your notebook?”. Punithtavel asked, ” What akka?”. I replied,” What you just said which should be written as a fraction not as a sentence”.

Two wrote it as 4/6 and one wrote it as 6/4. Each showed it to me to check their “ANSWERS“. I replied saying ” I don’t know. You discuss this among yourself and tell me”. After the discussion, they all came up with 4/6. I said, ” it seems fine but how can I convert this fraction into a percentage?”. Punithavel told, “It’s easy akka. All we need to do is multiply 100 with this fraction” and the rest of two nodded their head as they agreed with punithavel’s idea.

I thought that they were ready to do their pie charts so I asked them to tell me the difference between the percentage which we calculate there with the percentage which given in the text book’s example problem on Pie chart. They found that in the textbook they were multiplying 360 instead of 100 with the fraction part. I told them to go figure it out on your own. Off course it took time because they have to ask their buddies. But they did. Here is what came out after the conversation.