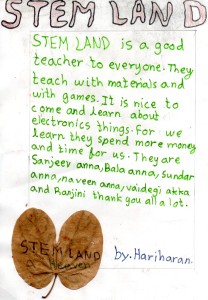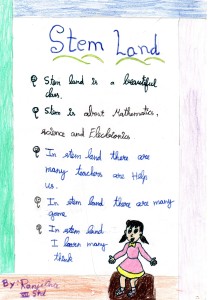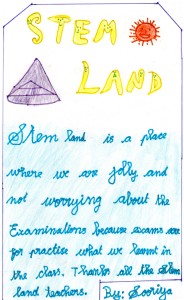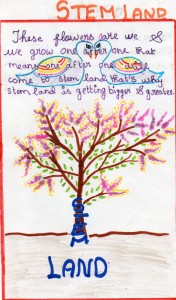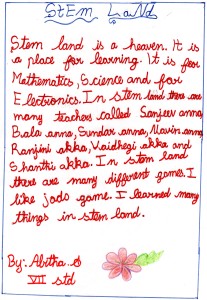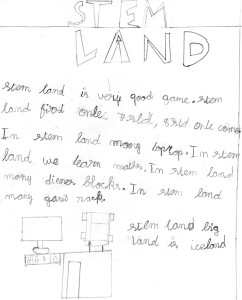
 Link to PDF : children_on_STEMLAND
Debugging of Harmonium Circuit
Maker space of STEM land is used for building new things based on Electrical or Electronics ( sometimes 3D). As the first step, students started to learn soldering using veda kits (soldering kits). One of students ( Yuvaraj, from 8th grade) soldered the kit of Harmonium. Unfortunately that did not work. So we simulated the circuit first in order to make sure there is no bug in that kit design. As expected no bug in the design.
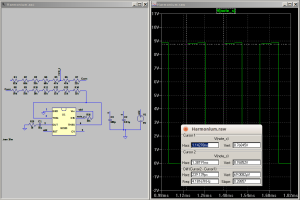
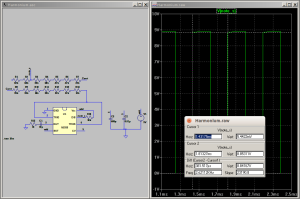
Harmonium simulation file.
Then started debugging the circuit and found the bug in placement of the IC ( Flipped). Now Yuvaraj happy!!!!.
Name Board of Stem Land
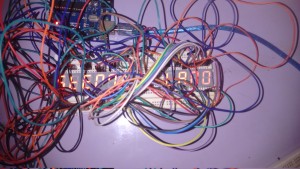
On the day of inauguration students ( Yuvaraj & Preethika) built seven segment display to display “STEMLAND” using arduino without any pre plan (fig-1). Then some of the students (Anushwathi, Praveen, Sundar, Sharmila) wanted to make it as name board for Stemland by soldering it properly(Fig-2).
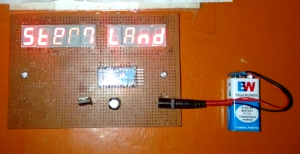
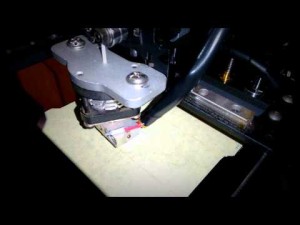
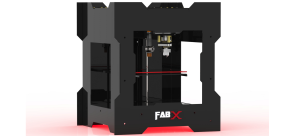
In addition to that, There is another name board available for the Stemland ( second door) which was made using 3D printer.
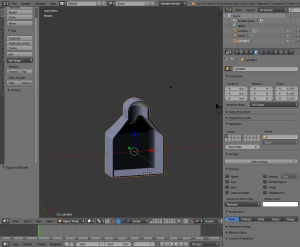
Using Blender
To print using the 3D printer, we require a software which has 3D graphics and animation. I used blender, an open software that is supported in Ubuntu. Can be downloaded form the following link.
https://www.blender.org/download/
The 3D printer recognises .stl files as input and builds on them .
some useful keys to use in blender:
Shift A – add objects
Tab – edit / object mode
Space – tool selection
S – Scale
A – select all in edit mode
C – select object tool
Alt + Shift – select all
B – box select
R – rotation, can be applied with axis, + (degrees)
E – extrude, can be applied with axis
Z – Mesh mode / solid
Shift + D – duplicate object
G – Grab can be performed along any axis, and scaling also included
Ctrl B – Bevel smooth edges
Ctrl R – Loop cut
Ctrl ‘+’ – Mesh select
View:
Camera – Numpad 0
Top – Numpad 7
Bottom – Ctrl + numpad 7
Front – Numpad 1
Back – Ctrl + numpad 1
Right – Numpad 3
Left – Ctrl + numpad 3
Subdivide mesh:
1.Edit mode
2.Tools
3.Add
Project a hole or shape in a object:
1.shift + A, choose – curve – circle
2.place where u want it to be
3.on top of another object to be cut
4.Shift and select other object
5.change to edit mode
6.project knife
7.and delete the face
Solidify object:
1.edit mode
2.select faces
3.space select solidify
Totto-Chan
I finally finished reading this book. Its about the life of a little girl in japan. I thoroughly enjoyed every part from the book and how everything was described. Loved the the two characters – Totto Chan and her Headmaster. It was a little bit saddening towards the end for me but I guess that’s how life goes sometimes. Recommend everyone to read it. I haven’t read many books but I felt that this is one awesome book!
Alice Program
Alice is a programming which support the creation of 3D animation. Student can create a program to animate his or her own imaginative environment ( people, animals, objects & places). A student (Rathinavel) from 8 grade made a program in Alice ( find below) . He created a program which visualize the environment of seashore and the sea. Indeed, he is the first student who did full fledged program in Alice.
Before Testing a Chip or PCB
- Check model of all components.
- Check if the board is close to what we expect.
- Check resistance of the materials.
- Do the measurements that can be done without powering it up.
- Check simulations.
Ball – Ball Collision
Below is a python code written in codeskulptor to test the reflection of a ball when it collides with another ball. Different values can be given to v and v1 to test it if is working in the manner we want to.
from math import *
v = [1, 0]
v1= [0, 0]
angle = pi/4
def update_collision(v,angle):
v1[0]=v[0]*(sin(angle)**2-cos(angle)**2)-2*v[1]*sin(angle)*cos(angle)
v1[1]=-v[1]*(sin(angle)**2-cos(angle)**2)-2*v[0]*sin(angle)*cos(angle)
return v1
print update_collision(v)
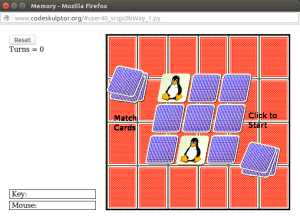
Memory Game
The Course (Interactive Python) gave exposure on:
- Creating GUI by implementing logic.
- Handling mouse click events.
- Calling draw handlers on canvas.
- Debugging python programs.
Memory game URL : http://www.codeskulptor.org/#user40_srqjc0bWay_1.py
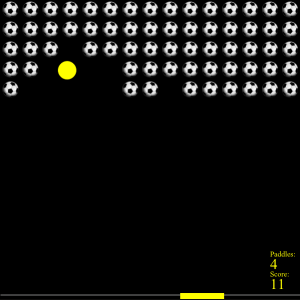
DX BALL
This is a game that I made after completing a course on interactive python. The coding was done in codeskulptor.
- The course helped me to learn how to write code for GUIs.
- It helped me to understand how powerful classes are in programming.
- As it had a certain deadline for the projects, I learnt to manage my time better than I usually do.
- From this program, I learnt how to make a ball reflect of another ball when they collide with each other.
- Link : http://www.codeskulptor.org/#user40_gYWOngGyxdBfvwS_0.py
