Photography Exhibition – reflection

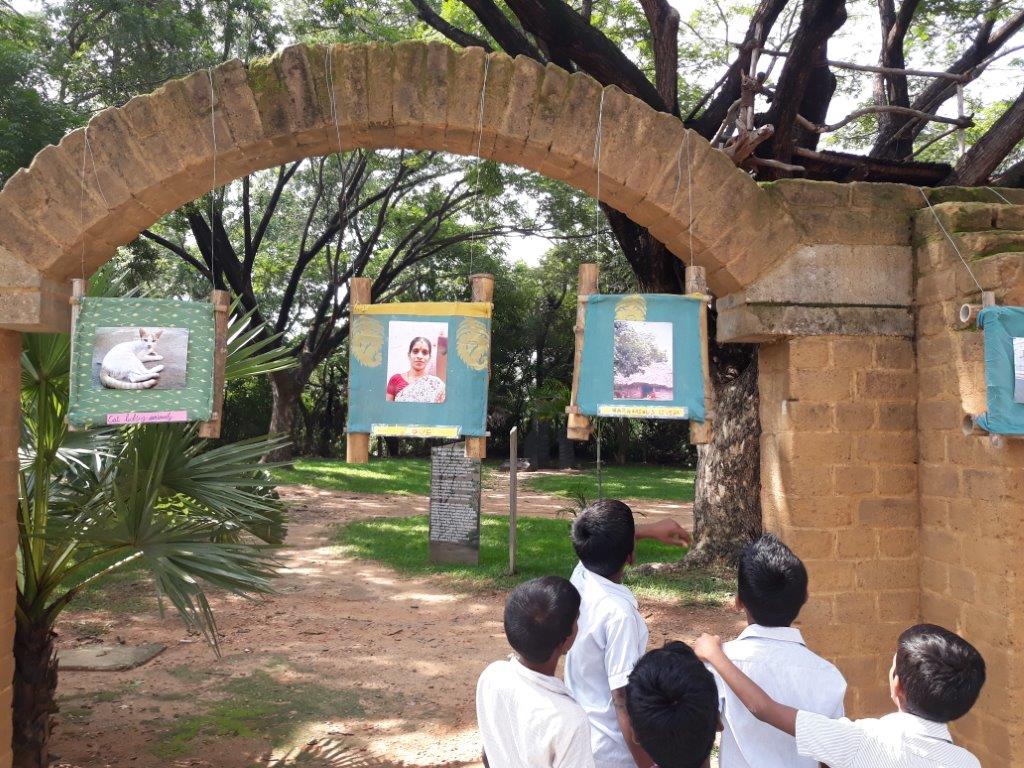
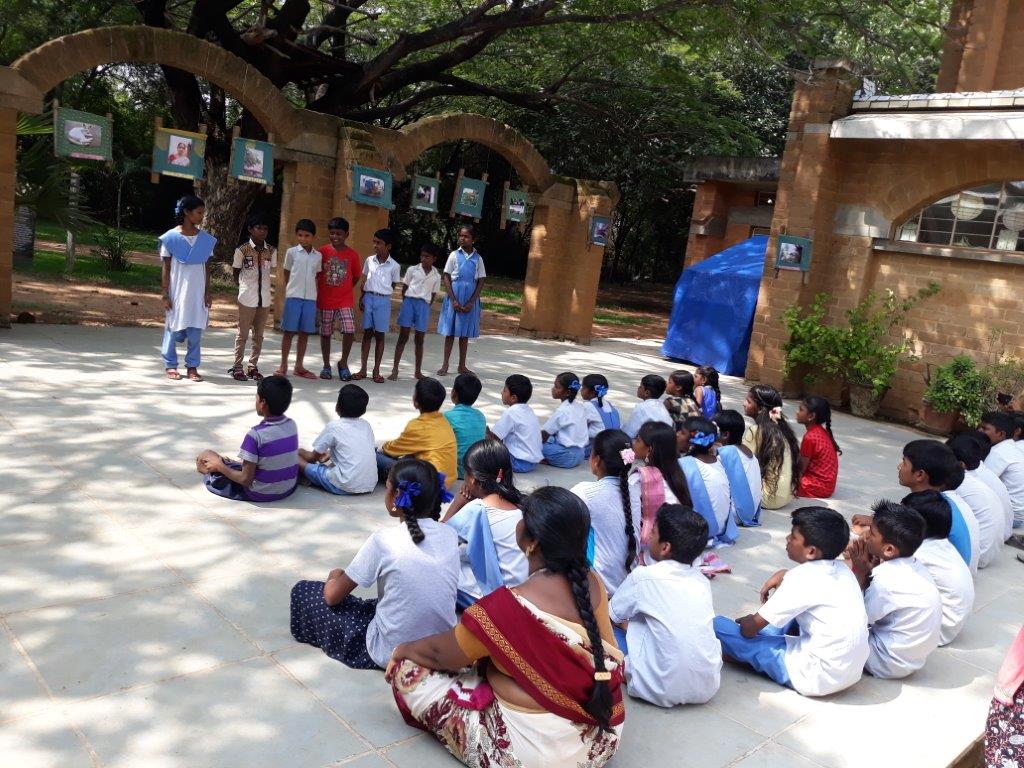
Children of 5th grade from Isaiambalam school put up a photography exhibition last Saturday(16.11.2018). I went in as a visitor and was curious to know what those little hands could have captured using the big shot cameras.

The photographs were displayed in bamboo frames that the children themselves made and was hanging on the walls of the visitor center. The frames were beautifully made with bamboo sticks and printed cloths stuck to it. The photos were simple added with life and beauty. It had catchy cations under each photographs. They had the courage and creativity to do something different. Children presented their work and talked about their learning and reflections to all the people who were present. Initially I could feel their nervousness and fear talking in English in front of everybody but after a while they were flawless. I hope it inspired all their peers in the school and encouraged them to do something different in the future.


Raspberry Pi Documentation

~Saranya

The Raspberry Pi is a low cost, credit-card sized computer that plugs into a computer monitor or TV, and uses a standard keyboard and mouse. It is a capable little device that enables people of all ages to explore computing, and to learn how to program in languages like Scratch and Python.

What you will need

The Raspberry Pi ships as just the single-board minicomputer. There are a few additional components you will need before you can get started. So, when making your purchase, keep in mind that you’ll need the following extras.

  • Raspberry Pi zero
  • 5V micro-USB power supply
  • USB keyboard
  • USB mouse
  • microSD card(8GB or 16GB)
  • A monitor that supports HDMI
  • An HDMI cable
  • Wi-Fi dongle

Step 1: Reformat your microSD card

When the reformat is complete, you will get a notification window. Select OK to close the window.

Step 2: Download the Raspberry pi 

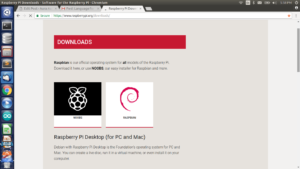
There is two different version that we learnt one is Terminal version another one is Desktop version. Here is the link to download Terminal version and Desktop version:  https://www.balena.io/etcher/      and  https://www.raspberrypi.org/downloads/

Here is the image for the page to download the Raspberry pi.

Terminal Version:

After installing it will ask your username and password. Then check your IP Address by typing this command if config ……

Step 3: Set up your Raspberry Pi

  • Insert the microSD card into the card slot on the underside of the Raspberry Pi.
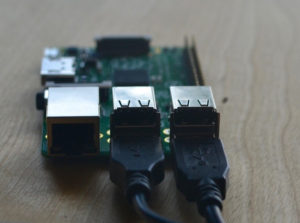
  • Plug the USB keyboard into one of the USB ports.
  • Plug the USB mouse into one of the USB ports.

  • Turn on your monitor.
  • Plug the HDMI into the monitor.
  • Connect the other end of the cable into the Raspberry Pi.
  • Connect the power supply to the Raspberry Pi.

Once the installation process is finished, Raspbian will automatically begin to boot(Desktop version).

Step 5: Configure your Raspberry Pi

When Raspbian begins to load a bunch of lines of code will appear. This will continue until the boot process has completed. Then, the Raspbian Home screen will appear. You will need to configure your Raspberry Pi system in order to add your location, date, and time.

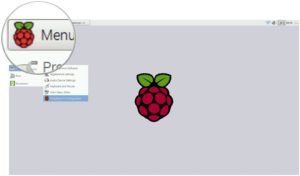
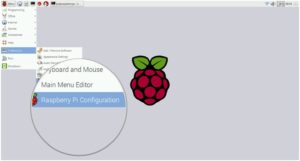
  • Click Menu in the upper left corner of the screen.
  • Select Preferences in the dropdown menu.
  • Select Raspberry Pi Configuration under Preferences.
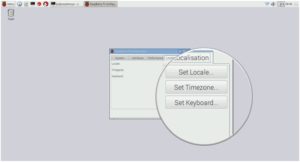
  • When the configuration window appears, click on the Localisation tab.
  • Click on Set Locale… to set your location.
  • Click on Set timezone… to set your local time.
  • Click on Set Keyboard… to set your keyboard language.

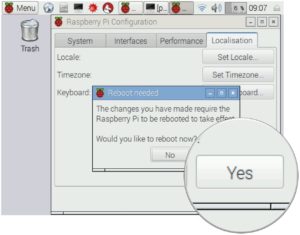
  • Reconfiguring your Raspberry Pi will require a reboot. When the reboot window appears, click Yes to continue.


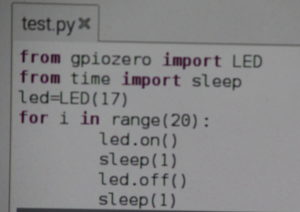
We did LED blink by connecting IP address. We accessed that LED in remote location it was like if we forgot to turn off the A/C. Wherevr we are by using raspberry pi we can turn it off the A/C. Here is the code for turn on and turn off the LED.

Once the terminal version installation process is finished, Raspbian will automatically ask username and password(Terminal version). Remining process please follow this video.


Reflections from SFNE workshop(Stewardship For New Emerging)

~Saranya

Session -1

1. When I deeply listen to others I was able to ground myself it made me relaxed and It made others also to be relaxed.

2. From the movie(12 angry men) I noticed they were talked about fact and interpretation.

3. Whenever I get complaints from someone I realized It was an good opportunity to learn and also I noticed when I am complaining to somebody I felt like I really care about the things that’s why I was complaining to somebody.

4. I realized that within 2 minutes I can make others to put in their fear at the same time I can make others to put in their stand.

Session-2

1. While doing the fact and interpretation tool I noticed myself is that if I give importance to the stories I was unable to find a solution (what to do next) at the same time when I give Importance to the fact I was able to know what to do next.

2. I have realized that moment to moment I was unable to be in integrity.

3. While doing the breakdown to breakthrough I noticed through my wild idea I was able to see what will be my output and outcome for my project. For breakdown to breakthrough I was able to connect with my synergistic operational.

4. I noticed there is relationship between fact interpretation and judgment and discernment.

5. I learnt what is the purpose for forgive without condoning.

6. While doing the overload and overwhelm I have realized that when I felt overload I was able to separate things according to the priority and also I can get help from others. When I am in overwhelm I did know what to do and also I did know whom to ask help. The overwhelm is just a feeling that I noticed it it was stayed in only few minutes then it’s gone when I went to do for another work.

7. When I was doing the conversation for completion I realized what was I missed for past conversation.

7. Whatever the thing I did in the past this session-2 helped me to notice and name it.

Learning scratch

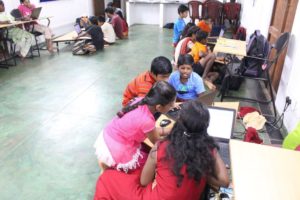
The 7th graders (2018-2019 batch) had stepped in for their Mathematics class for the first time in STEMland this year.  They took their own time and became familiar with filling their weekly plan and updates on the laptops. They saw their seniors work on projects and were eager to learn, some of them took the courage to approach and did learn a few blocks in scratch and got the feel of it, but had a little hard time on expanding their code. They often started to play around with the back ground painting and changing colors of sprites, but the coding part was still a little confusing.

The previous batches had a guidance course into scratch and that had kicked started their projects.  I had thought to do something of this type and get the current batch flexible with programming too. Then as a team we decided to create diversity in the class and put up an announcement for all those who were interested in attending the course to sign up. 5th graders from Isaimambalam had shown interest and 8th graders from Udavi along with the interns in STEMLand the course began.
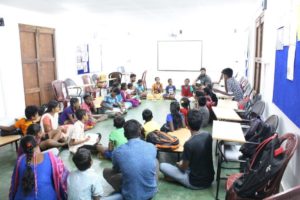
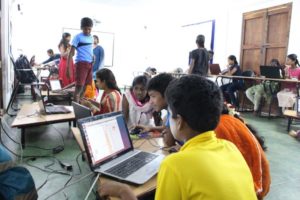
All the participants were eager to code and make the computer do what they want rather the vice versa. Pairs were made on a mix up of boys and girls, young ones and elders, interns and students. Each day started with a focused goal and how to broaden it when attained and make the program more flexible. Girls were eager in writing their scripts and explaining their program at the end of day or beginning of the next session on the main screen. Some children did not want to move on to the next task unless they had completed the current one to their satisfaction, and took extra time and involved in making their program more stable.

Through the course the children had learnt to use the pen function and through this draw regular shapes. Once they knew the basics they made the same program dynamic and used ‘for loops’ to show all the shapes starting from an equilateral triangle to square, pentagon, hexagon, heptagon, octagon, nonagon, and decagon.

The children had learnt importing and exporting of sprites (arc function to draw arcs in practical geometry, writing sprites to print on the screen)

Then they were divided into teams and created a game based on sensing objects or colors (similar to a maze game but when sprite touches a wall or unwanted object the game resets)

The children were given feedback forms, and the reflections were showing that they all are more confident now than before in doing projects with scratch. They also mentioned as teams they were able to learn and help each other more.

Towards the end all children had made a number of projects to show what they had learned through the course. This was a stepping stone for them to continue and make projects based on their curriculum to project their mastery over a concept.

At present the children have come up with new projects, e.g. Abinash, Shakthikannan have created projects in measurements. While Murali took it to the next level and is doing a project from out of his syllabus (a+b+c)^2. This has inspired others and Guna sundari, Yuvan, Jeeva, Jannani, Anisha have started to expand from (a+b)^2