How to Install WSL and Ubuntu (LTS) on the Windows platform

~Sandhiya.B and Ajay

This post consolidates the information needed to set up the Ubuntu terminal on a Win 11 Machine. The Ubuntu terminal is useful to programmers to access unix power tools, write shell scripts, etc.

Step: 1   Turn Windows Features On or Off

  • Go to the search bar and type “Turn Windows features on or off” and open it.

  • The check box is seen and find “Windows Subsystem for Linux” (if the check box is off, turn it on ) and also find “Virtual machine platform” (if the check box is off, turn it on ), And click the ok button.

  • It requires restarting your system to click on the “Restart now” button.

Step: 2 Wsl Installations:

Install Wsl [Windows Subsystem for Linux],

  • After installation click the “Finish” button.

Step: 3 Ubuntu Installations:

  • Open the Microsoft Store (search for “store” from the start menu)
  • Search the store for “Ubuntu” many versions are shown just install Ubuntu(recommended) or any versions that are needed for you.

  • Click the “Get” or “Install” option.
  • Once the download is completed click on the “Launch” or “Open” option.

  • Once the ubuntu app is opened its interface is seen which is shown in the below image

  • After installing enter the username and password for the ubuntu machine.
  • NOTE:

(Username should be in lowercase and the Password need not be matched with windows)

  • Once the username and password are set then ubuntu is ready to use,

Step: 4 (if needed) to run on Windows terminal

  • To run ubuntu on a windows terminal, First install the windows terminal in the Microsoft store,
  • Ignore if already installed.

  • Click the “Get” or “Install” option
  • Once the download is completed click on the “Launch” or “Open” option.

  • Once the Windows terminal app is opened its interface is like the below image,

  • And choose the ubuntu terminal and its interface looks like the below image,

  • There you go! Now it’s ready for use.

In some exceptional cases there occurs some errors:

  • The Error looks like this, the image given below


  • To solve this error, open file manager and go to local disk c.

Go to the user and user profile and go to App data (if not found, it is in hidden files) and go to the local folder and click on Microsoft file and go to windows apps and copy the path, which is shown below.

  • Go to the search bar and type “edit environment variables for your account” and open it, click on environment variable and double click on the path and Click on the new button paste the copied path and click ok,

  • Now the error is fixed and the windows terminal can run the ubuntu machine.

Ambient light sensor using a photoresistor and Arduino Uno

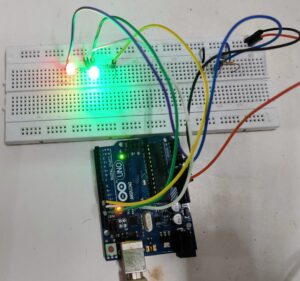
This project is about using a photoresistor along with an Arduino Uno board to determine the brightness of a room which is bright or average light or dark. A photoresistor which is also called an LDR (LIGHT DEPENDENT RESISTOR) and two LEDs and Breadboard and a 1 k ohm Resistor and 2 resistors for the LEDs which range from 100 ohms to 220 ohms are used. The jumper wires are used to connect Arduino digital pins to the breadboard. The output is displayed through the LEDs and Serial Monitor.

WIRING: The photoresistor is wired into analog pin 0 and a 5V on the right side of the breadboard. It runs through a grounded 1K ohm resistor. An LED on the opposite side of the breadboard into digital pin 13 and grounded a 220-ohm resistor slightly to the right of the first LED, a wired LED of a different color is employed, just with a different digital pin.

Photoresistor working principle:

A photocell or photoresistor is a sensor that changes its resistance when light shines on it. The resistance generated varies depending on the light striking the surface. High intensity of light incident on the surface will cause a lower resistance, whereas a lower intensity of light will cause higher resistance.

WORKING: If the photoresistor reads a value above 450 ohms, it prints “It is quite light!” on the serial monitor and turns all LEDs off. If it reads a value between 230 ohms and 450 ohms, it prints “It is average light!” on the serial monitor and turns on the left LED. This only leaves us with values below 230 ohms to account for. If a value is below 230 ohms, it prints “It is quite dark!” on the serial monitor and turns on both LEDs.

Components setup:

Applications:

The ambient light sensor is used to control the backlight of LCD-based applications to control the display brightness of mobile for reducing battery life. The applications of this sensor range from consumer electronics to automotive. This is the main benefit of mobile applications.

These devices are used to replicate the sensitivity arc of the person’s eye, allowing mobile displays and the levels of its brightness to be attuned more accurately. These sensors are used in automotive applications like headlight control & cockpit dimming.

The main feature of this sensor is an automatic alteration to save power & to increase the LCD screen’s life in handy display devices. Additionally, these sensors control the backlighting based on the program set by the maker.

This sensor is also used in indoor as well as outdoor lighting for turning on/off which includes street lighting and electronic signals.

LDR photoresistor code

Smart dustbin using Arduino

The smart dustbin is built on a microcontroller-based platform Arduino Uno board which is interfaced with the Servo motor and ultrasonic sensor. An ultrasonic sensor is placed at the top of the dustbin which will measure the stature of the dustbin. The threshold stature is set at a particular level. Arduino will be programmed in such a way that when someone will come in front of the dustbin the servo motor will come into action and open the lid for the person to put the waste material into the dustbin. The lid of the dustbin will automatically open itself upon the detection of a human hand.

Servo Motor:

SERVO MOTOR is an electromechanical device that produces torque and velocity based on supplied current and voltage. It can push or rotate an object with great precision. Servo Motor SG-90 is used. It will perform its angular rotations when a signal will be provided by the microcontroller. The servo motor rotates approximately 180 degrees (90 in each direction).

Infrared sensor:

IR SENSOR is a radiation-sensitive optoelectronic component with spectral sensitivity in the infrared wavelength. It is used for object detection.

Connections: –

The Red Pin of the Servo Motor is connected to Arduino 3.3v. The Black Pin of the Servo Motor is connected to Arduino GND (Ground). The Orange Pin of the Servo Motor with Arduino Pin 8. VCC of the sensor is connected with Arduino 5v.

The Smart Dustbin as you can see in the picture above is built using Cardboard. This is a custom-made Smart Dustbin equipped with HC-SR04  Sensor, Arduino, and a Servo Motor. It is programmed using the Arduino code.

Code:

#include<Servo.h>
Servo myservo;
int angle = 0;
int angle step= 50;

void setup(){
myservo.attach(8);
pinMode(2,INPUT_PULLUP);
}
void loop() {
if(digitalRead(2) == HIGH){
myservo.write(180);
}
else{
myservo.write(-180);
delay(3000);
}

Once there is no one in front of the  Sensor the Smart Dustbin Lid remains closed.

The smart dustbin is a carefully designed solution that solves the social issue of waste disposal.


LOGIC GATES USING ARDUINO UNO

A basic gate is defined as a component with one or more inputs and one output.  The inputs and outputs are all digital.

There are three fundamental gates and a total of seven basic logic gates (plus several derivatives). The gate will set its output to either zero or one, based on the state of the input signals.  It uses the rules of Boolean algebra to determine the output condition. The relationship between the input and output logic levels on a gate can be best illustrated using what is known as a truth table.

Simulating Gates with an Arduino:

All of the Boolean algebra functions performed by the basic logic gates can also be emulated on an Arduino. With that in mind, a logic gate emulator that will emulate six of the seven basic gates has been constructed. It doesn’t include the NOT gate because it only has one input whereas the other gates have two.

Project on logic gates using Arduino Uno board consists of 8 LEDs and 8 resistors for the LEDs and two resistors for the pushbutton switches. The LEDs are connected for the logical output and the pushbutton switches are used for the logical input. The positive terminals of the LEDs are connected to the respective terminals of the Arduino board. The negative terminals are connected to the ground of the Arduino.

The green LEDs are for the logic outputs and the red LEDs are for the input.

The dropping resistors for the LEDs are all 220 ohms.

The two pulldown resistors for the pushbutton switches are 2.2k each.

First, define some Boolean variables to represent the logic states of both the two inputs and six outputs. Next, define some integers to represent the connections to the Arduino from the LEDs and push buttons.

It displays logic states on the serial monitor, so in the Setup routine, initialize the monitor at 9600 bps. The rest of the Setup is used to define the LEDs as outputs and pushbuttons as inputs.

In the Loop, it starts by reading the state of the two pushbuttons, and then displaying the results on the two Red LEDs marked “A” and “B”.

The actual Boolean math consists of the following four characters:

  • NOT =!
  • AND = &
  • OR = |
  • XOR = ^

We use the NOT function (!) to create the NOR, NAND, and XNOR gates.

After determining the Boolean results they are sent to both the serial monitor and the LEDs.  Following a short delay the whole Loop repeats.

Load the sketch and give it a try. Cycle through all four combinations of the two pushbuttons and observe the LED statuses, as well as the status on the serial monitor.

This would be a great training tool for testing our knowledge of digital logic.

Arduino gates using code

LAST SCHOOL STUDENTS VISIT STEMLAND

On the 14th of July students from the Last school, Auroville visited STEMLAND. The forty students accompanied by the teachers enjoyed their afternoon session by exploring STEMLAND.

The arrangements were done by the STEMLAND team. There were 8 stalls which include

  1. Mindstorms
  2. Games and puzzles
  3. Science projects
  4. Makey-Makey
  5. Arduino
  6. Electronics
  7. Scratch programming
  8. 3-D printing.

Mindstorms:

Mindstorms is a hardware and software structure that develops programmable robots based on Lego building blocks. Each version includes computer Lego bricks, a set of modular sensors and motors, and Lego parts from the Technic line to create the mechanical systems. The system is controlled by the Lego bricks.

Games and puzzles:

Logic and strategy games were present. They include Abalone, Gobblet, Quads magnetic, Aadu Puli (Puli Meka), Linja, Quarto, Quoridor, Othello and Eternals were put on view to play. Puzzles like Rubik’s cube, Cast puzzles, and holograms were displayed to solve and play with.

Science Projects:

Science projects based on concepts were exhibited. The exhibits include

  • Magnetic levitation
  • Electromagnetism
  • Acid-base indicator
  • Dc electric motor model
  • Crank’s model
  • Lungs- diaphragm model
  • Magnetism- properties.
  • DIY microscope
  • DIY headphone
  • Series and parallel connection
  • Lights color – arithmetic model.

These models were made using the Arvind Gupta toys which are made of scrap materials.

Makey – Makey:

Makey Makey is an invention kit by the MIT media lab. With Makey Makey, everyday objects are transformed into touchpads empowering students to interact with computers as creative tools. The computer becomes an extension of their creativity, fostering imaginative play and discovery.

“Makey Makey” is a play on words – students having the ability to Make their Keyboards (“Ma-Key”). The mundane and boring keyboard is replaced by any object that conducts electricity – pie pans, Play-Doh, bananas, and even potted plants – the list goes on.

The projects can be coded by scratch and use the Makey Makey kit as a joystick controller.

Arduino:

Arduino is an open-source hardware and software that can be used for designs. It is a microcontroller and microcontroller kit for building digital devices. It can be programmed and built using the Arduino software. Exhibits include a Distance measurement kit, Automated street light was displayed.

Electronics:

The field of electronics is a branch of physics and electrical engineering that deals with the emission, behavior, and effects of electrons using electronic devices. Projects like Automatic street light controller and automated sound sensor control model, Automatic dustbin were displayed.

Scratch programming:

Scratch is a visual programming language that allows students to create their own interactive stories, games, and animations. As students design Scratch projects, they learn to think creatively, reason systematically, and work collaboratively.

3-D printing:

A machine allows the creation of a physical object from a three-dimensional digital model, typically by laying down many thin layers of a material in succession. The models are designed using software called Tinkercad and converted to the printing g code to feed to the machine using Ultimaker CURA software. This paves for creative models.

The visit session was facilitated by Dr.Sanjeev Ranganathan and the team of STEMLAND. The session started with a few minutes of concentration meditation and a few words about what we stand for, a casual talk on the similarities and differences between the last school and STEMLAND. Students had to choose any two stalls they can spend time on. Some of them wanted to explore all the activities.

Students and facilitators had a great time exploring. Few of them made hands-on projects using the kits provided. They played strategic games and got fascinated by them. It was a pleasure to have them in STEMLAND. The team had wonderful learning, growth, and fun having them.

Vim Editor Session

Vim Editor Session

~SriBhavani and Bakyalakshmi

On 18th Jan 2022, we had a session on vim by HarshaVaradhan from AuraSemiconductors. In this blog, we share what we have learned about vim and how we use it.

Introduction:

Vim is a highly configurable text editor built to create and change any kind of text very efficiently. Vim Editor has its own configuration file called vimrc.  This can be customizable based on how we want to see GVIM

  • Vim has the Two modes of operation
    • Command Mode
    • Insert Mode

Command Mode:

To enter into the command mode press ESC.

There are two sub-modes in the command mode.

  1. Command Line Editing ?  “:” followed by the command

(eg) :q- to quit the editor window

  1. Command-line window ? Directly enter the command It will automatically execute once it got the valid sequence

(eg) dd – delete the current line

Insert Mode:

There are two ways to enter into insert mode.

  1. i ? Enter into the Insert mode at the point where the cursor present
  2. o ? Enter into the Insert mode with the new line, next to the Cursor line

Few commands to access vim editor in the Command line window:

  • dd ? Delete the cursor line. 
  • ndd ? Delete the n lines from the cursor position
  • gg ? Go to File Starting. 
  • GG ? Go to End of the File.
  • Ngg ? Go to nth line in the file.
  • yy ? Copy the Cursor line
  • Nyy ? Copy N lines from the cursor line
  • u ? undo the changes
  • ctrl+R ? Redo the last changes
  • ggVG ?  This will select all the file data
  • y ? copy the selected content
  • p ? paste copied content


Few commands to access vim editor in Command Line Editing

  • :w ? To save the file
  • :q! ? close the editor without saving the changes
  • :vsp ? Split the same vim editor file in two windows vertically
  • :sp ? Split the same vim editor file in two windows Horizontally
  • :tabnew ? Open newtab
  • :E ? To open the file tree
  • :se nu ? Show line numbers in the text editor
  • :se nonu ? Remove line numbers in the text editor


Search 

  • Type ” / “  to search a word or sentence in command mode

(e.g.) /cat – it will highlight all occurrence of word “cat” in the file

  • n ? show next occurrence from current to bottom
  • N ? Show search word occurrence from current to top

Search and replace: 

:%s/Old/New/gc Search for word “Old” and replace by “New”, ask confirmation before replace
:%s/old/NEW/gi Case insensitive, Search all possibilities of word “old” and replace by “NEW”
:%s/Old/New/gI Case sensitive, Search “Old” replace by “New”
:%s/Old/New/g Replace all occurrence of “Old” by “New”, without asking for confirmation 


SED command

~Saranya

sed ‘s/find/replace/’ filename

Find and replace a word in a file

Ex output:

sed ‘s/find/replace/1’ filename

It will find and replace in line 1

sed ‘1,3 s/find/replace/1’ filename

It will find and replace with the given range

Ex output:

sed ‘s/find/replace/g’ filename

Find and replace all the occurrences in a line.

sed ‘1,5 s/setof/set/g’ auto.tcsh |sed ‘10,15 s/e/0000/g’  |head -15

Replace the string within the given range.

Unix commands Session

~Ranjith

In the layout team, we are learning UNIX command with the support of Sanjeev to improved our skills for automating tasks.

Session on process, kill, disk utility, alias, pushd, popd, tar, and gzip commands:

Process command:

To find process which are all running use “ps” command

ps -ef ; print each (all) process

ps -u <userName>; print process by user

ps -g <groupName>; print process process bu group

groups <username> ; to find group in which user is.

Kill Command:

Used to kill process

kill <signal> <pid> ; send a signal to process <pid>.

kill -l ; signal list;

kill -9 <pid>; -9 is a kill signal

kill -9 -1 ; all process it can.

xkill ; Select the window whose client you wish to kill with button 1….

Disk utility commands:

du -b <path> ; print file space in bytes

du -m <path> ; print file space in megabytes

du -k <path> ; print file space in kilobytes

du -h <path> ; print file space in human readable form.

du -d <depth> -h ; print all files space in given <path> with a given depth.

df -h ; print mounted disk space detail in human readable form

  • To find biggest file:
    • du -b | sort -nr ; sort file based size (bytes), In sort è n = combine digits into number, r = reverse order
  • To find smallest file:
    • du -b | sort -n ; sort file based size (bytes), In sort è n = combine digits into number
Send process into background and bring it foreground:

Press Ctrl+z to suspend process.

Type bg to send process into background

Type “jobs” to get job ID.

Type “fg %<job ID>” to bring process into foreground

Alias: set a alternate name to a command or a group of command within quotes separated “;”

alias ls ls -la –color=auto ; set “ls” as a “ls -la –color=auto”.

alias DoYouWantContinue ‘echo “\nDo you want to continue (Y/N):” ; set input = $< ; if($input != “Y” && $input != “y”) exit’ è set DoYouWantContinue as a set of command separated by “;”.

Unalias <alias Name> ; to remove alias;

/<command> ; to run raw command; even when command name is aliased to something else.

Change directory :

cd <path> ; change directory to given path.

cd – ; last cd path.

pushd <path> ; push directory into stack and cd to it.

pushd +<rotate stack number> ; rotate the stack

popd ; pop the top directory in stack

Create Archieve:

tar -cf <archive.tar> <directory> ; Create archive.tar from <directory>, it is like git version control.

tar -tvf <archive.tar> ; List all files in archive.tar verbosely.

tar -xf <archive.tar> ; Extract all files from archive.tar.

tar -d -f <archieve.tar> <directory>; show the difference between tar and files in directory.

tar -u -f <archieve.tar> <directory>; create a new entry for all files with new time stamp(if file is modified).

tar -r -f <archieve.tar> <directory>; append a new file in tar file.

tar -xvf auto.tar test.tcsh –occurrence=2 ; extract 2nd occurrence of test.tcsh file in auto.tar tree.

Compress:

gzip -c <file> ; compress file

gzip -d <file> ; decompress file

gunzip <file> ; unzip file


No Code / Less Code Machine Learning/Deep Learning

~ Vimal 

As a novice, one will feel alienated with the buzz words and vocab used in the context of ML/DL world. To bring more people into the AI scenario, several of the tools are being developed by researchers and companies worldwide. They frame this with the phrase “Democratizing AI”. The corporates of course focus mainly on the subscription business model for enabling one to make their custom machine learning / deep learning model. Whereas few of the academia geeks focus on developing tools to bring the common man into the AI world. Some of the examples include

  • Ktrain
  • Ludwig
  • Fastai

In this blog post I wish to introduce a simple and easy to use library ktrain. This is a high level wrapper library for the Tensorflow keras(a low level API like library for the TF). Using this library we can  build, train & deploy a deep learning model at ease. It also provides interfaces and includes functionalities from other SOA deep learning library PyTorch(from FB Research).It abstracts the various processes one will encounter while building a deep learning model for his/her use case. It provides support to create models for text & image processing workflows. Text processing or widely referred as Natural Language processing is the toughest job every machine learning engineer will encounter. There will be a lot of bias in selecting the different pretrained models for different tasks(sentiment analysis, text classification, text generation, Q/A systems etc.). This ktrain library comforts the user by doing all the heavy lifting. A text classification pipeline will only require 3 lines of python code to train and build a model. It also possesses the methods to save the model for predicting the unknown datasets. One catch is the zeroshot classifier pipeline which supports the user to classify the text/sentences/documents without training. It has support to import all the transformer models like BERT, distilBERT, XLNet etc. Image classification task is easily achievable with the pretrained model like ResNet50, Inception etc. It supports graph & tabular dataset also to enable the user for custom building a model.

A quick tutorial to execute a zeroshot sentiment analysis classification(binary classification – Positive/Negative)

  1. Install the ktrain through pip 
  2. Execute the code

With the introduction of transfer learning capacities(through transformer architecture) to the natural language related tasks, the NLI/NLU/NLG(Natural Language Inference/Understanding/Generation) field is speeding up in the last couple of years paving the way to surpass the human capabilities in all the language related tasks.

Python course

~Logeshwari, Sandhiya

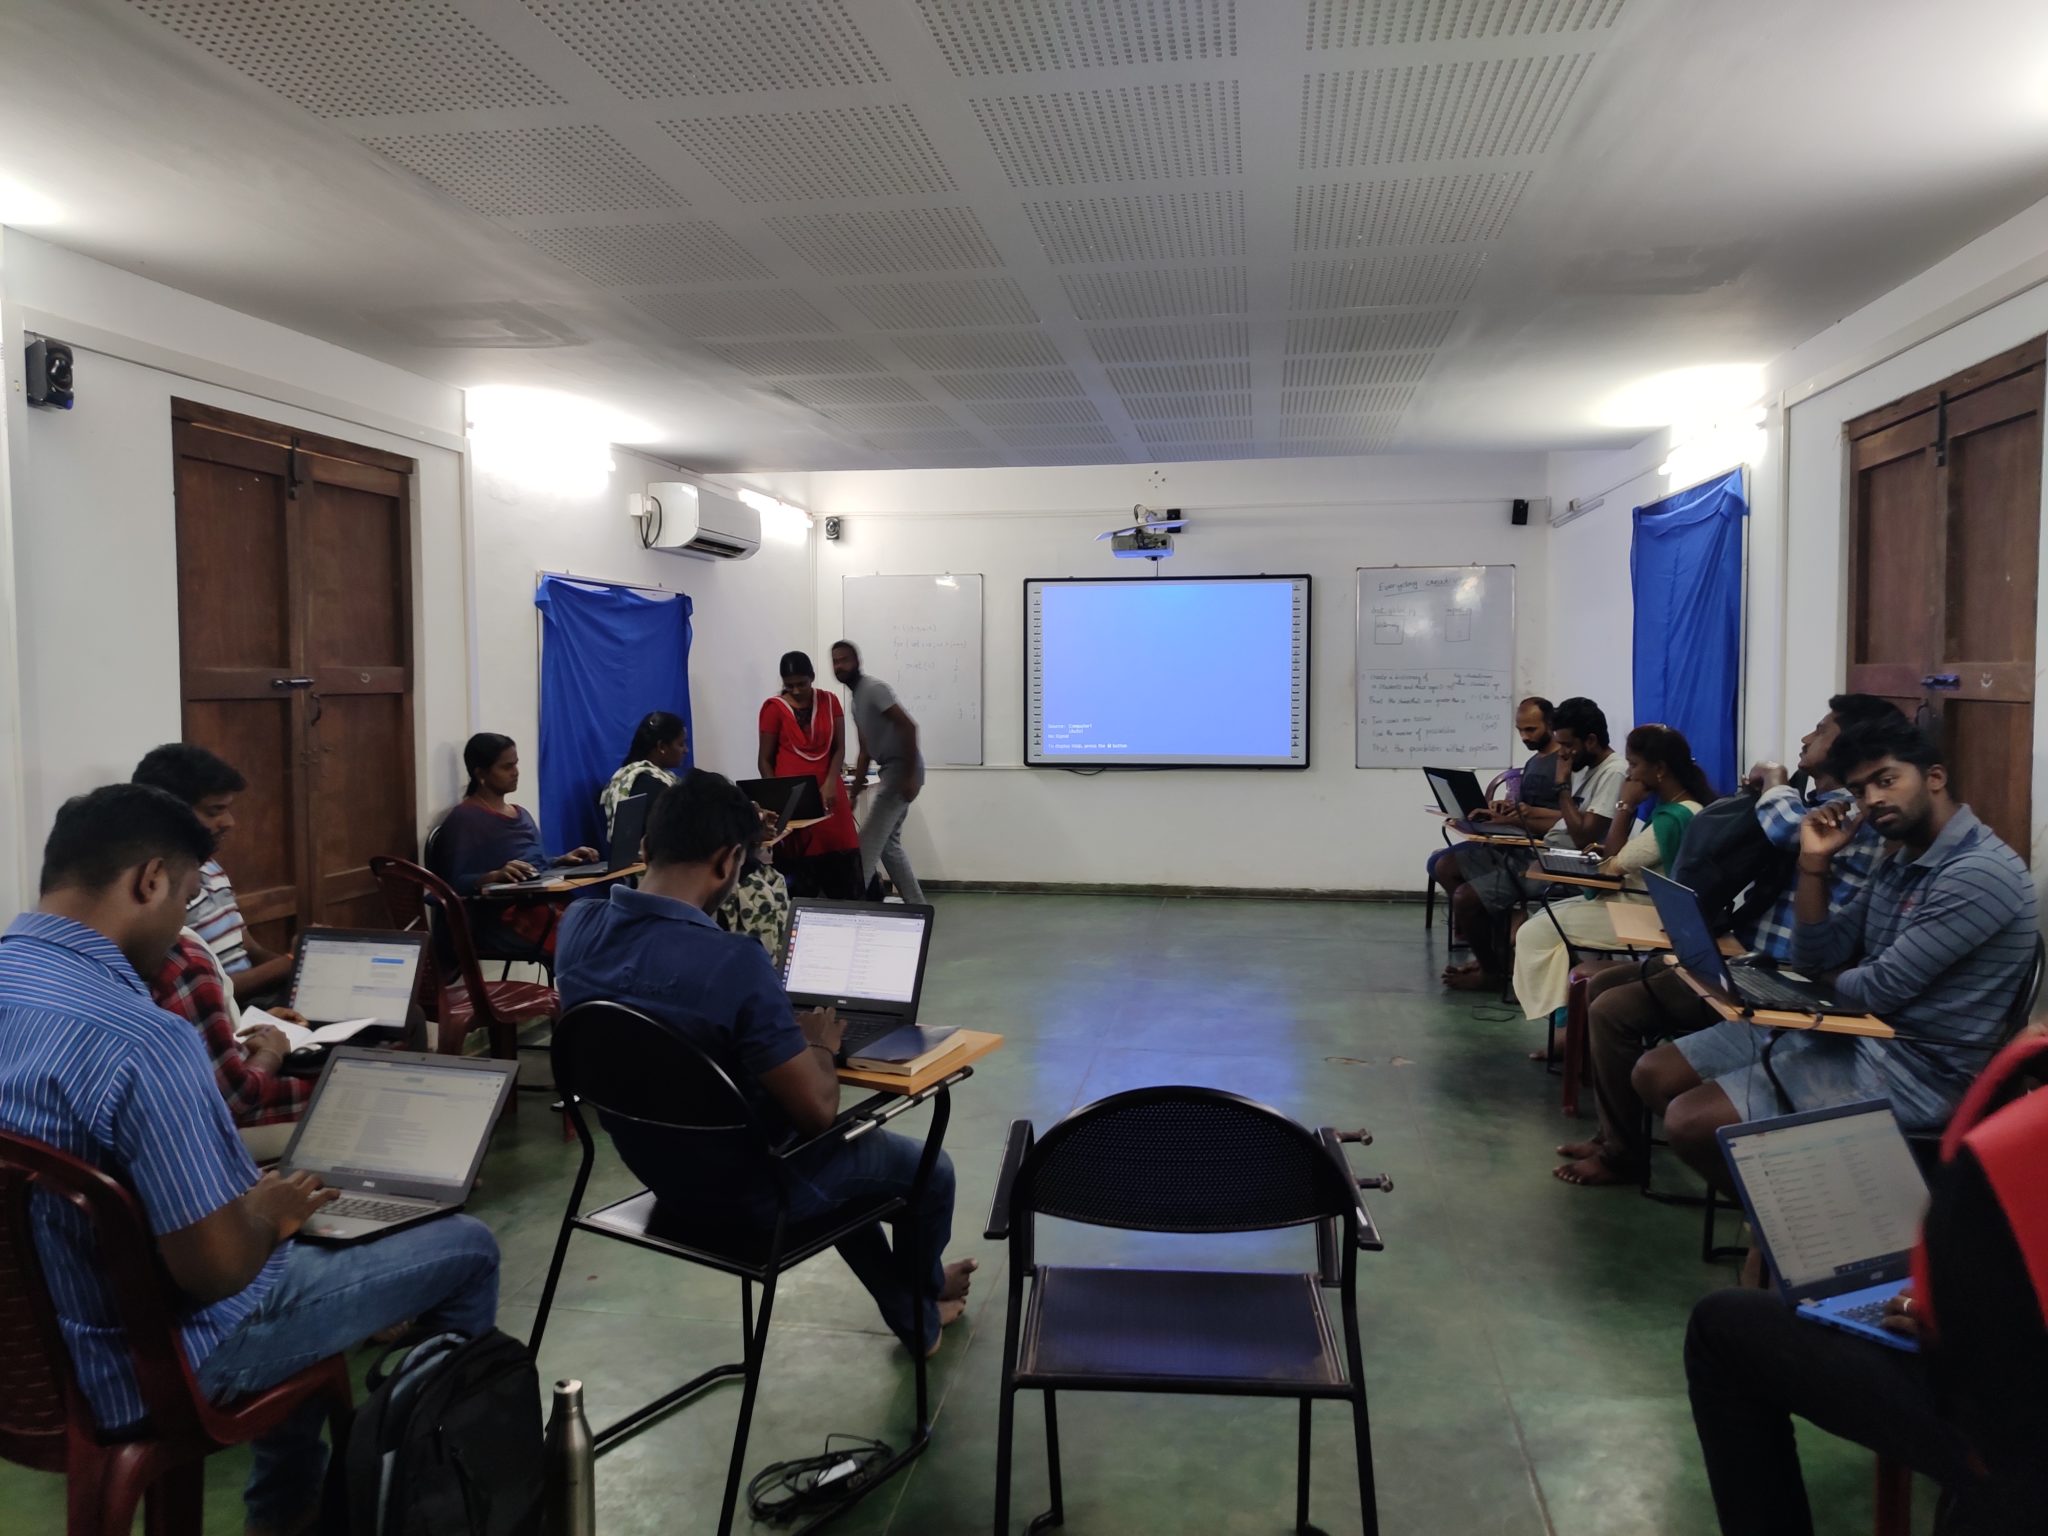
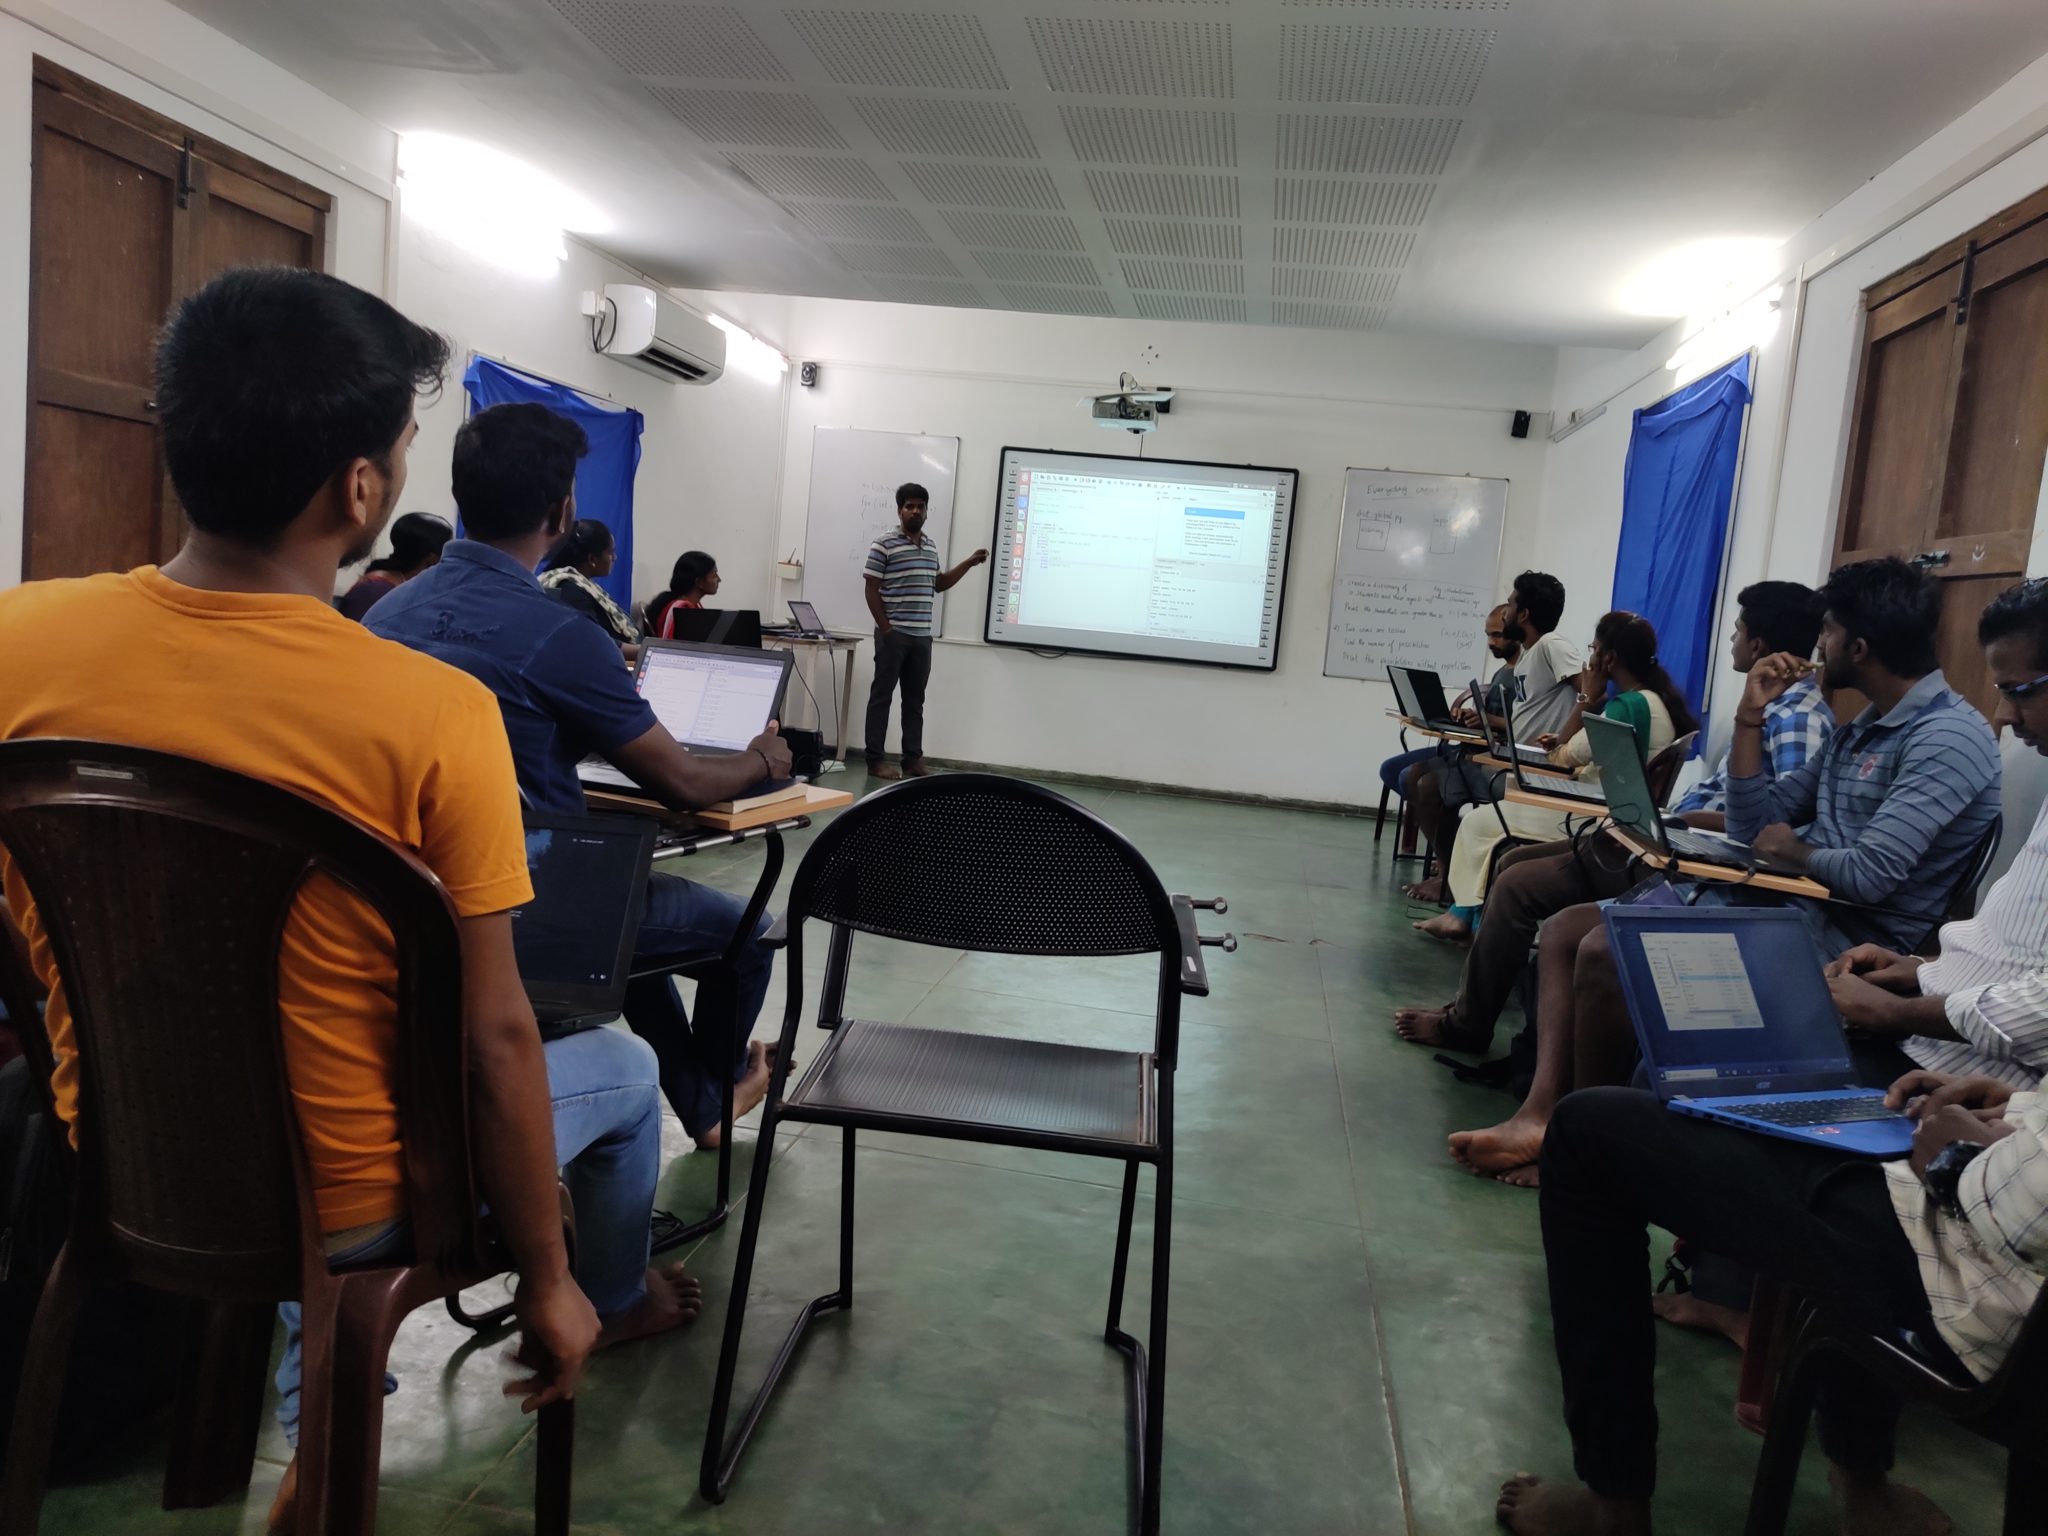
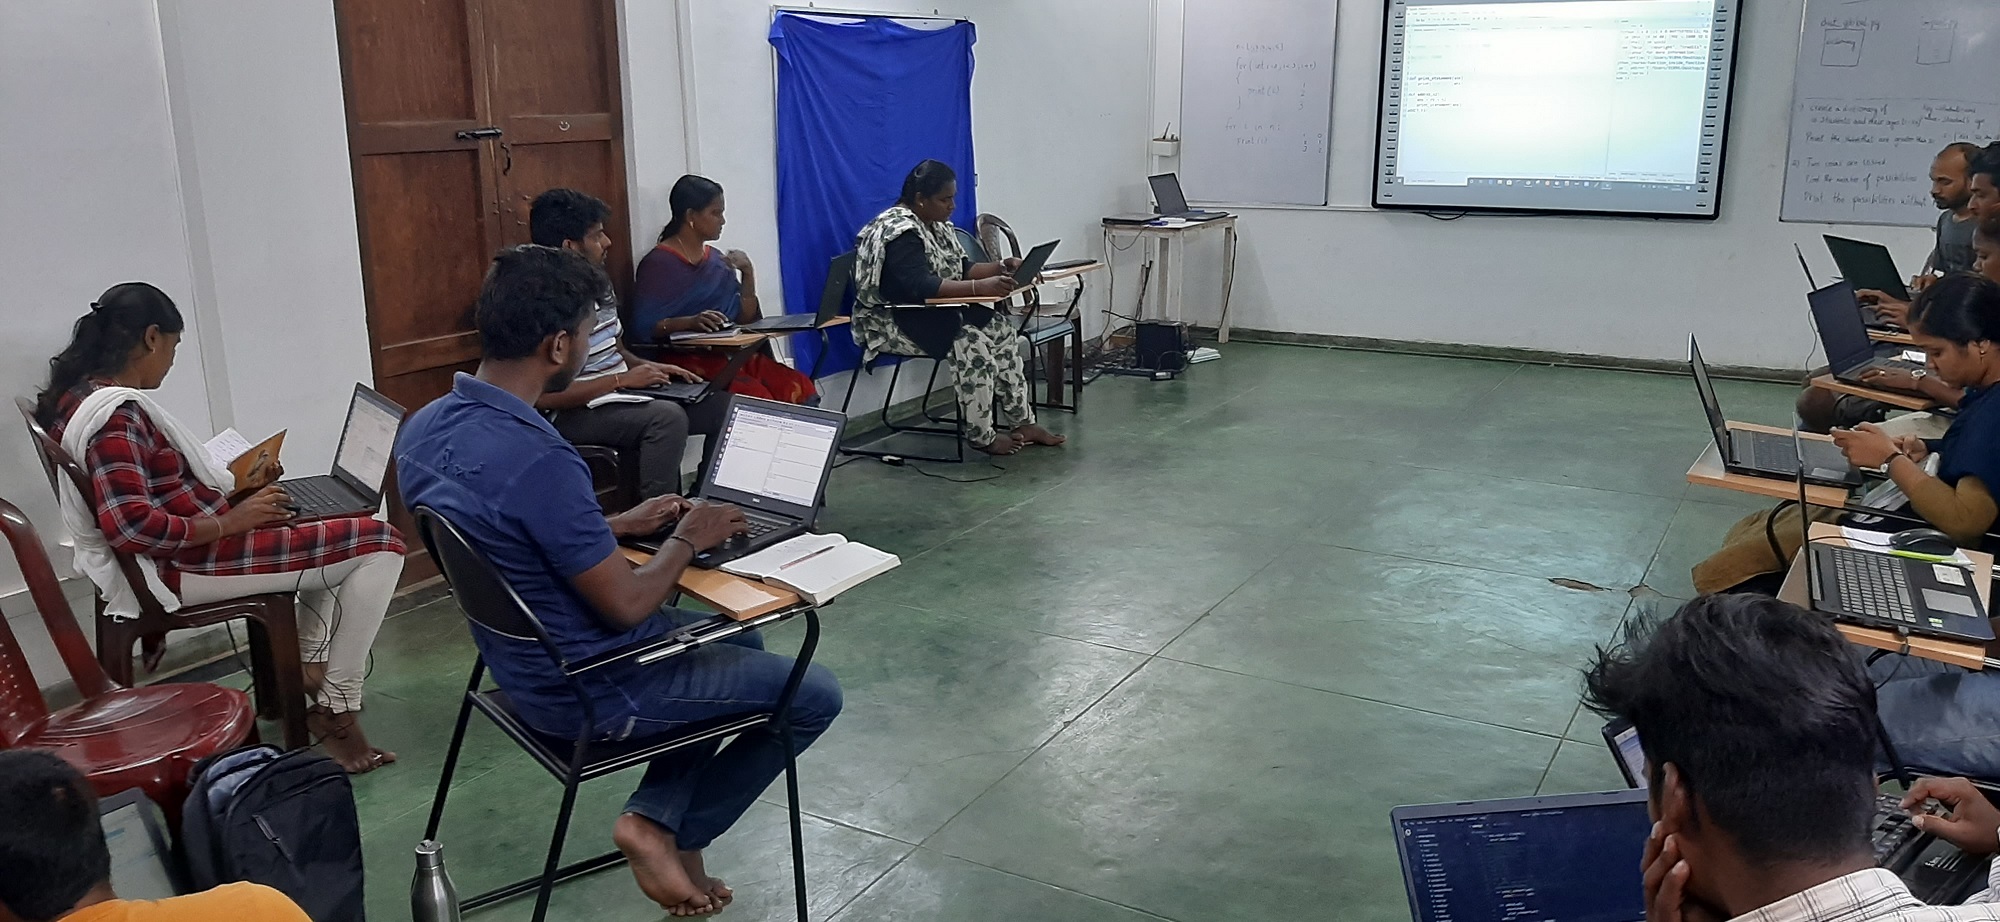
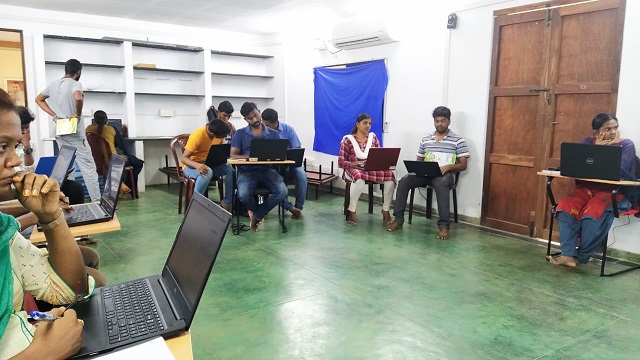
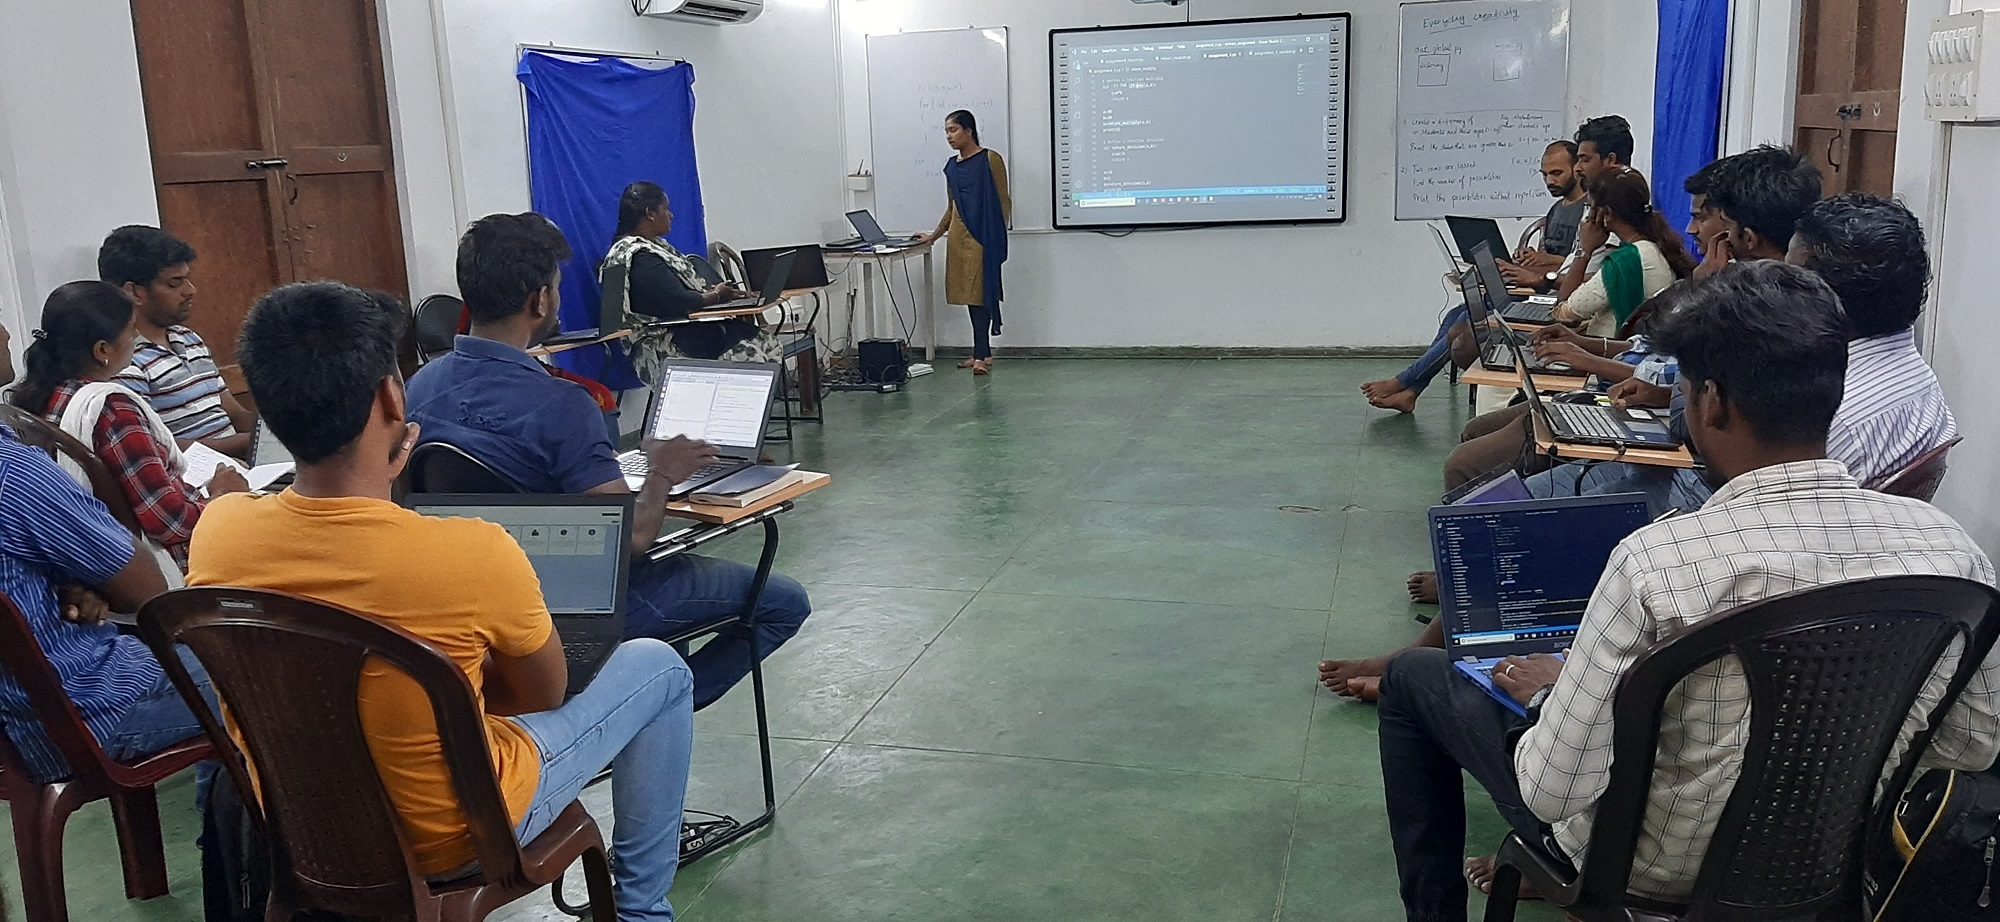
We had interns coming to STEMland to learn to program. A few of them were learning Scratch and making projects. We conducted a course on the basics of Python. It was a five-day course for one and a half hours each day. There were about 15 of them attending the course. Everyday based on what the interns learned assessments were given accordingly.

People shared their assessments with others at the beginning of the class for about 10 minutes.

One participant sharing his assignment

In the five days of the course, everyone learned the following.

  • Print statements
  • Variables
  • Data structures/data types (tuples, list, dictionaries, etc.)
  • Data type conversions
  • Functions
  • Imports
  • Global variables
  • Scope of functions
  • Classes


This is the first time that I took a technical course. It was a new experience of teaching/ sharing what I learned to adults.  I planned for the course and I decided the assignments before the day which made me clear on what I wanted to do. Instead of going to more advanced it is always good to review the basics not only in programming. It was a nice opportunity for me to review my basics in python

Where to improve:

I felt that I need to follow the time properly. I missed a few important things which I added later which I should have told initially itself.