Ardiuno Projects

~ Sivaraman

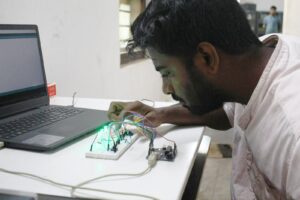
Arduino projects are done for the learning of embedded systems programming. In simple terms, this supports make projects that are programmable yet interact with the real world. These games were programmed in C language, which can also be written with snap4ardiuno, interactive programming  for children and includes a module for Arduino.

While children/youth who have been coming to STREAM Land have been programming in Scratch we had not been able to create an interesting context for them to move to hardware programming since COVID. This changed in the recent Christmas Fair where children were making games that others could play. It seemed so much fun that the youth also wanted to demonstrate their programming skills and out came the Arduinos. [Siva Sankaran, Sivaraman Ramamoorthy] Here are a few games that were made that were popular with the children.

Simon Says

This project is a memory follow game where you have to follow the led blinks and need to click on the appropriate flow of blinks to win the game.

Runner Game

This game is runner game where hops and hide are made using a push button to hop and hide to maintain the flow to the run.

Shooting Game

This one is the difficult to play with two hand was made purpose fully to make the game harder, one hand should control the x axis movement and second hand is for the shooting control

 

Mindstorm Robotics during half yearly exam holidays

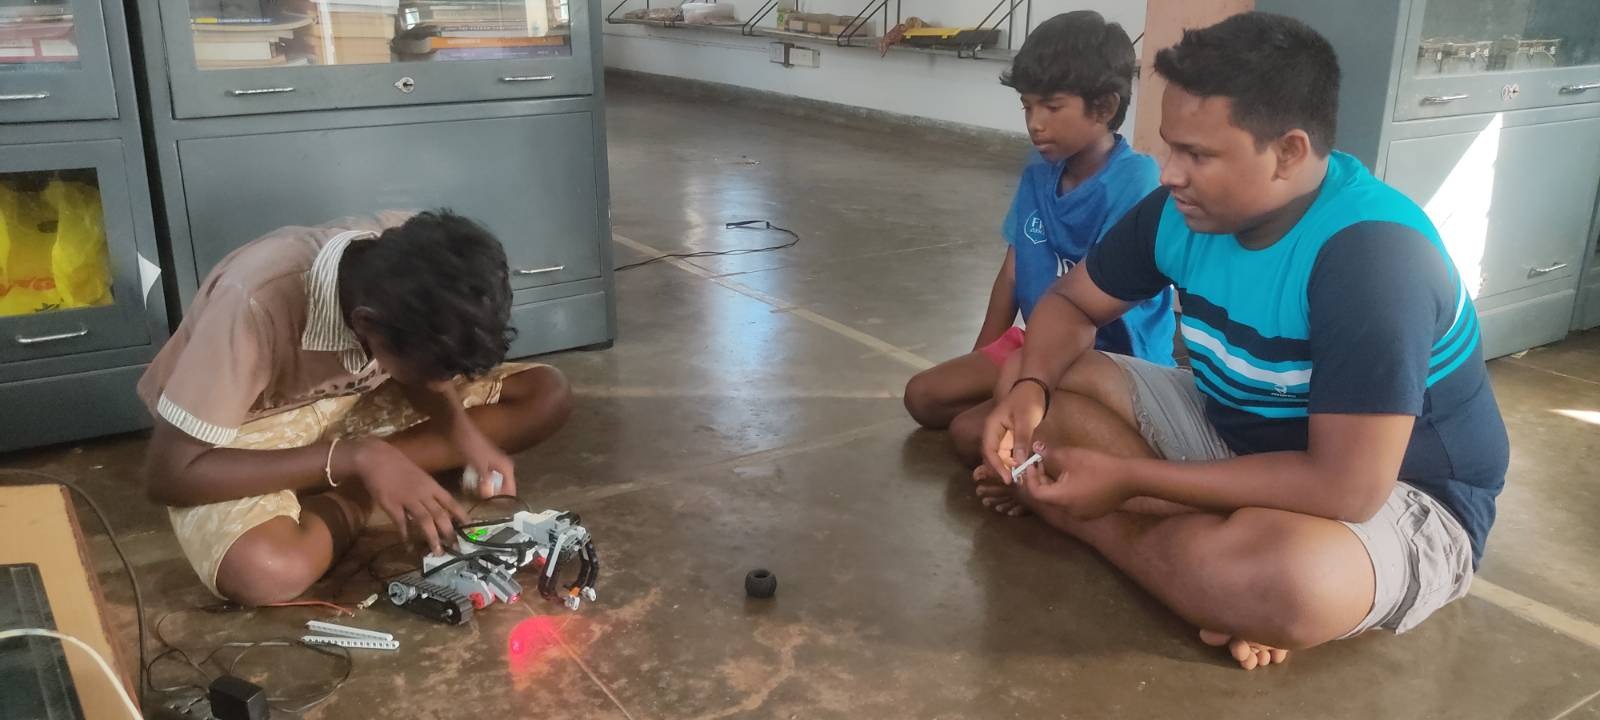
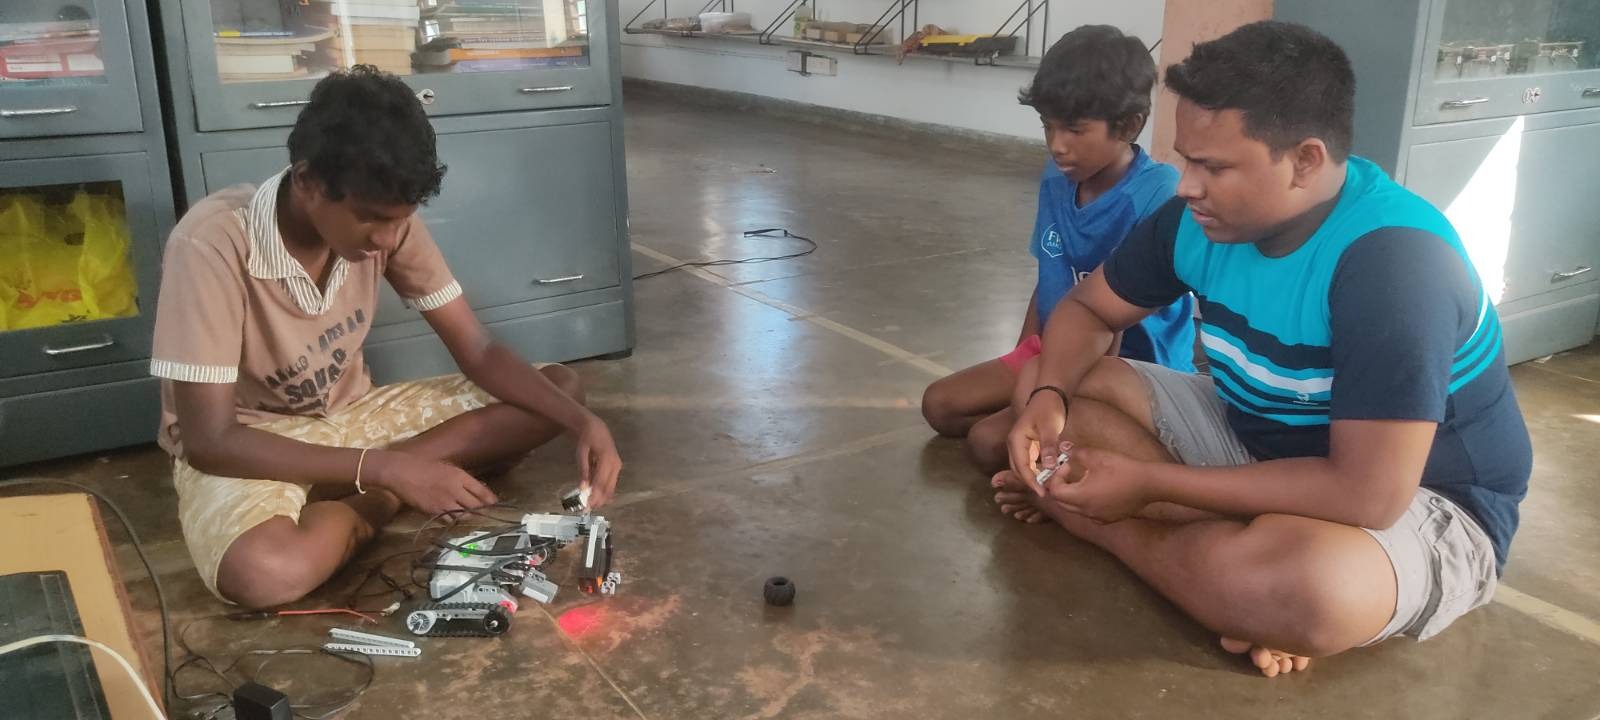
Lokeshwaran and Vishwa are studying in 8th grade. They have completed their half yearly exam and had holiday for a week. During this week they were coming to STEM land and were learning Robotics. Along with them another friend of them who studies in Aikiyam school has also come and learnt to do robotics by watching Lokesh and Vishwa. They have built a Mindstorm robot which moves and picks an object when controlled. When I asked Lokesh what made him to come to STEM land during holidays and why he was so much interested to learn Robotics, he said he watched videos of his seniors in Youtube and got an interest to learn. He learnt it on his own by watching videos on Youtube. He said that he is now building a robot snake and will show it to me once it is done.

Here is also a short video on this.

Using gears for ratios

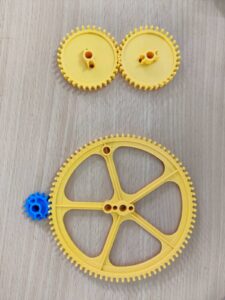
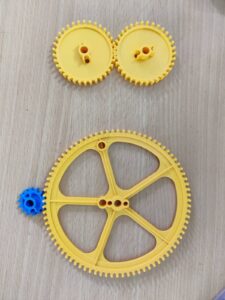
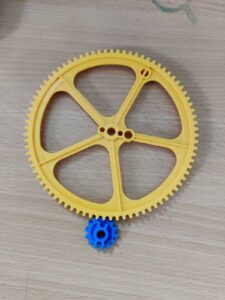
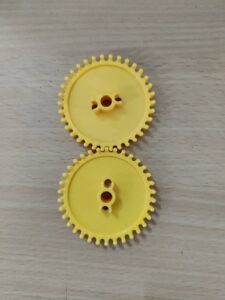
7th in Udavi children were learning ratios. We used a crank fan and used a spur gear system (in the pictures) to spin the blades around and make a breeze. The faster the fan turns, the stronger the breeze. Using a big gear to turn a small gear makes it easier to turn the blades quickly. For one full turn of the big gear, the small gear spins around many times. How many times it spins depends on the number of teeth both gears have (gear ratio). The spur gears turn the blades much faster than if you turned the blades directly with a crank. Using this crank fan, we showed 1:1 ratio up to 1:5. Showing it visually gave children the confidence to understand the ratio concept.

We gave the students another gear pair as an example for further examination: If the 75-tooth driver gear rotates 3 times, how many times will a 15-tooth driven gear rotate? What if the 75-tooth driver gear rotates 5 times? By focusing on the relationship between the gears. In this case, the 15-tooth gear rotates 5 times for every rotation of the 75-tooth gear. This is true regardless of the number of times the 75-tooth gear rotates. This brought us closer to the gear ratio of a 75-tooth driver gear and a 15-tooth driven gear and what they do in class as the gear ratio is 1:5.

Children understood that.

A colon is often used to show a gear ratio:

gear ratio = rotations of a driver gear: rotations of a driven gear.

Children when seeing it visually it gives confident to build different numbers to find the ratio. The session was interesting for the children. Children sheared their learnings to each other and started working in peers.

Cycle Safety light

For quite a long time (year and a half), kids in the electronics lab have been working on breadboard circuits which they build and then dismantle. They built quite a few circuits this way working with LEDs, Opamps, comparators, 555, microphones, speakers etc. We found that generally one in 20 kids to whom the circuits were introduced become interested to come regularly to the lab in the evenings at the expense of their free time which they usually use to play. A visitor from Austria expressed surprise that any kids at all turned up at the lab at the expense of play time.

Sanjeev and Siva both suggested that this number (1 in 20) would go up if we focussed on some practical circuits which the children could use in their daily lives (and also show their parents, friends and relatives) instead of just making toy circuits on the breadboard which they would proceed to dismantle to build the next circuit. Obviously this is a bit harder and a bit more time consuming for some of us, and that’s why we stayed in the comfort zone (among other reasons) for all this time. Well, staying in comfort is not a universal value and it was clear that changes will have to be made.

So we have now (finally!) started on practical applications. Two of these are

  1. An outdoor light that turns on automatically when the sun sets and turns off automatically when the sun rises (Blog post to come).
  2. An indoor light that turns on when there are people in a room and turns off when people have left the room or staying still (Blog post made by Manogar and Sundaresan)

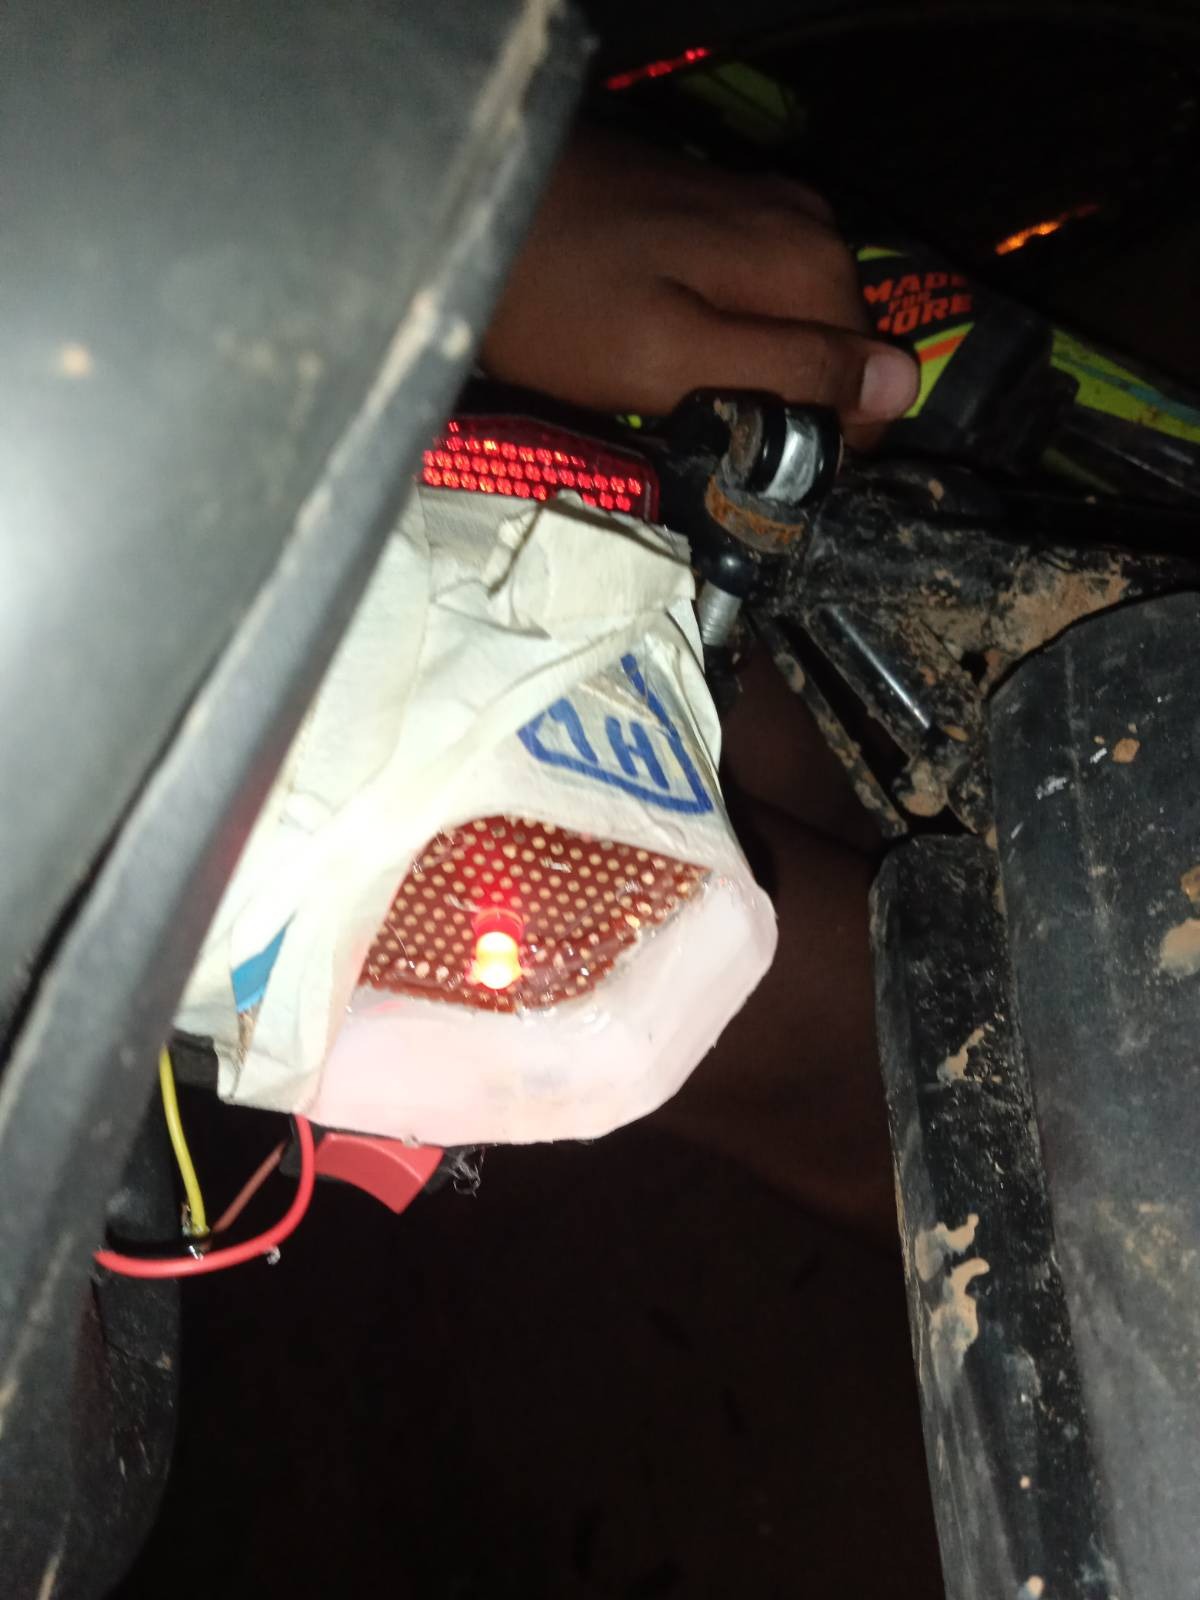
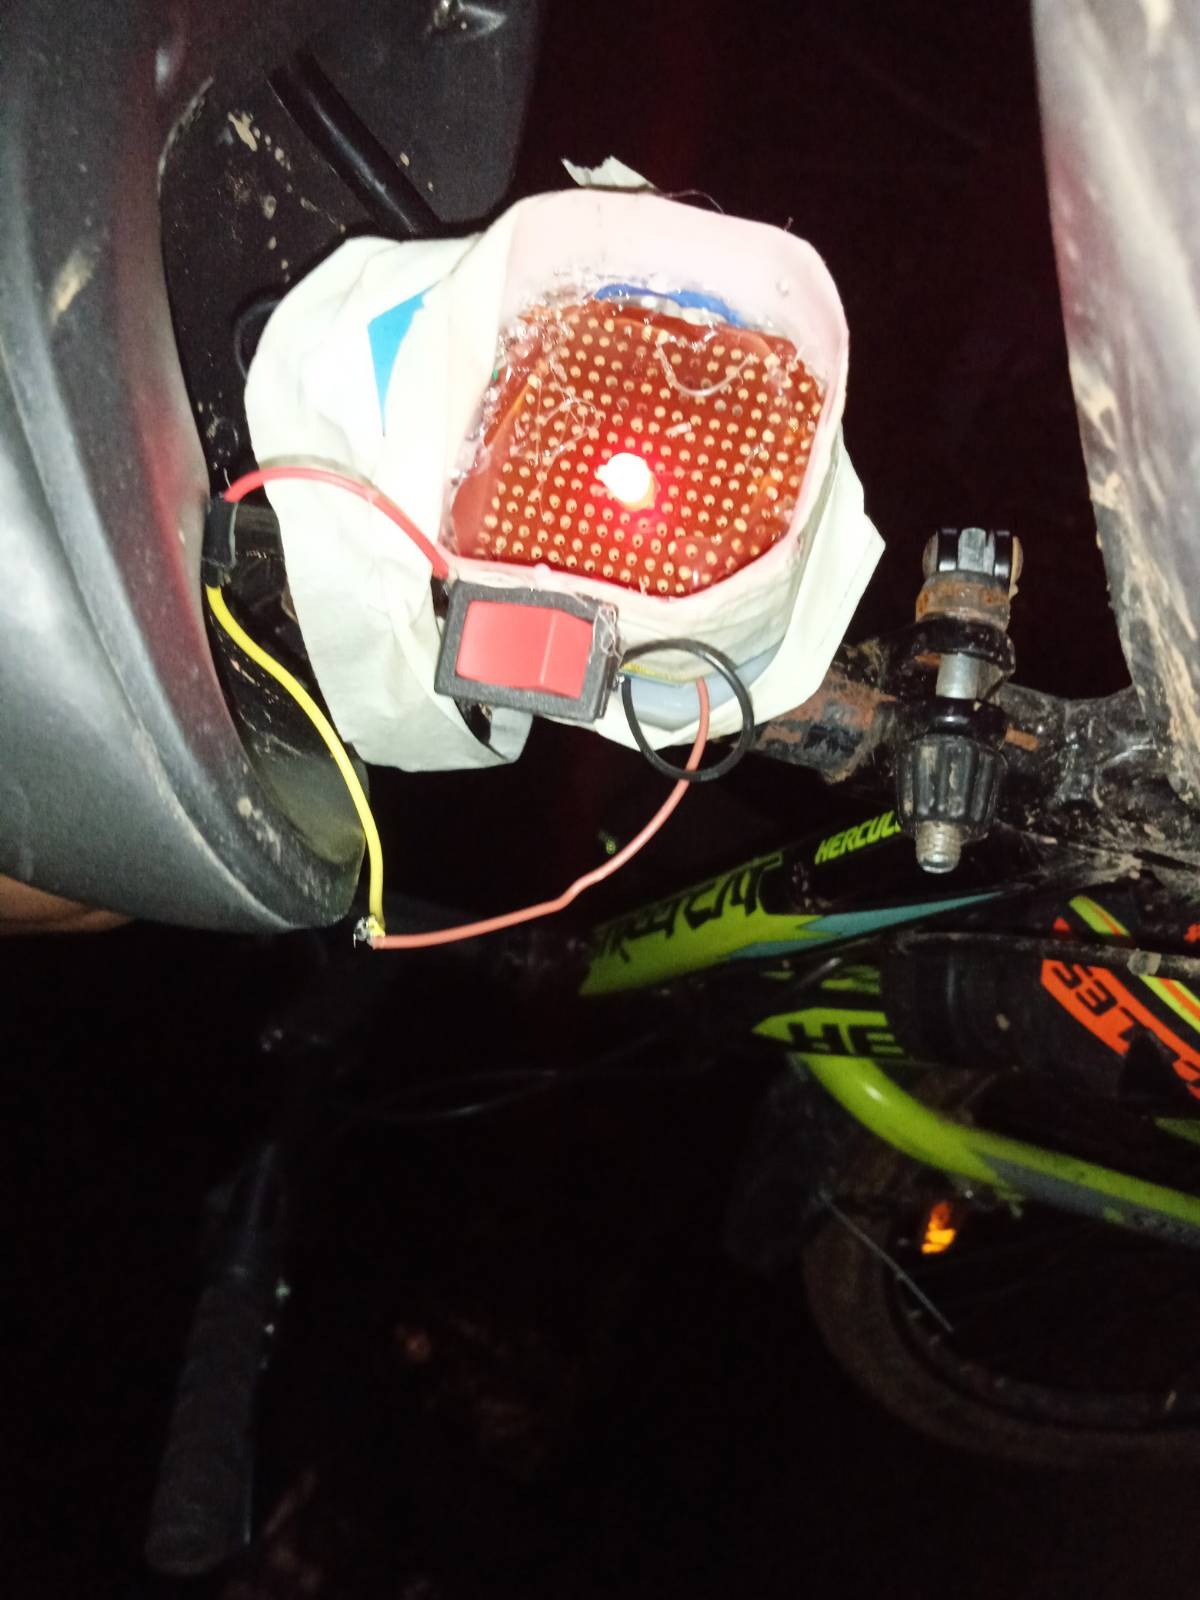
The third was an idea that came from kids themselves. Their mothers are understandably worried when they use their cycles at night. Cycles owned by the kids have no back lights to warn motorists who approach the cyclist from behind. So it was decided that a light at the back of a cycle that flashed red light once a second was a fine practical circuit. Humans (indeed all predators) are sensitive to movement rather than stillness and to flashing lights rather than still lights. They are also more sensitive to Red and White flashing lights than to any other color.

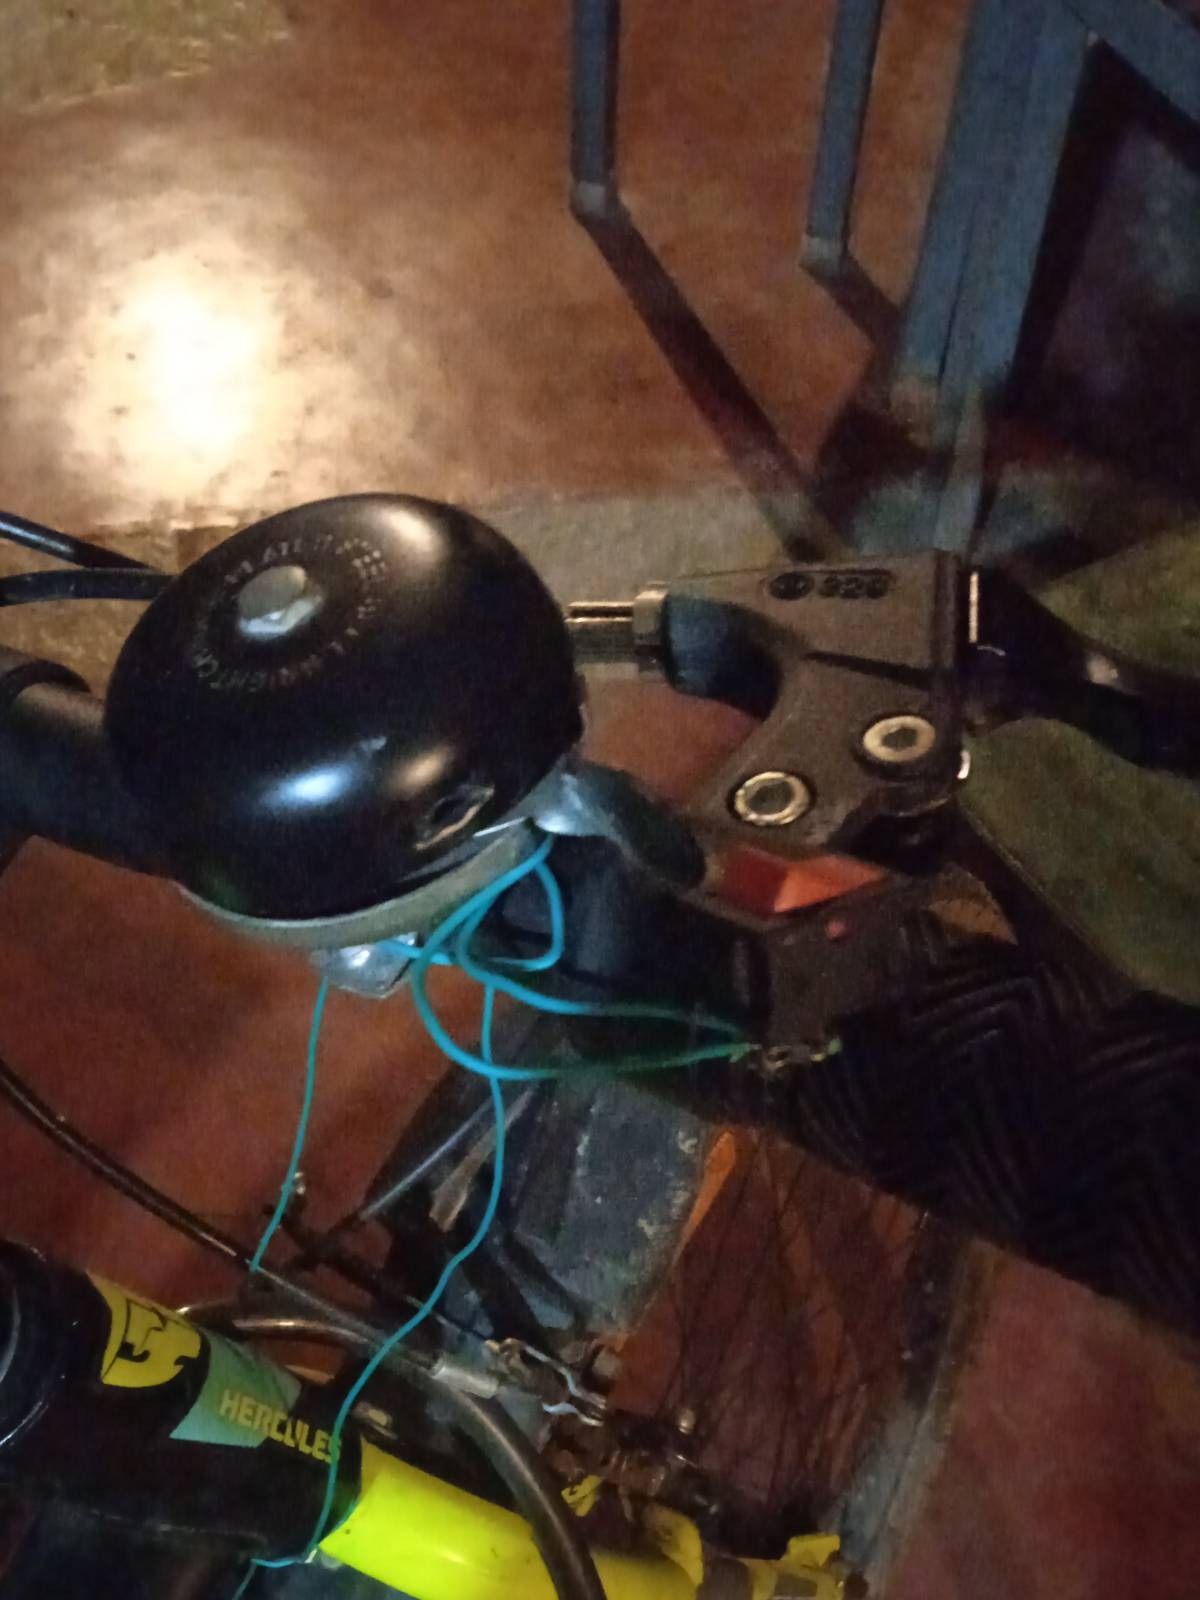
So an astable multivibrator was built based on the 555 chip which the children first tested on the breadboard and then soldered it on the PCB with help from C3StreamLand youth. An 8th standard student from Udavi school called Ajay took up the challenge to design the structure to house the circuit and to also mount it on his cycle. The student you see with the cycle and the flasher in the attached photos and videos is Ajay.

Ajay’s next target(s)

  1. Make it waterproof
  2. Make it robust to rough riding
  3. Power it off a Dynamo instead of a 9V battery as is being done now

Shifu students visit to Sadhana Forest

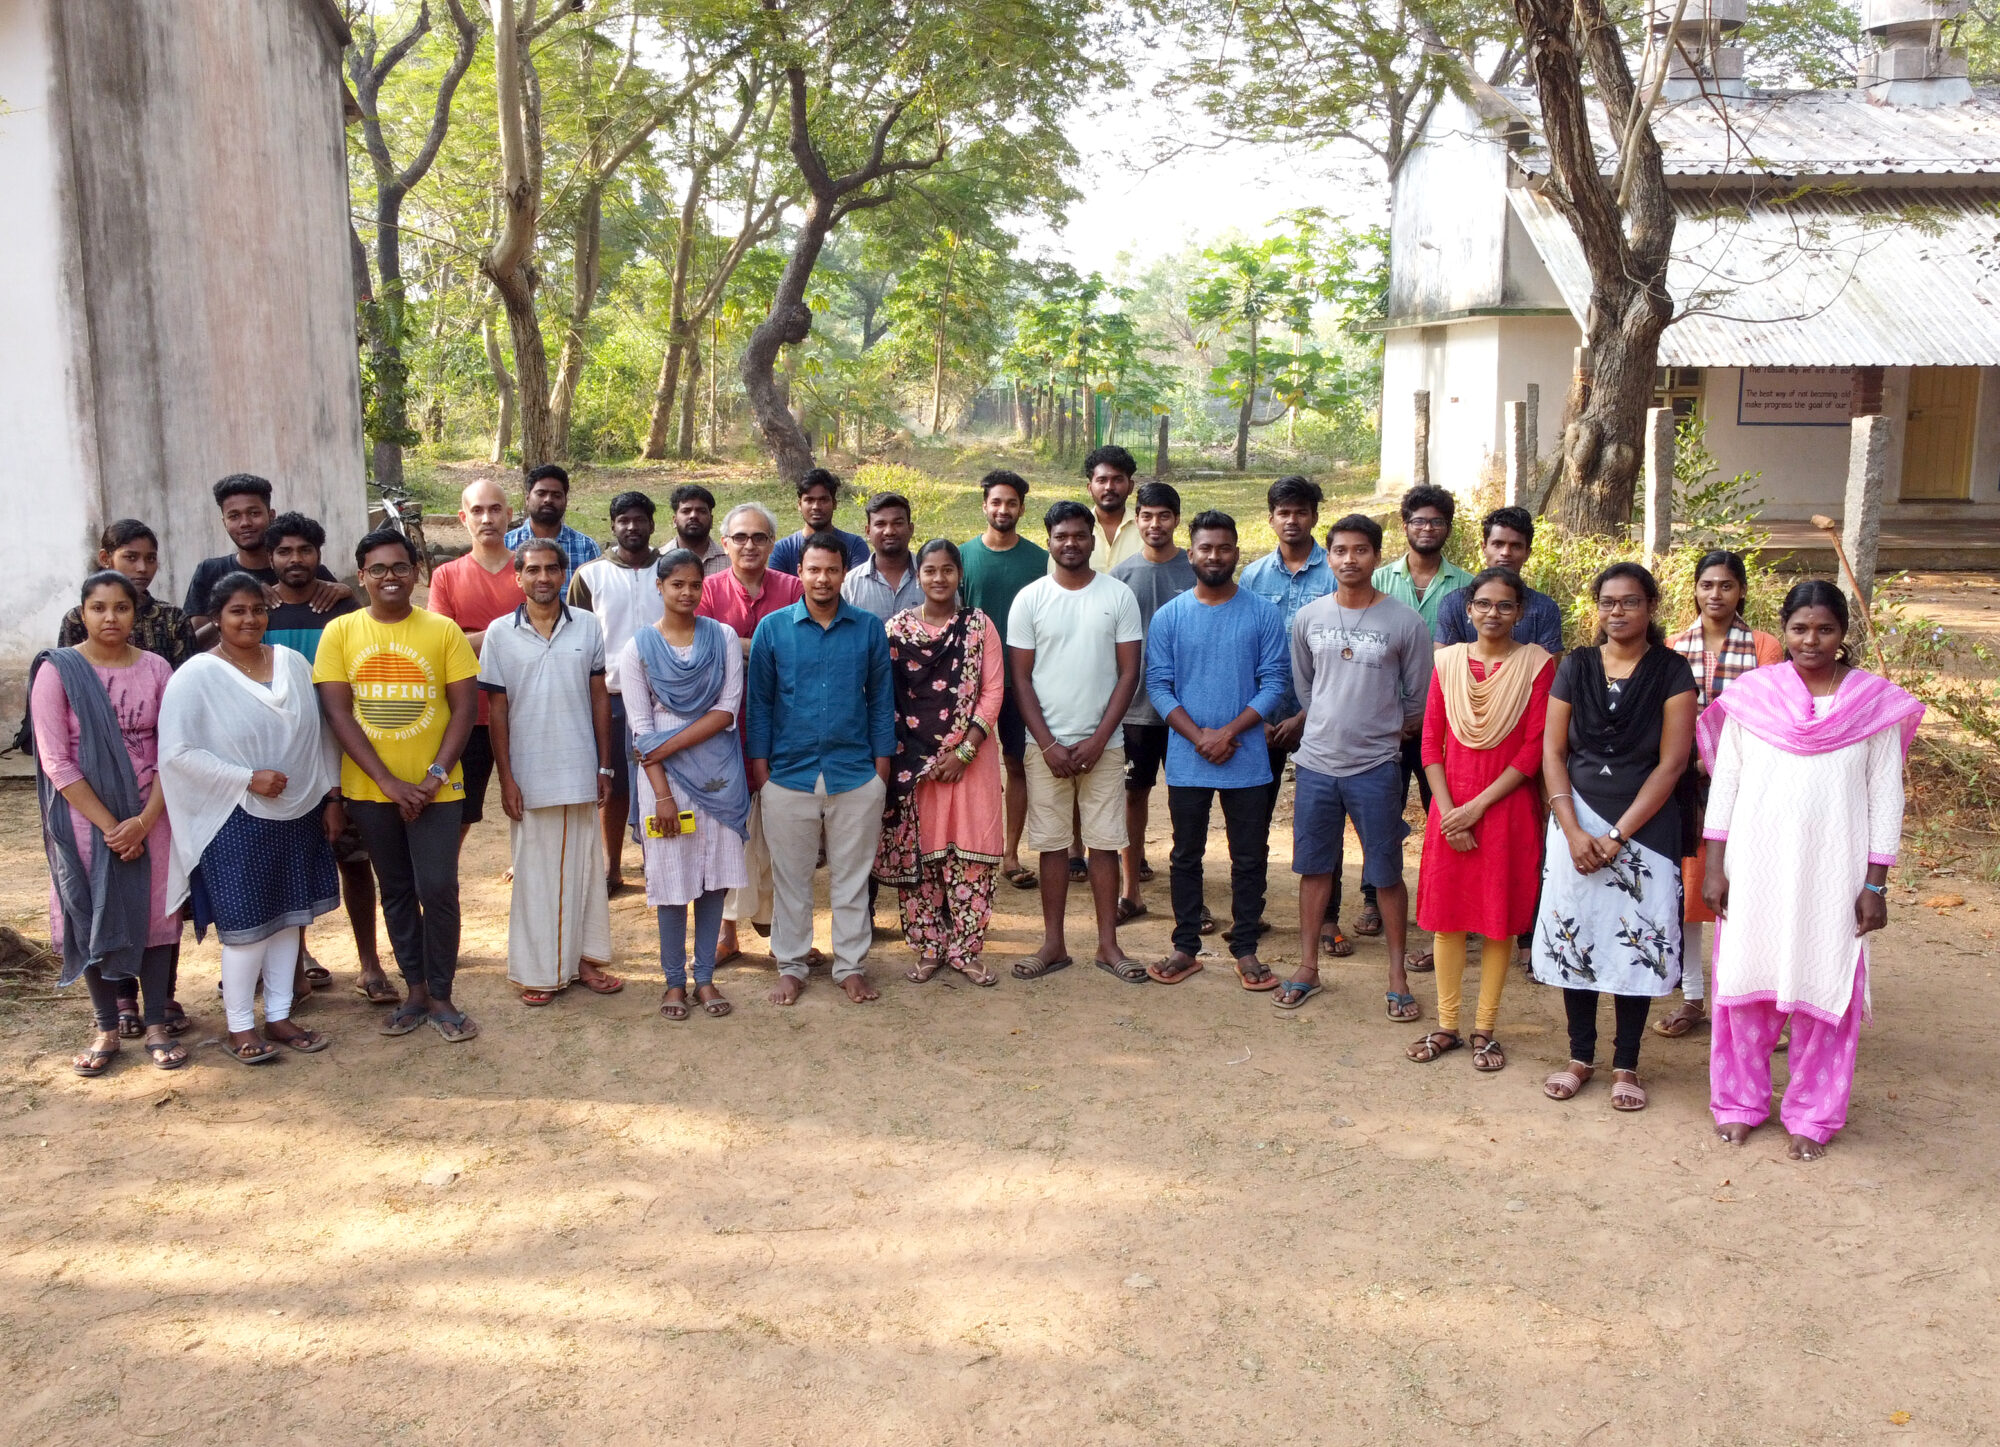
Becoming and Being a Shifu (Master) program provides opportunities for the students to explore and integrate in Auroville. As part of this exploration we visited Sadhana Forest community last Friday. Every Friday the community offers a tour, screens a documentary and serves a vegan organic dinner (this offering is free of charge and reservations are not required).

Here are some things we saw, discussed and experienced.

  • We have discussion about the environment and people particularly about compassion and share our thoughts and heard others thoughts about the world.
  • Compassion towards humans, animals and towards children
  • We learned about Deforestation and Reforestation
  • We noticed they used ash to wash vessels
  • Three buckets to subsequently wash the vessels and prevent waste
  • Less amount of water is used to wash hands
  • Human excreta in dry composting toilets is eventually used as compost. These are stored in a barrels with saw dust for a year to make compost
  • Human pee is a Nitrogen rich element when it is mixed with charcoal is good for the soil.
  • Efficient use of redesigned stoves
  • Speed breakers like soil structures were built to reduce soil erosion
  • Vegan dinner!
  • Rescued animals were sheltered and taken good care of by the volunteers
  • High compressed plastic sheets are used as roofs of dorms
  • New species of animals and birds are coming to the forest because of rich natural environment
  • Seeds were thrown in surface and volcano like structures made up of leaves maintain the humidity. Water bottles with holes at the bottle with threads as root of bottle ensure the moisture is well maintained in the soil.

Here are some insights from the Shifuians.

Arun Kumar:

I learned that the initiative can turn into a movement when everyone realises the importance of the initiative. I learned about the soil structures to prevent the soil erosion when the heavy rainfall happens. I learned that everyone likes the nature and wants to prevent and want to make it prosperous but it all requires standard procedures.  I learned that the efficient use of water is an impact which they want to achieve from everyone. I learned the importance of working together to create a enriched forest for all living beings

Rajesh:

The experience of visiting sadhana forest was a really a tremendous one. What I have learned is one of the precious learnings in my life.
To live a life, there are many ways, choosing the way to live my life is in my hands.
I noticed my passion towards people, the passion towards children, the passion that i have towards nature and animals.

Soundhariya:

My reflection about Sadhana Forest they focusing reforestation, water conservation, recycling and reduce wastage and how to grow plants and how to pour water in it. They put one movie about roots. It say that how roots are important in our life because roots only save the world. so trees and forest are most important in our life and also the world.

Poonguzhali:

I did learn about Sadhana Forest; they are focused on water conservation and reforestation, natural materials, and organic foods.  They are using construction methods, like composting toilets, and recycling the waste, and they are also using drip irrigation to grow the plants and trees.

Ajay:

I learnt about the importance of forest and saving rain water and get a chance to interact with strangers and also about reusage of everything, and to live simple life with more compassion towards nature.

Dinesh:

After visited sadhana forest l learned about how to use the water in efficient way. The reason for using the charcoal powder as dish wash powder because of rich in carbon and nitrogen. The reuse of waste products such as plastics into useful ones. How they conserve the water in order to prevent soil erosion. The importance of roots and how the plants transfer the food to roots make it healthier and thicker. How they human and animal waste into manure by natural process. The concept of drip irrigation (The process of pouring water into roots).

Sundar:

I learnt to interact with strangers. From the strangers, I learnt to live with unity. I learnt to save water easily. I will apply that method to my home. I learnt the importance of trees and growing roots. I learnt to use the waste materials from them. I learnt to live with animals. I learnt to convert my waste food to my pet’s food.

Sivaguru Prasath:

Learnt about effects we have made in the nature and environment. Also learnt about water and soil conservation and food wastage management.

STEMland youths excel in CII PUDUCHERRY INNOVATION CONTEST 2022

The Confederation of Indian Industry (CII) works to create and sustain an environment conducive to the growth of the industry in India, partnering with industry and government alike through advisory and consultative processes. CII Puducherry Innovation Contest organized in partnership with Atal Incubation Centre, Pondicherry Engineering College Foundation is an ideal platform for the Students and Startupreneurs of Puducherry to showcase their innovative ideas, proof of concept, and prototypes. The event is structured through a 3-stage process that involves application shortlisting, online presentations, and a Pitch round. Boot camps, personal mentoring by Industrialists, and guidance by AIC are the salient features of the contest. Winners of the contest will get an opportunity to take their ideas to next level in the Atal Incubation Centre, PECF, and an opportunity to avail of seed funding.

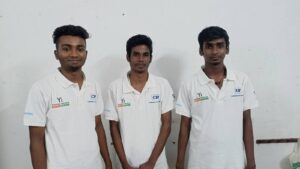
The energetic youths of STEMland Vikinesh. R, Mugilan.M, and Punithavel.M from the Acharya College of Engineering and technology as the team participated in CII Puducherry Innovation Contest 2022 and presented their project “SALTWATER LAMP” and got selected for the finals of the Pitch round. They worked on this project to address the problems encountered by the fishermen and the public during disasters.

From left, Vikinesh. R, Mugilan.M, and Punithavel.M.

First, they conducted a survey to formulate the objective and worked on a solution – saltwater lamps. They used the STEMland tinkering lab to develop this project. This project paved the way to help fishermen during the night-time, deep sea fishing, and the public during disasters. The project employed salt water to produce electricity through which the lamp glows. The team presented the project to the C3streamland team to have a final rehearsal before presenting in the contest and took feedback for growth.

The project set out to be a benchmark and inspired many rural youths to use the STEMland tinkering lab for developing projects.

Ambient light sensor using a photoresistor and Arduino Uno

This project is about using a photoresistor along with an Arduino Uno board to determine the brightness of a room which is bright or average light or dark. A photoresistor which is also called an LDR (LIGHT DEPENDENT RESISTOR) and two LEDs and Breadboard and a 1 k ohm Resistor and 2 resistors for the LEDs which range from 100 ohms to 220 ohms are used. The jumper wires are used to connect Arduino digital pins to the breadboard. The output is displayed through the LEDs and Serial Monitor.

WIRING: The photoresistor is wired into analog pin 0 and a 5V on the right side of the breadboard. It runs through a grounded 1K ohm resistor. An LED on the opposite side of the breadboard into digital pin 13 and grounded a 220-ohm resistor slightly to the right of the first LED, a wired LED of a different color is employed, just with a different digital pin.

Photoresistor working principle:

A photocell or photoresistor is a sensor that changes its resistance when light shines on it. The resistance generated varies depending on the light striking the surface. High intensity of light incident on the surface will cause a lower resistance, whereas a lower intensity of light will cause higher resistance.

WORKING: If the photoresistor reads a value above 450 ohms, it prints “It is quite light!” on the serial monitor and turns all LEDs off. If it reads a value between 230 ohms and 450 ohms, it prints “It is average light!” on the serial monitor and turns on the left LED. This only leaves us with values below 230 ohms to account for. If a value is below 230 ohms, it prints “It is quite dark!” on the serial monitor and turns on both LEDs.

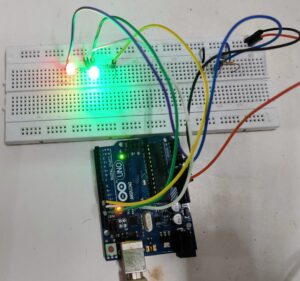
Components setup:

Applications:

The ambient light sensor is used to control the backlight of LCD-based applications to control the display brightness of mobile for reducing battery life. The applications of this sensor range from consumer electronics to automotive. This is the main benefit of mobile applications.

These devices are used to replicate the sensitivity arc of the person’s eye, allowing mobile displays and the levels of its brightness to be attuned more accurately. These sensors are used in automotive applications like headlight control & cockpit dimming.

The main feature of this sensor is an automatic alteration to save power & to increase the LCD screen’s life in handy display devices. Additionally, these sensors control the backlighting based on the program set by the maker.

This sensor is also used in indoor as well as outdoor lighting for turning on/off which includes street lighting and electronic signals.

LDR photoresistor code

Updated Features in Udavi and IsaiAmbalam  School Software

~ Sandhiya.B

In STEM land we give freedom to children to choose their plans on their own. Using the software children choose their plan for a week and work accordingly. Teachers conduct an assessment in line with the plan.

For the past two years, the school software was not much in use because of Corona Lockdown.  Children started using the software again this year.

Udavi School children encountered the challenge of putting the plans as they faced difficulty while choosing advanced topics without knowing the basic concepts for the goal because the goals are in sorted order. The school software was updated to comfort children’s activity in choosing the goals by adding space for extra goals and options for selecting/choosing a few basic goals.

For Isai Ambalam children of creche and kindergarten, the school software has been used for the assessment and progress card. The essential content, learning program, and learning completion columns were bilingual and some of the parents found it difficult. So, the software is updated with the feature of the native language Tamil for more accessibility for parents, teachers, and students.

The newly added features work well and the performance has paved a progress curve in the activities. It gives more access to the users which enhances efficiency

Smart dustbin using Arduino

The smart dustbin is built on a microcontroller-based platform Arduino Uno board which is interfaced with the Servo motor and ultrasonic sensor. An ultrasonic sensor is placed at the top of the dustbin which will measure the stature of the dustbin. The threshold stature is set at a particular level. Arduino will be programmed in such a way that when someone will come in front of the dustbin the servo motor will come into action and open the lid for the person to put the waste material into the dustbin. The lid of the dustbin will automatically open itself upon the detection of a human hand.

Servo Motor:

SERVO MOTOR is an electromechanical device that produces torque and velocity based on supplied current and voltage. It can push or rotate an object with great precision. Servo Motor SG-90 is used. It will perform its angular rotations when a signal will be provided by the microcontroller. The servo motor rotates approximately 180 degrees (90 in each direction).

Infrared sensor:

IR SENSOR is a radiation-sensitive optoelectronic component with spectral sensitivity in the infrared wavelength. It is used for object detection.

Connections: –

The Red Pin of the Servo Motor is connected to Arduino 3.3v. The Black Pin of the Servo Motor is connected to Arduino GND (Ground). The Orange Pin of the Servo Motor with Arduino Pin 8. VCC of the sensor is connected with Arduino 5v.

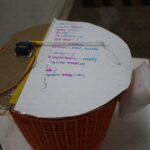
The Smart Dustbin as you can see in the picture above is built using Cardboard. This is a custom-made Smart Dustbin equipped with HC-SR04  Sensor, Arduino, and a Servo Motor. It is programmed using the Arduino code.

Code:

#include<Servo.h>
Servo myservo;
int angle = 0;
int angle step= 50;

void setup(){
myservo.attach(8);
pinMode(2,INPUT_PULLUP);
}
void loop() {
if(digitalRead(2) == HIGH){
myservo.write(180);
}
else{
myservo.write(-180);
delay(3000);
}

Once there is no one in front of the  Sensor the Smart Dustbin Lid remains closed.

The smart dustbin is a carefully designed solution that solves the social issue of waste disposal.


LOGIC GATES USING ARDUINO UNO

A basic gate is defined as a component with one or more inputs and one output.  The inputs and outputs are all digital.

There are three fundamental gates and a total of seven basic logic gates (plus several derivatives). The gate will set its output to either zero or one, based on the state of the input signals.  It uses the rules of Boolean algebra to determine the output condition. The relationship between the input and output logic levels on a gate can be best illustrated using what is known as a truth table.

Simulating Gates with an Arduino:

All of the Boolean algebra functions performed by the basic logic gates can also be emulated on an Arduino. With that in mind, a logic gate emulator that will emulate six of the seven basic gates has been constructed. It doesn’t include the NOT gate because it only has one input whereas the other gates have two.

Project on logic gates using Arduino Uno board consists of 8 LEDs and 8 resistors for the LEDs and two resistors for the pushbutton switches. The LEDs are connected for the logical output and the pushbutton switches are used for the logical input. The positive terminals of the LEDs are connected to the respective terminals of the Arduino board. The negative terminals are connected to the ground of the Arduino.

The green LEDs are for the logic outputs and the red LEDs are for the input.

The dropping resistors for the LEDs are all 220 ohms.

The two pulldown resistors for the pushbutton switches are 2.2k each.

First, define some Boolean variables to represent the logic states of both the two inputs and six outputs. Next, define some integers to represent the connections to the Arduino from the LEDs and push buttons.

It displays logic states on the serial monitor, so in the Setup routine, initialize the monitor at 9600 bps. The rest of the Setup is used to define the LEDs as outputs and pushbuttons as inputs.

In the Loop, it starts by reading the state of the two pushbuttons, and then displaying the results on the two Red LEDs marked “A” and “B”.

The actual Boolean math consists of the following four characters:

  • NOT =!
  • AND = &
  • OR = |
  • XOR = ^

We use the NOT function (!) to create the NOR, NAND, and XNOR gates.

After determining the Boolean results they are sent to both the serial monitor and the LEDs.  Following a short delay the whole Loop repeats.

Load the sketch and give it a try. Cycle through all four combinations of the two pushbuttons and observe the LED statuses, as well as the status on the serial monitor.

This would be a great training tool for testing our knowledge of digital logic.

Arduino gates using code