LAST SCHOOL STUDENTS VISIT STEMLAND

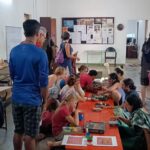
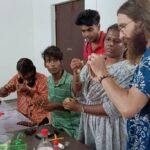
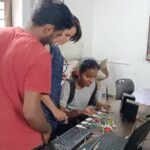
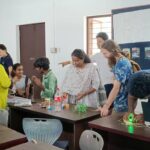
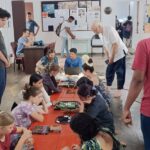
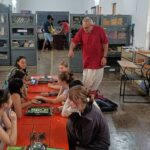
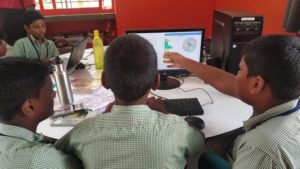
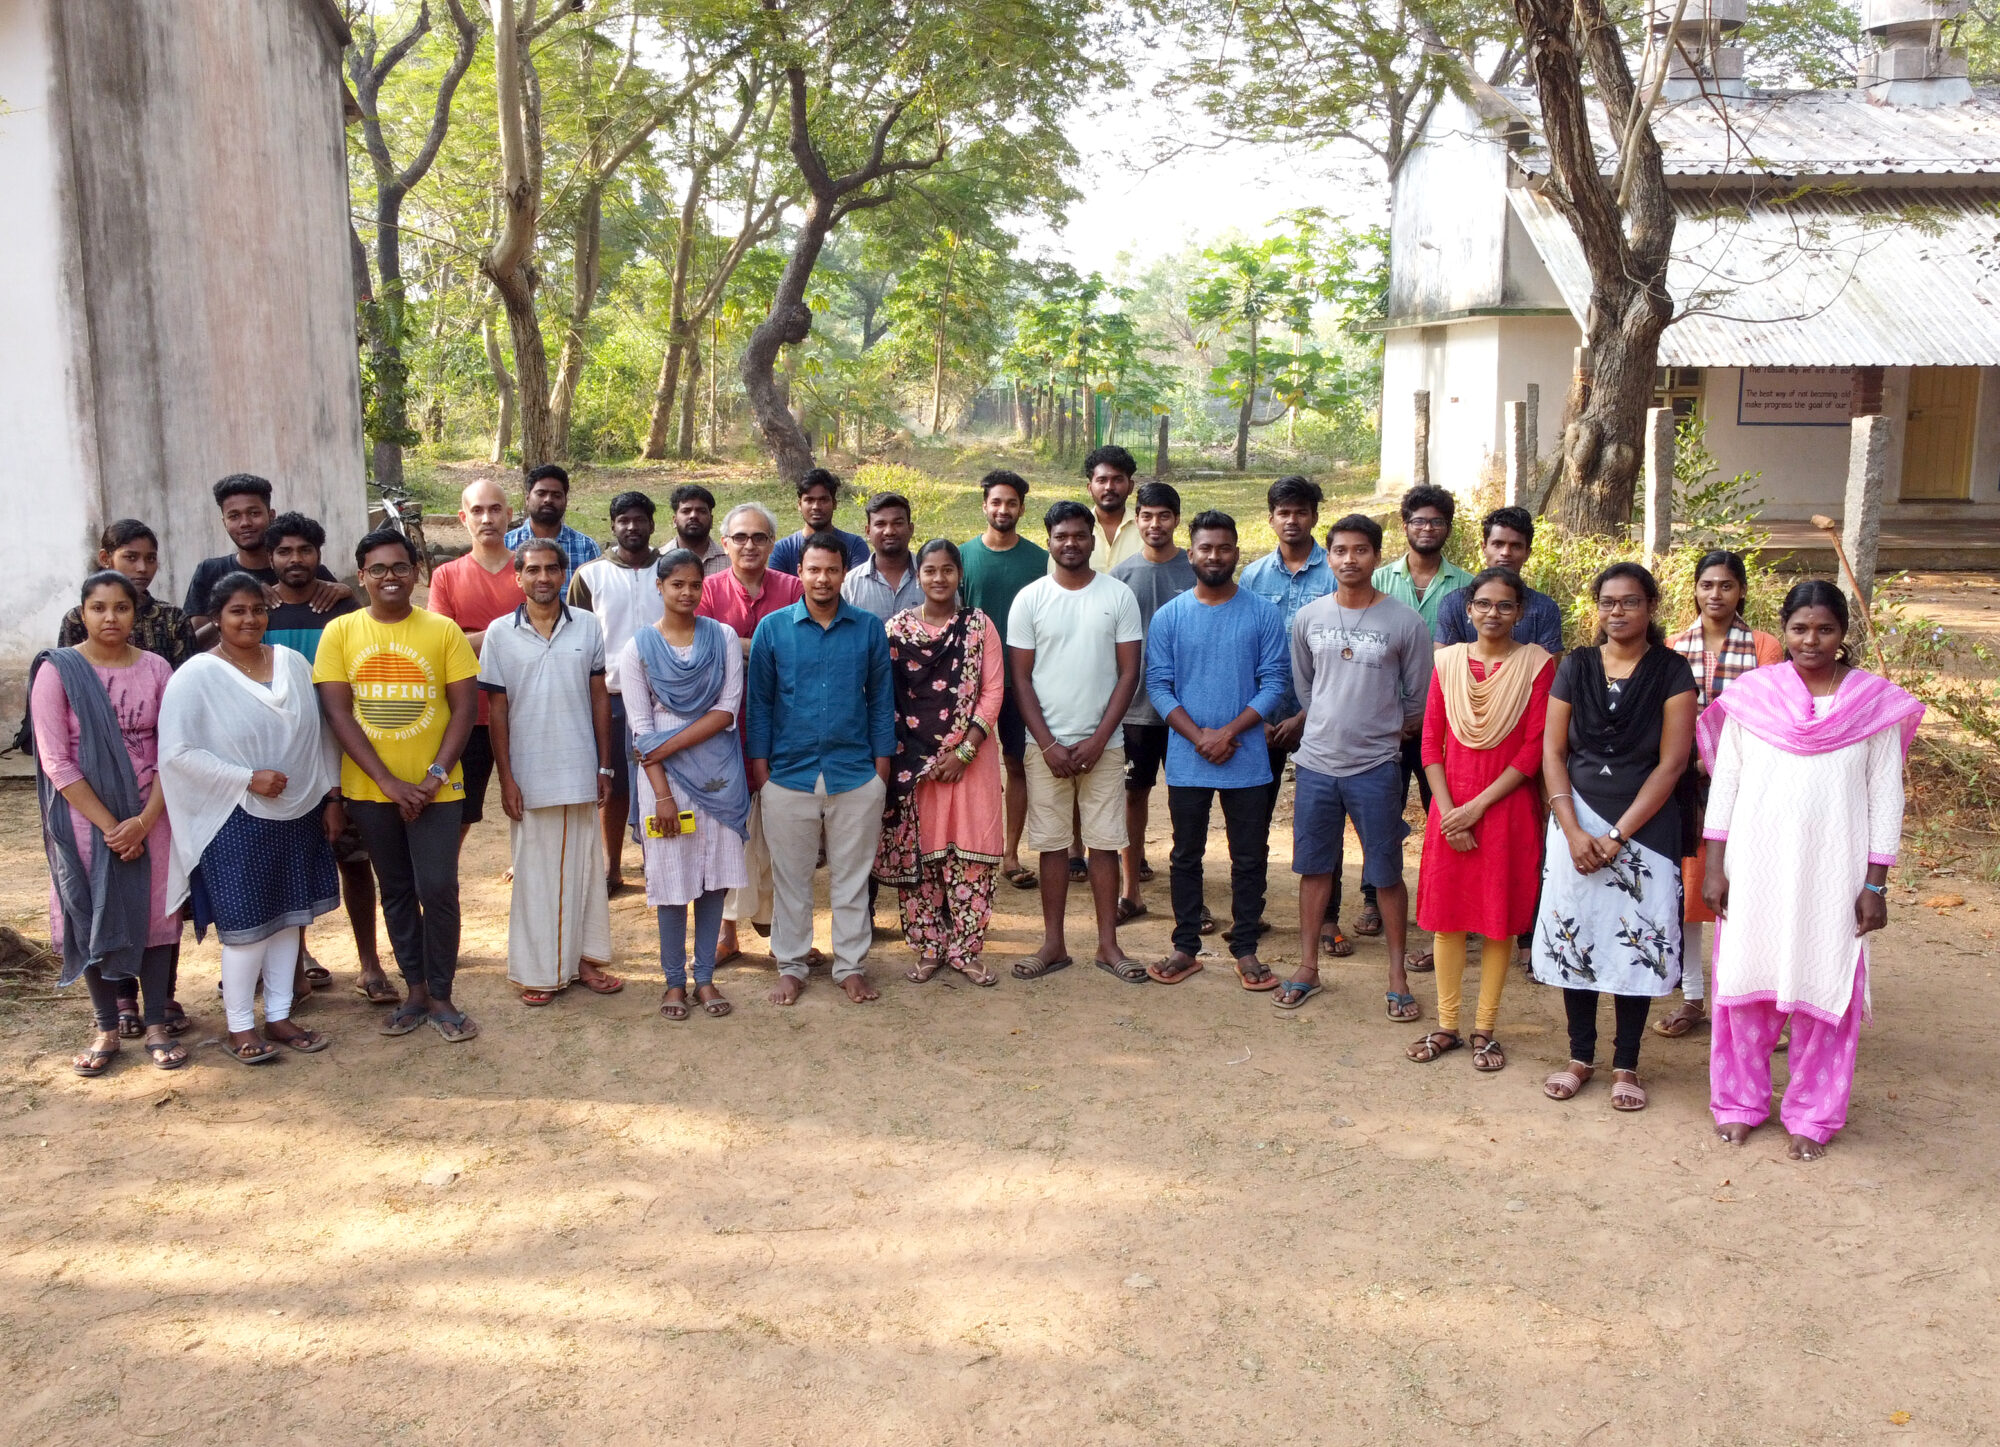
On the 14th of July students from the Last school, Auroville visited STEMLAND. The forty students accompanied by the teachers enjoyed their afternoon session by exploring STEMLAND.

The arrangements were done by the STEMLAND team. There were 8 stalls which include

  1. Mindstorms
  2. Games and puzzles
  3. Science projects
  4. Makey-Makey
  5. Arduino
  6. Electronics
  7. Scratch programming
  8. 3-D printing.

Mindstorms:

Mindstorms is a hardware and software structure that develops programmable robots based on Lego building blocks. Each version includes computer Lego bricks, a set of modular sensors and motors, and Lego parts from the Technic line to create the mechanical systems. The system is controlled by the Lego bricks.

Games and puzzles:

Logic and strategy games were present. They include Abalone, Gobblet, Quads magnetic, Aadu Puli (Puli Meka), Linja, Quarto, Quoridor, Othello and Eternals were put on view to play. Puzzles like Rubik’s cube, Cast puzzles, and holograms were displayed to solve and play with.

Science Projects:

Science projects based on concepts were exhibited. The exhibits include

  • Magnetic levitation
  • Electromagnetism
  • Acid-base indicator
  • Dc electric motor model
  • Crank’s model
  • Lungs- diaphragm model
  • Magnetism- properties.
  • DIY microscope
  • DIY headphone
  • Series and parallel connection
  • Lights color – arithmetic model.

These models were made using the Arvind Gupta toys which are made of scrap materials.

Makey – Makey:

Makey Makey is an invention kit by the MIT media lab. With Makey Makey, everyday objects are transformed into touchpads empowering students to interact with computers as creative tools. The computer becomes an extension of their creativity, fostering imaginative play and discovery.

“Makey Makey” is a play on words – students having the ability to Make their Keyboards (“Ma-Key”). The mundane and boring keyboard is replaced by any object that conducts electricity – pie pans, Play-Doh, bananas, and even potted plants – the list goes on.

The projects can be coded by scratch and use the Makey Makey kit as a joystick controller.

Arduino:

Arduino is an open-source hardware and software that can be used for designs. It is a microcontroller and microcontroller kit for building digital devices. It can be programmed and built using the Arduino software. Exhibits include a Distance measurement kit, Automated street light was displayed.

Electronics:

The field of electronics is a branch of physics and electrical engineering that deals with the emission, behavior, and effects of electrons using electronic devices. Projects like Automatic street light controller and automated sound sensor control model, Automatic dustbin were displayed.

Scratch programming:

Scratch is a visual programming language that allows students to create their own interactive stories, games, and animations. As students design Scratch projects, they learn to think creatively, reason systematically, and work collaboratively.

3-D printing:

A machine allows the creation of a physical object from a three-dimensional digital model, typically by laying down many thin layers of a material in succession. The models are designed using software called Tinkercad and converted to the printing g code to feed to the machine using Ultimaker CURA software. This paves for creative models.

The visit session was facilitated by Dr.Sanjeev Ranganathan and the team of STEMLAND. The session started with a few minutes of concentration meditation and a few words about what we stand for, a casual talk on the similarities and differences between the last school and STEMLAND. Students had to choose any two stalls they can spend time on. Some of them wanted to explore all the activities.

Students and facilitators had a great time exploring. Few of them made hands-on projects using the kits provided. They played strategic games and got fascinated by them. It was a pleasure to have them in STEMLAND. The team had wonderful learning, growth, and fun having them.
MAKEY MAKEY

Makey Makey is an invention kit by the MIT media lab. With Makey Makey, everyday objects are transformed into touchpads empowering students to interact with computers as creative tools. The computer becomes an extension of their creativity, fostering imaginative play and discovery.

“Makey Makey” is a play on words – students having the ability to Make their Keyboards (“Ma-Key”). The mundane and boring keyboard is replaced by any object that conducts electricity – pie pans, Play-Doh, bananas, and even potted plants – the list goes on.

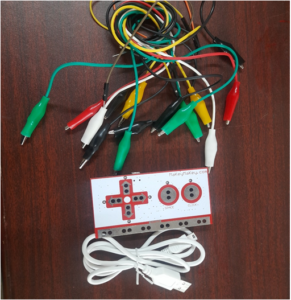
The heart of Makey Makey is its circuit board that connects to a computer via a USB cable. Building circuits that can be used like a joystick or a keyboard key allows users with no coding experience to use Makey Makey to learn, experiment, and invent.

Makey Makey paves the way for “Integrative STEM Education”. “Integrative STEM education” refers very specifically to instructional approaches that intentionally situate the teaching and learning of science, technology, engineering, and /or mathematics concepts and practices in the context of hands-on engineering, designing, and making.

The Makey Makey kit includes the Makey Makey board, a USB cable, seven alligator clips, six connector wires, and an instruction sheet.

Working of Makey-Makey:

  • Plug in the USB of Makey Makey to the computer.
  • Connect to Earth-Connect one end of an alligator clip to “Earth” on the bottom of the front side of Makey Makey.
  • Hold the metal part of the other end of the alligator clip between your fingers.
  • While you are still grounded, touch the round “Space” pad on the Makey Makey. A green light should appear on the Makey Makey, and the computer will “think” the spacebar was pressed. Also, complete the circuit by connecting another alligator clip to “Space.
  • Experiment by turning various items, objects, or substances into a computer key.

Using Makey Makey with scratch:

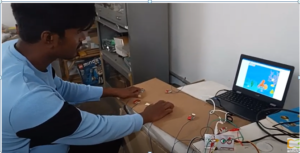
Scratch is a programming language where interactive stories, games, and animations can be created. The Chase game is an example of a program made using the Makey Makey. The game is played with the arrow keys and the notes can be remixed for an array of versions.

This chasing game was coded from scratch and used the Makey Makey kit as a joystick controller.

Reflection from Sri Bhavani:
From the Makey Makey hands-on projects with children, they have learned about conducting and non-conducting materials. Current doesn’t flow in an open loop. They learned the open-loop and closed-loop of a circuit. x,y coordinates while moving the sprite.

Piano using Makey Makey.

SET GAME

~Kalai & Sundar

In this project a big challenge for me was handling the objects between two backdrops. Initially I set the flag event for twenty-seven objects. It became an issue with debugging. After that I was aware that to use minimal amount of flag event. The second issue was, to hide the object using the broadcast event, it hid all the other objects and I was not able to proceed further. Then I learnt how to show and hide the object using the local variable between two backdrops. The next issue was while moving the object from one page to another it went behind the circle, from this I had learnt about the usage of (go to front and back layer) block in Looks. After fixing these issues I felt happy. Sanjeev helped me whenever I was struck.

From this project I have learnt about
how and when to use conditional blocks like if, repeat, forever, and wait.
how to apply local and global variable.
how to make a list and assign the list values to the variable.
how to set the mouse position.
how scratch compares the variable and gives the result.
how to use the flag event.
Show and hide the sprite between two background using the variable.
how to avoid repetitions of the code and make it simple

This game works based on the set theory.
It contains three different sets represented as Venn circles (shape, Inside color, outside color) and twenty-seven objects.
You select the object based on their inside color, border color and shape and place it on the Venn diagram.
The object moves to the mouse track.
Press space key for positioning the object on the circle.
If you place the object in the correct position it tells correct and stay in the circle, if it is wrong, it back to its position.
If you win this game, it will switch to home page.

Unit digit of a cube number

-Logeshwari

8th graders in Udavi School were learning about the squares and cubes. This is a simple scratch project to show the unit digit of cube of a number.

https://scratch.mit.edu/projects/366990201/

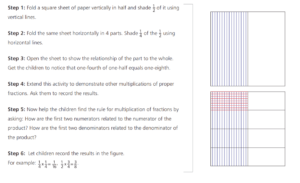
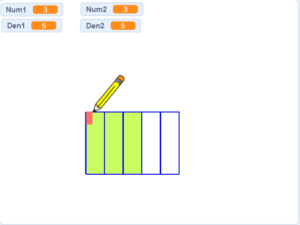
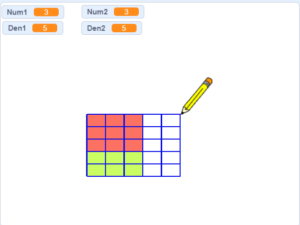
Fraction multiplication V2

Link to V1 : 

From the STEMland scaling session with Swathi on Friday, the input received was to make the multiplication to be a perfect square to show that 1/4 is smaller than 1/3.

Murali from 9th grade implemented the change:


Scratch Madala at Aikiyam school

Pratap

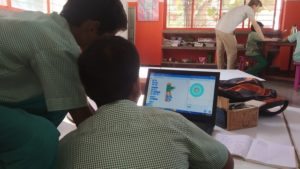
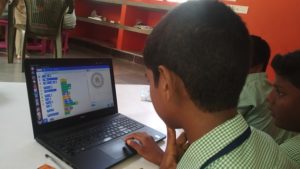
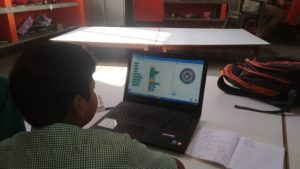
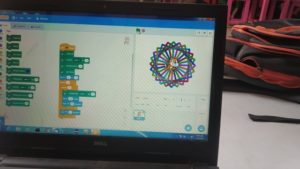
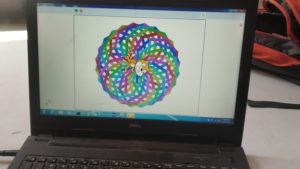
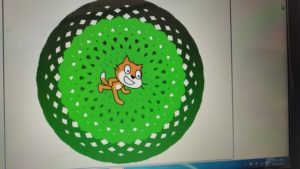
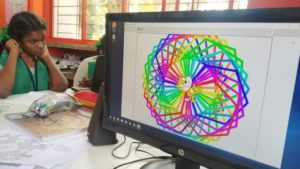
This week me and Murali went to Aikiyam to teach shapes using scratch. We started with the drawing a straight line. Then asked children to draw a triangle . Children took some time and then figured out the angle to draw a triangle. Then we asked them to draw the following shapes like square, pentagon, hexagon, heptagon , octagon. Then using this shapes we asked then to draw mandala. Children were interested to  draw their own mandalas . Children understood the concept of repeat loop. They were familiar with the  pen function in the scratch. Children were able to connect the angles for different shapes.


Graph with Abinash

Abinash a student from the 8th grade at Udavi school started his work on graph and initially had a little difficulty plotting points. He wanted to create a game for others to understand the concept and so together we started to mind storm on how and what the game should do.

Then he saw a picture on his mathematics text book and decided to create a point follower game at the end of which the user will get an image.

The program was coded in Scratch.

~Sundar