Installing Scratch on a 64x machine & creating desktop icon. (Ubuntu)

The following instruction can be used to install scratch in a 64x machine.

3164490_90x90.png


  • Download the Adobe Air and Scratch files from:

    https://scratch.mit.edu/scratch2download/

  • The following libraries are needed:

    sudo apt-get install libxt6:i386 libnspr4-0d:i386 libgtk2.0-0:i386 libstdc++6:i386 libnss3-1d:i386 lib32nss-mdns libxml2:i386 libxslt1.1:i386 libcanberra-gtk-module:i386 gtk2-engines-murrine:i386

  • Now you have to create a symbolic link to your gnome keyring:

    sudo ln -s /usr/lib/x86_64-linux-gnu/libgnome-keyring.so.0 /usr/lib/libgnome-keyring.so.0

    sudo ln -s /usr/lib/x86_64-linux-gnu/libgnome-keyring.so.0.2.0 /usr/lib/libgnome-keyring.so.0.2.0

  • cd into the directory with the AdobeAIRInstaller.bin
  • sudo ./AdobeAIRInstaller.bin
  • Now install Scratch 2:

    sudo “Adobe AIR Application Installer” /path/to/scratch2/installer/Scratch-437.air

Now making scratch an executable and run when double clicked ( usually needs manual configuration in Ubuntu)

1. define .sb2 file’s type
sudo vi /usr/share/mime/package/***.xml
*** is new file’s name. Set is as you like. ex)scratch2
write text below in the file

<?xml version=“1.0” encoding=“UTF-8”?>
<mime-info xmlns=”http://www.freedesktop.org/standards/shared-mime-info“>
<mime-type type=”application/x-scratch2“>
<comment></comment>
<glob pattern=”*.sb2“/>
</mime-type>
</mime-info>

2. associate .sb2 file with scratch 2 application
Find ”edu.media.mit.scratch2editor.desktop” file under directory of /usr/share/applications/ ,
and add only one line in the last line of that desktop file.
MimeType=application/x-scratch2

3. update
sudo update-desktop-databese
sudo update-mime-database

4. reboot PC

Common mistakes or typos:
– “/usr/share/mime/package/” should be “/usr/share/mime/packages/”;
– “sudo update-desktop-databese” should be “sudo update-desktop-database”;
– “sudo update-mime-database” should be “sudo update-mime-database /usr/share/mime”

http://programmingexplorer.weebly.com/blog/installing-scratch-2-on-ubuntu-linux-1404-64-bit

https://scratch.mit.edu/discuss/topic/187916/


Sleep Over at Isaiambalam School

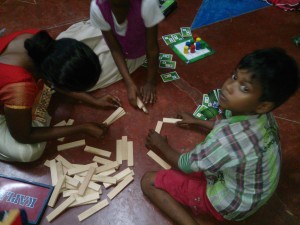
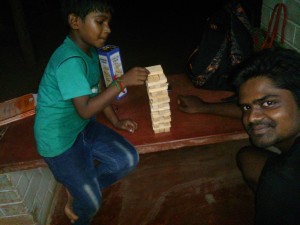
The Team had a wonderful evening filled with strategy games and puzzles at isaimbalam school. The 5th graders had a sleep over which ended with a English movies (cartoon). The evening started with a bonfire, then came the puzzles and games.

DSC_1087 DSC_1088

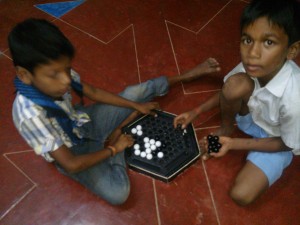
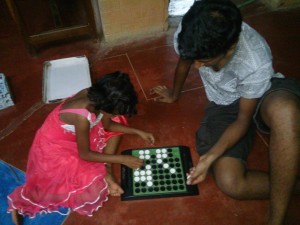
The children learned to play Abalone and Othello. (Favorite hits in STEMLAND 🙂 )

DSC_1085 DSC_1086

Naveen had brought the materials to build Aravind Gupta’s Toys from waste materials. The children enjoyed constructing them and saw how they functioned.

DSC_1080 DSC_1081 DSC_1082 DSC_1083 DSC_1084


Deepanam Children assembling their LED torchlight’s.

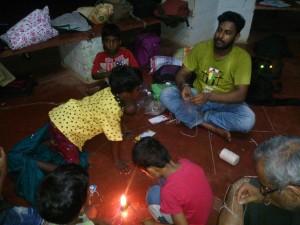
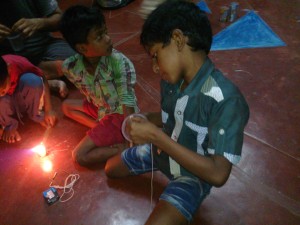
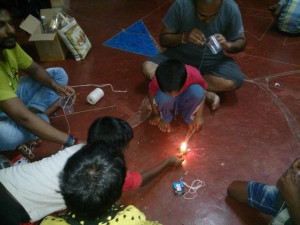
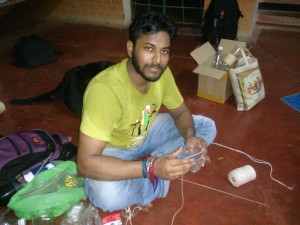
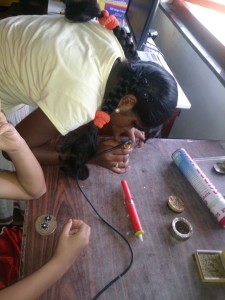
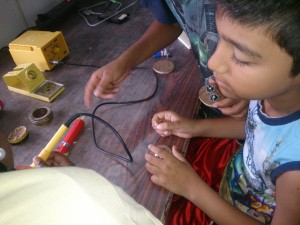
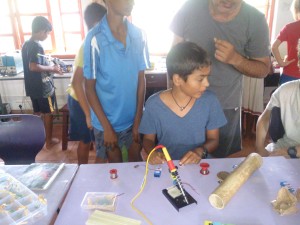
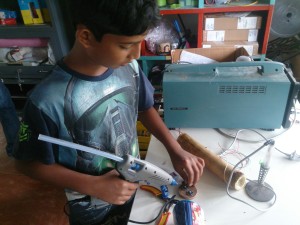
The children from Deepanam, on their last day in term 1 built bamboo torchlight’s using high wattage LEDS, resistors and a DPDT switch and a 9V battery. They designed the circuit and chose the required resistors and assembled them by soldering the components together. All the children were focused on their project and there was nothing stopping them from completing their torch’s.

DSC_1075

DSC_1076

DSC_1078

DSC_1079

DSC_1071

DSC_1072

Science with the 6th Graders

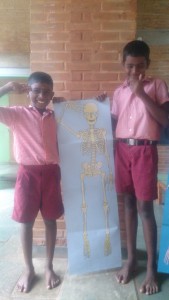
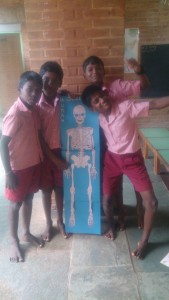
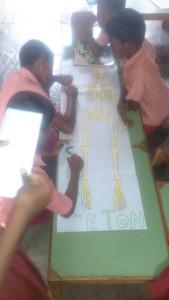
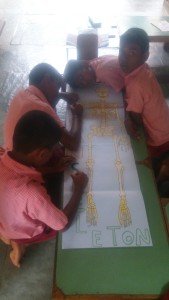
We had studied the human body, with the 6th grade students of Udavi school. The children had made the Skeletal structure in groups of two, they also did projects on the Digestive system on how food is processed by our body.

.DSC_0198_1 DSC_0202 DSC_0204 DSC_0206

Light Experiments with Students of Isai Ambalam

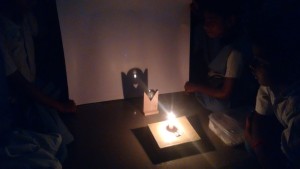
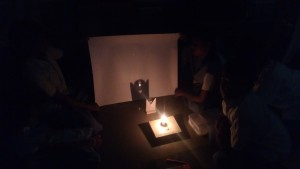
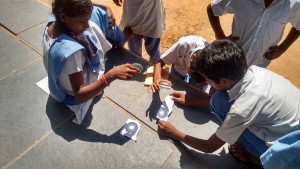
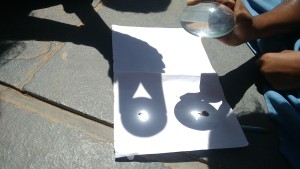
After a long time I got a opportunity to work with Physics materials… This week I planned to take Light lesson to 7th graders of Isai Ambalam. I’ve started with mind map for Light and then moved on to mirrors. Later I asked the students to look at their text books’ pictures ( Light lesson) without reading anything and then we started a discussion on ‘ What did I get on seeing the pictures?’.  It was a nice discussion where all the students started to say something related to the light and mirrors. They even talked about virtual oasis condition and stated it as a virtual image (thus they almost covered the Light lesson’s concepts which given in their text book).

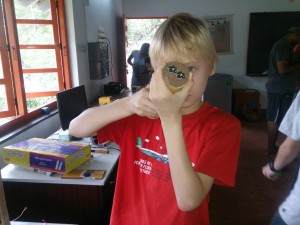
IMG_20160727_121247988 IMG_20160727_121301882 IMG_20160728_101259259_HDR IMG_20160728_102652040

I brought some lenses and mirrors ( both concave and convex )from STEMLAND . It made them to observe the differences between Concave and Convex  lenses (or mirrors). We did few experiments with light. These brought me to my childhood days.. Next day, a student ( Praba karan) brought a broken torch light and told that ‘ This must have made by Concave lens as it is spreading out the light everywhere’. Totally, my class on Light went well with these kids… I also felt something different this time.

Fraction and Angles with the 6th grade Udavi students

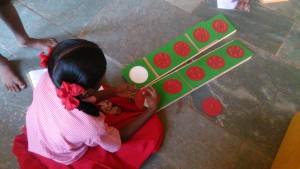
The 6th grade students had a lot of fun interrelating fractions and angles. They took various fraction pieces and estimated and checked themselves the corresponding angles using the fraction kits. Once done, they figured out a game that they played by calling names of fraction and the others estimation their corresponding angles.

DSC_0003 DSC_0004 DSC_0005 DSC_0006 DSC_0007

Electronic class for Children

Sanjeev has started an electronic class for the children who come for their activity classes on Saturdays. Children got so excited learning on how to properly use the multimeter. They learned how to calculate the Resistance, Voltage, and check the connectivity of the circuit.

In fact students learned that the multimeter can actually go bad if you don’t use them properly.

A small theory section was added to make the class more informative. Students got that Voltage and power are not the same.

Then they measured voltages of few old batteries and resistance of some resisters. A 9th student even showed how to find the continuity of a circuit using a multimeter.

Fraction activity with grade 5 and 6 – Isai Ambalam

The children were given a scenario where they had to equally cut pencils and place it in their geometry boxes. They did not physically cut pencils but used papers instead.

The question given was : Cut 5 pencils and place them in 4 geometry boxes equally. Initially they had some difficulty in placing the pieces equally in the boxes. But once they figured out a pattern in their mind, they began to make different questions themselves and  solved it.

Once they got a good handle of the procedure, they didn’t need the pencil(paper) and the geometry boxes anymore.

They also drew pictures of pencils and geometry boxes in Scratch and demonstrated how they split the pencils equally into the boxes.

Mandala’s

This scratch project was created by Barani (7th std student) from Udavi School, Auroville.

Barani had started this project to get a feel of scratch. This was one project which was not about animated characters playing a role in a story. Next he tool up an even interesting subject from his learning this term, i.e Practical geometry. He wanted to show how angle bisectors were drawn for a given angle.