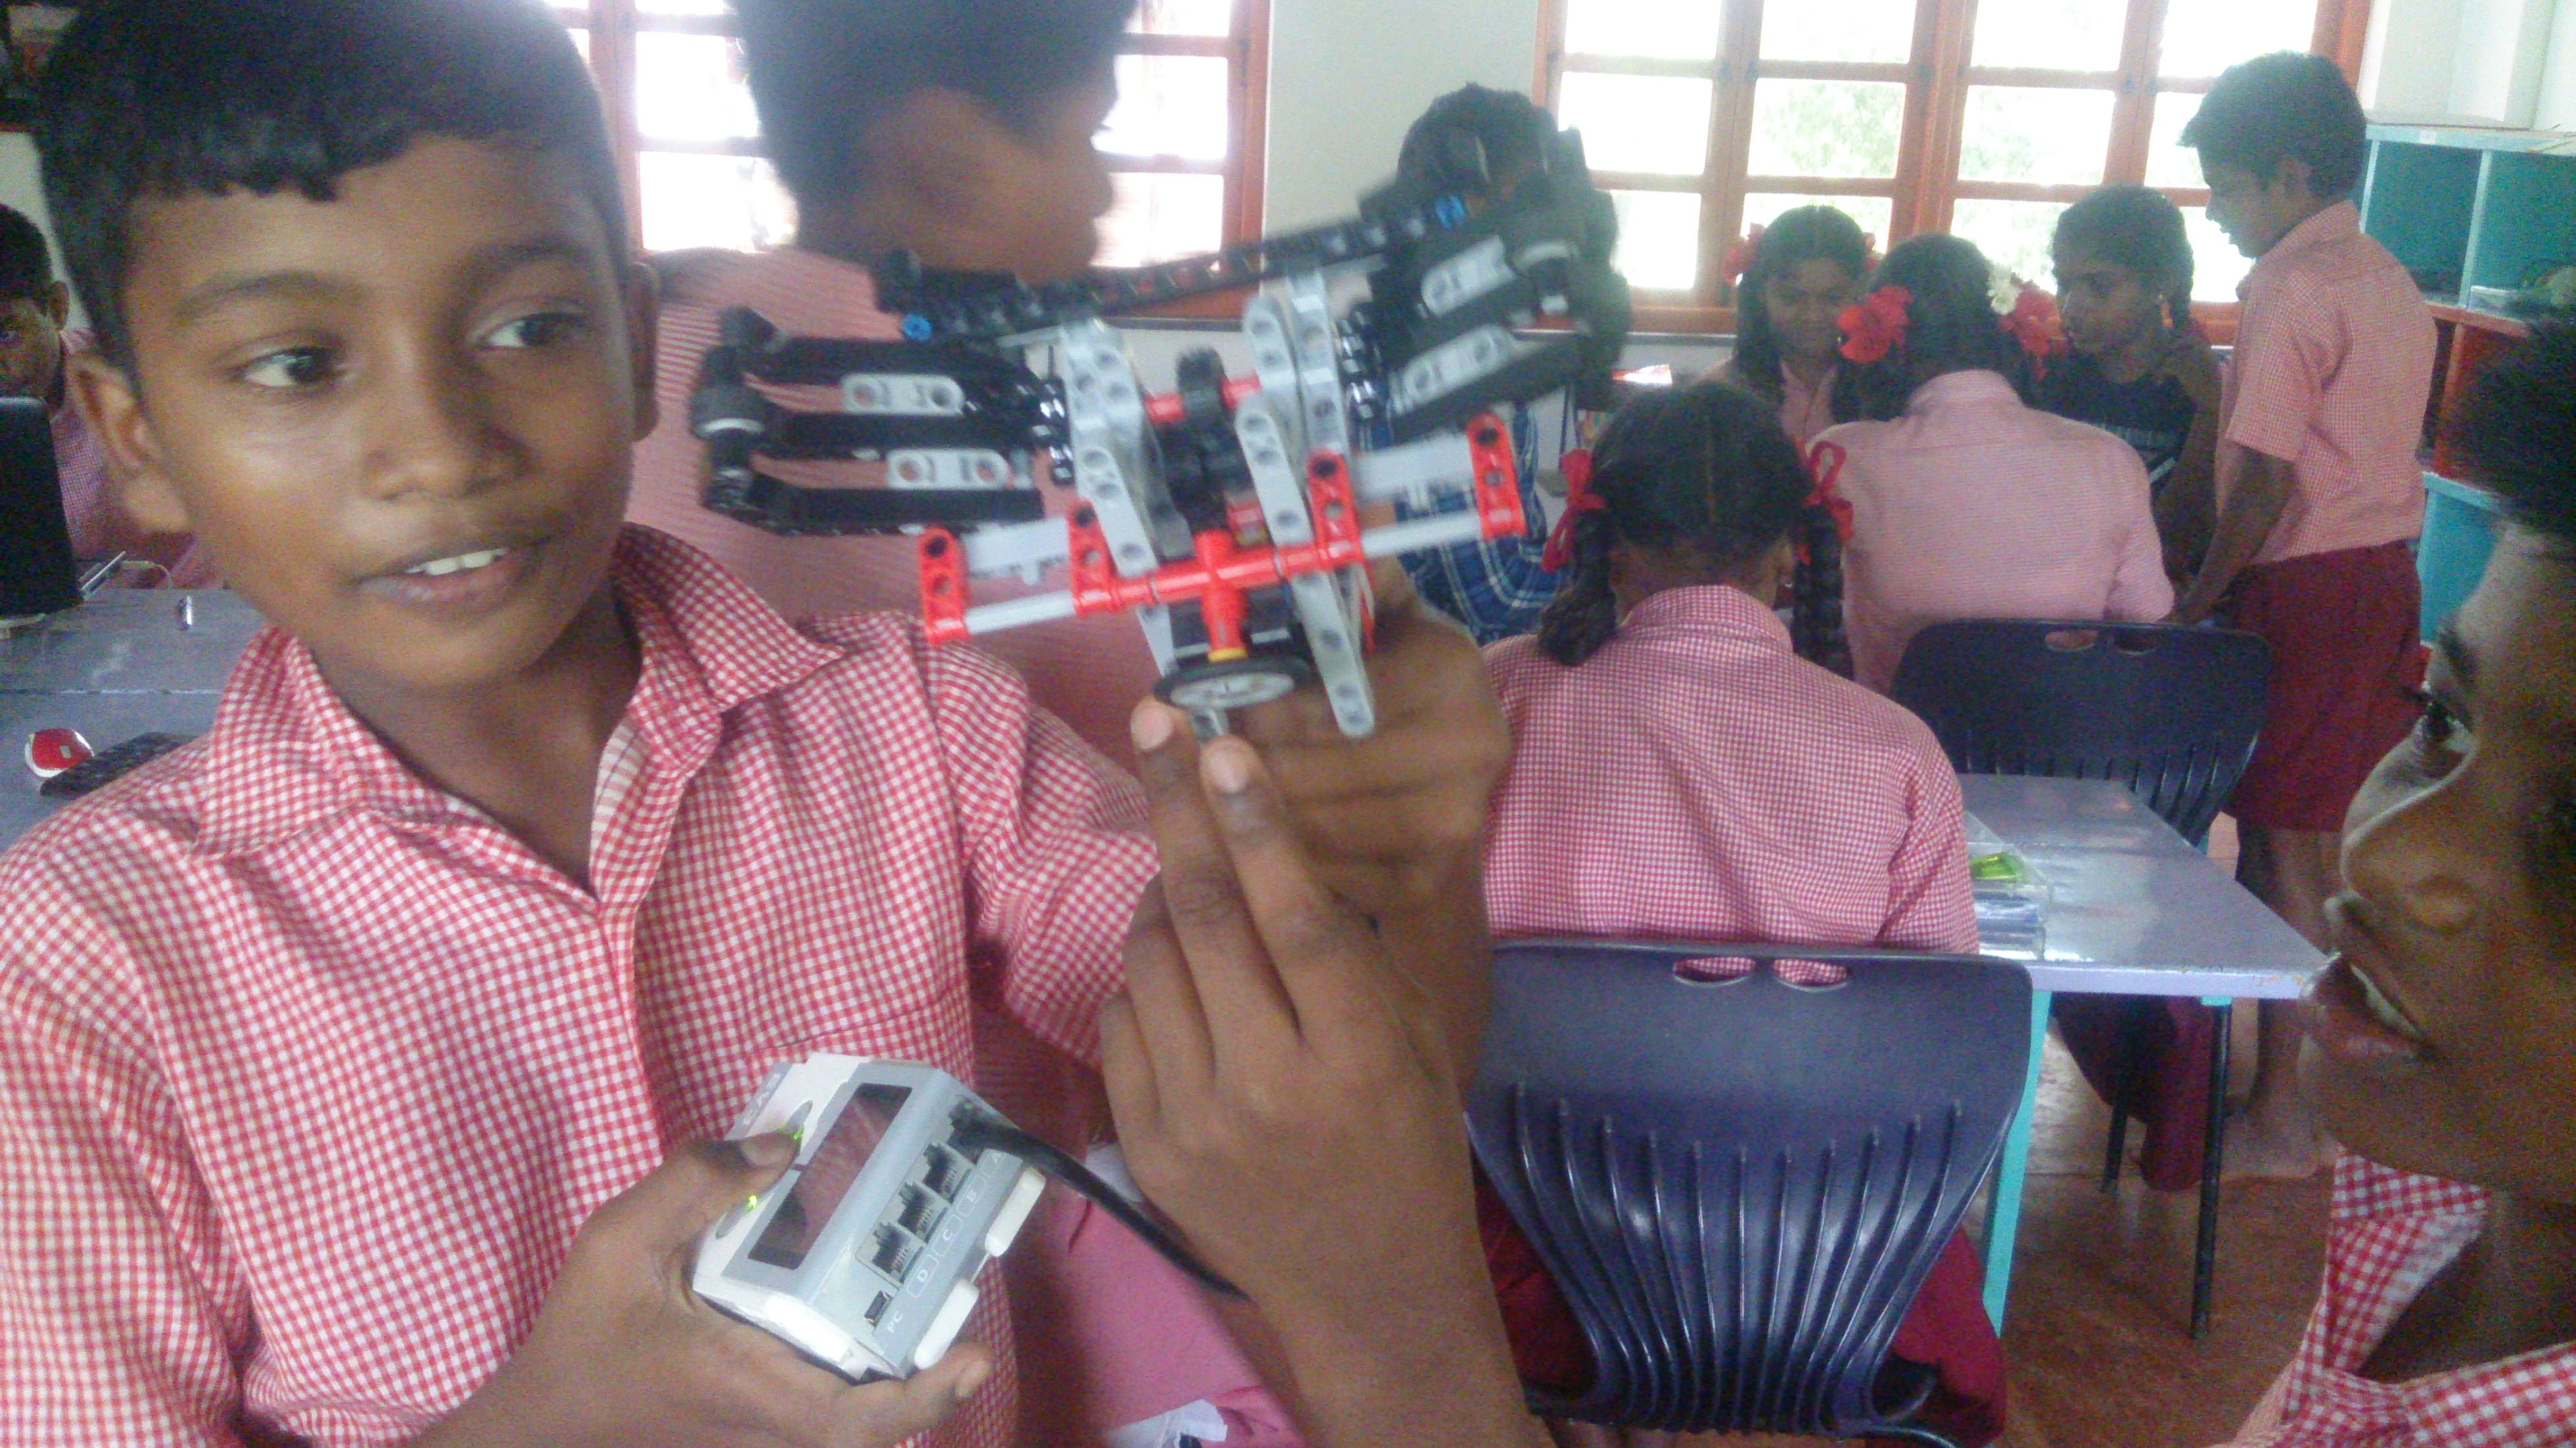
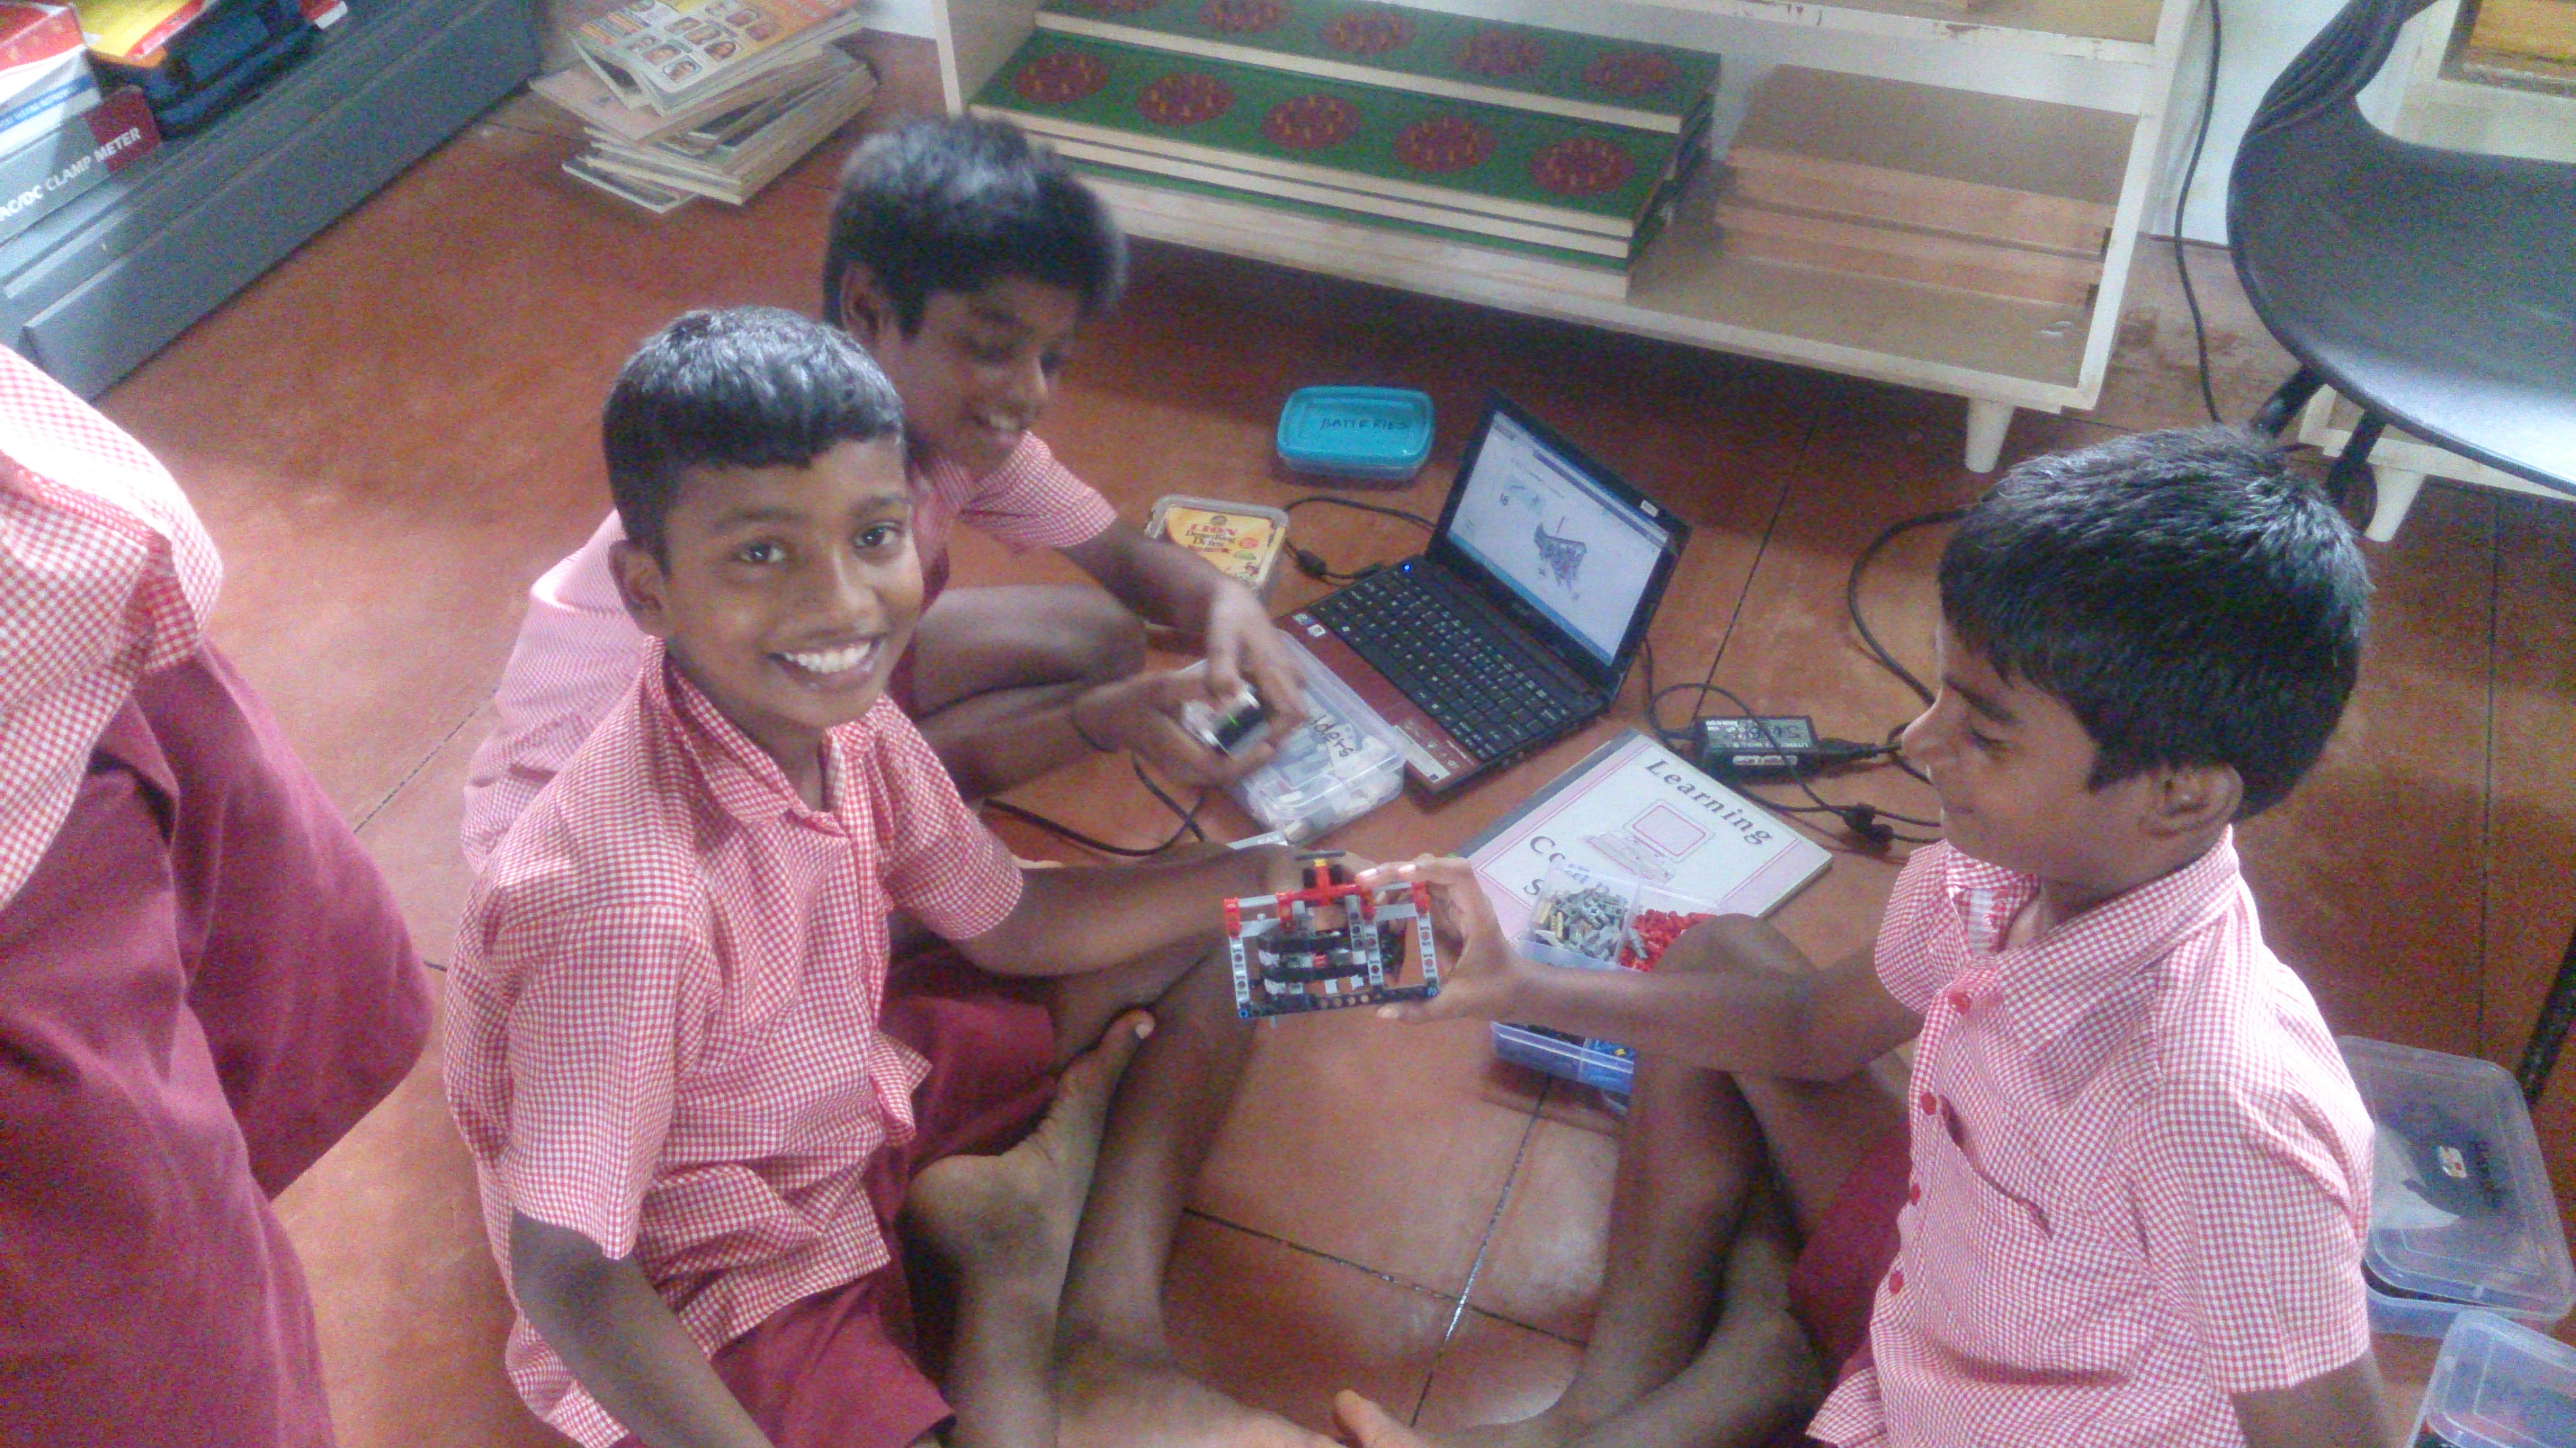
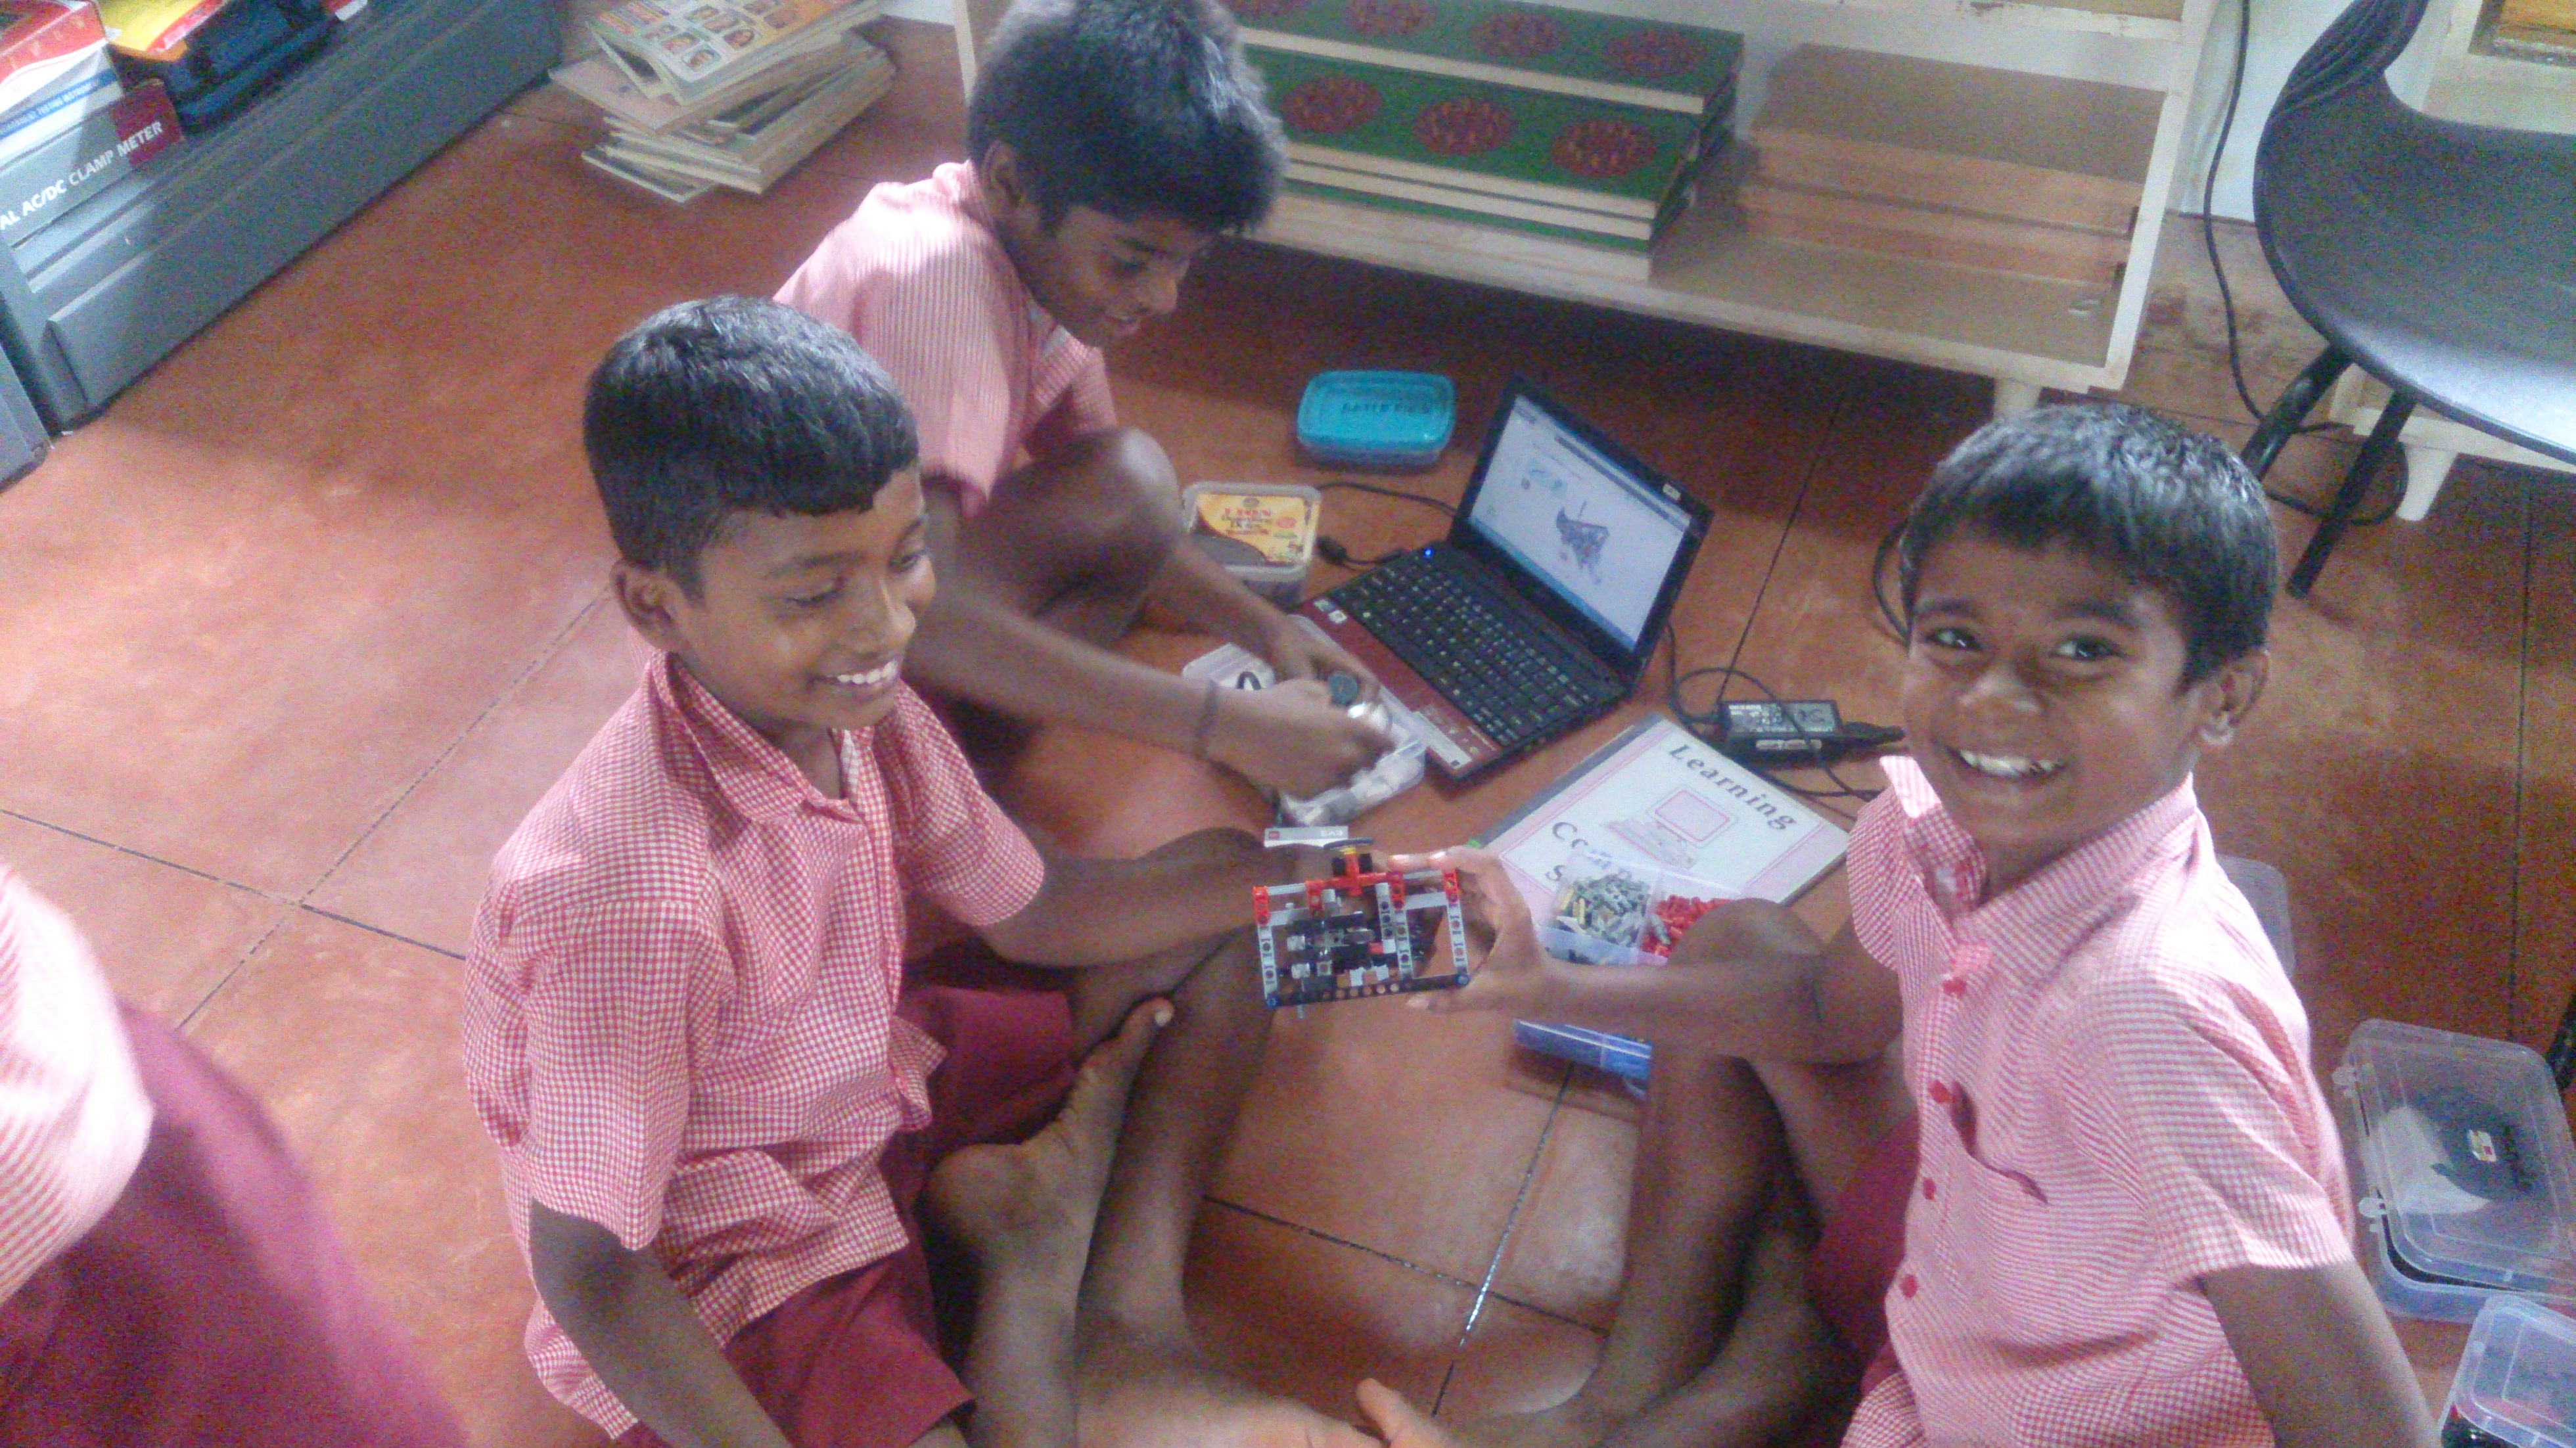
The 7th standard students of Udavi School building up Gripper with Lego Mindstorms.


(formerly Aura Auro Design) – LEARN, GROW, WORK, TEACH
The 7th standard students of Udavi School building up Gripper with Lego Mindstorms.
link to Video : https://www.youtube.com/watch?v=Shdvp1VF5mk
The Wi-Fi previously installed at the school, had a smaller range. We used a Dlink modem to extend the signal range to Stemland. There were a few debug in the process. To configure the modem I did the following : powered up, and connected to the laptop via LAN cable. The modem did not open with Ubuntu. I had to use a laptop operating with windows. Then open a browser and type http:\\ dlinkap or 192.168.1.1(check the bottom of the modem) once it gets connected open the setup wizard and choose the option Wi-Fi extender and use manual configuration instead of auto detecting the Wi-Fi settings. If there is a password, prompt it to the settings. Save and exit, works fine now.
Creating Extension Boxes for the UPS Back up:
We had to create a number of extension boxes for using the back up, the connections were as following to the Phase, Neutral and Earth.


Link to PDF – avtoday_ALICE
To print using the 3D printer, we require a software which has 3D graphics and animation. I used blender, an open software that is supported in Ubuntu. Can be downloaded form the following link.

https://www.blender.org/download/
The 3D printer recognises .stl files as input and builds on them .
some useful keys to use in blender:
Shift A – add objects
Tab – edit / object mode
Space – tool selection
S – Scale
A – select all in edit mode
C – select object tool
Alt + Shift – select all
B – box select
R – rotation, can be applied with axis, + (degrees)
E – extrude, can be applied with axis
Z – Mesh mode / solid
Shift + D – duplicate object
G – Grab can be performed along any axis, and scaling also included
Ctrl B – Bevel smooth edges
Ctrl R – Loop cut
Ctrl ‘+’ – Mesh select
View:
Camera – Numpad 0
Top – Numpad 7
Bottom – Ctrl + numpad 7
Front – Numpad 1
Back – Ctrl + numpad 1
Right – Numpad 3
Left – Ctrl + numpad 3
Subdivide mesh:
1.Edit mode
2.Tools
3.Add
Project a hole or shape in a object:
1.shift + A, choose – curve – circle
2.place where u want it to be
3.on top of another object to be cut
4.Shift and select other object
5.change to edit mode
6.project knife
7.and delete the face
Solidify object:
1.edit mode
2.select faces
3.space select solidify

The Course (Interactive Python) gave exposure on:
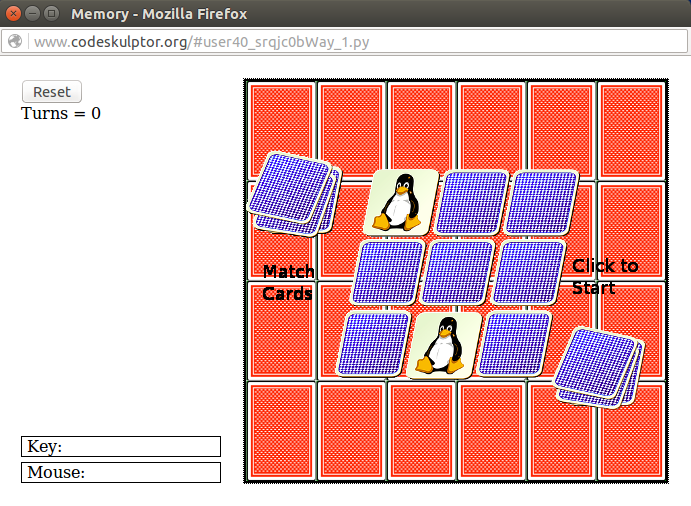
Memory game URL : http://www.codeskulptor.org/#user40_srqjc0bWay_1.py
I had to learn on programming the Arduino for producing two square signals that operated in different frequencies and at the same time, had to perform a duty sweep along with a Frequency sweep. The Arduino had a machine level commands of nop; No Operation command, given directly to the required pins. Each nop has a time period of 62.5ns and manually doing each frequency seemed to be a time consuming process. Then scripting the a python code that could take inputs of Frequency and duty cycle and produce a .ino file that the Arduino reads was super efficient, files were created instantly. but i faced another issue my files contained periods in the files name i had to debug cause Arduino does not accept periods in its file names. Following is the script file that i converted into an executable using pyinstaller.
Water was our next Source to explore, we had a few hours together on brainstorming of what water is and what do we use it for. Then came the talk about with what does water mix or what gets dissolved in water… the children came with many interesting ideas such as water and oil cant mix,… Then a girl said that is not possible how do we then wash our dishes? on the following day the some of the children brought to school oil and dish soap and detergents.. We had loads of fun trying to mix water and oil and shake shake shake but whatever amount of shake they returned to their original state separated. then a little dish soap and detergent did the magic… 🙂
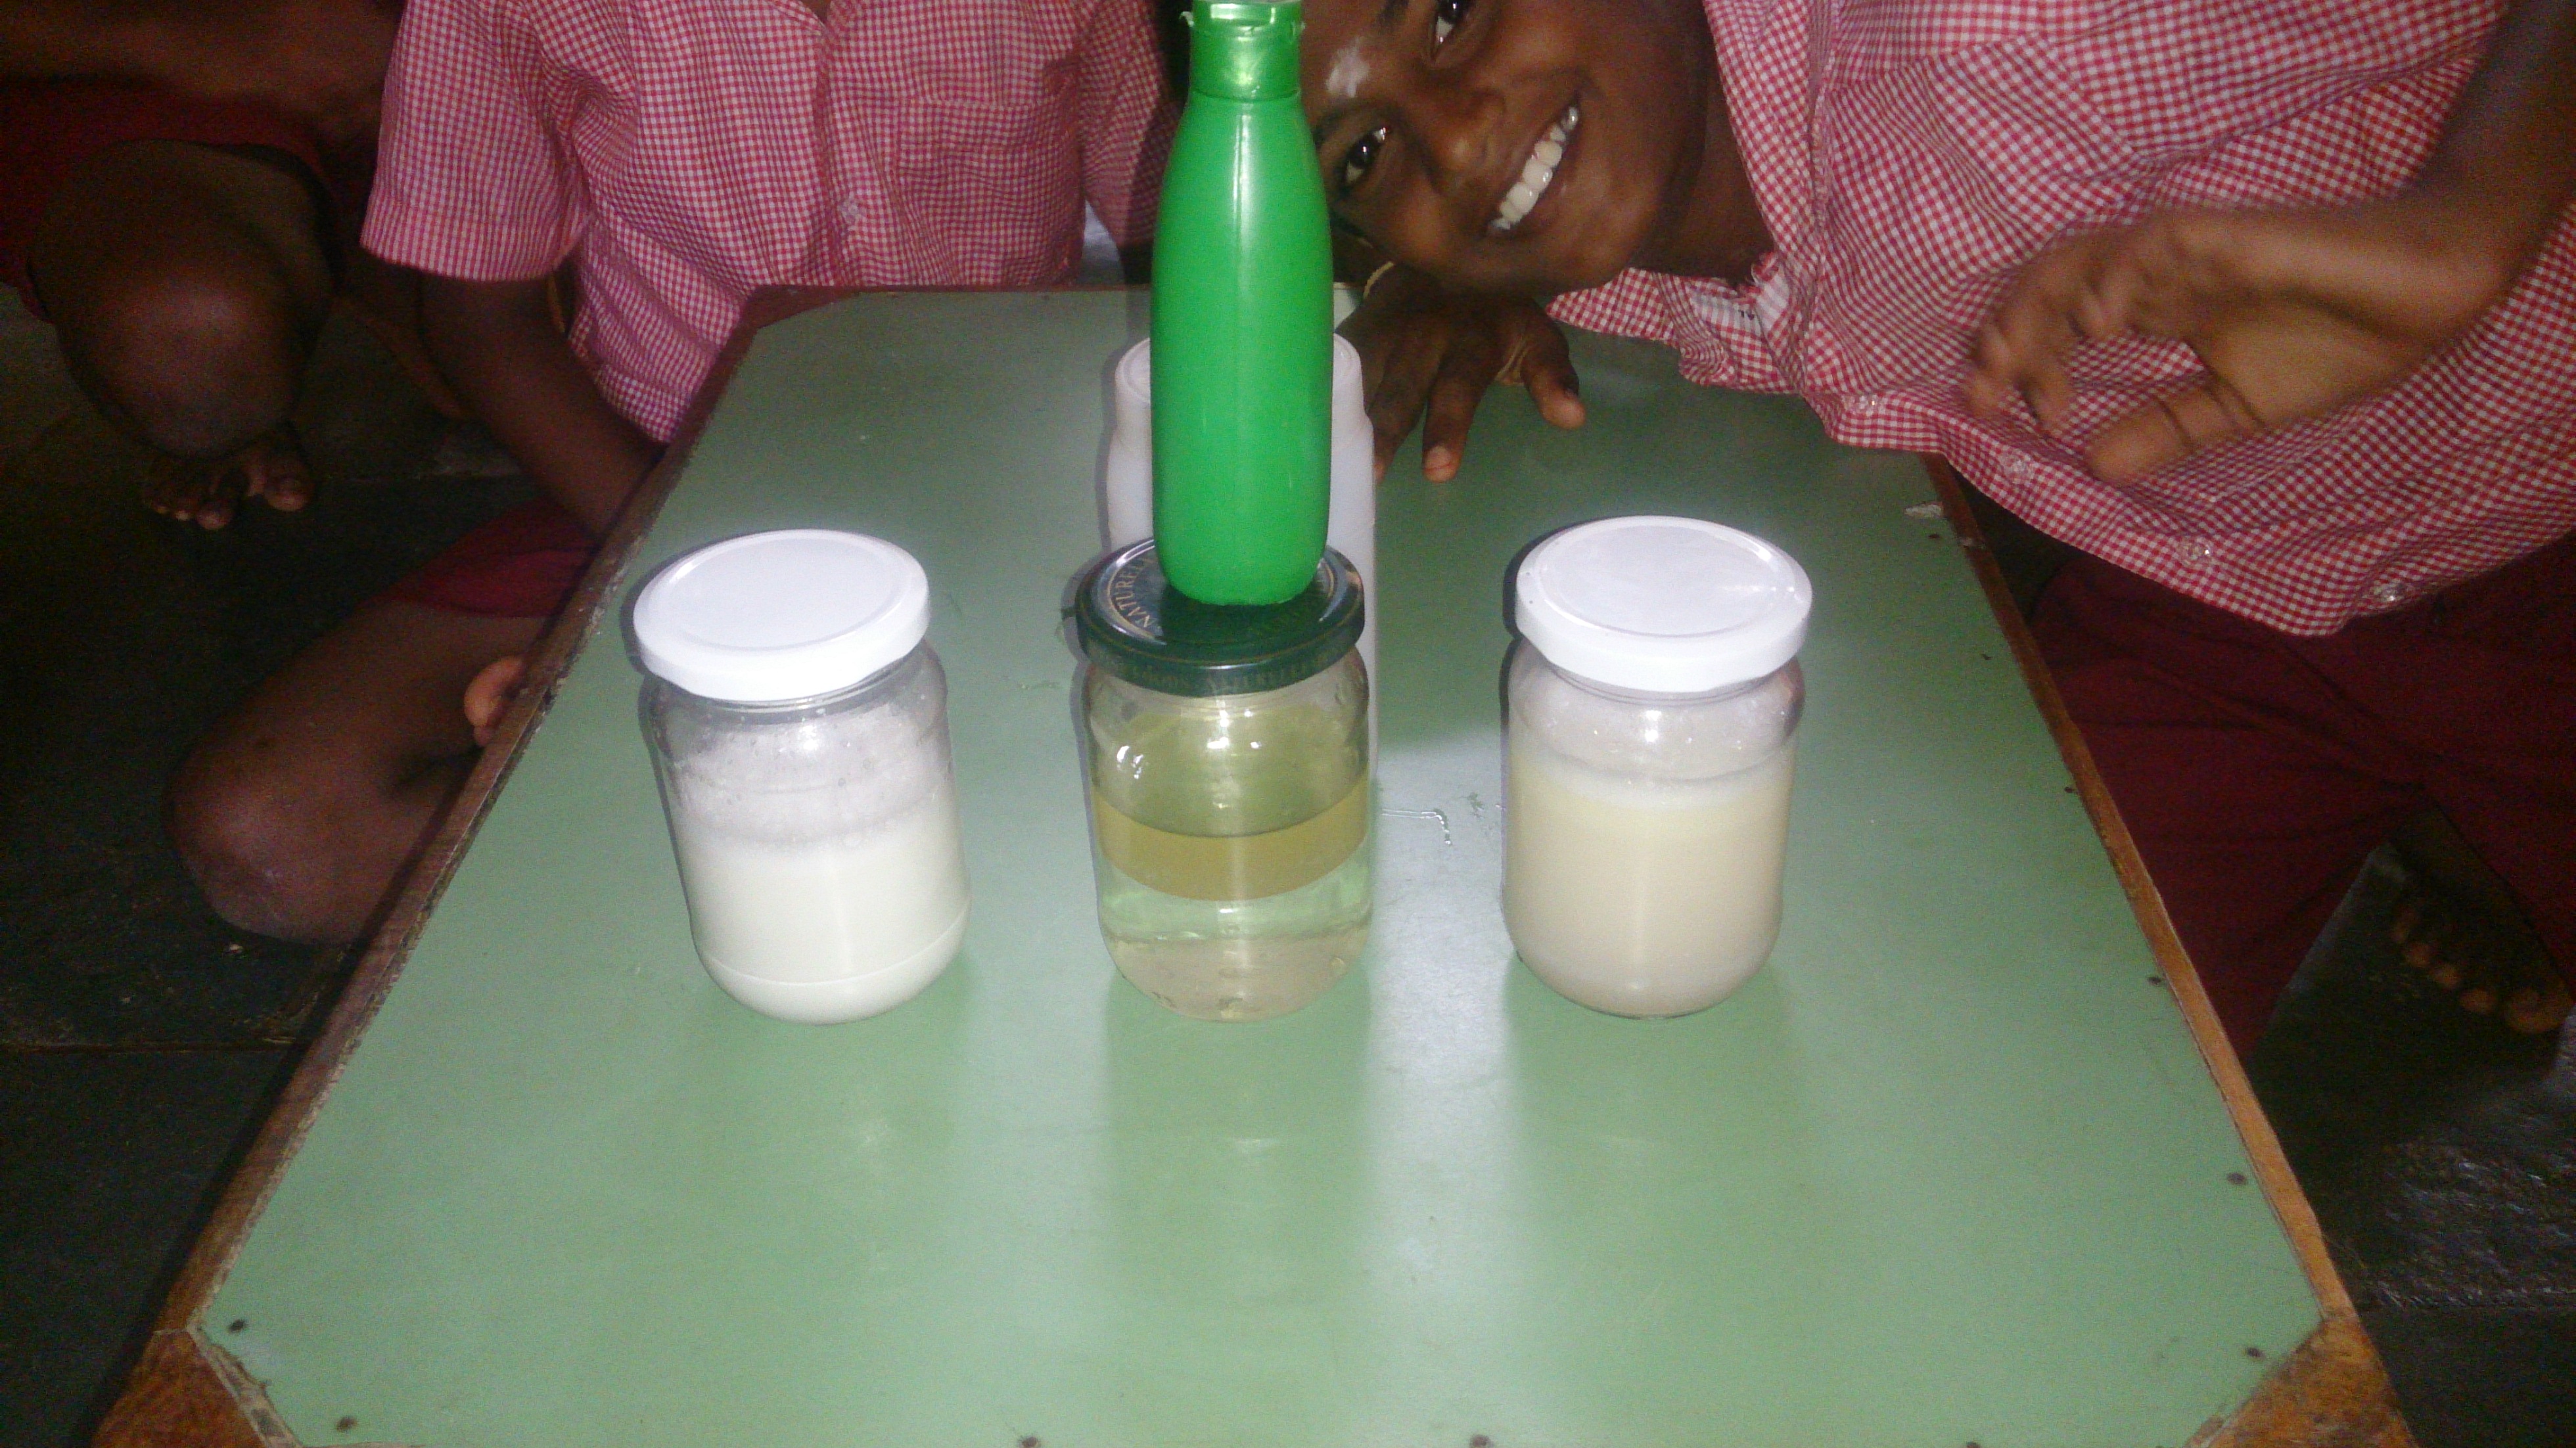

The children concluded that non-liking liquids; water and oil, can be made to like each other with the help of dish soap for some time and this is what happens when they wash their lunch plates clean of oil.