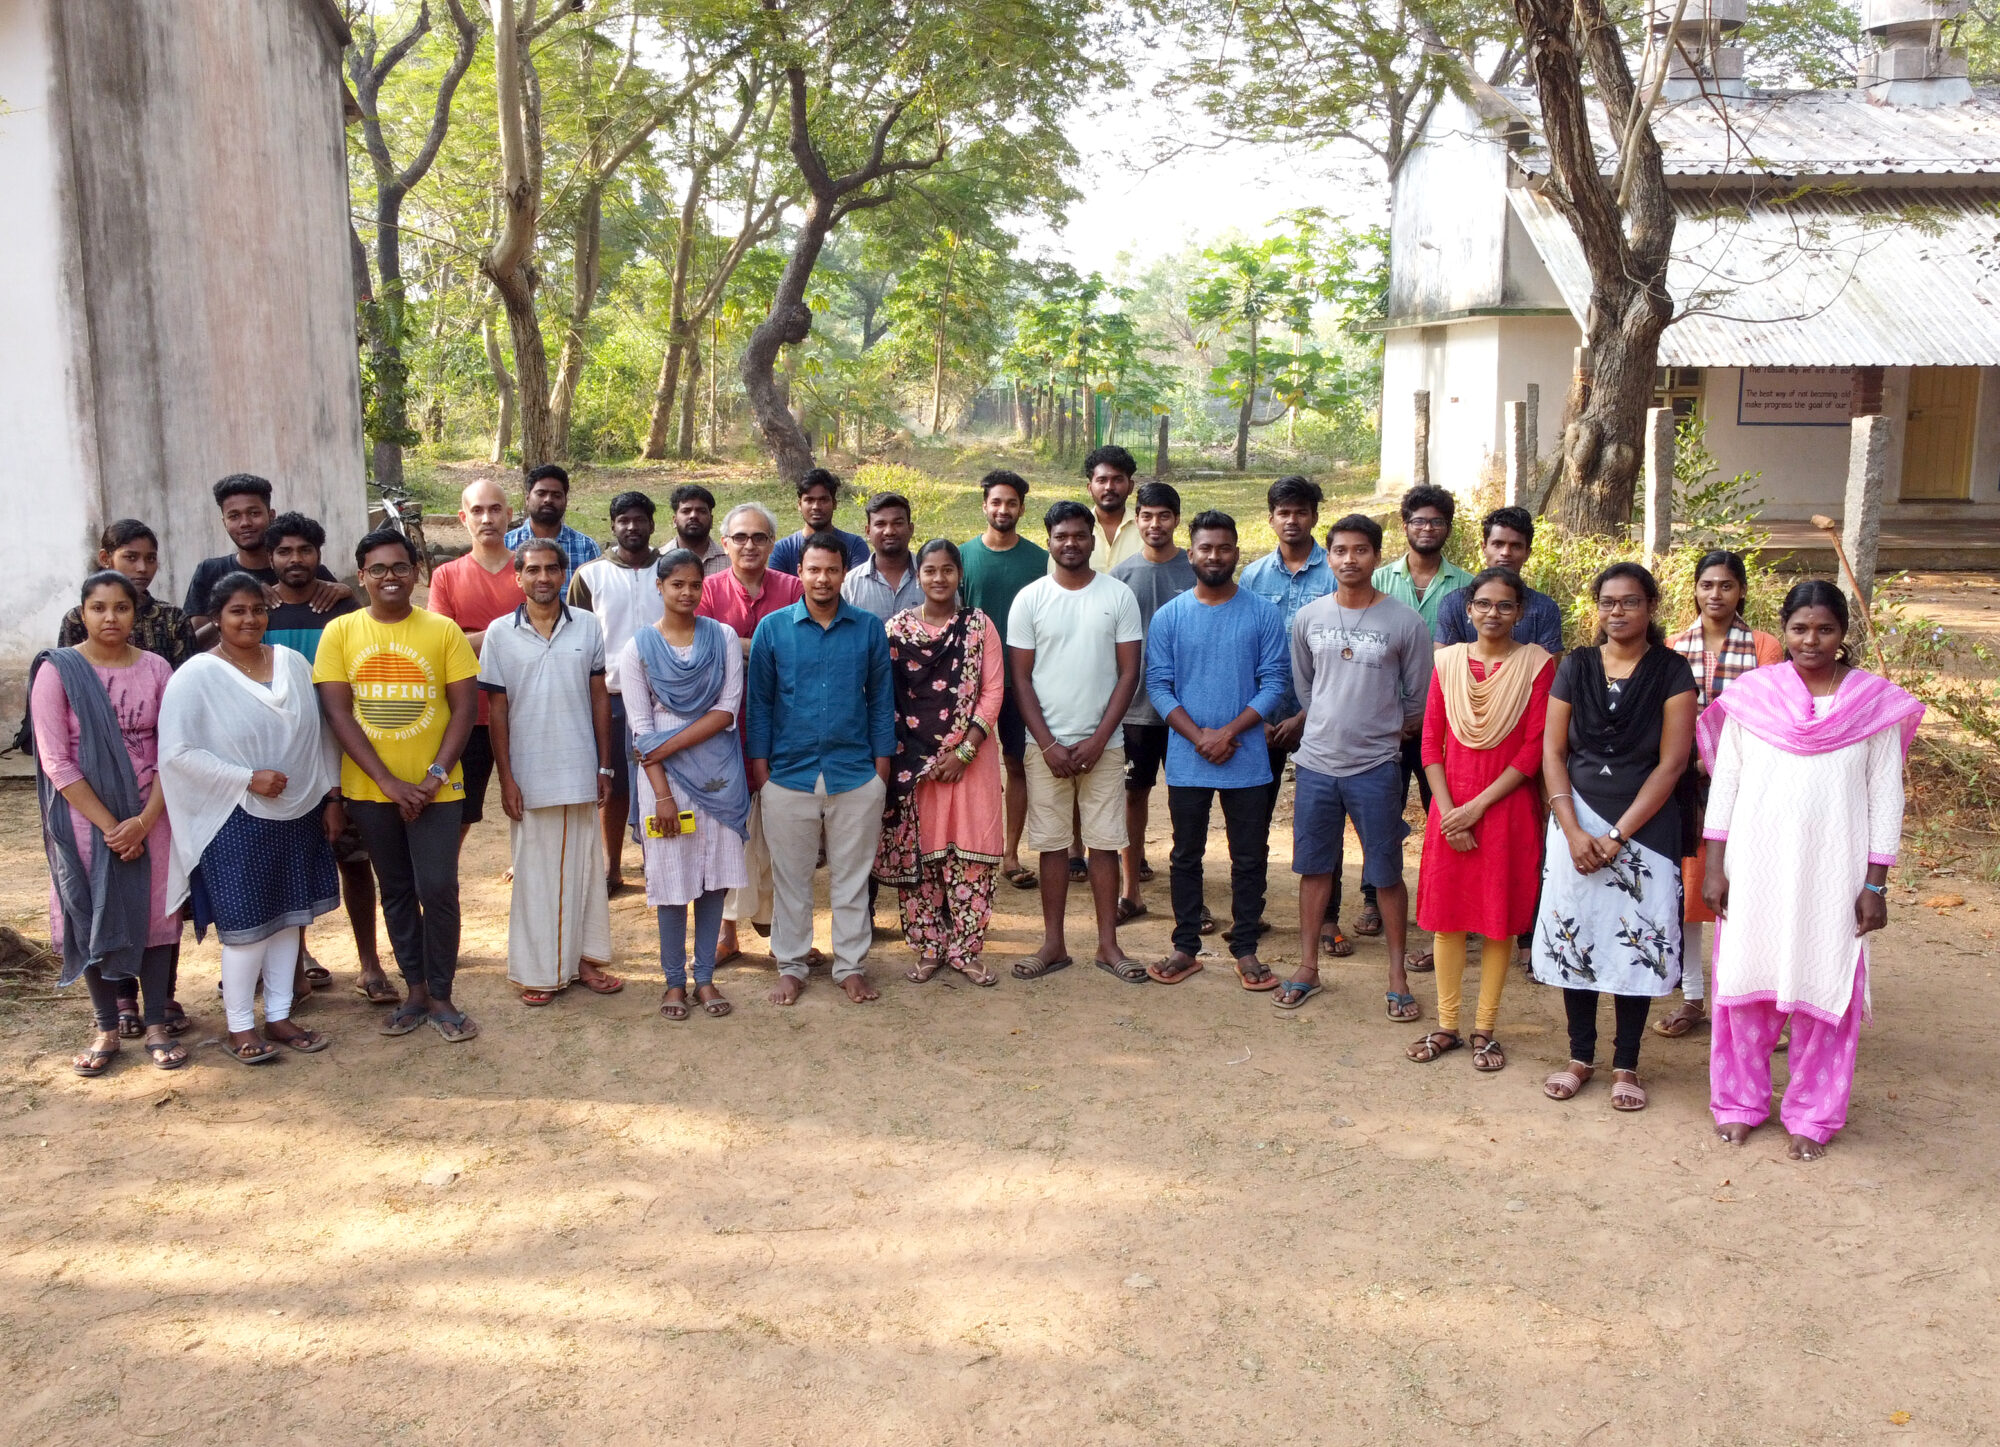
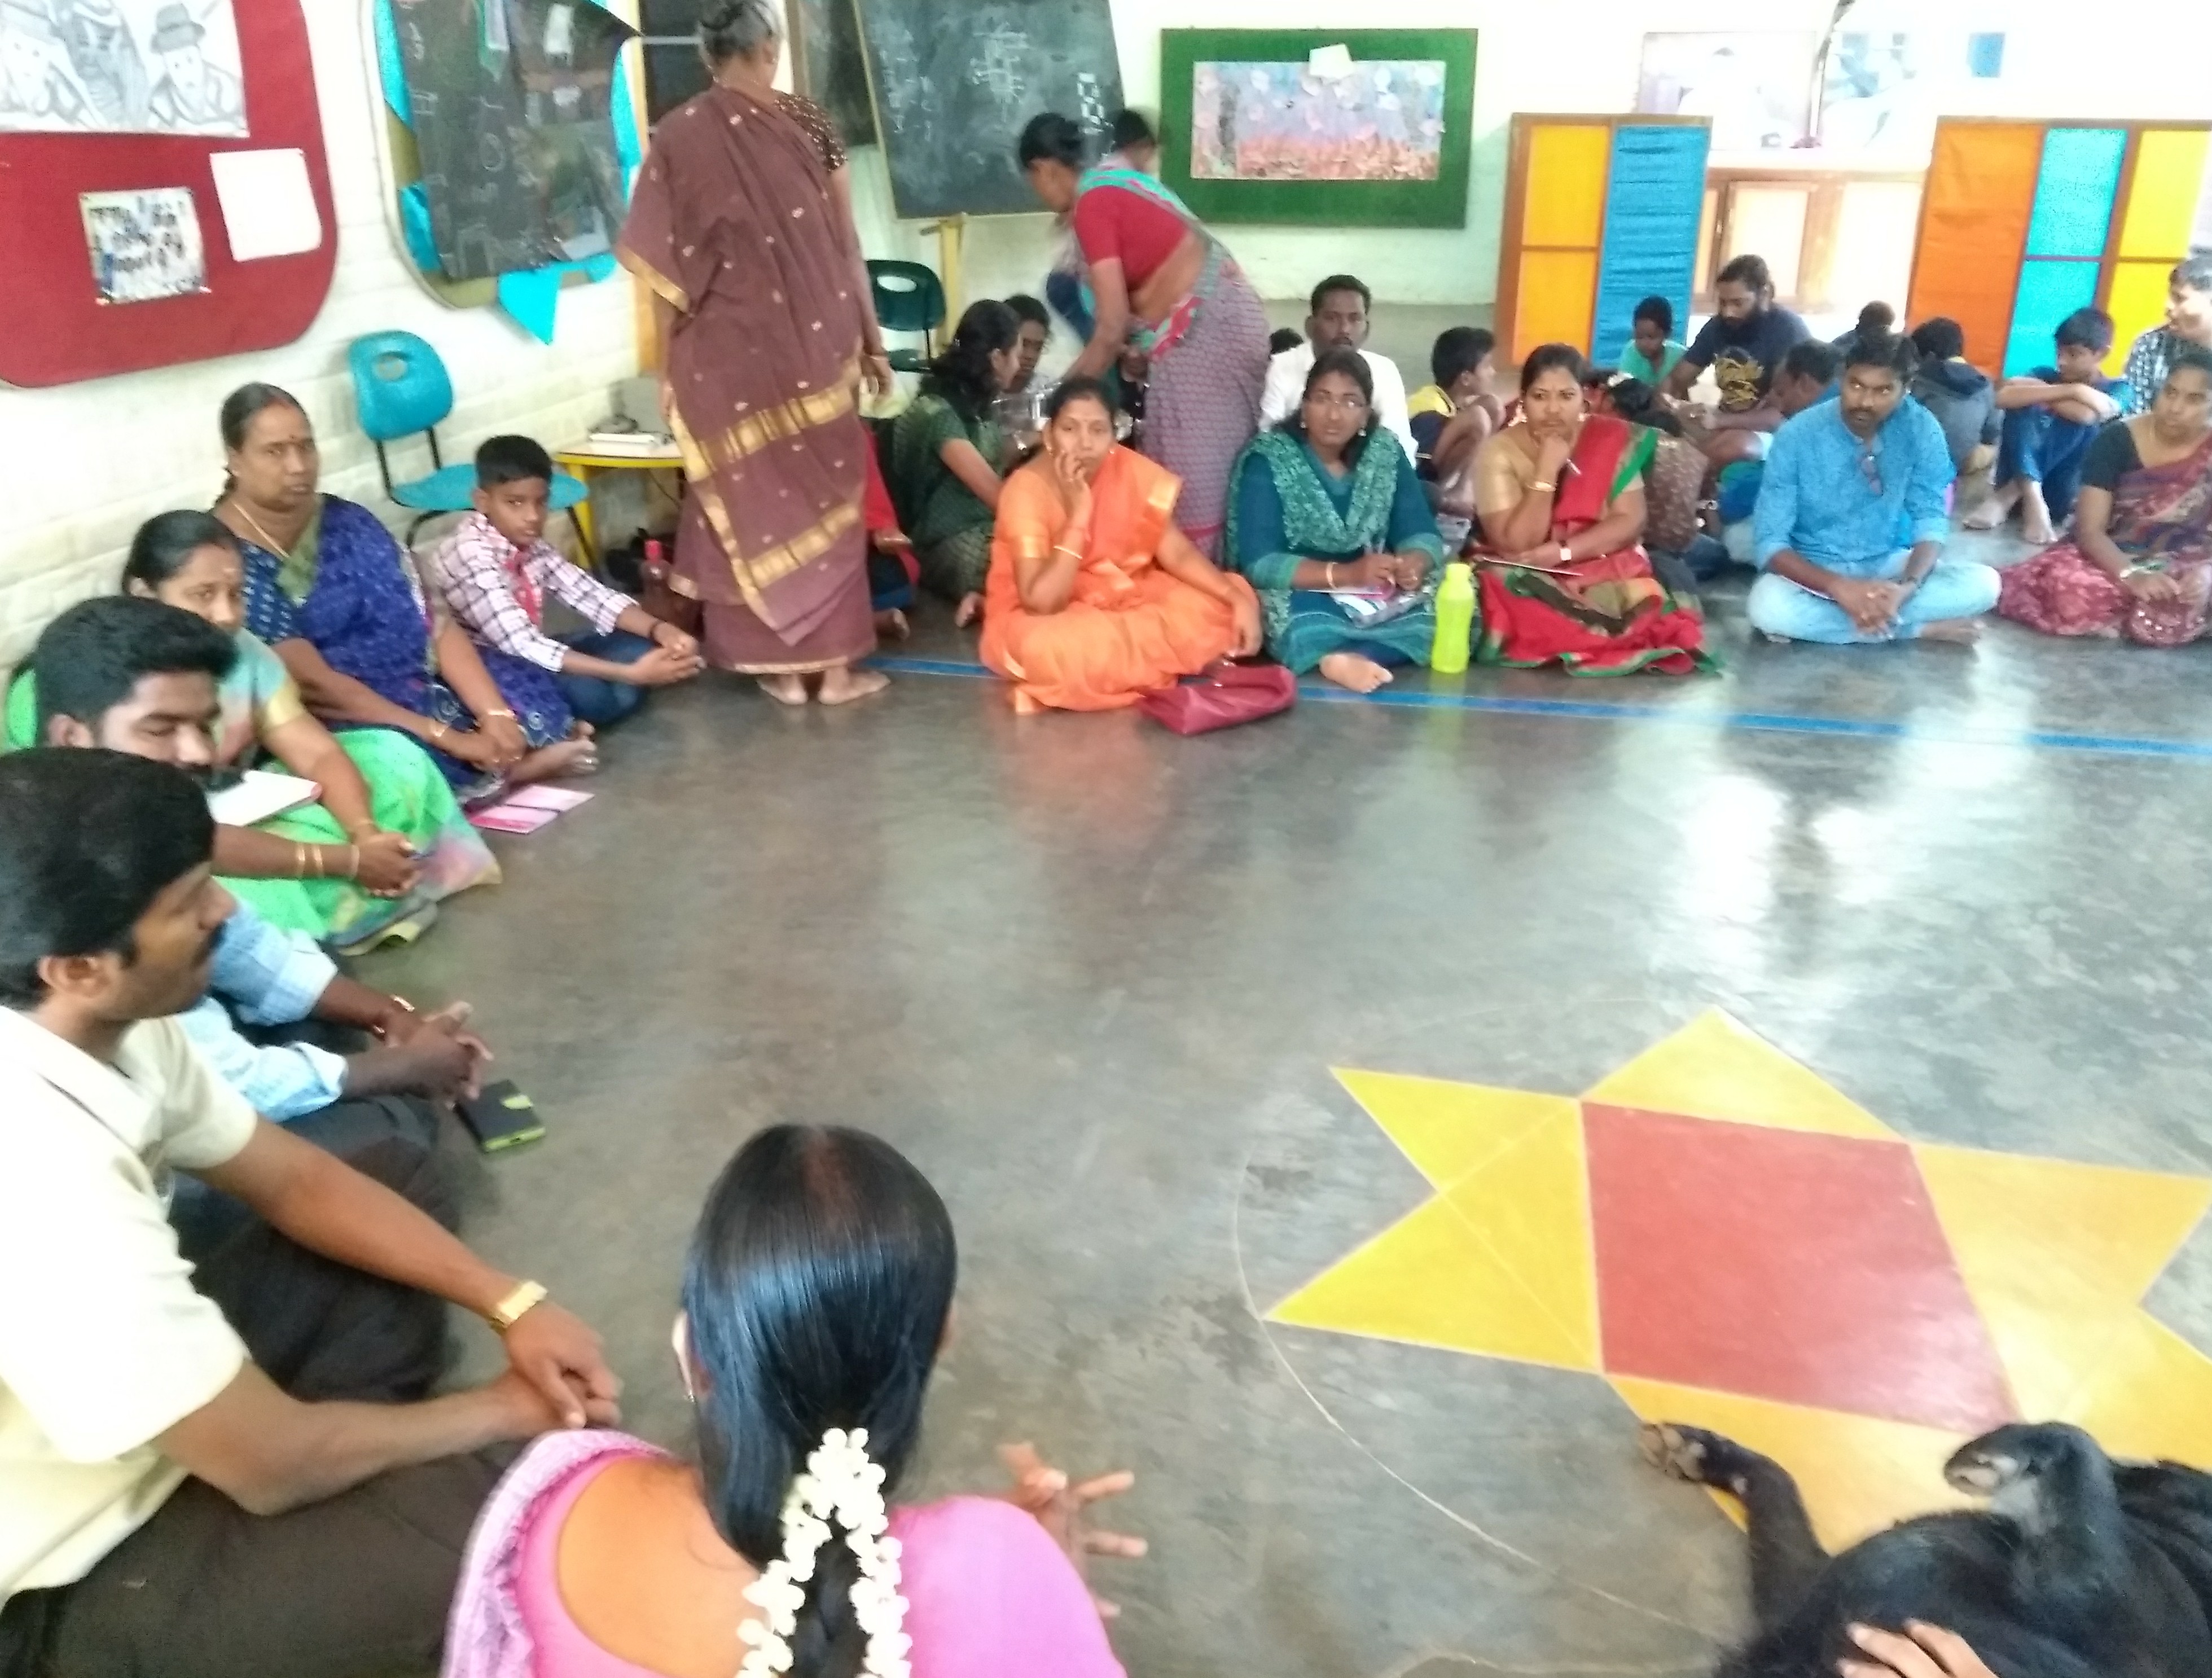
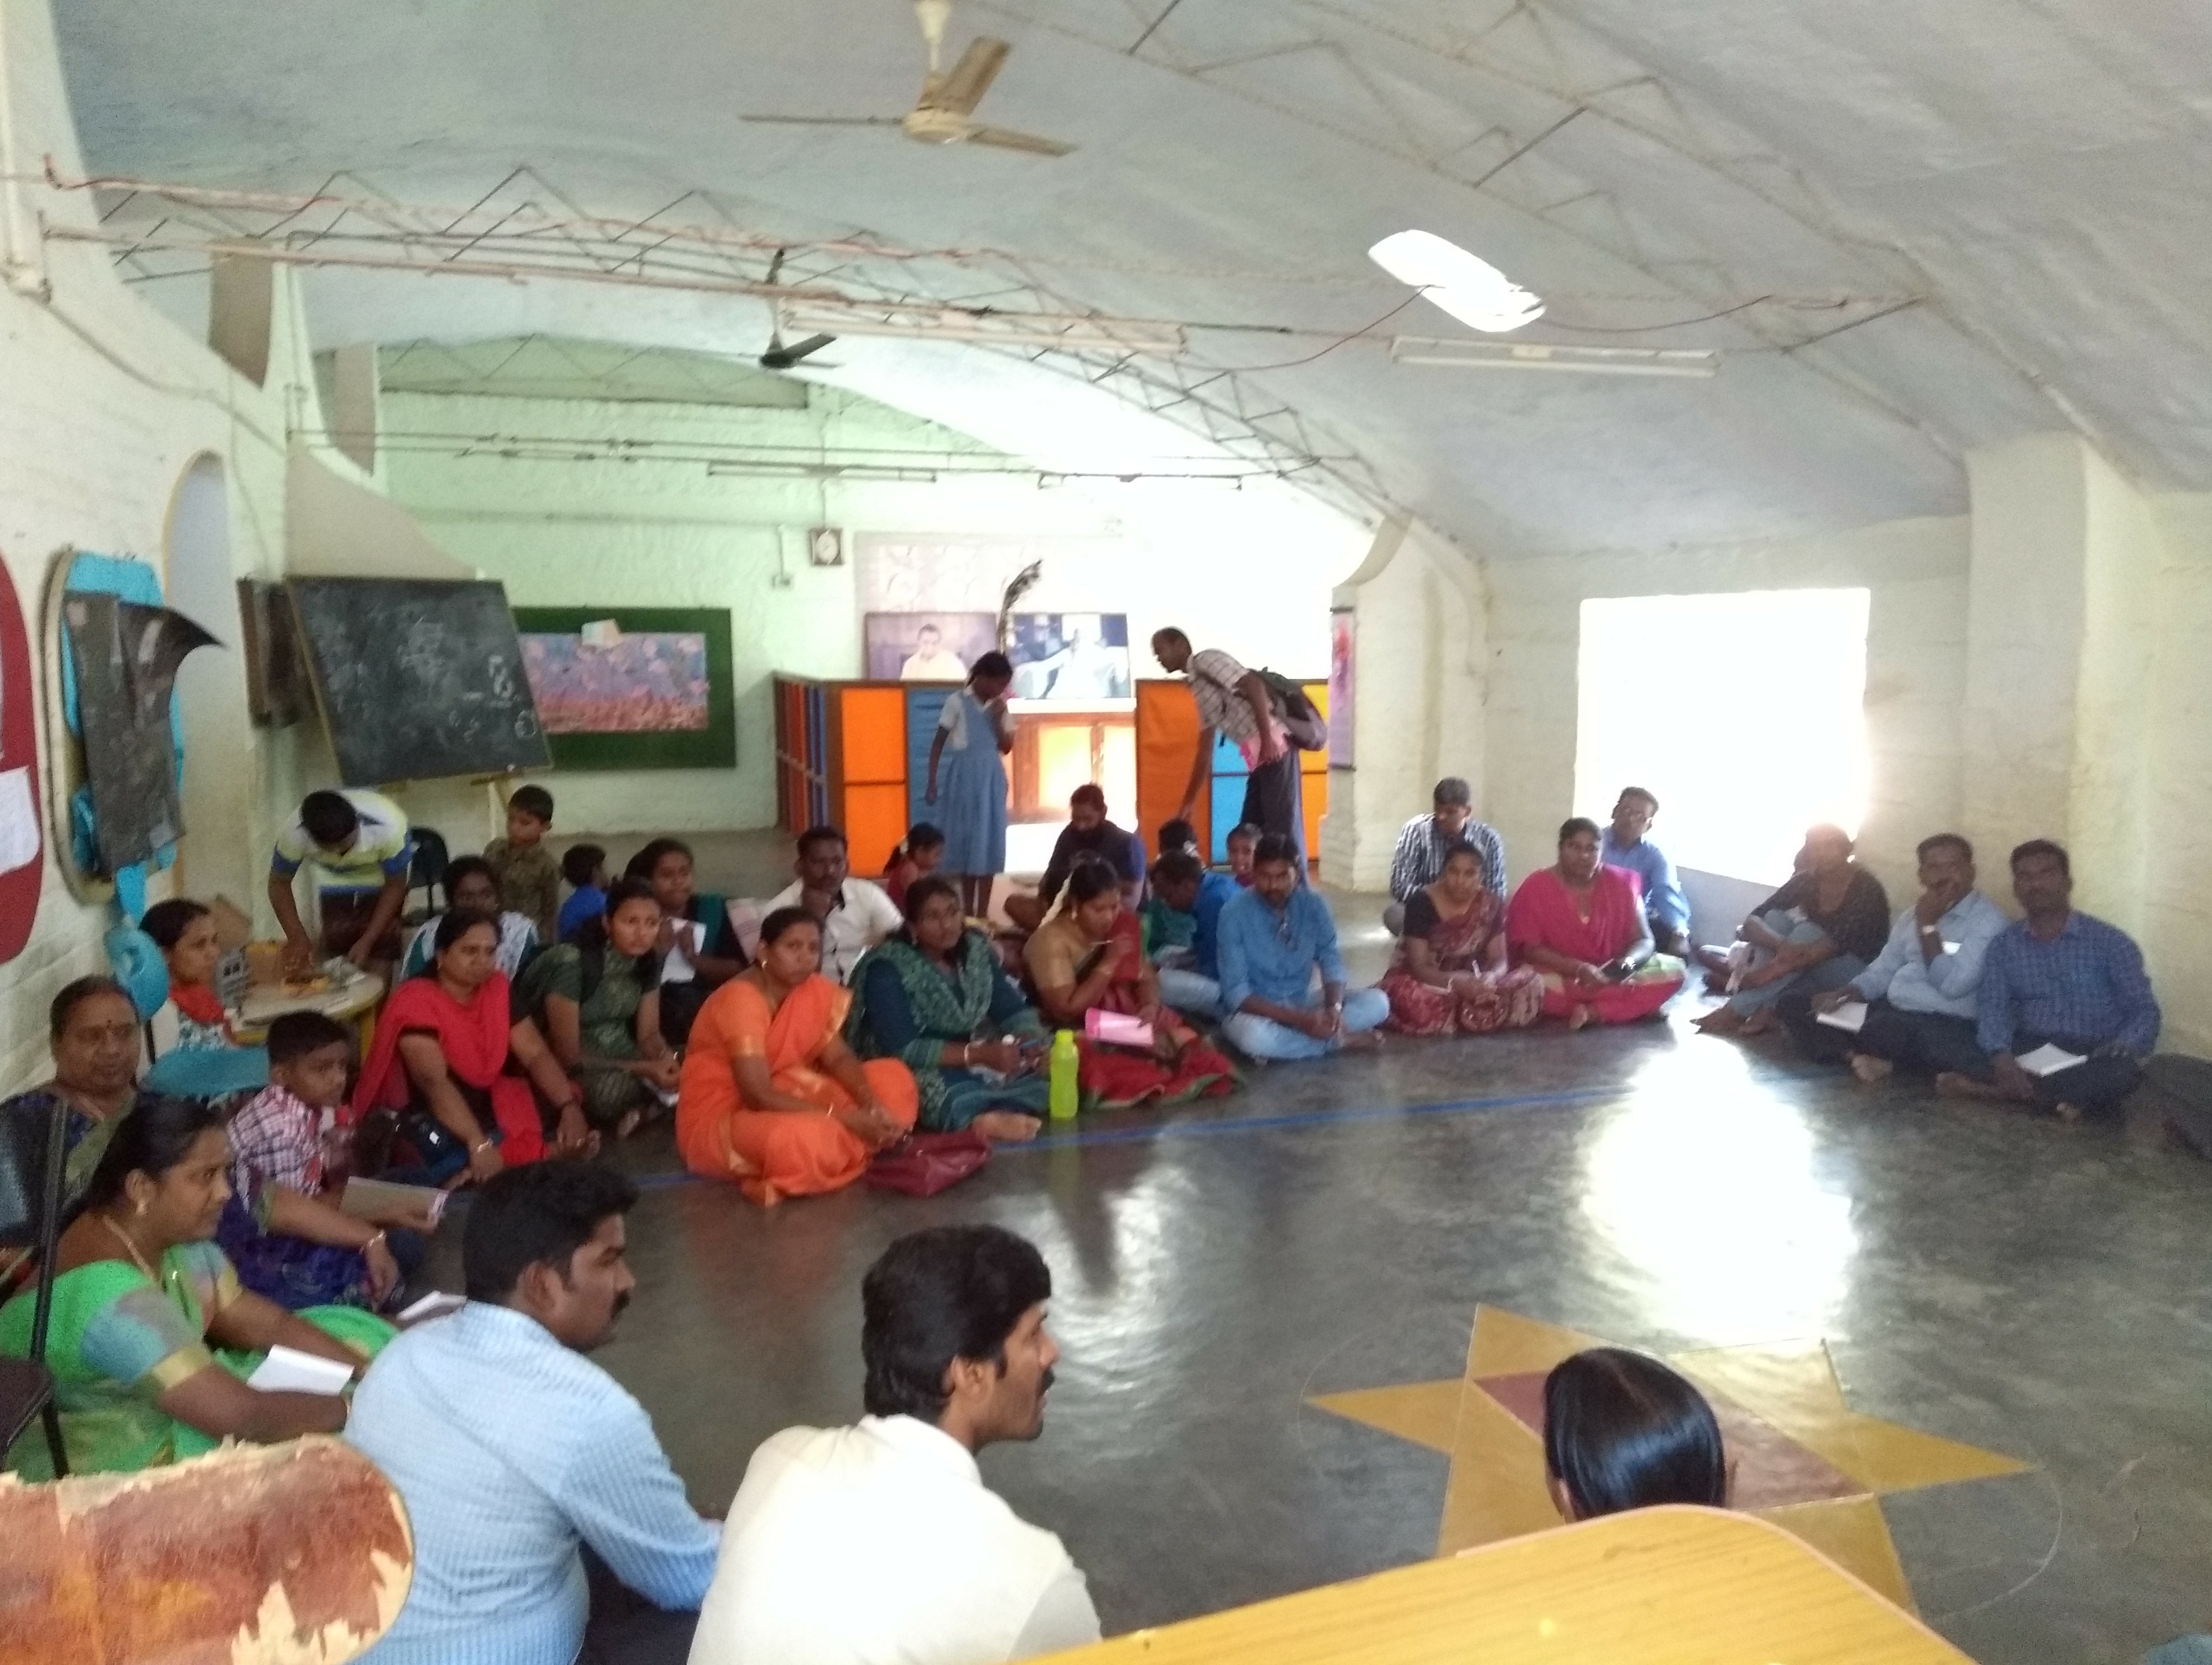
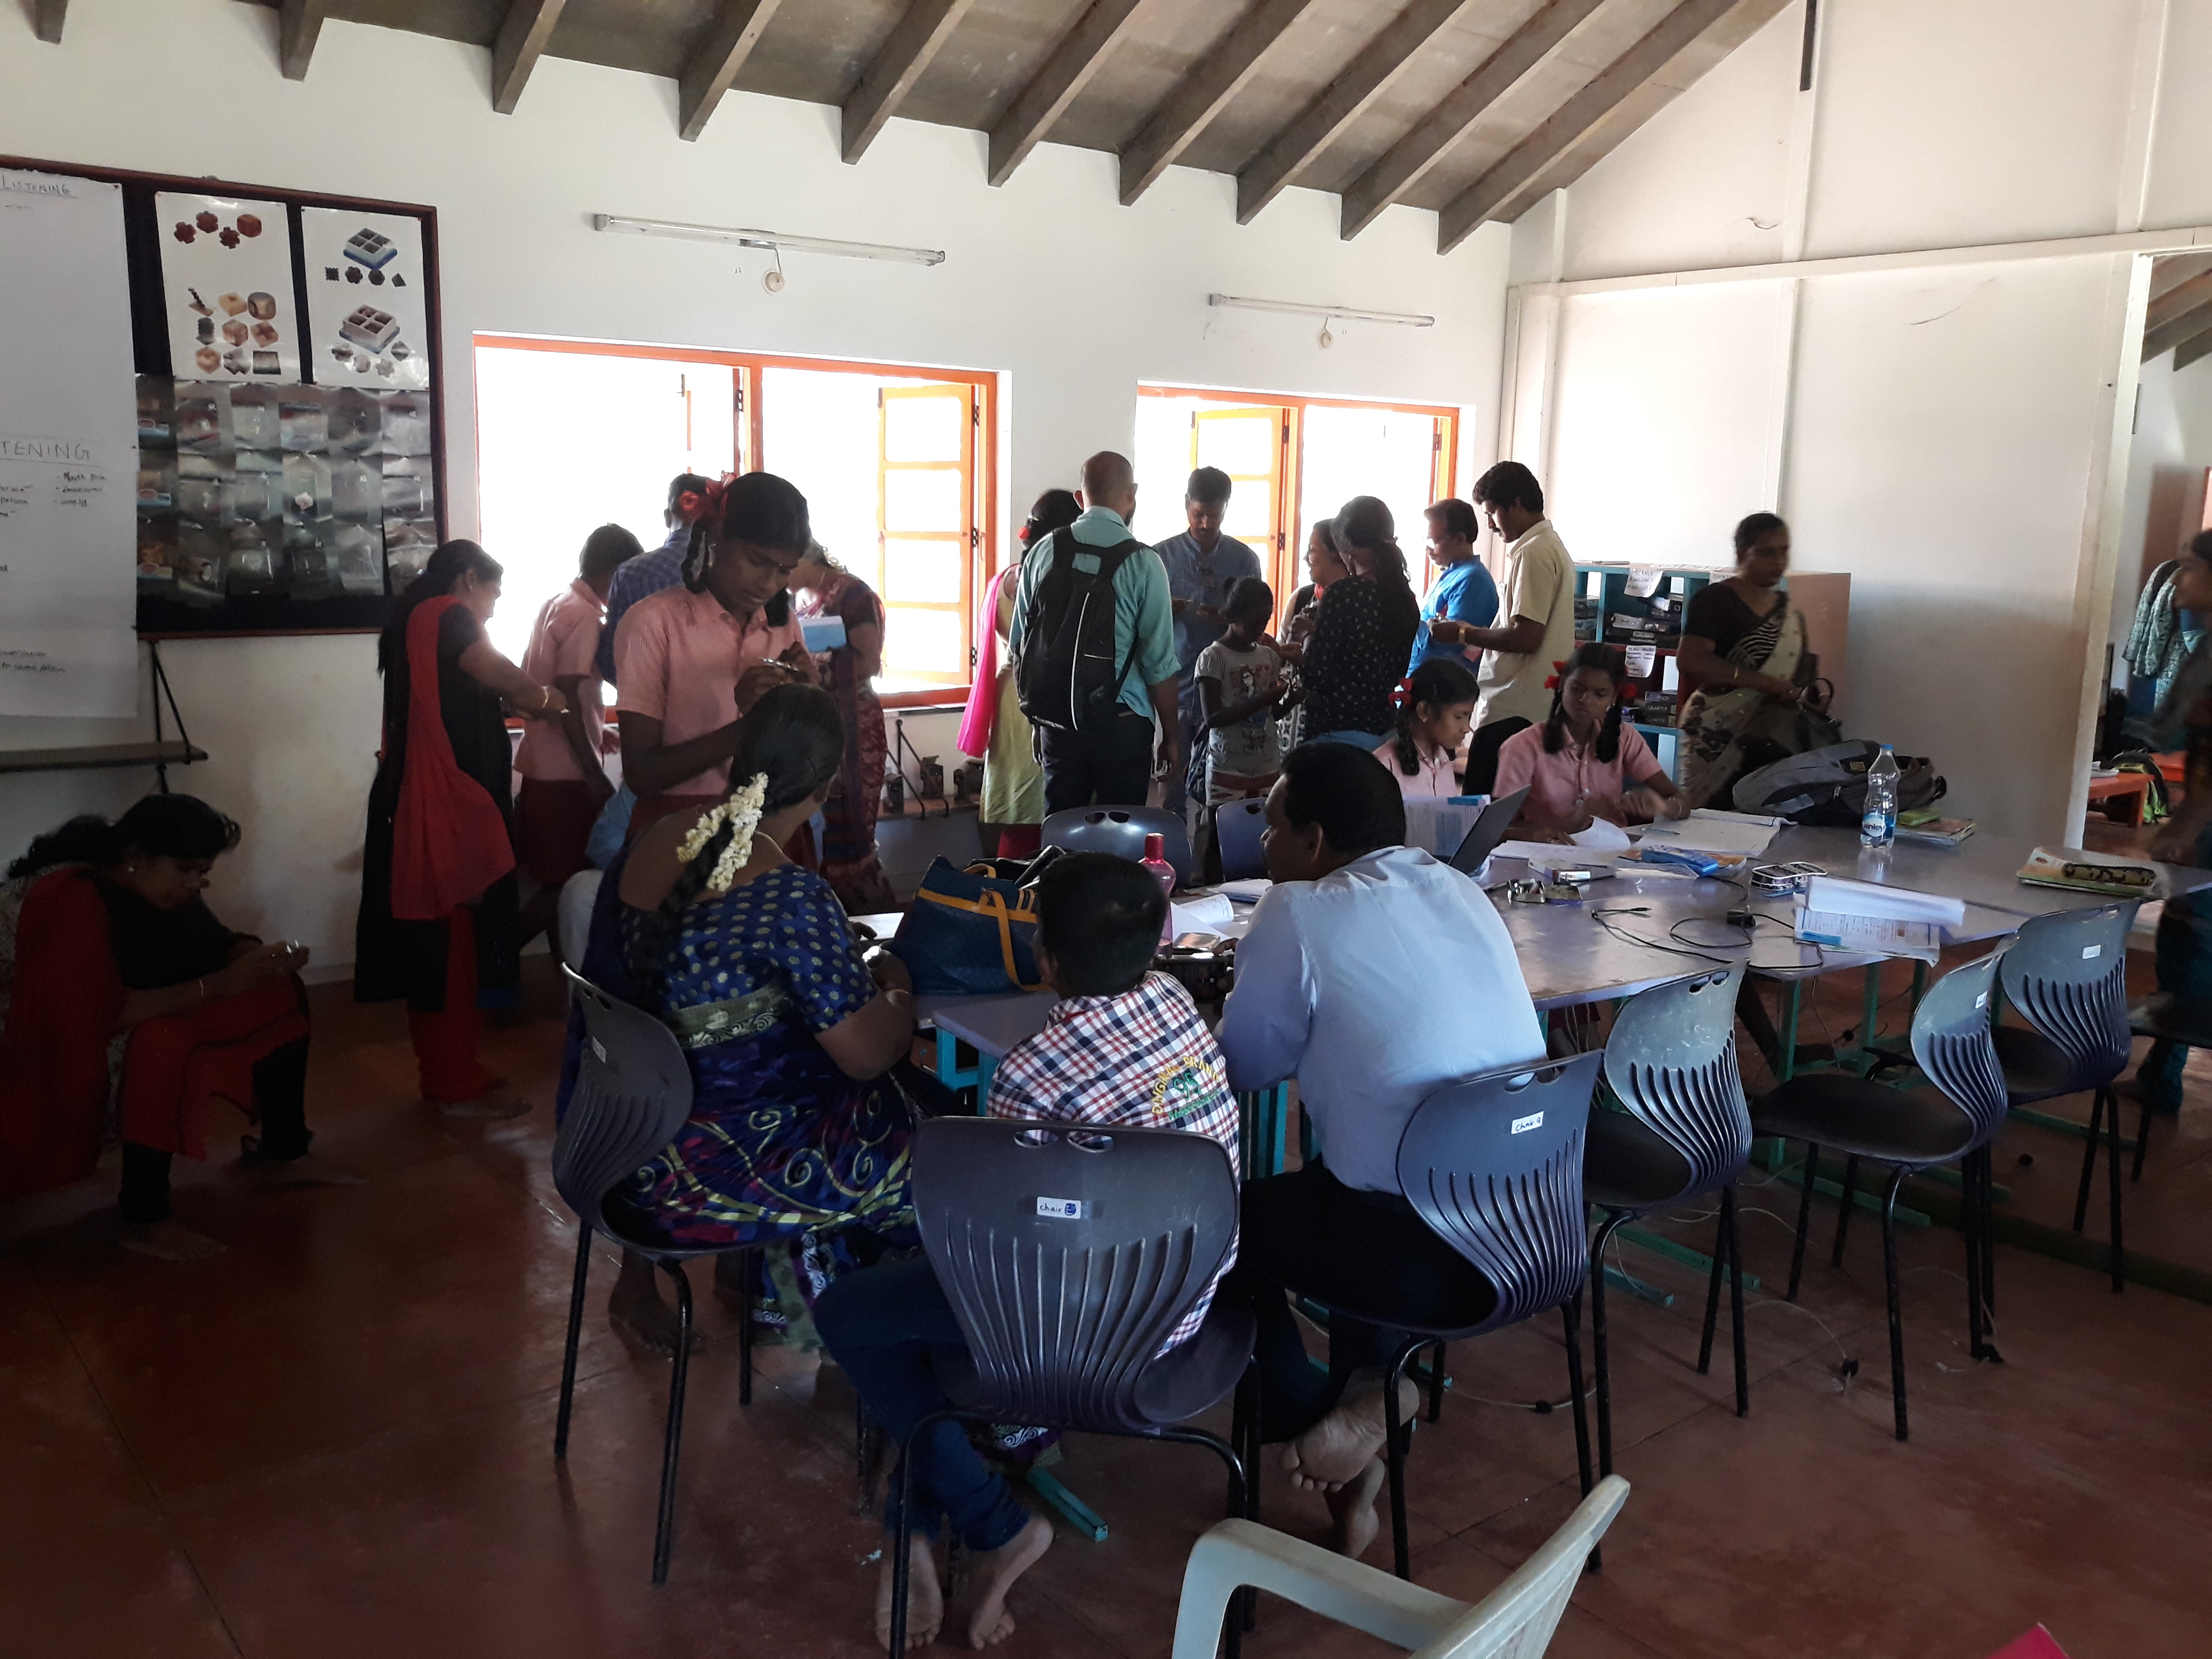
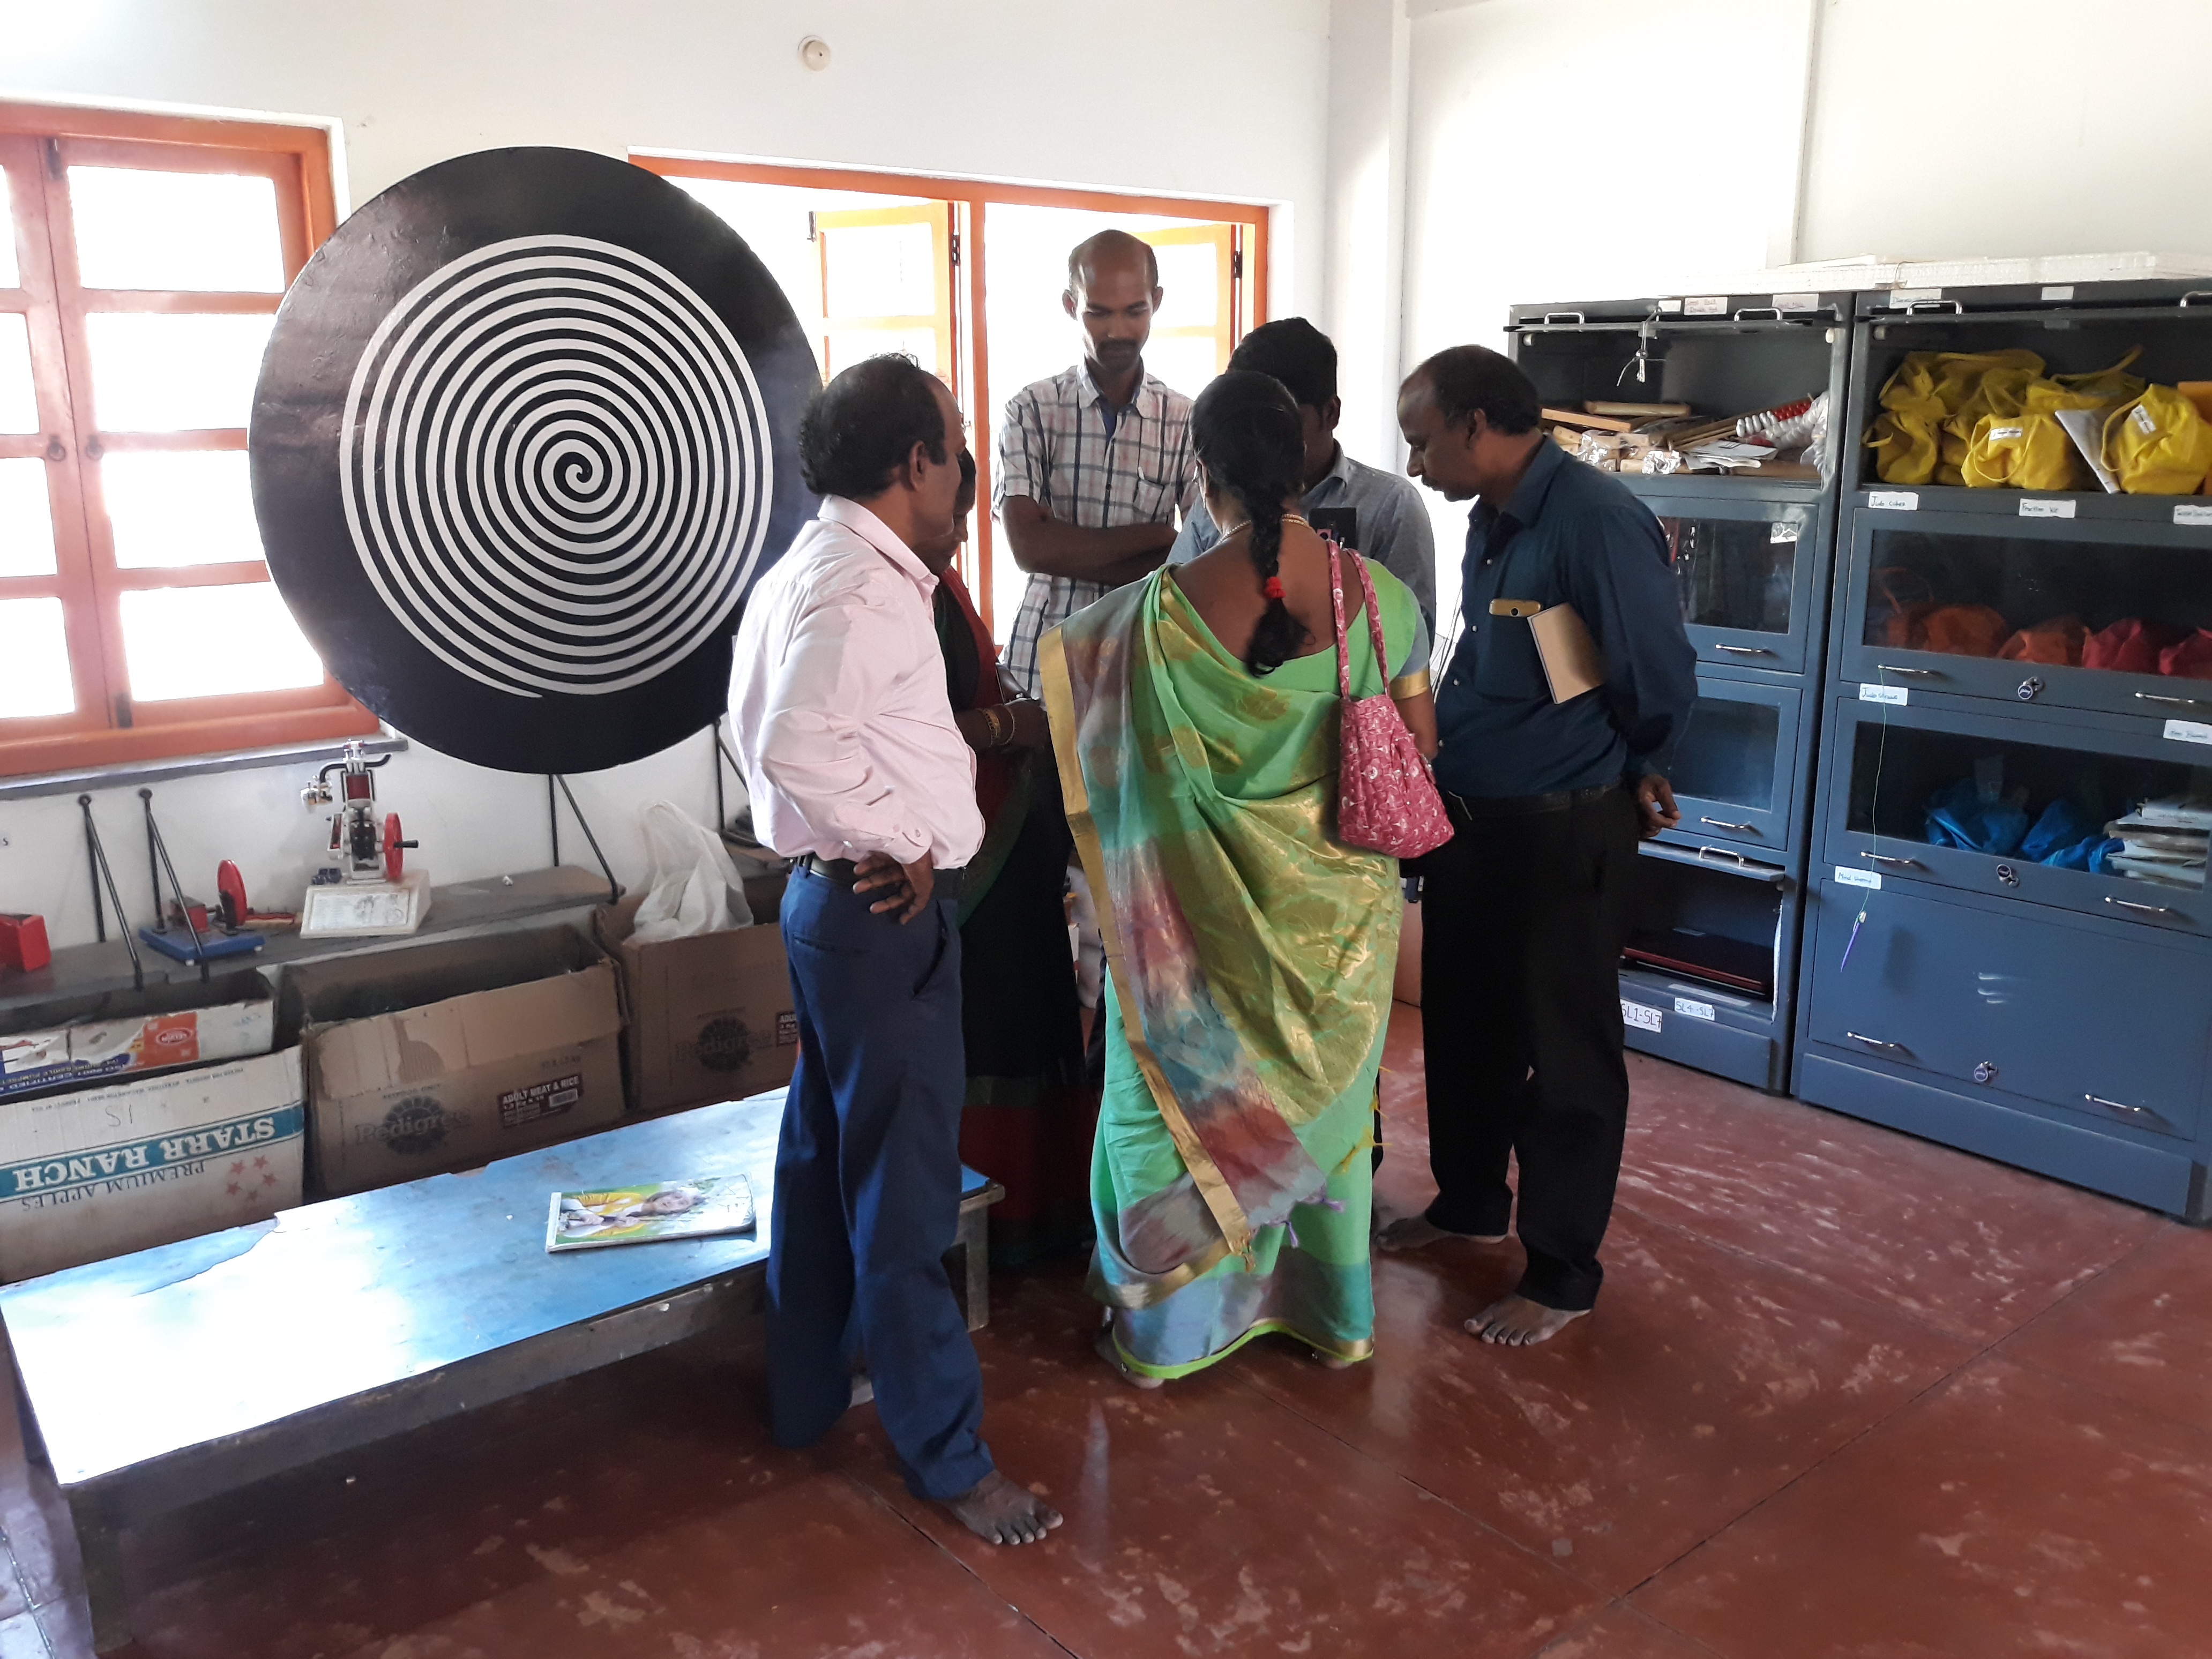
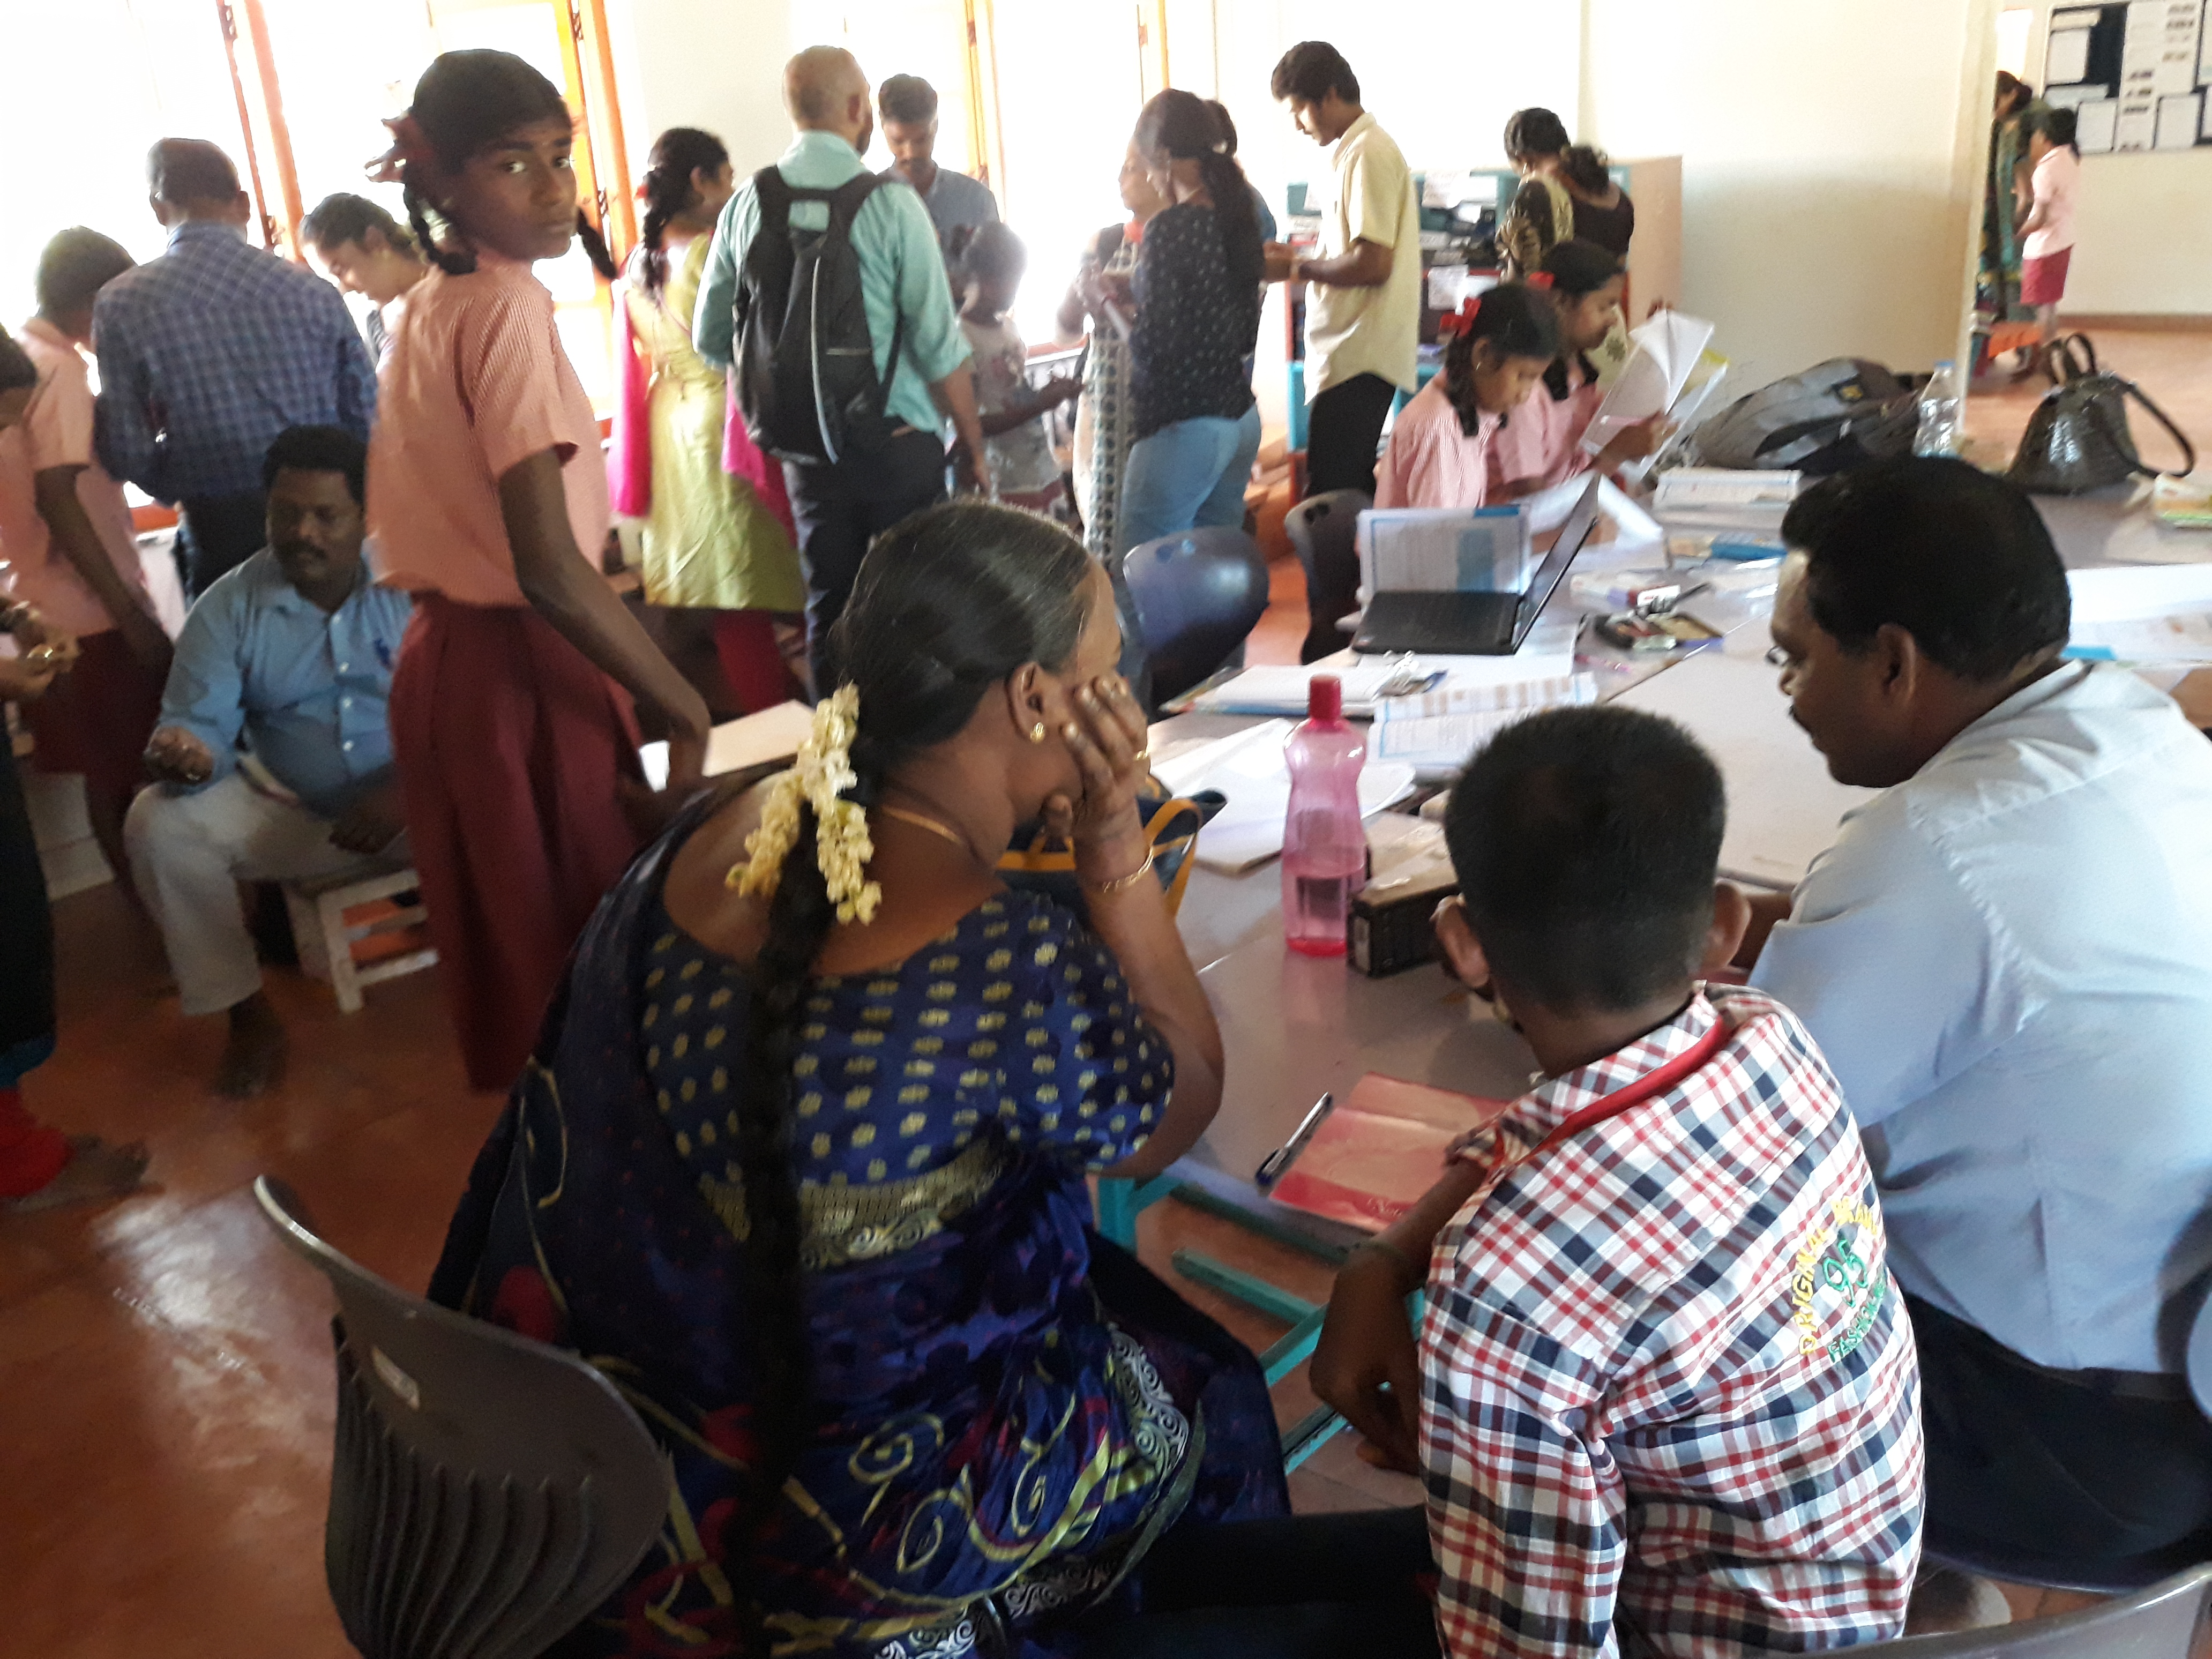
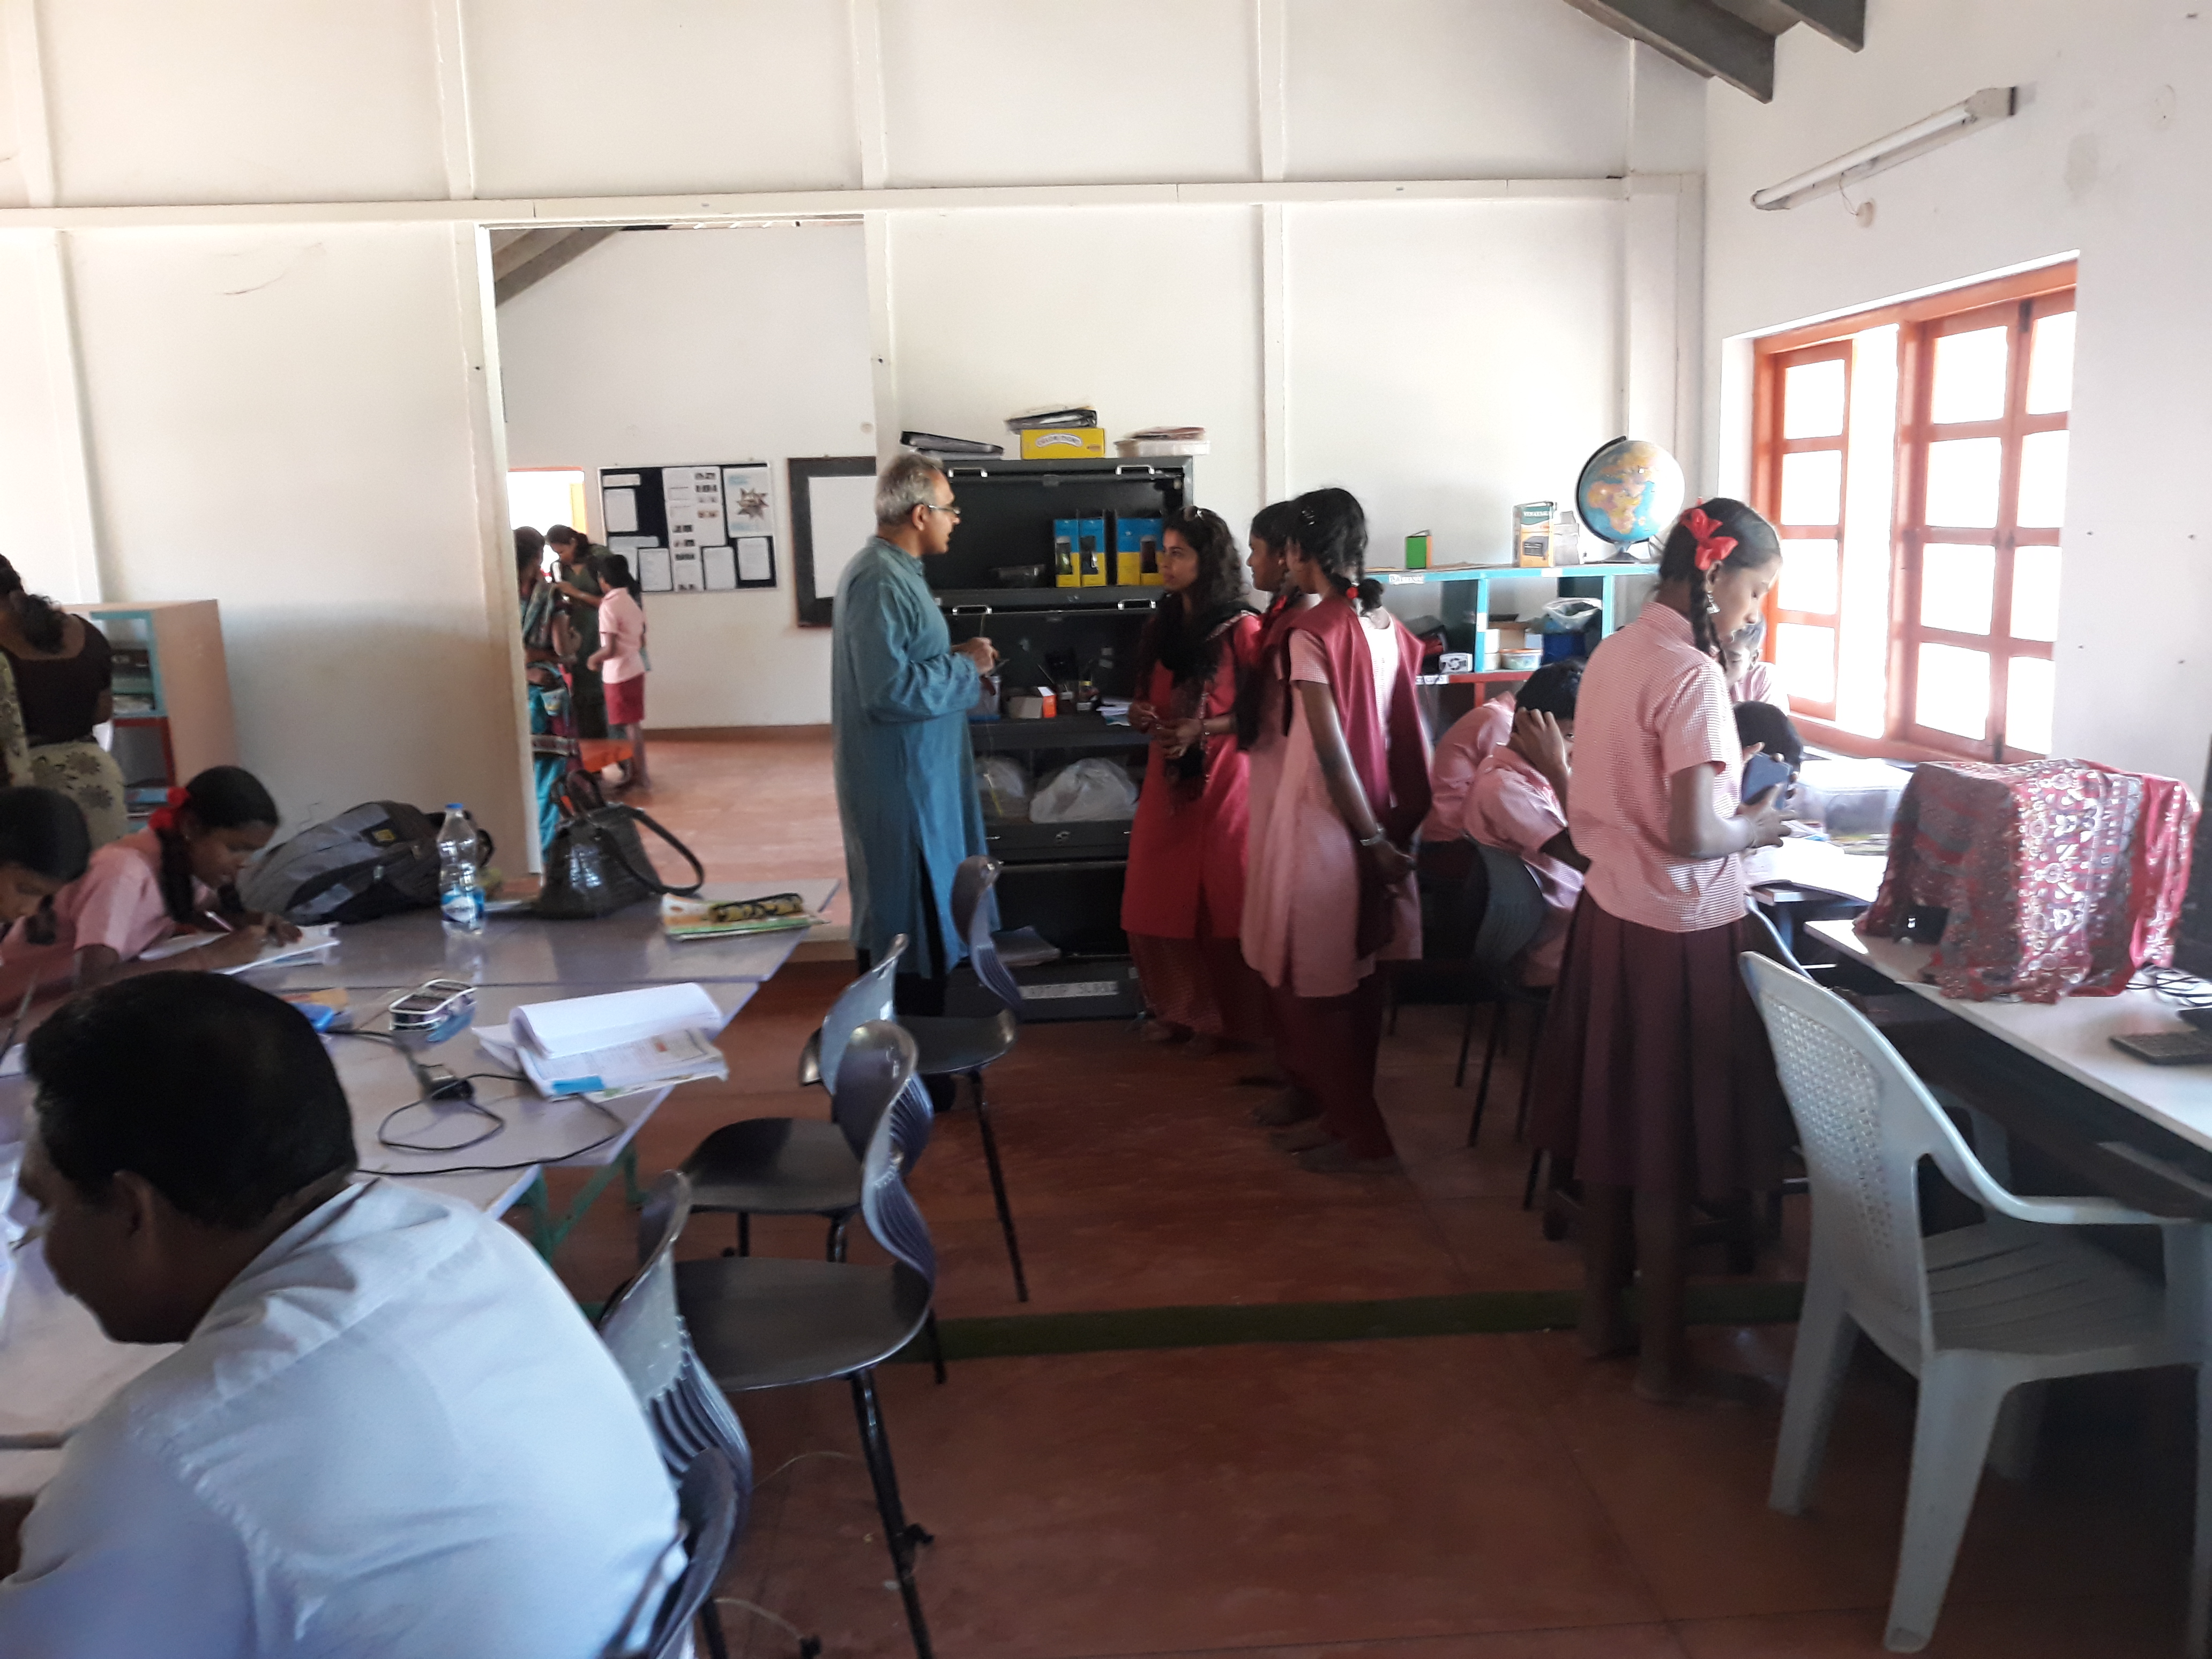
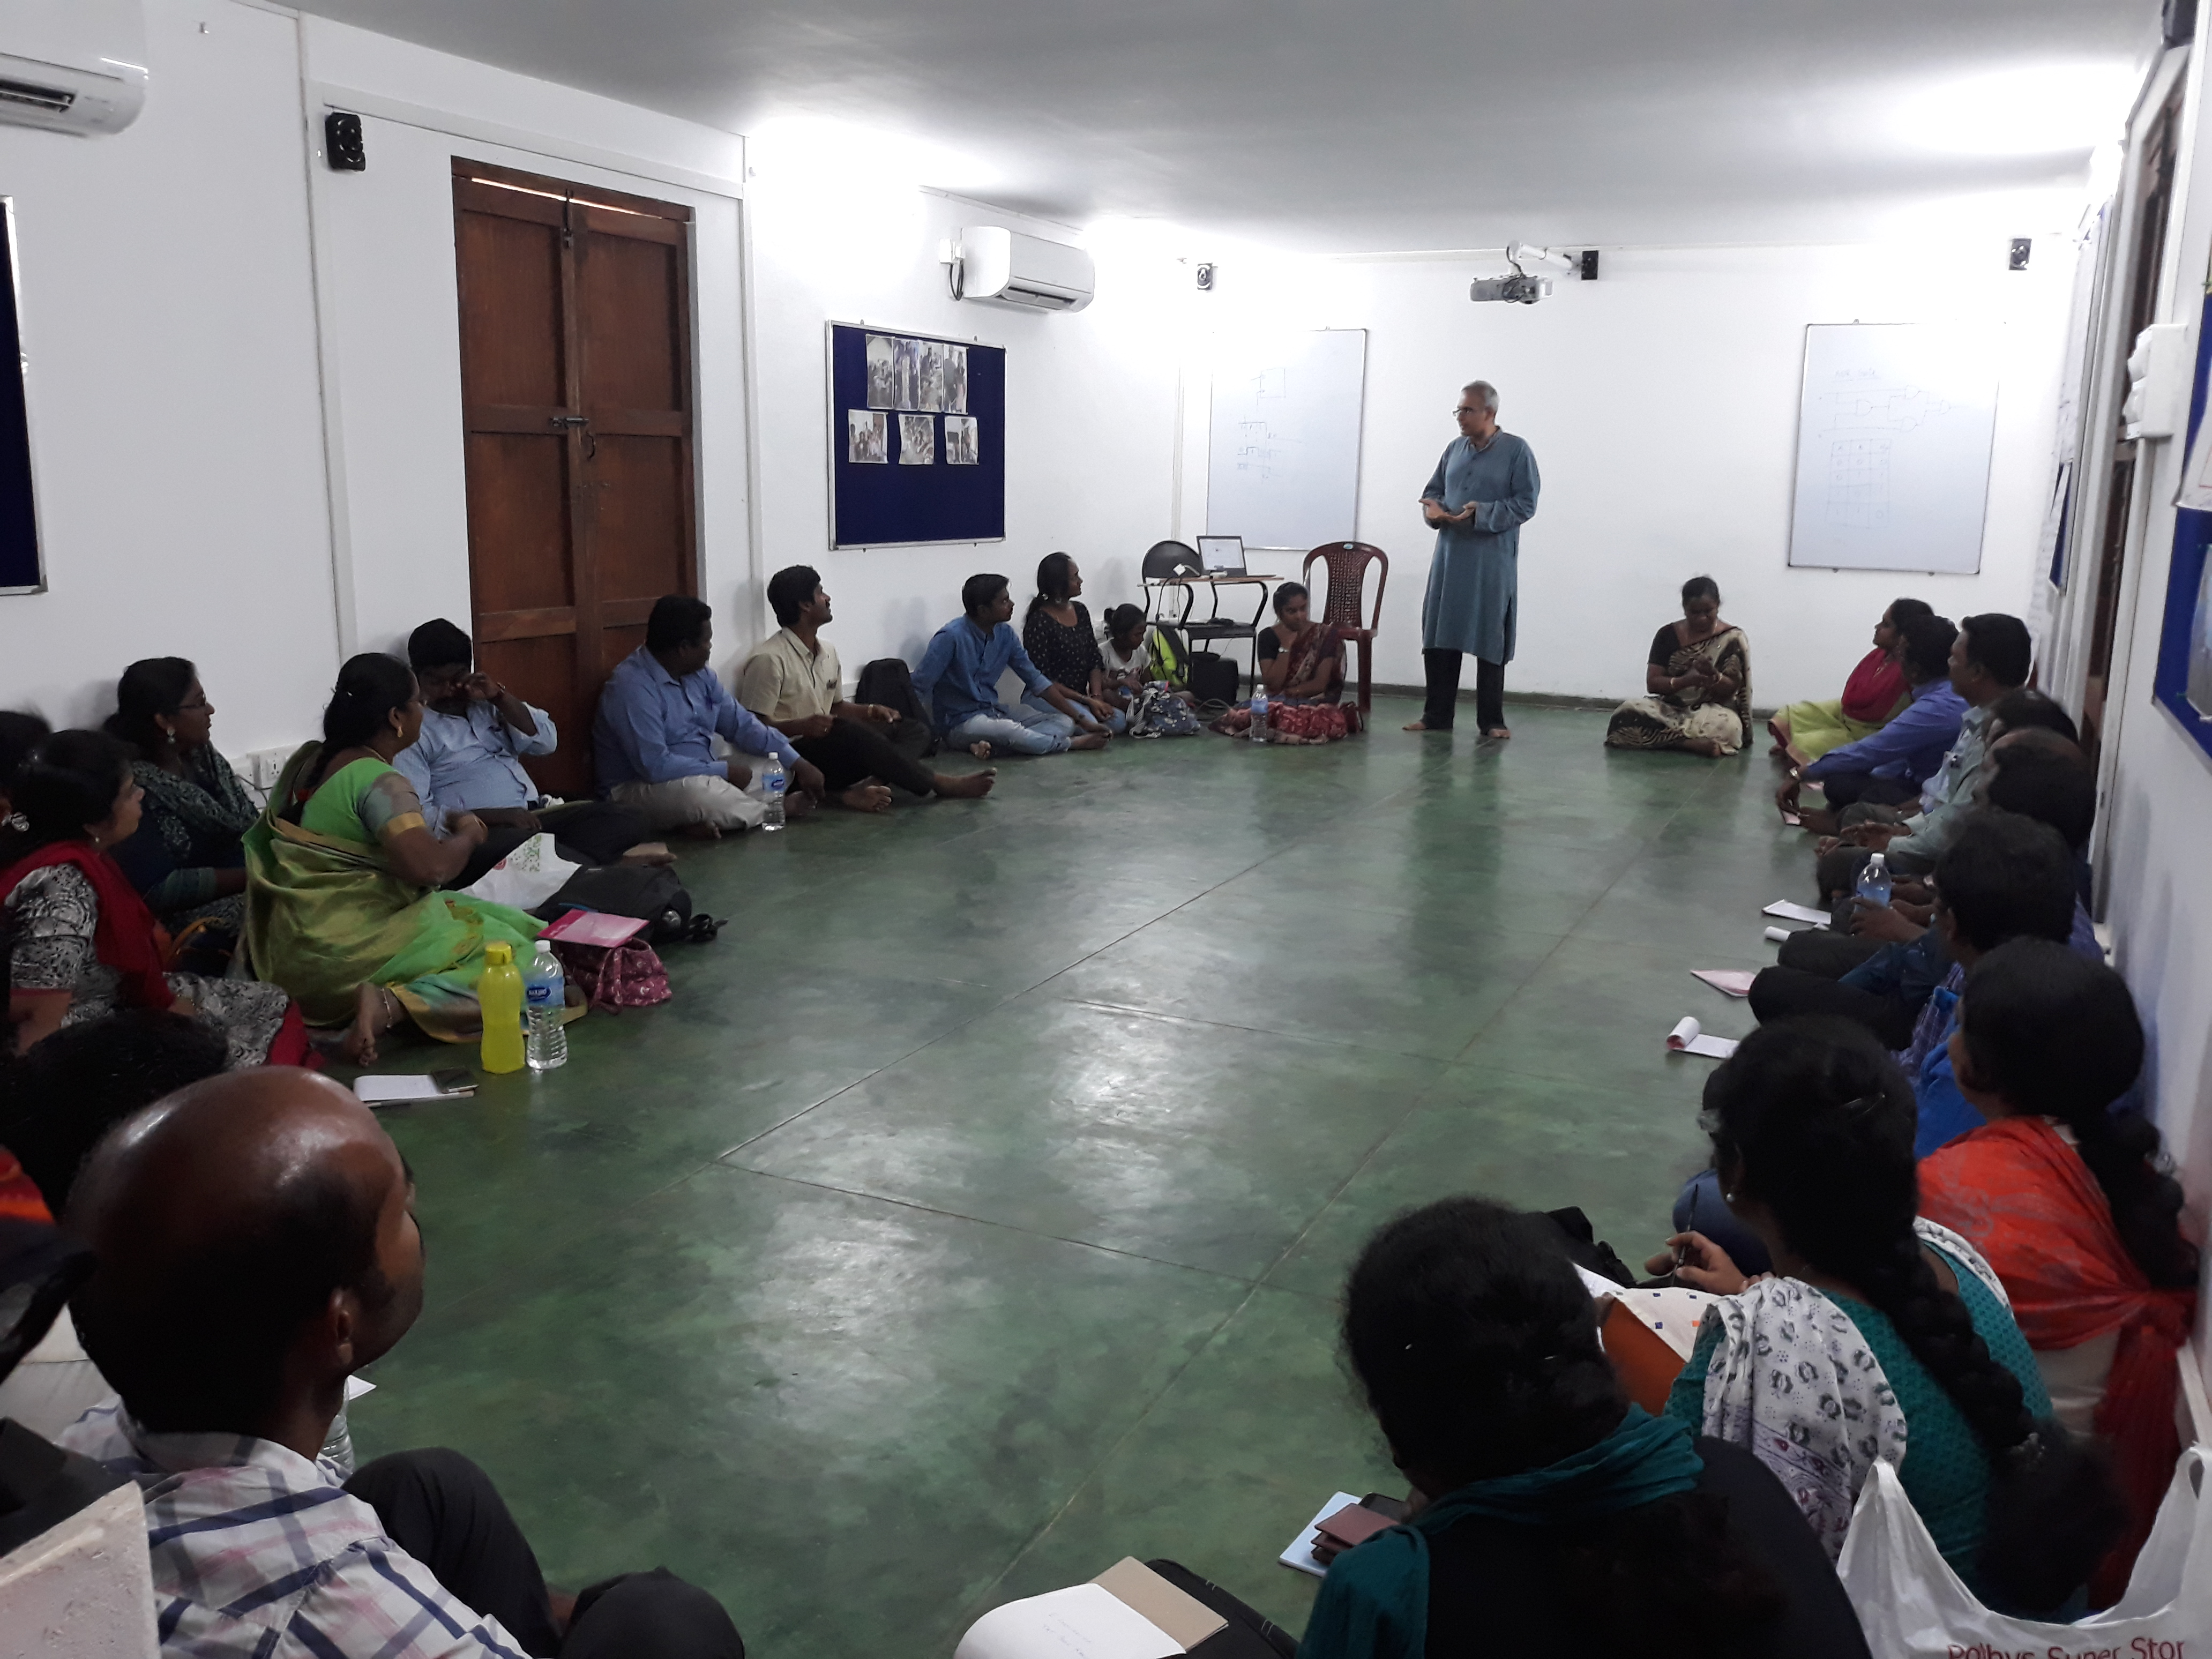
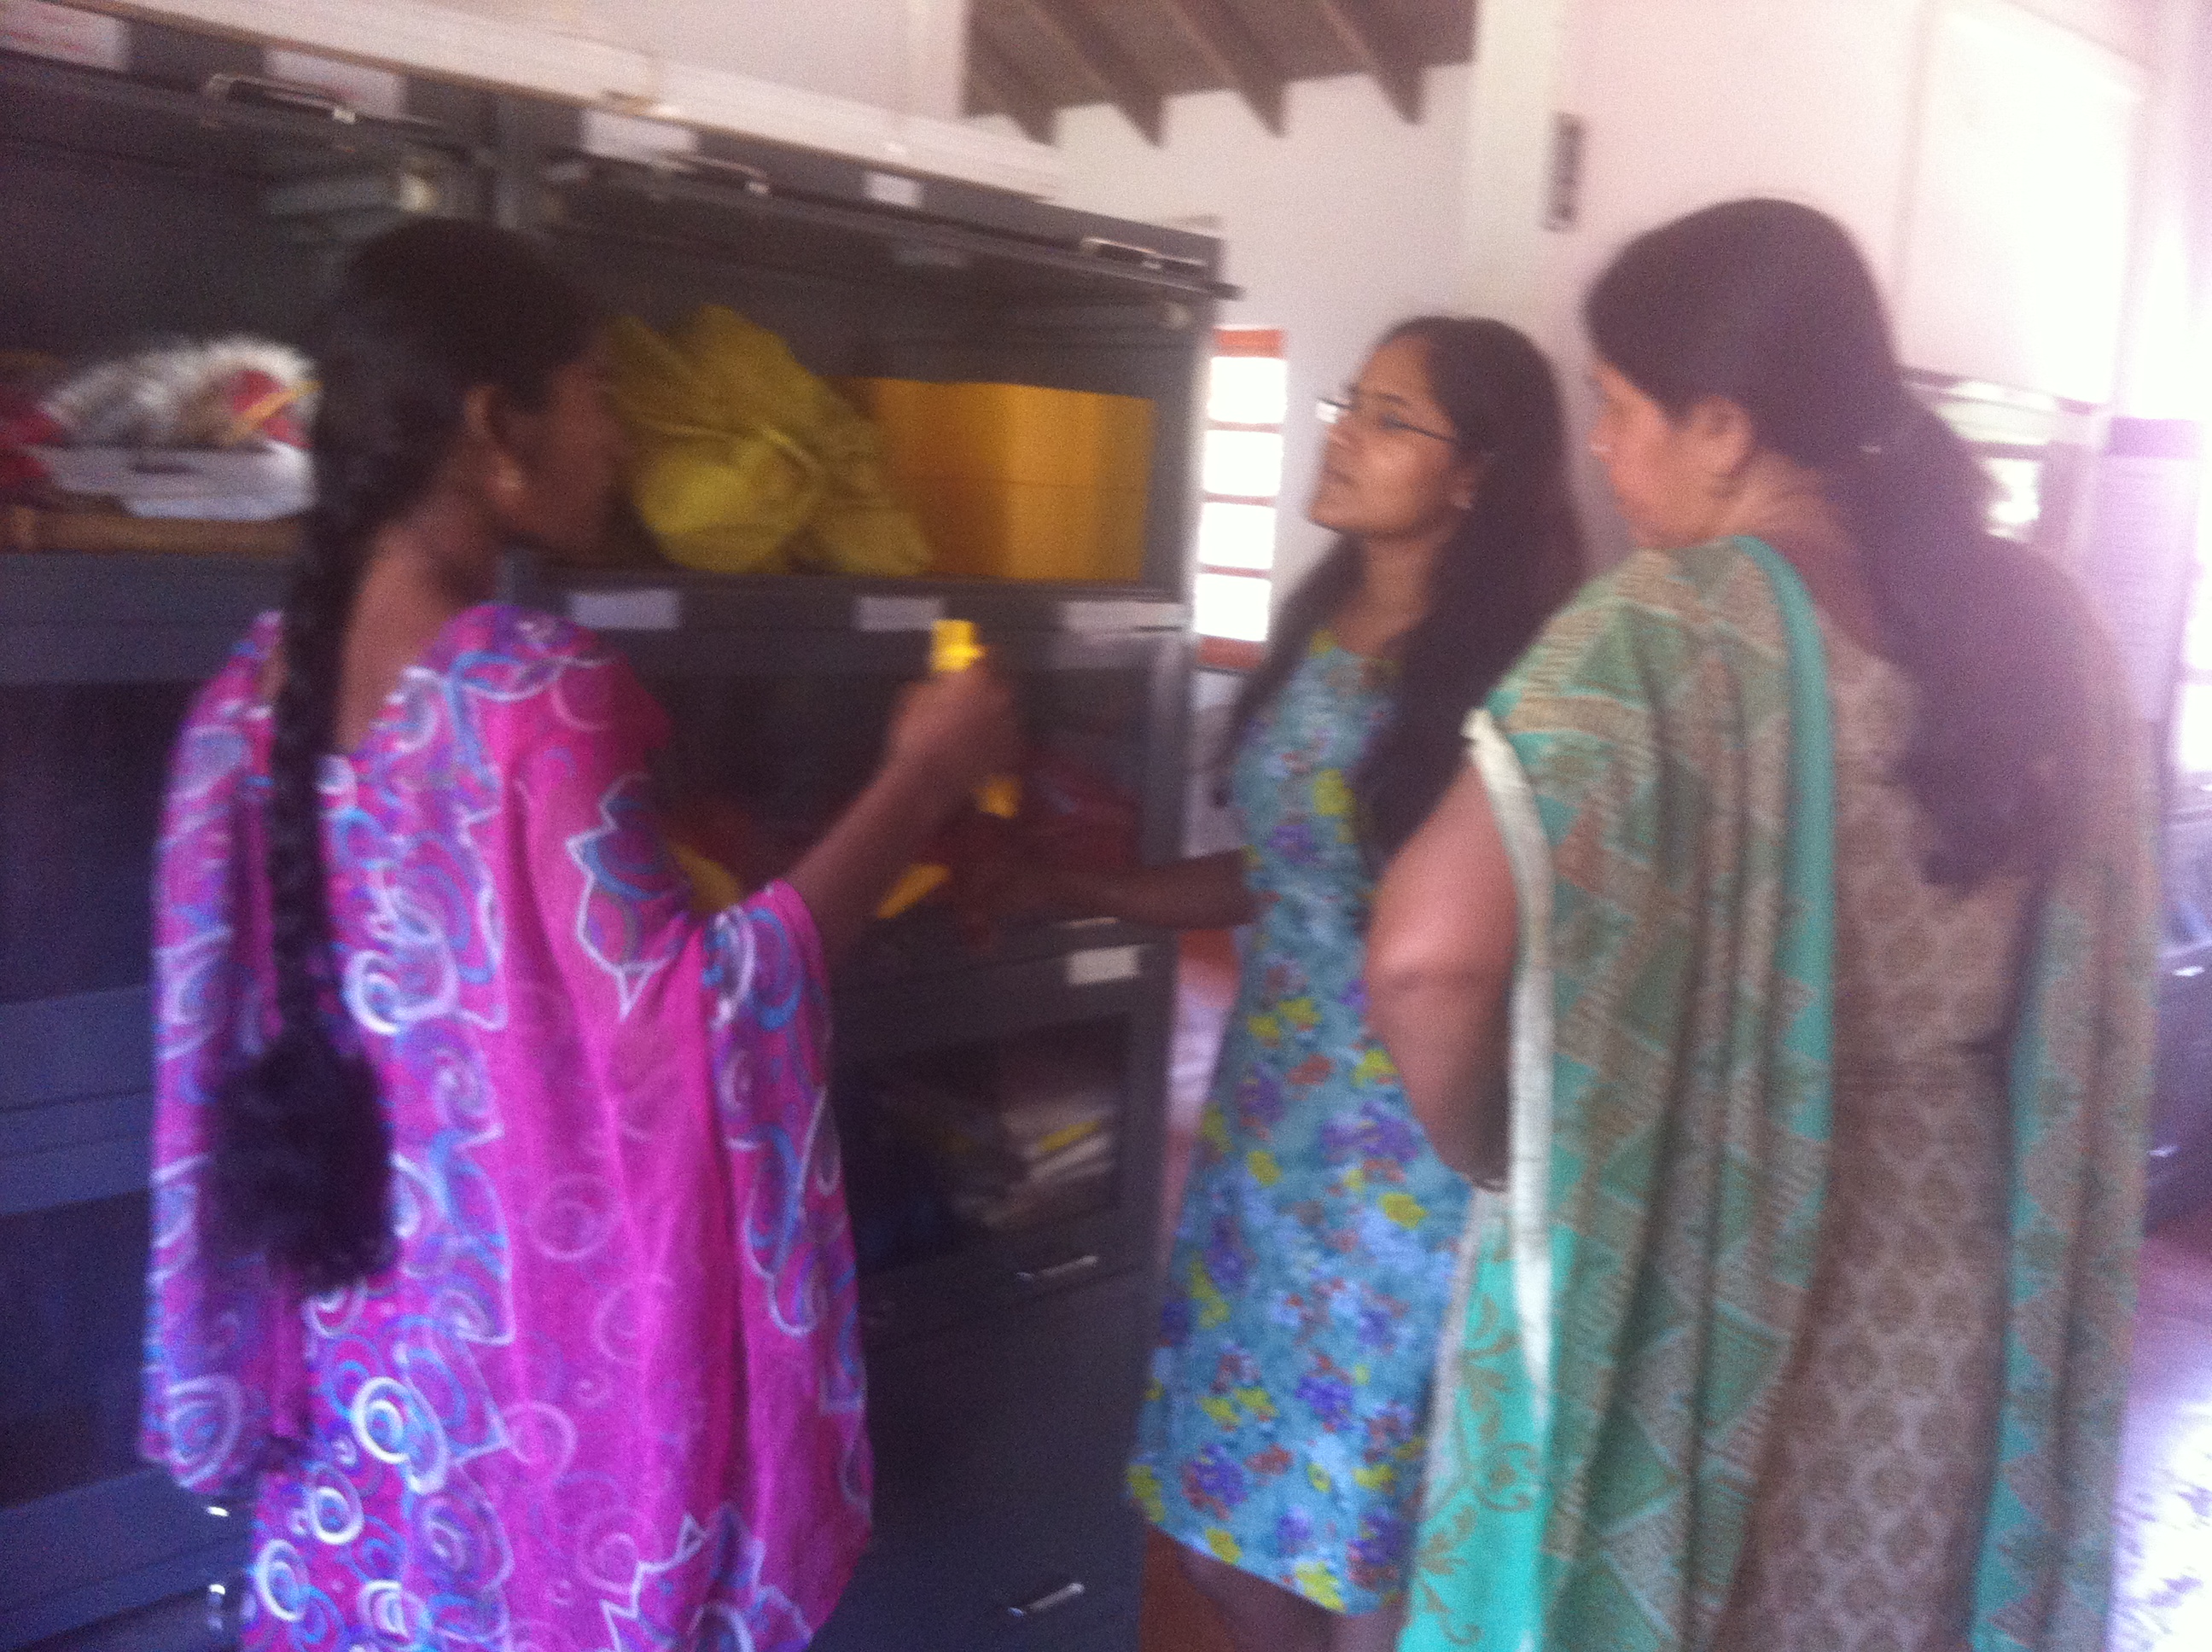
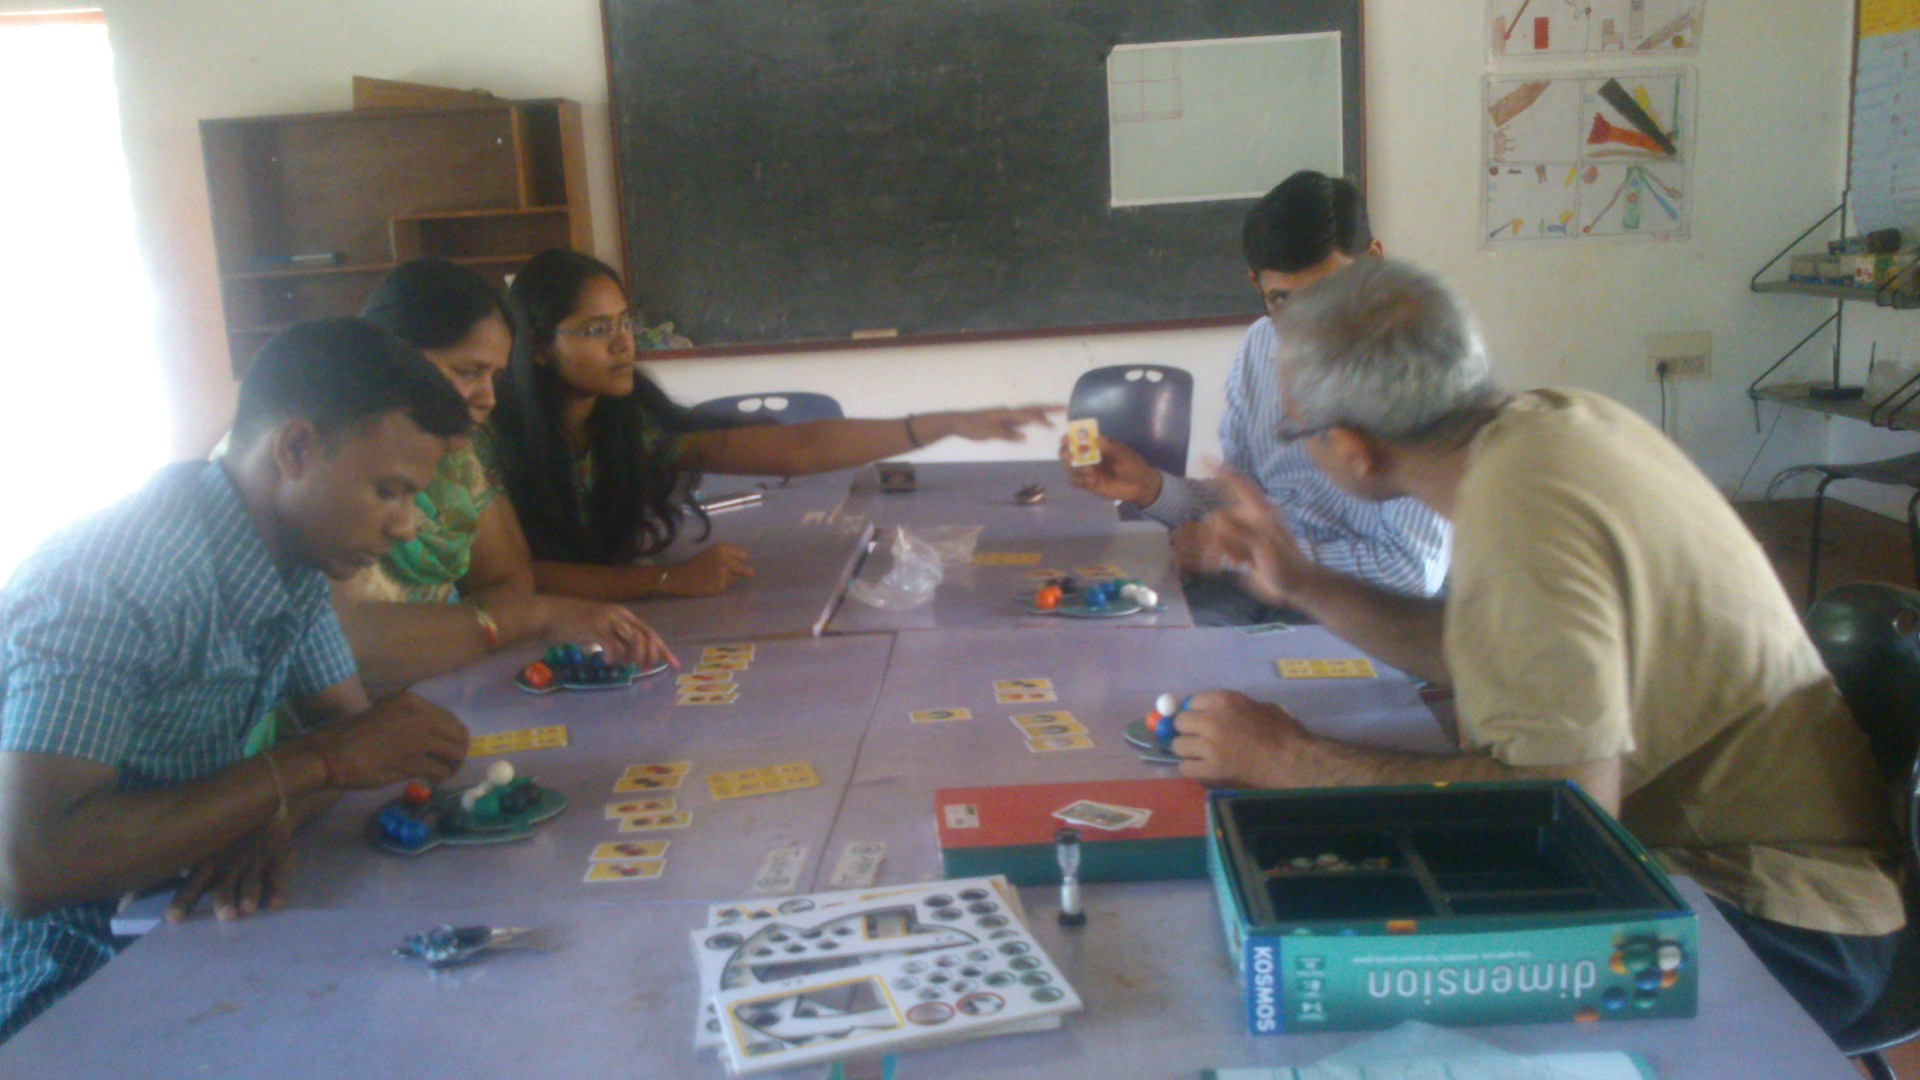
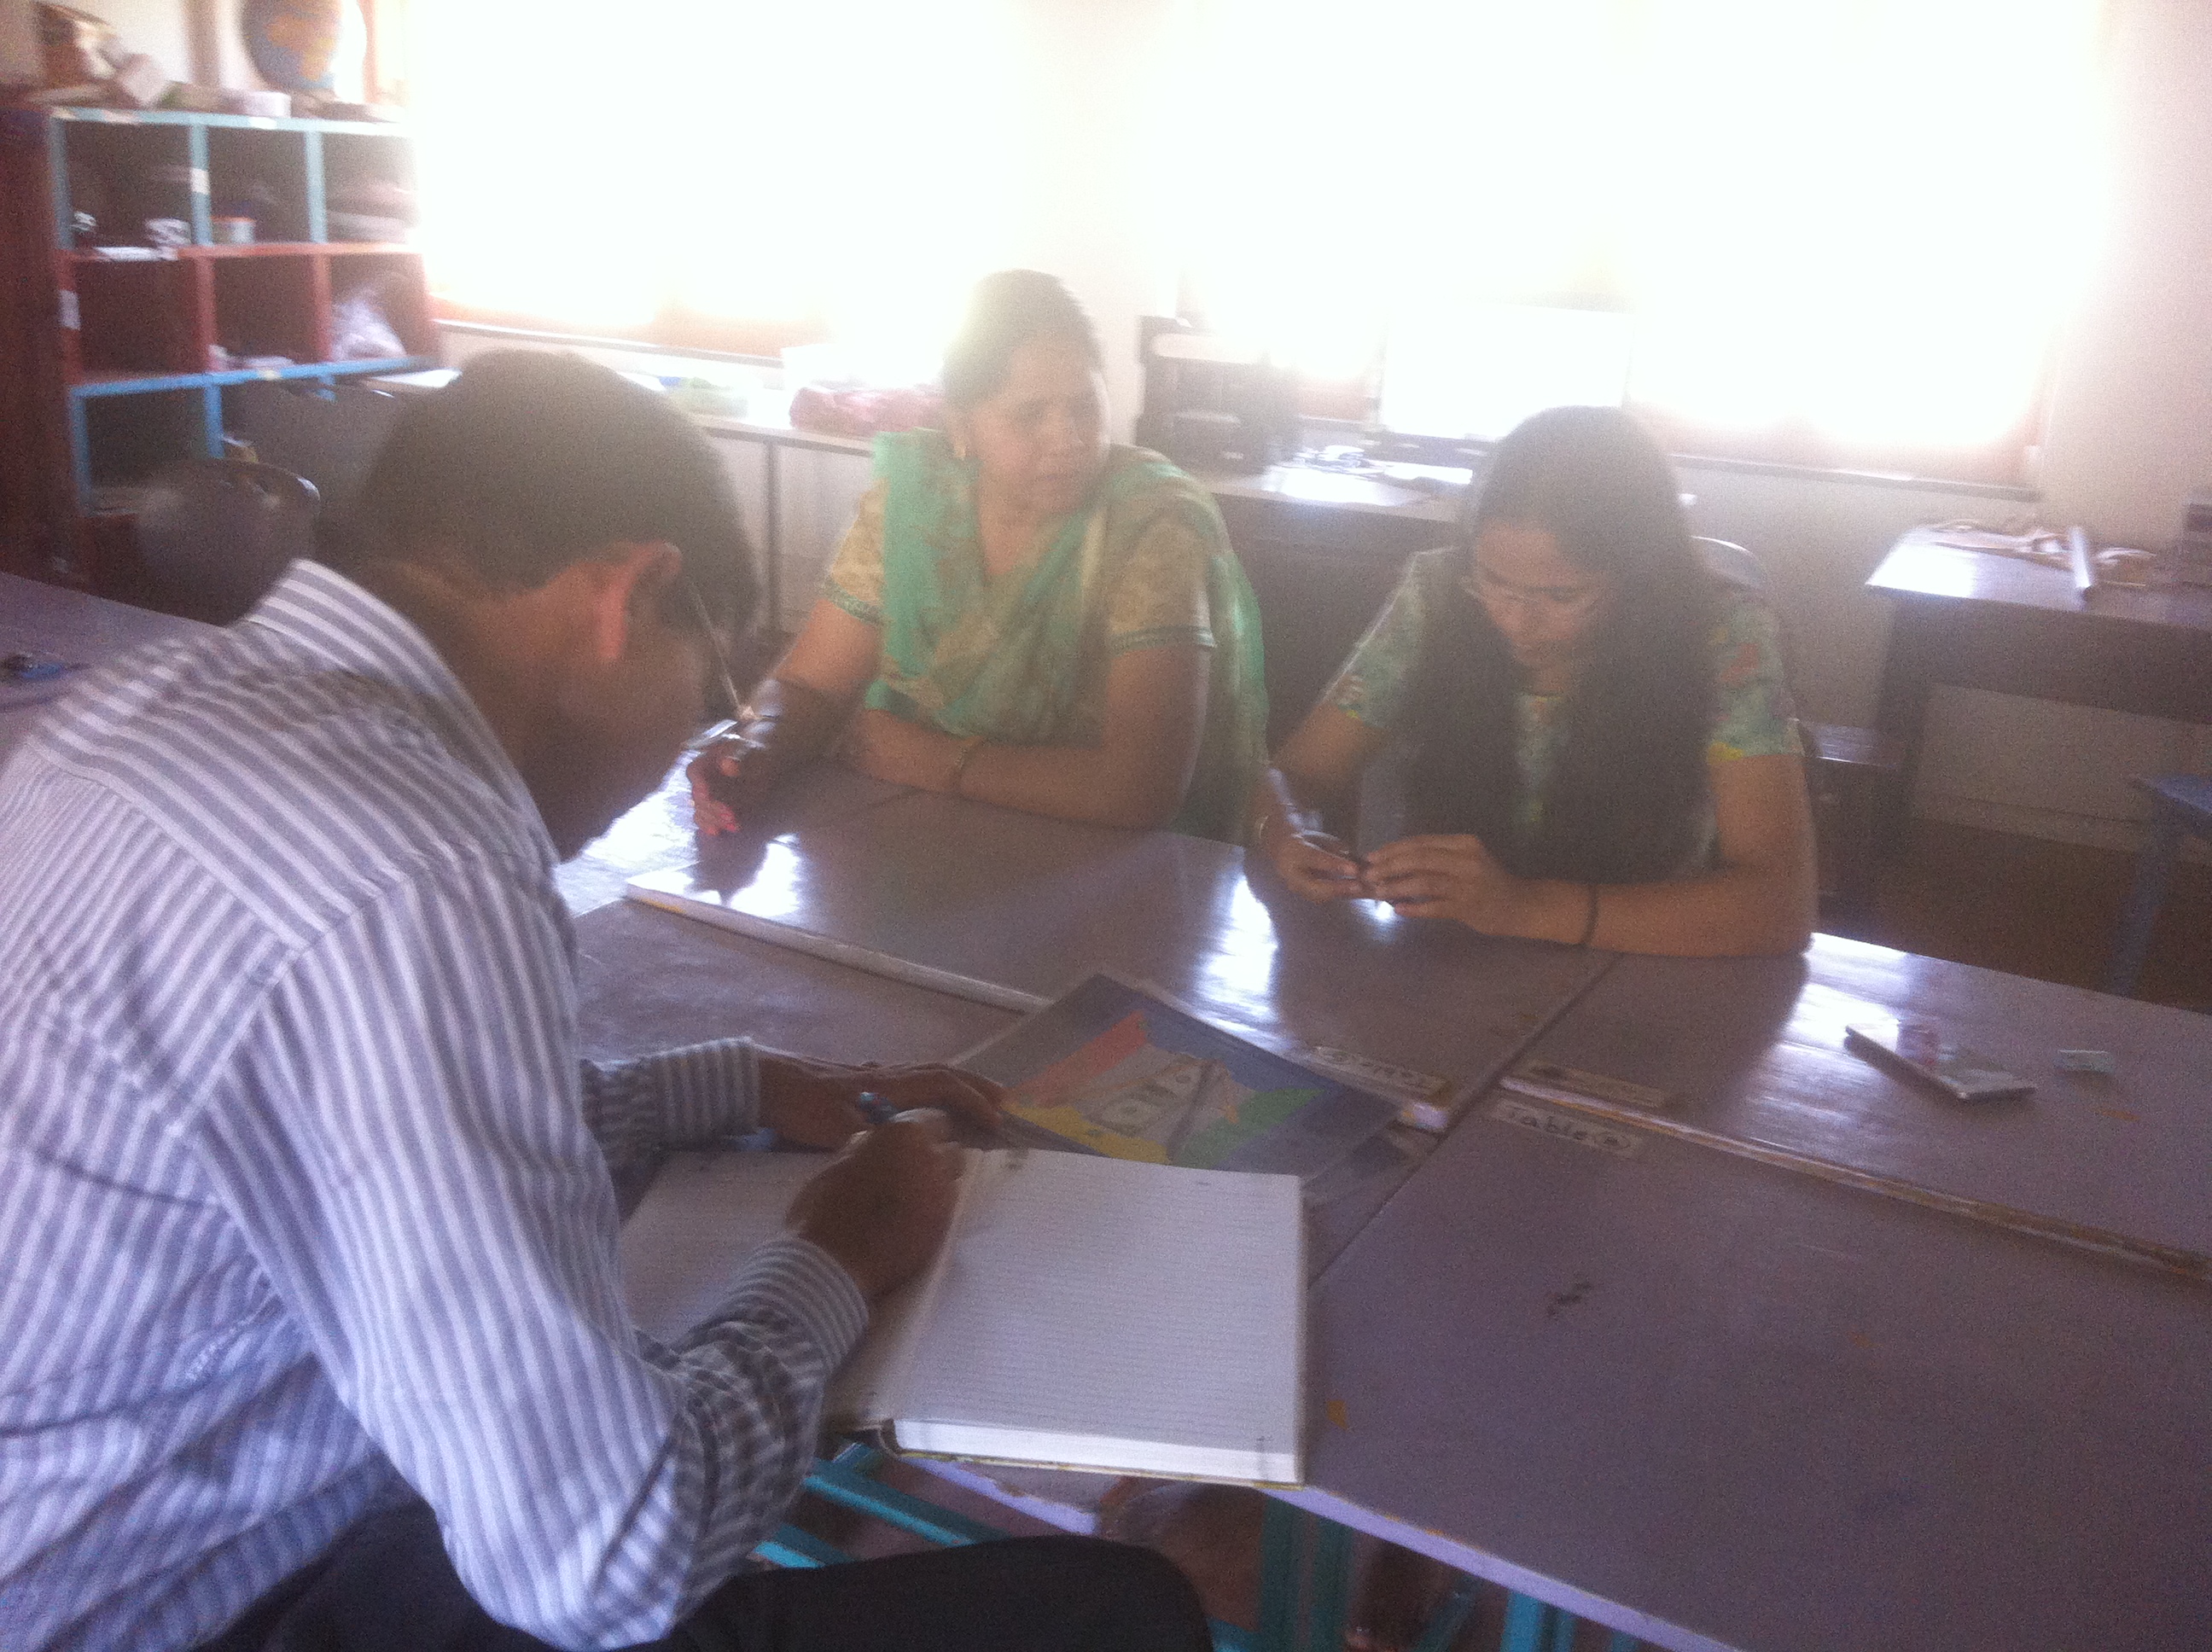
Around 37 government school teachers and a team from Azim Premji unversity visited STEM land. We presented a paper on “STEM land in Isaiambalam school” at Sindhanai Sangamam symposium. Some of them were inspired from our talk and they came to visit STEM land. The teachers saw what the children were working on in Isai Ambalam school. We had a Saturday school and all the children were working on the EBDs. The teachers interacted with us as well as with the children. One of the teachers reflected that we were thinking of each child and addressing his or her need differently and that was something she wanted to do in her classroom.
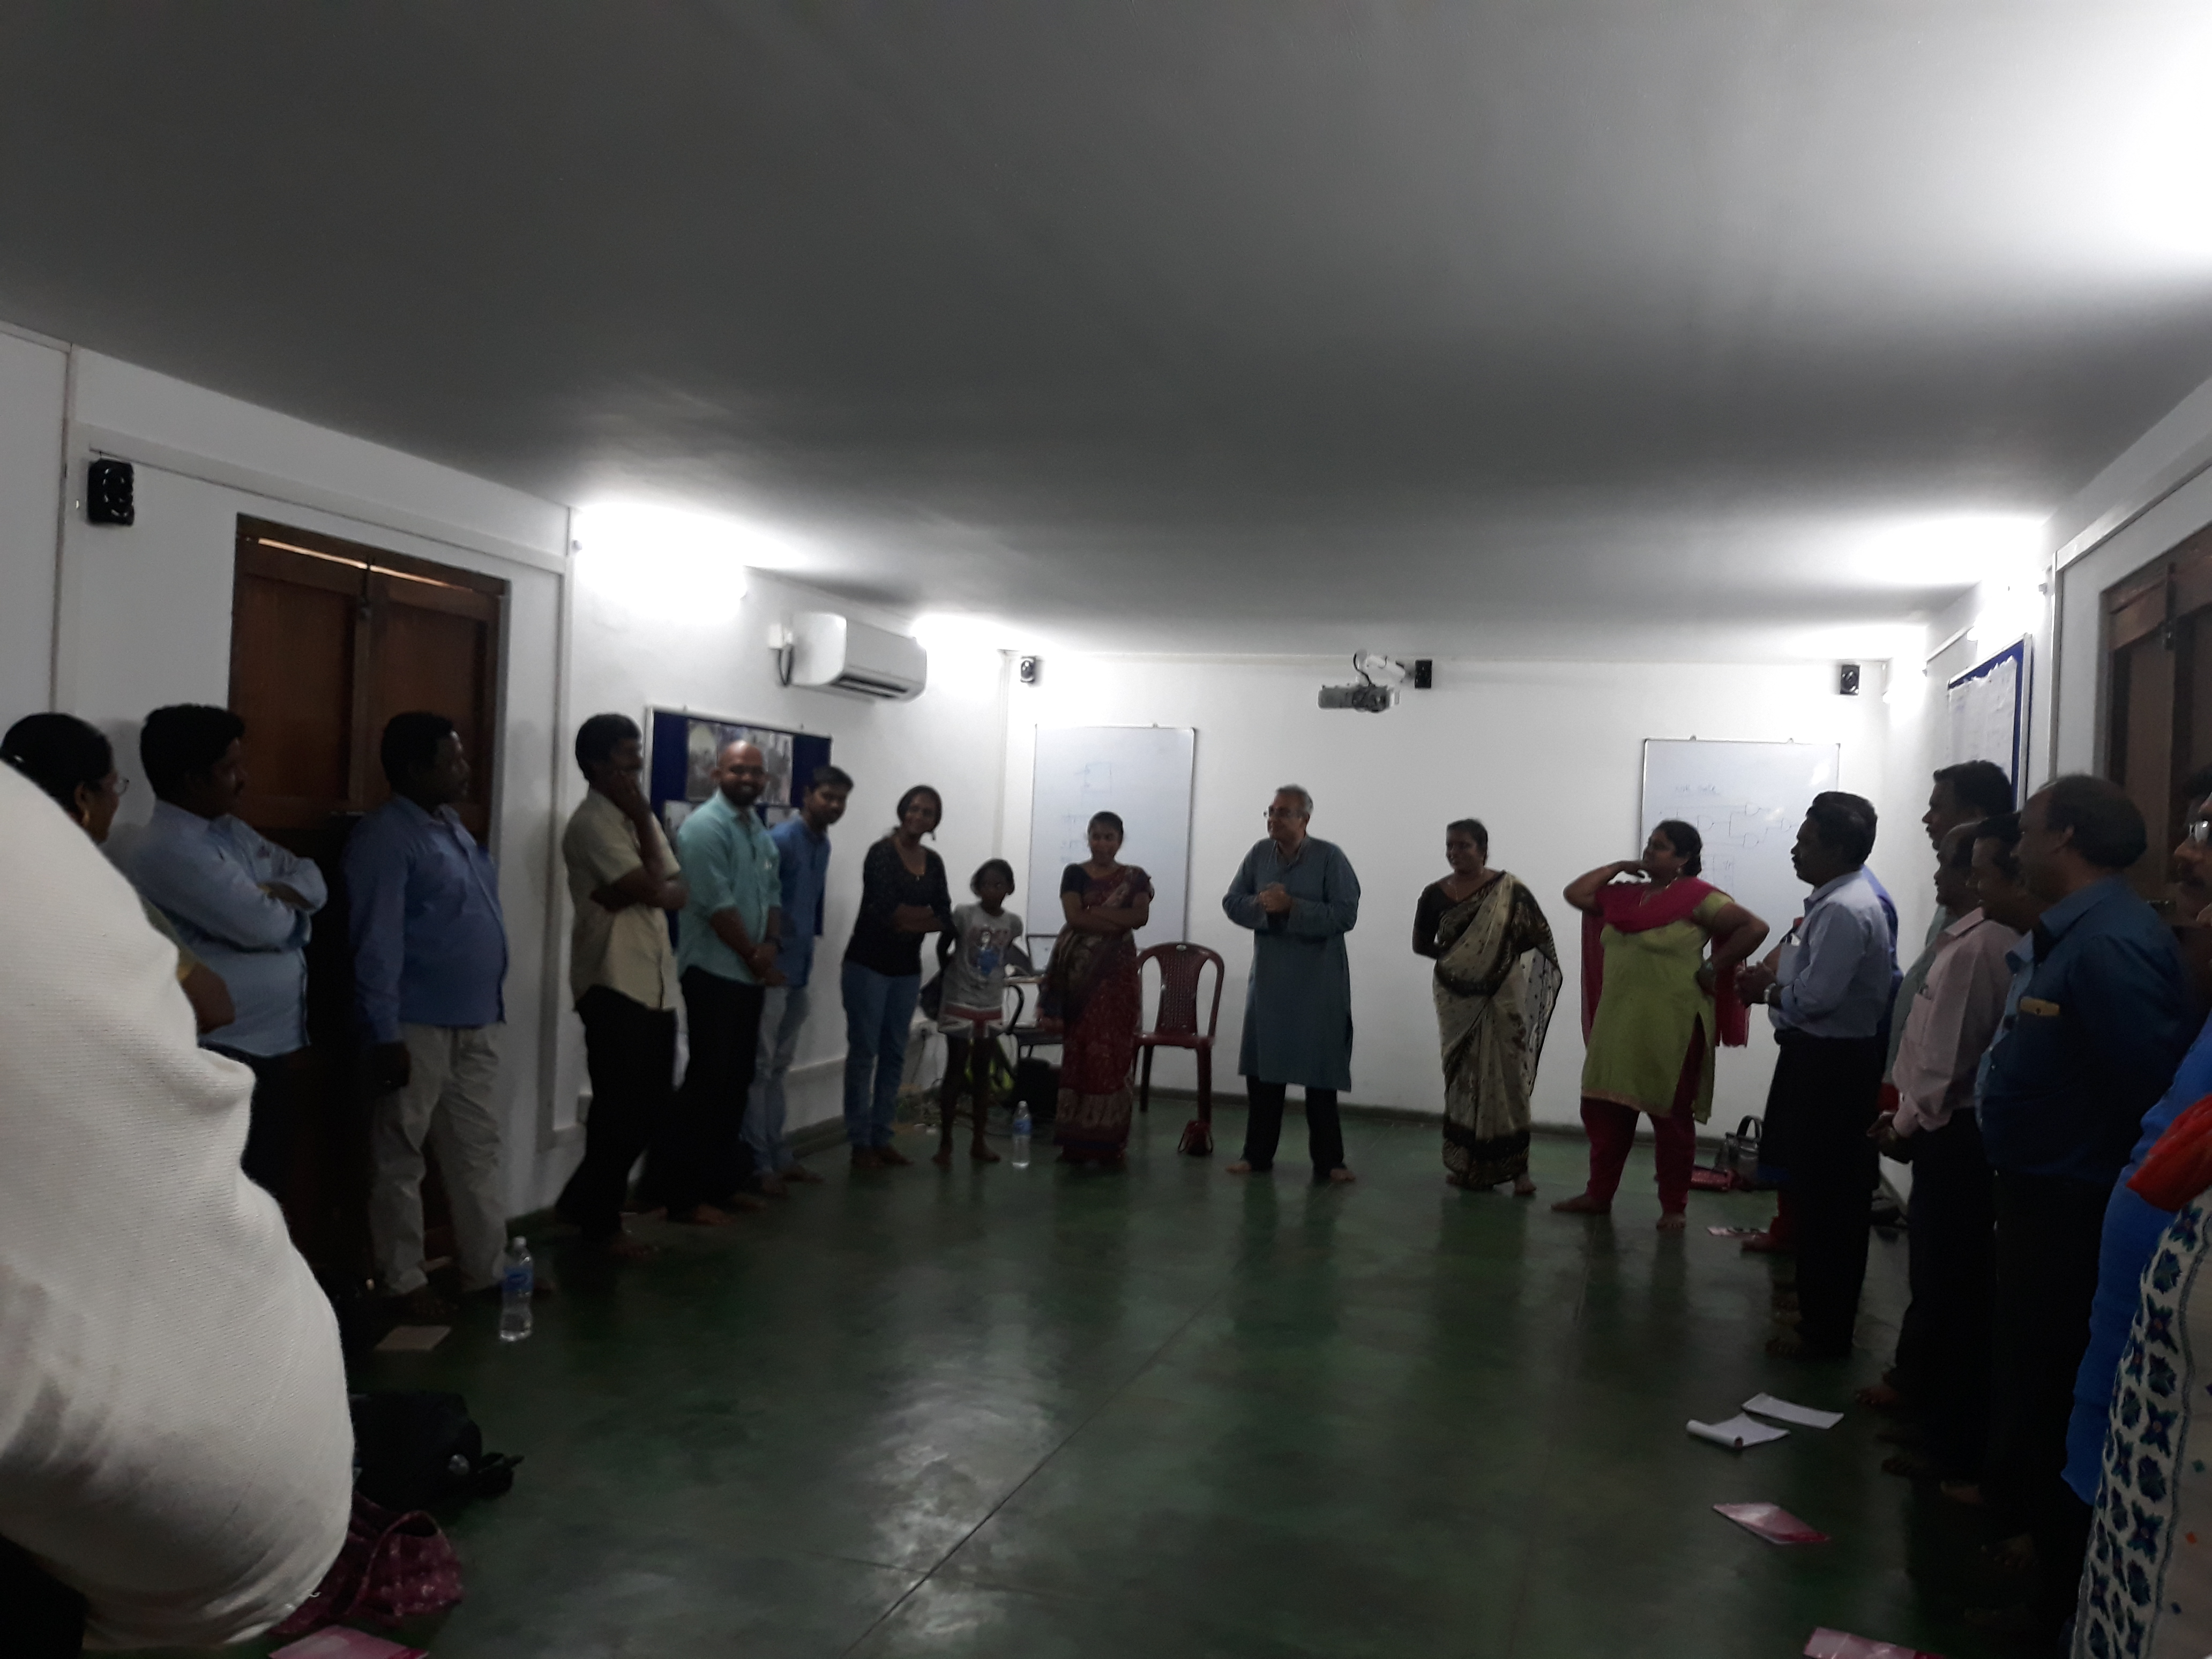
After that they visited STEM land in Udavi school. Children showed them few projects. The teachers also tried to solve caste puzzles. We also conducted a Stewardship session for the them lead by Sanjeev.
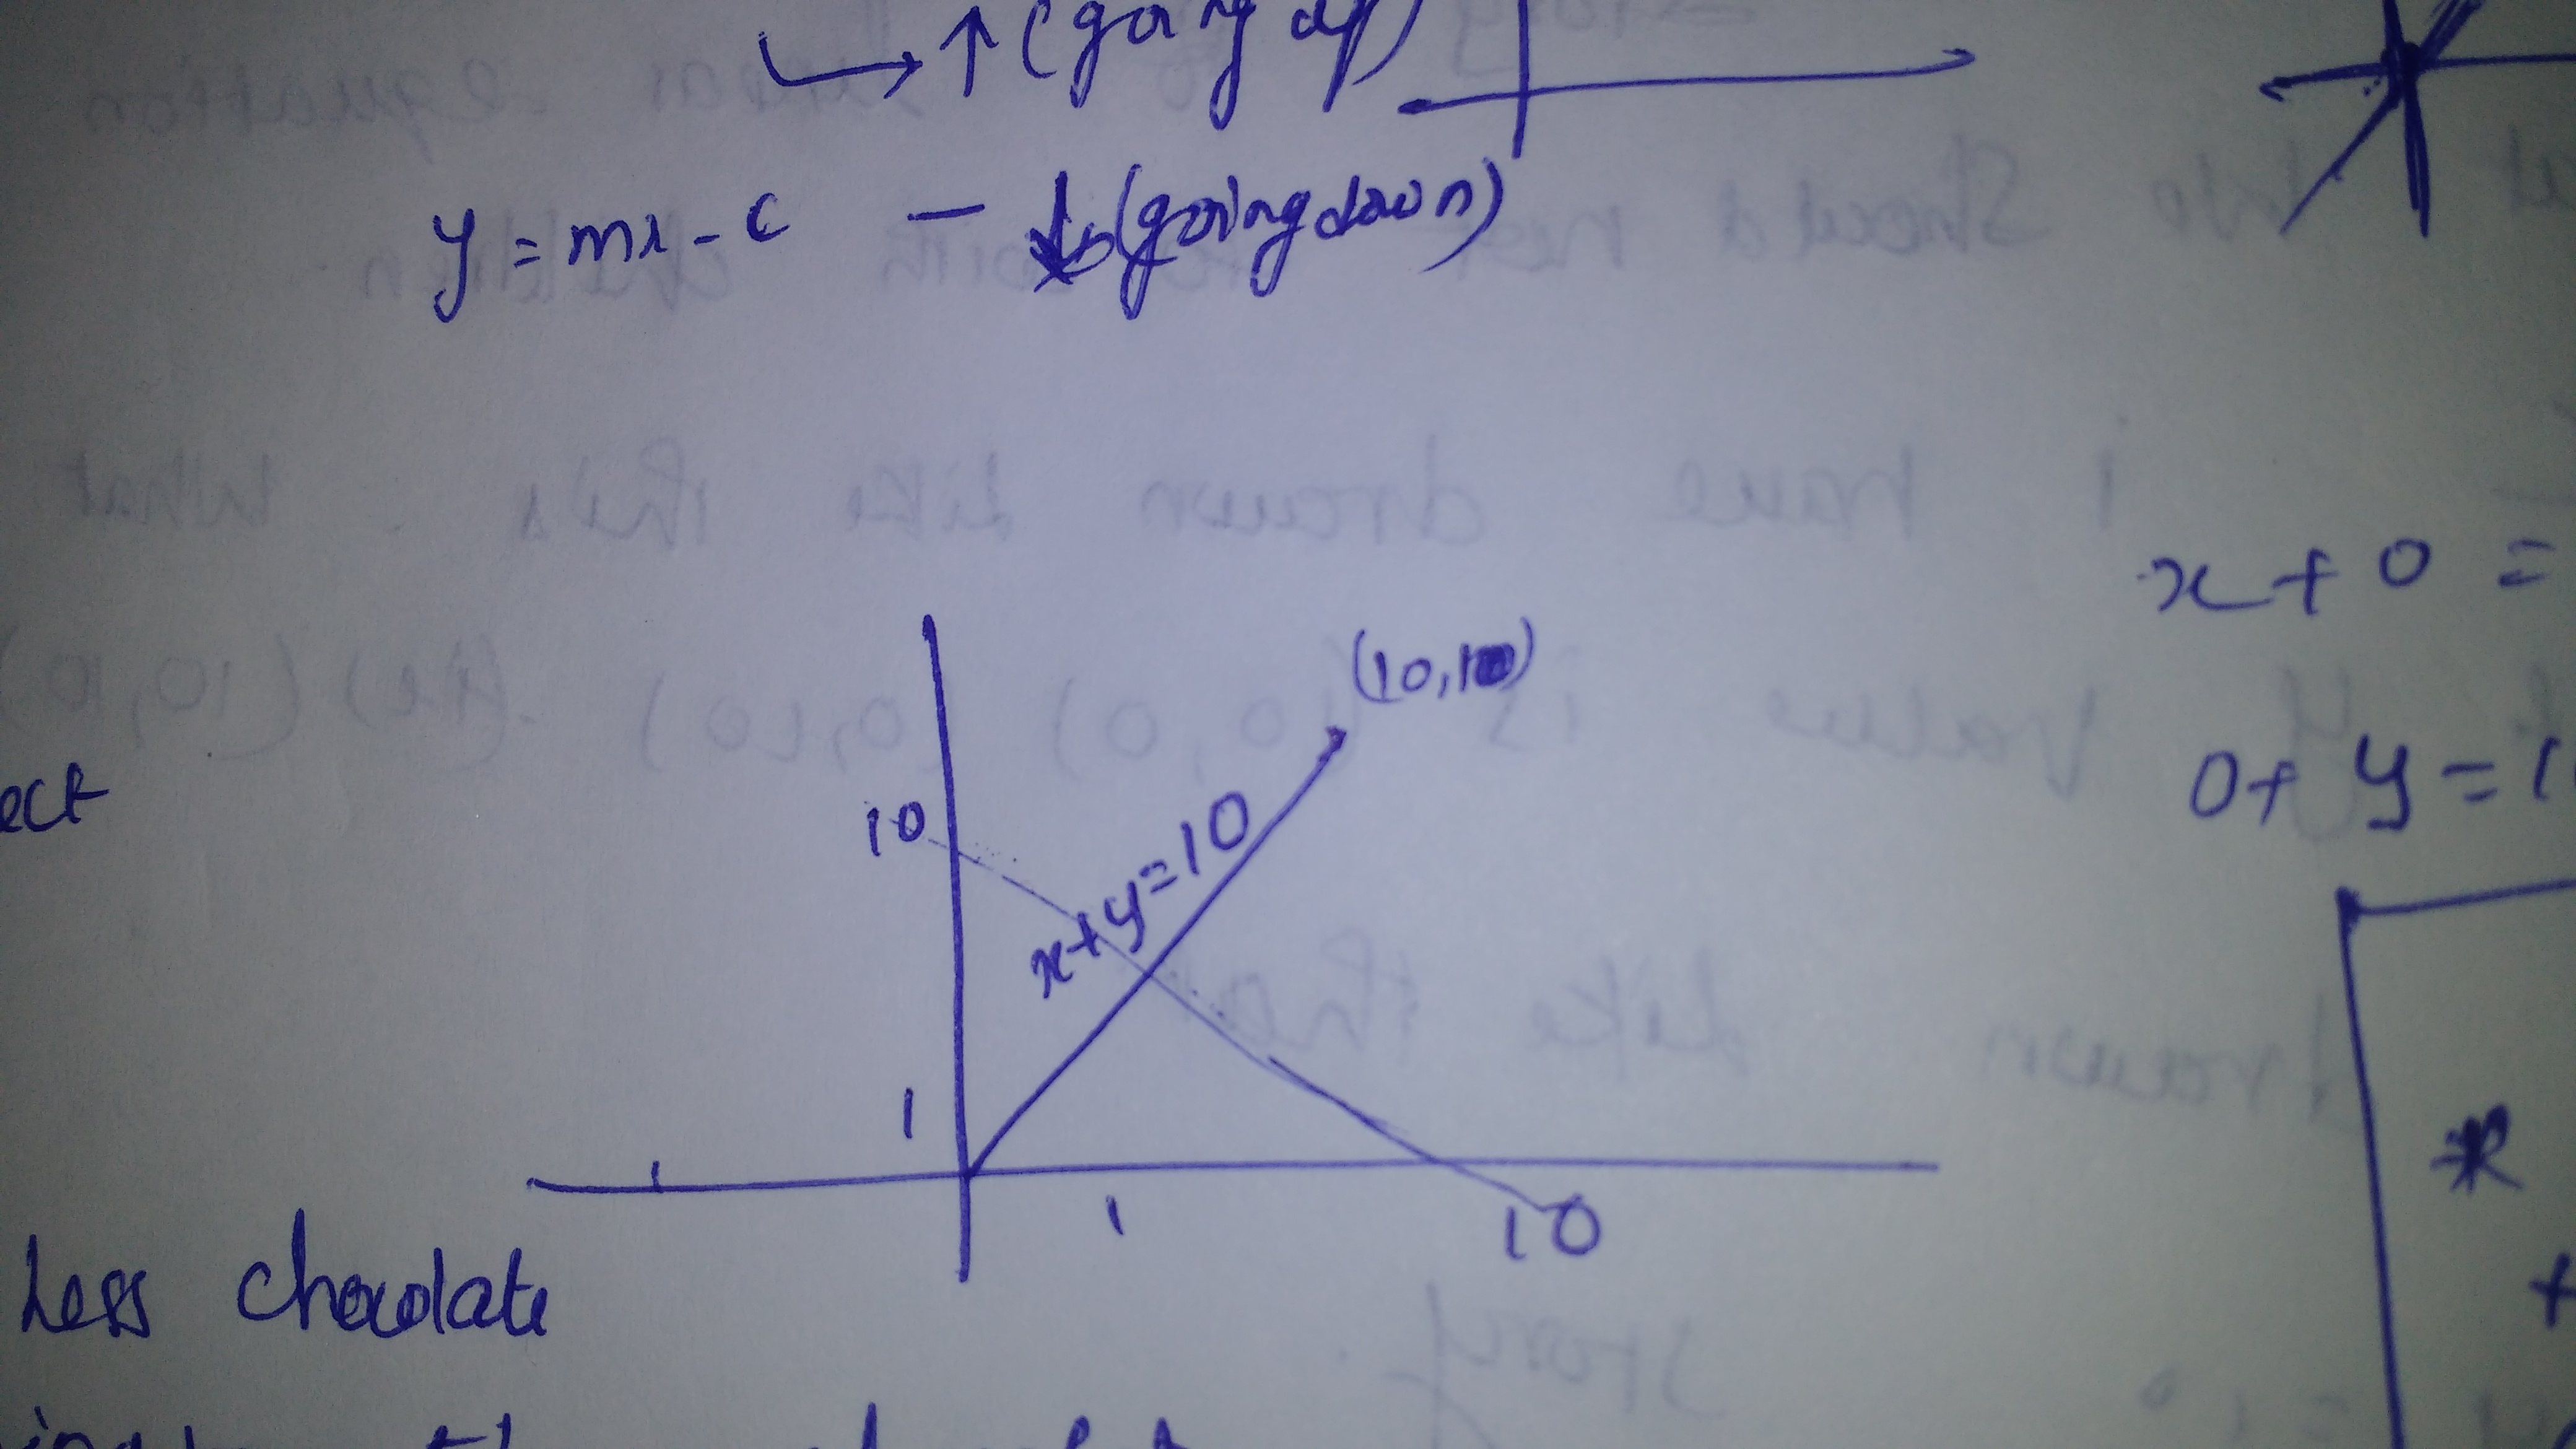
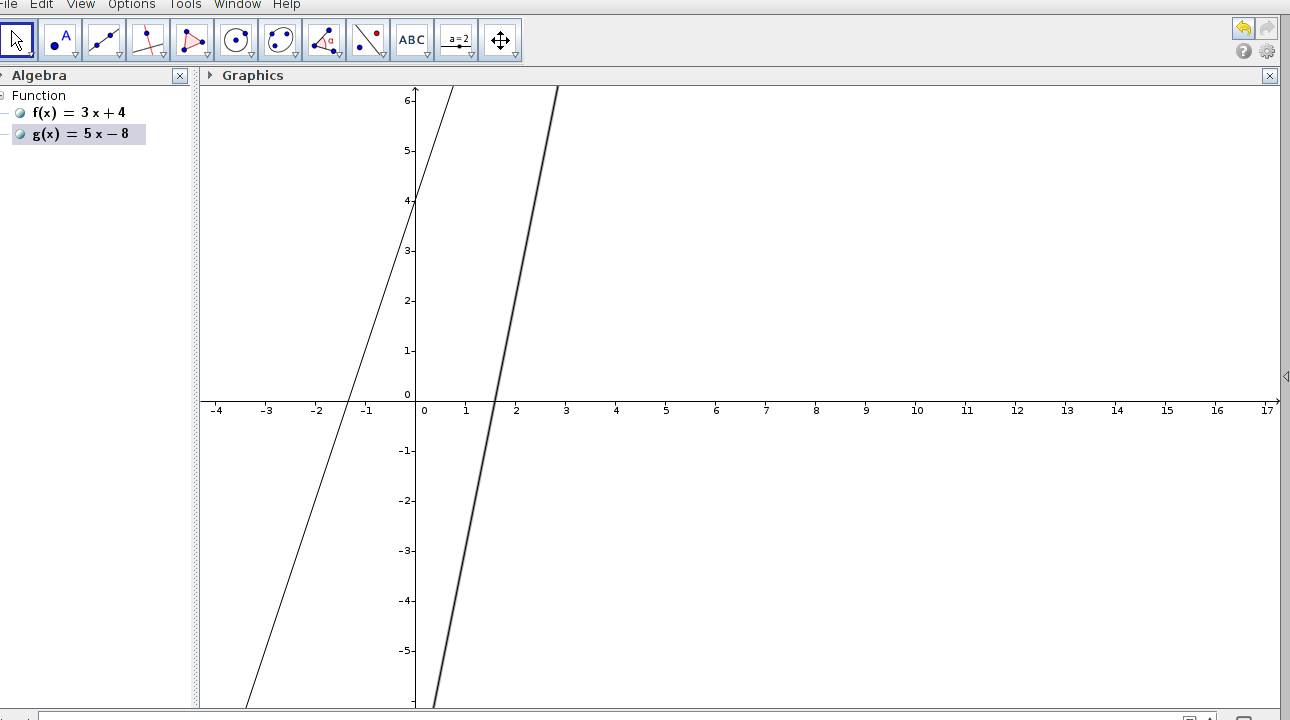
We have started with the story of linear equation. Linear equation is nothing but a straight line and choice. For an example we have taken x+y=10. The story of the linear equation is, I and my brother likes chocolates if I get more chocolate obviously he is going to get less chocolate that is the story of the linear equation. After that we have entered into the problem. We started drawing the line for that equation.First I have drawn wrongly for that equation x+y=10. What I have Thought is when the x increases y also get increase equally so the point is (10,10) that is why I have drawn like that. After that I have understood the function of linear equation. In that linear equation it will get increases by 10 on both the axis.
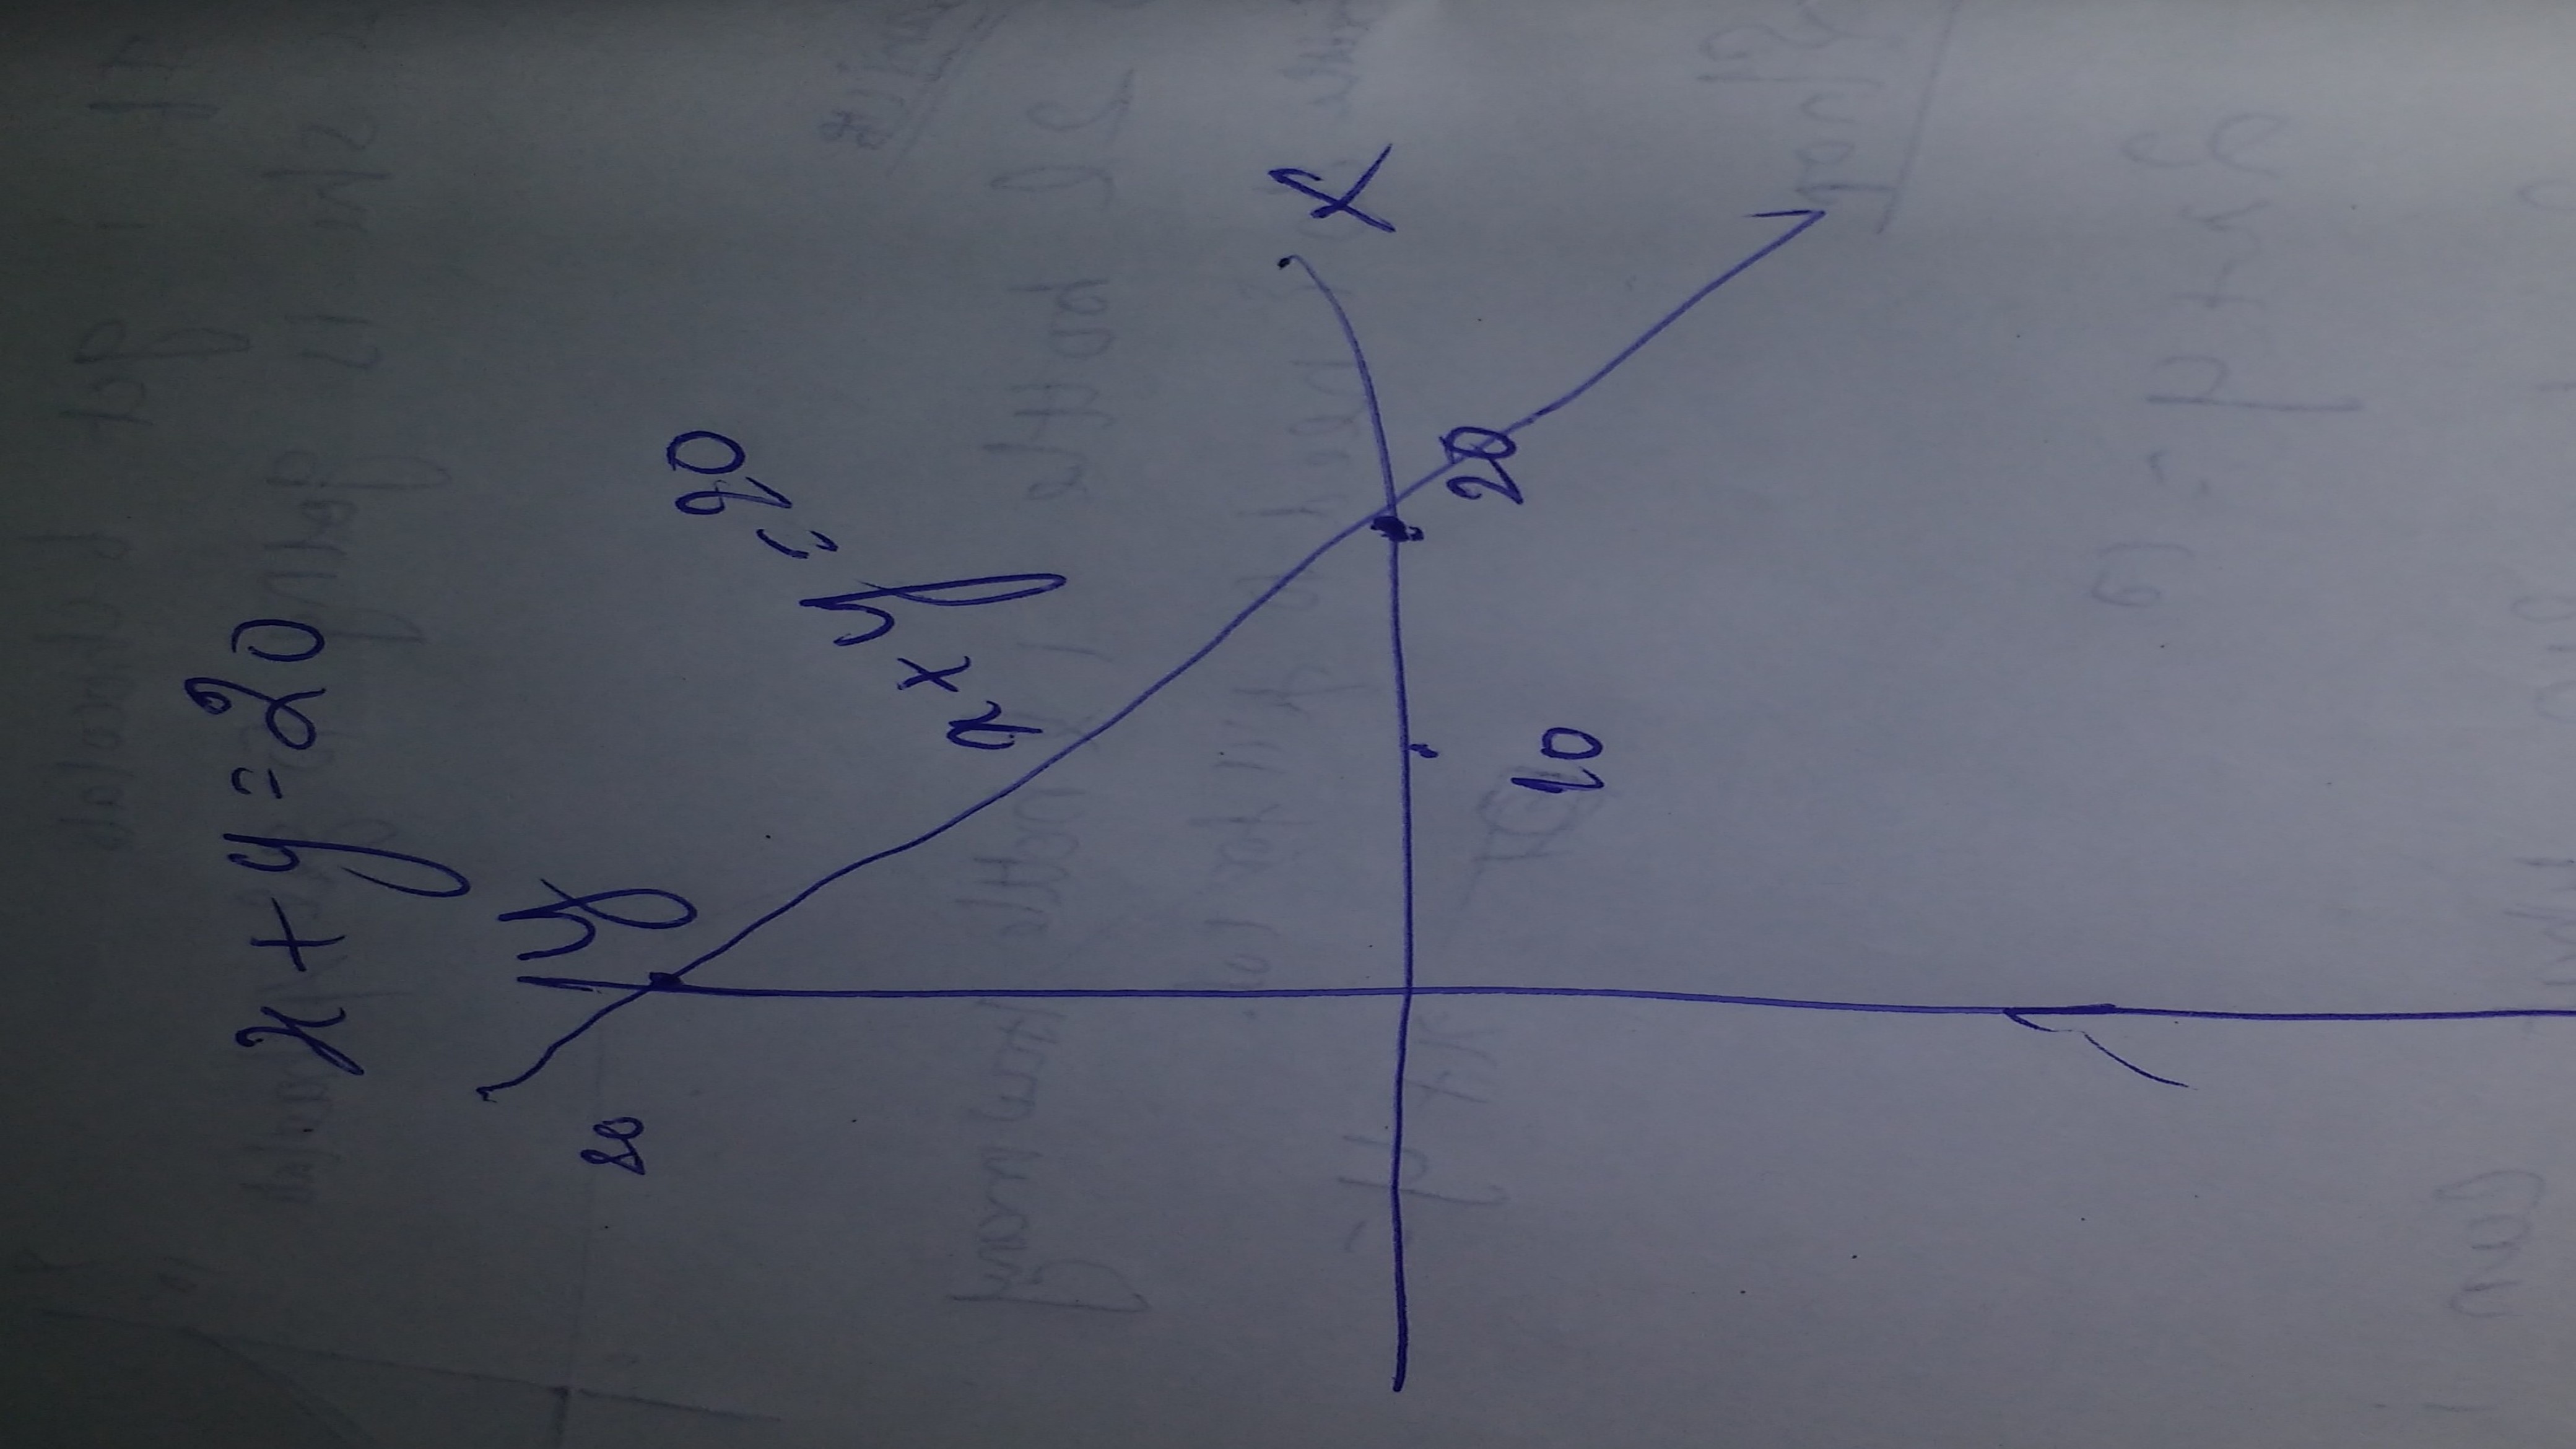
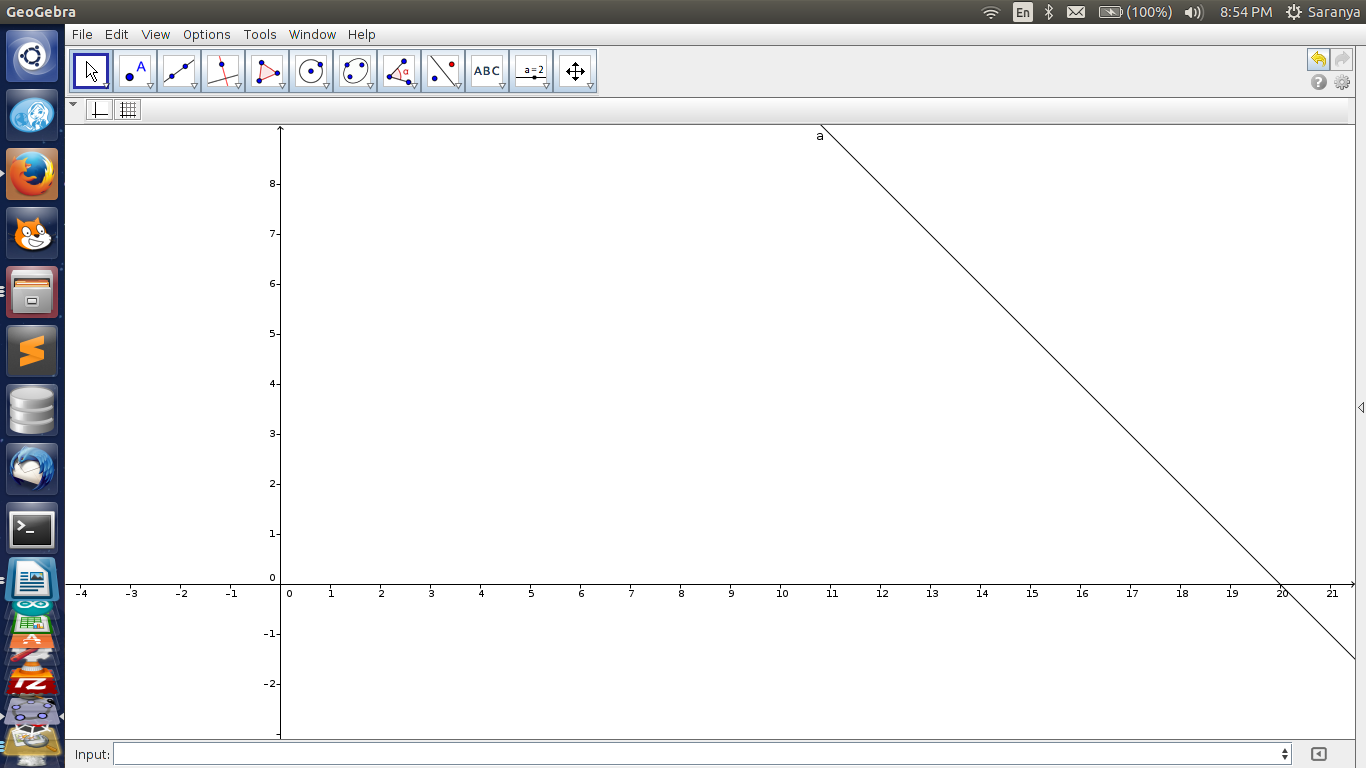
When I learned how to draw a linear equation. I have made my own question that is x+y=20. Then I have checked my equation using geogebra.
I started to learn a scratch program software to create interactive model for learning. Then I got a task to create a model for: How pressure of gas change with respect to temperature and volume to container: I chose to represent it using Scratch. Initially, I had a problem on bouncing of gas molecules with same angle when it hit the wall of container. Then sanjeev helped me to solve it. In the model, I scaled the pressure in range of 0 to 150 and temperate in range of 0 to 300. But it didn’t give exact value of pressure for given temperature ( I will figure out it soon), because main goal of this model is show how pressure (no. of hit in wall by gas molecules) is affect by temperature and volume. I shared the model in scratch.mit.edu website. click this link to see the model https://scratch.mit.edu/projects/205711792/
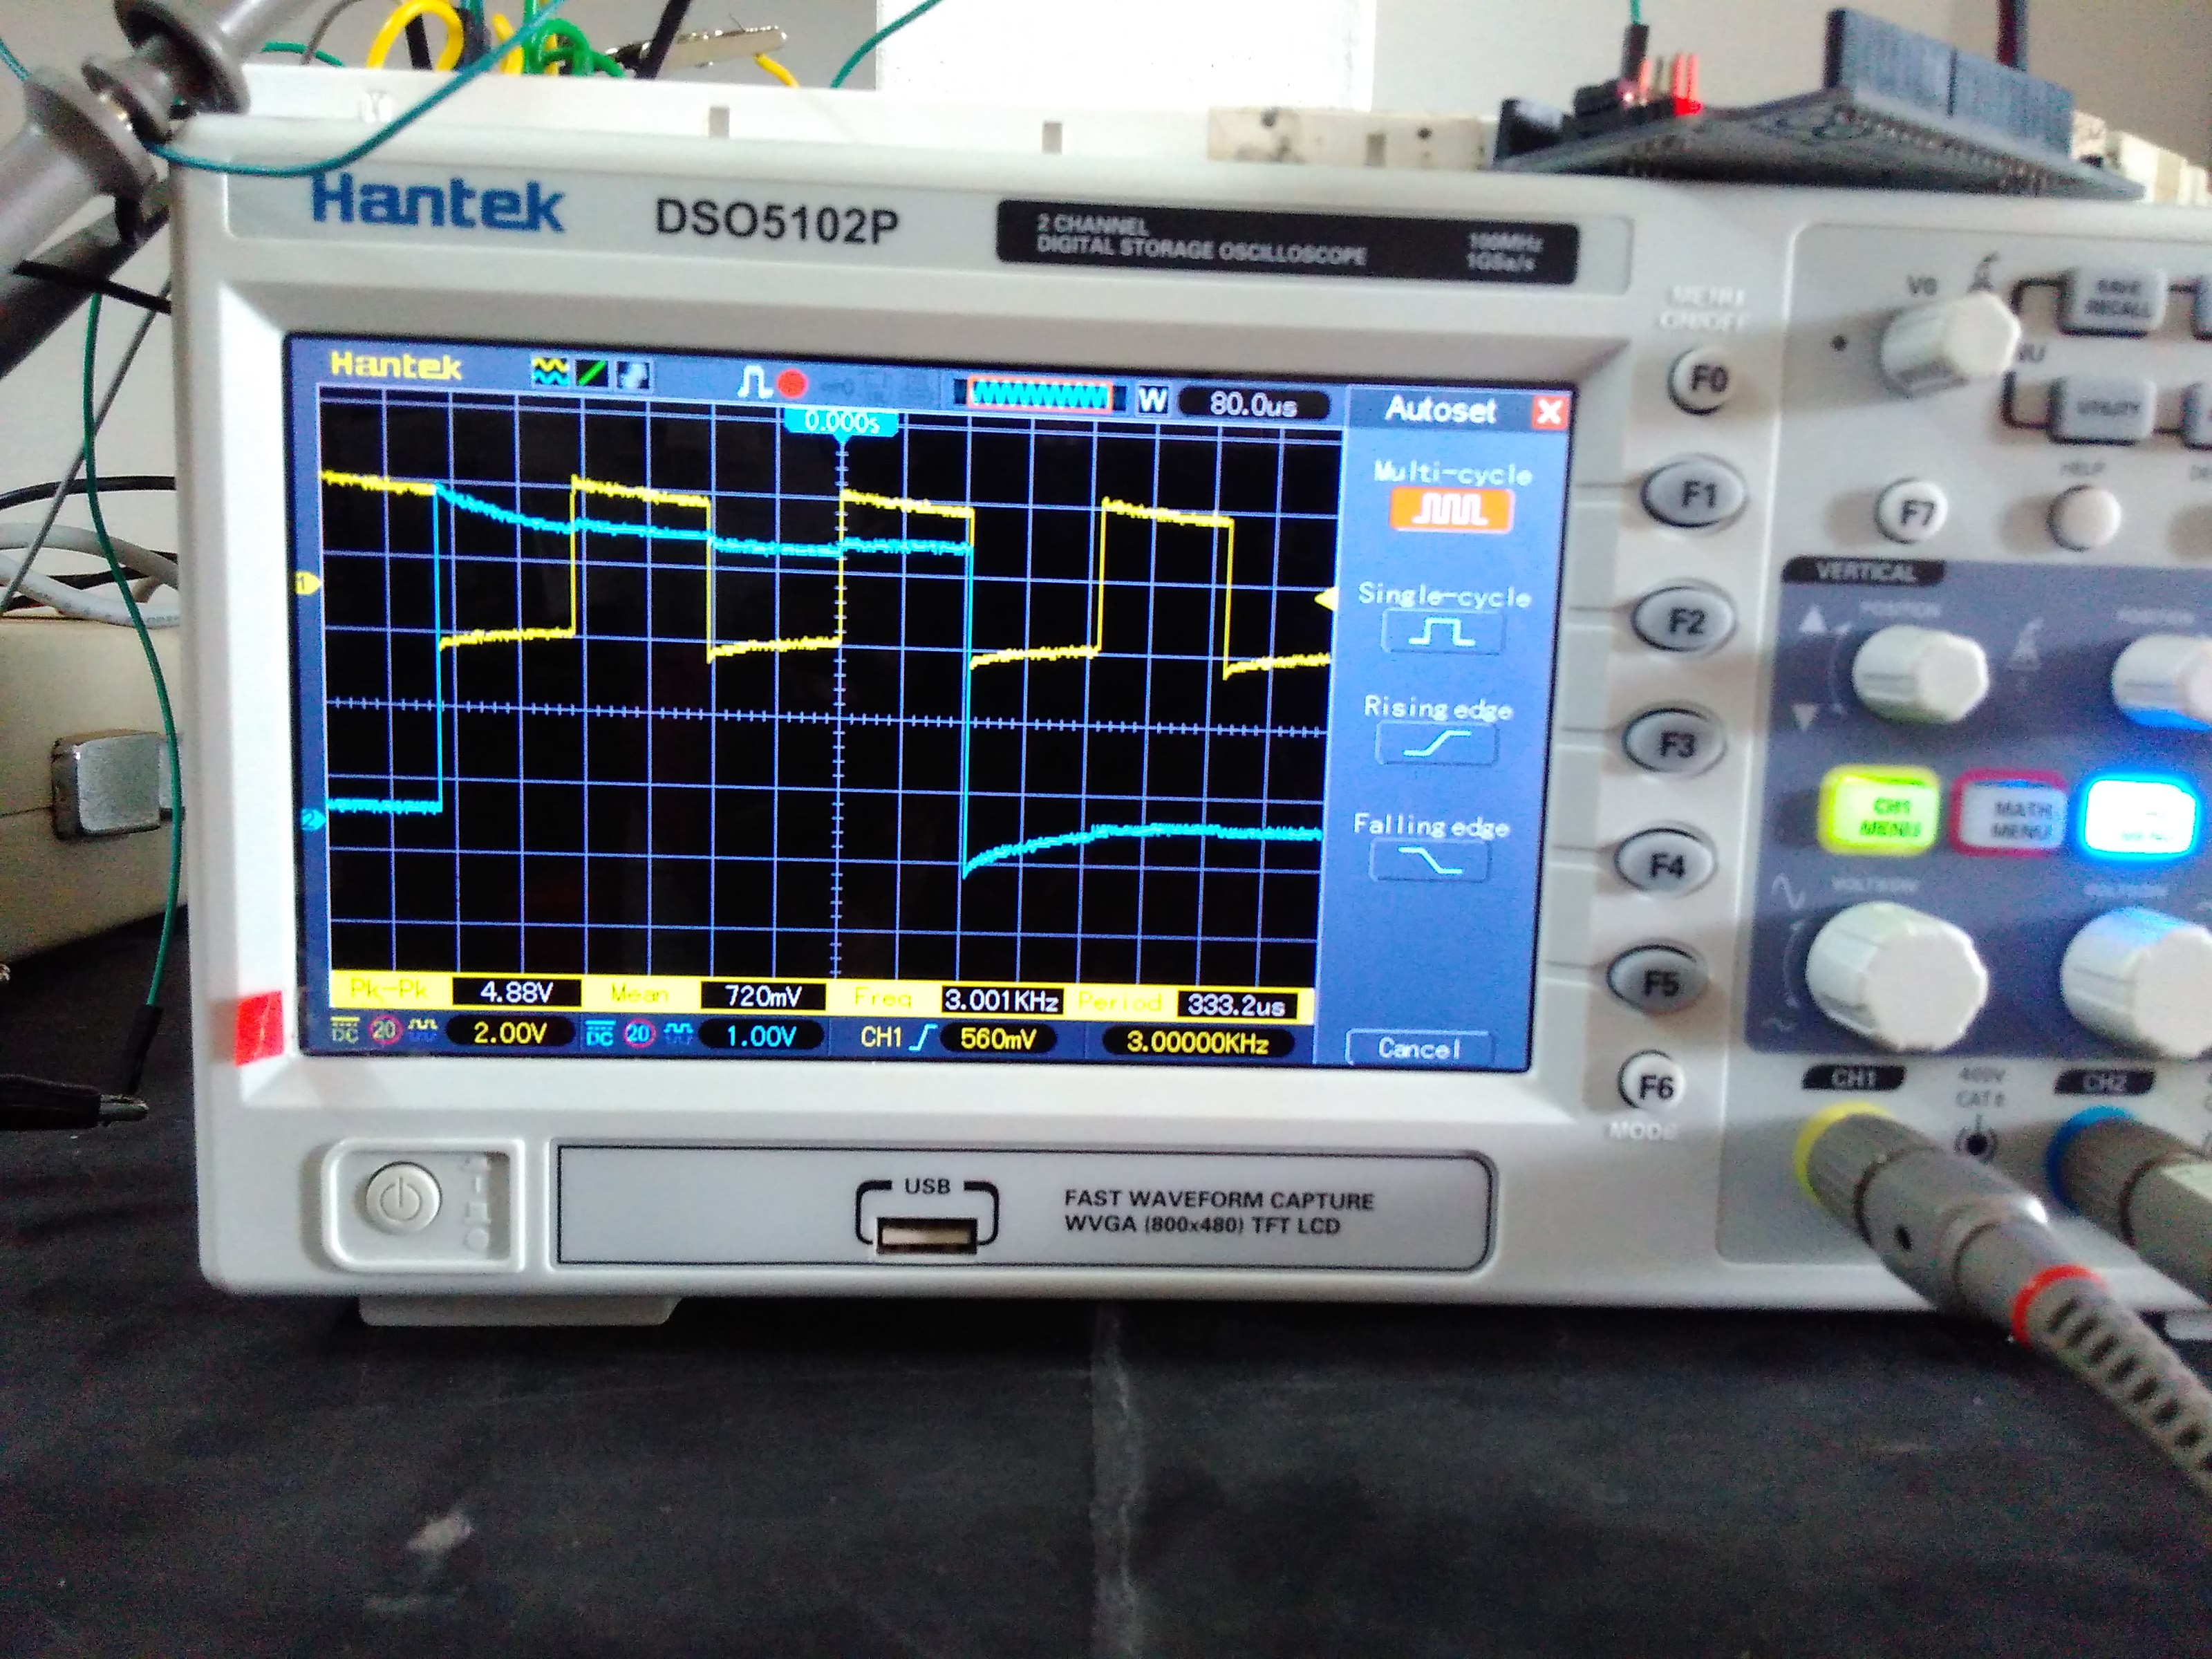
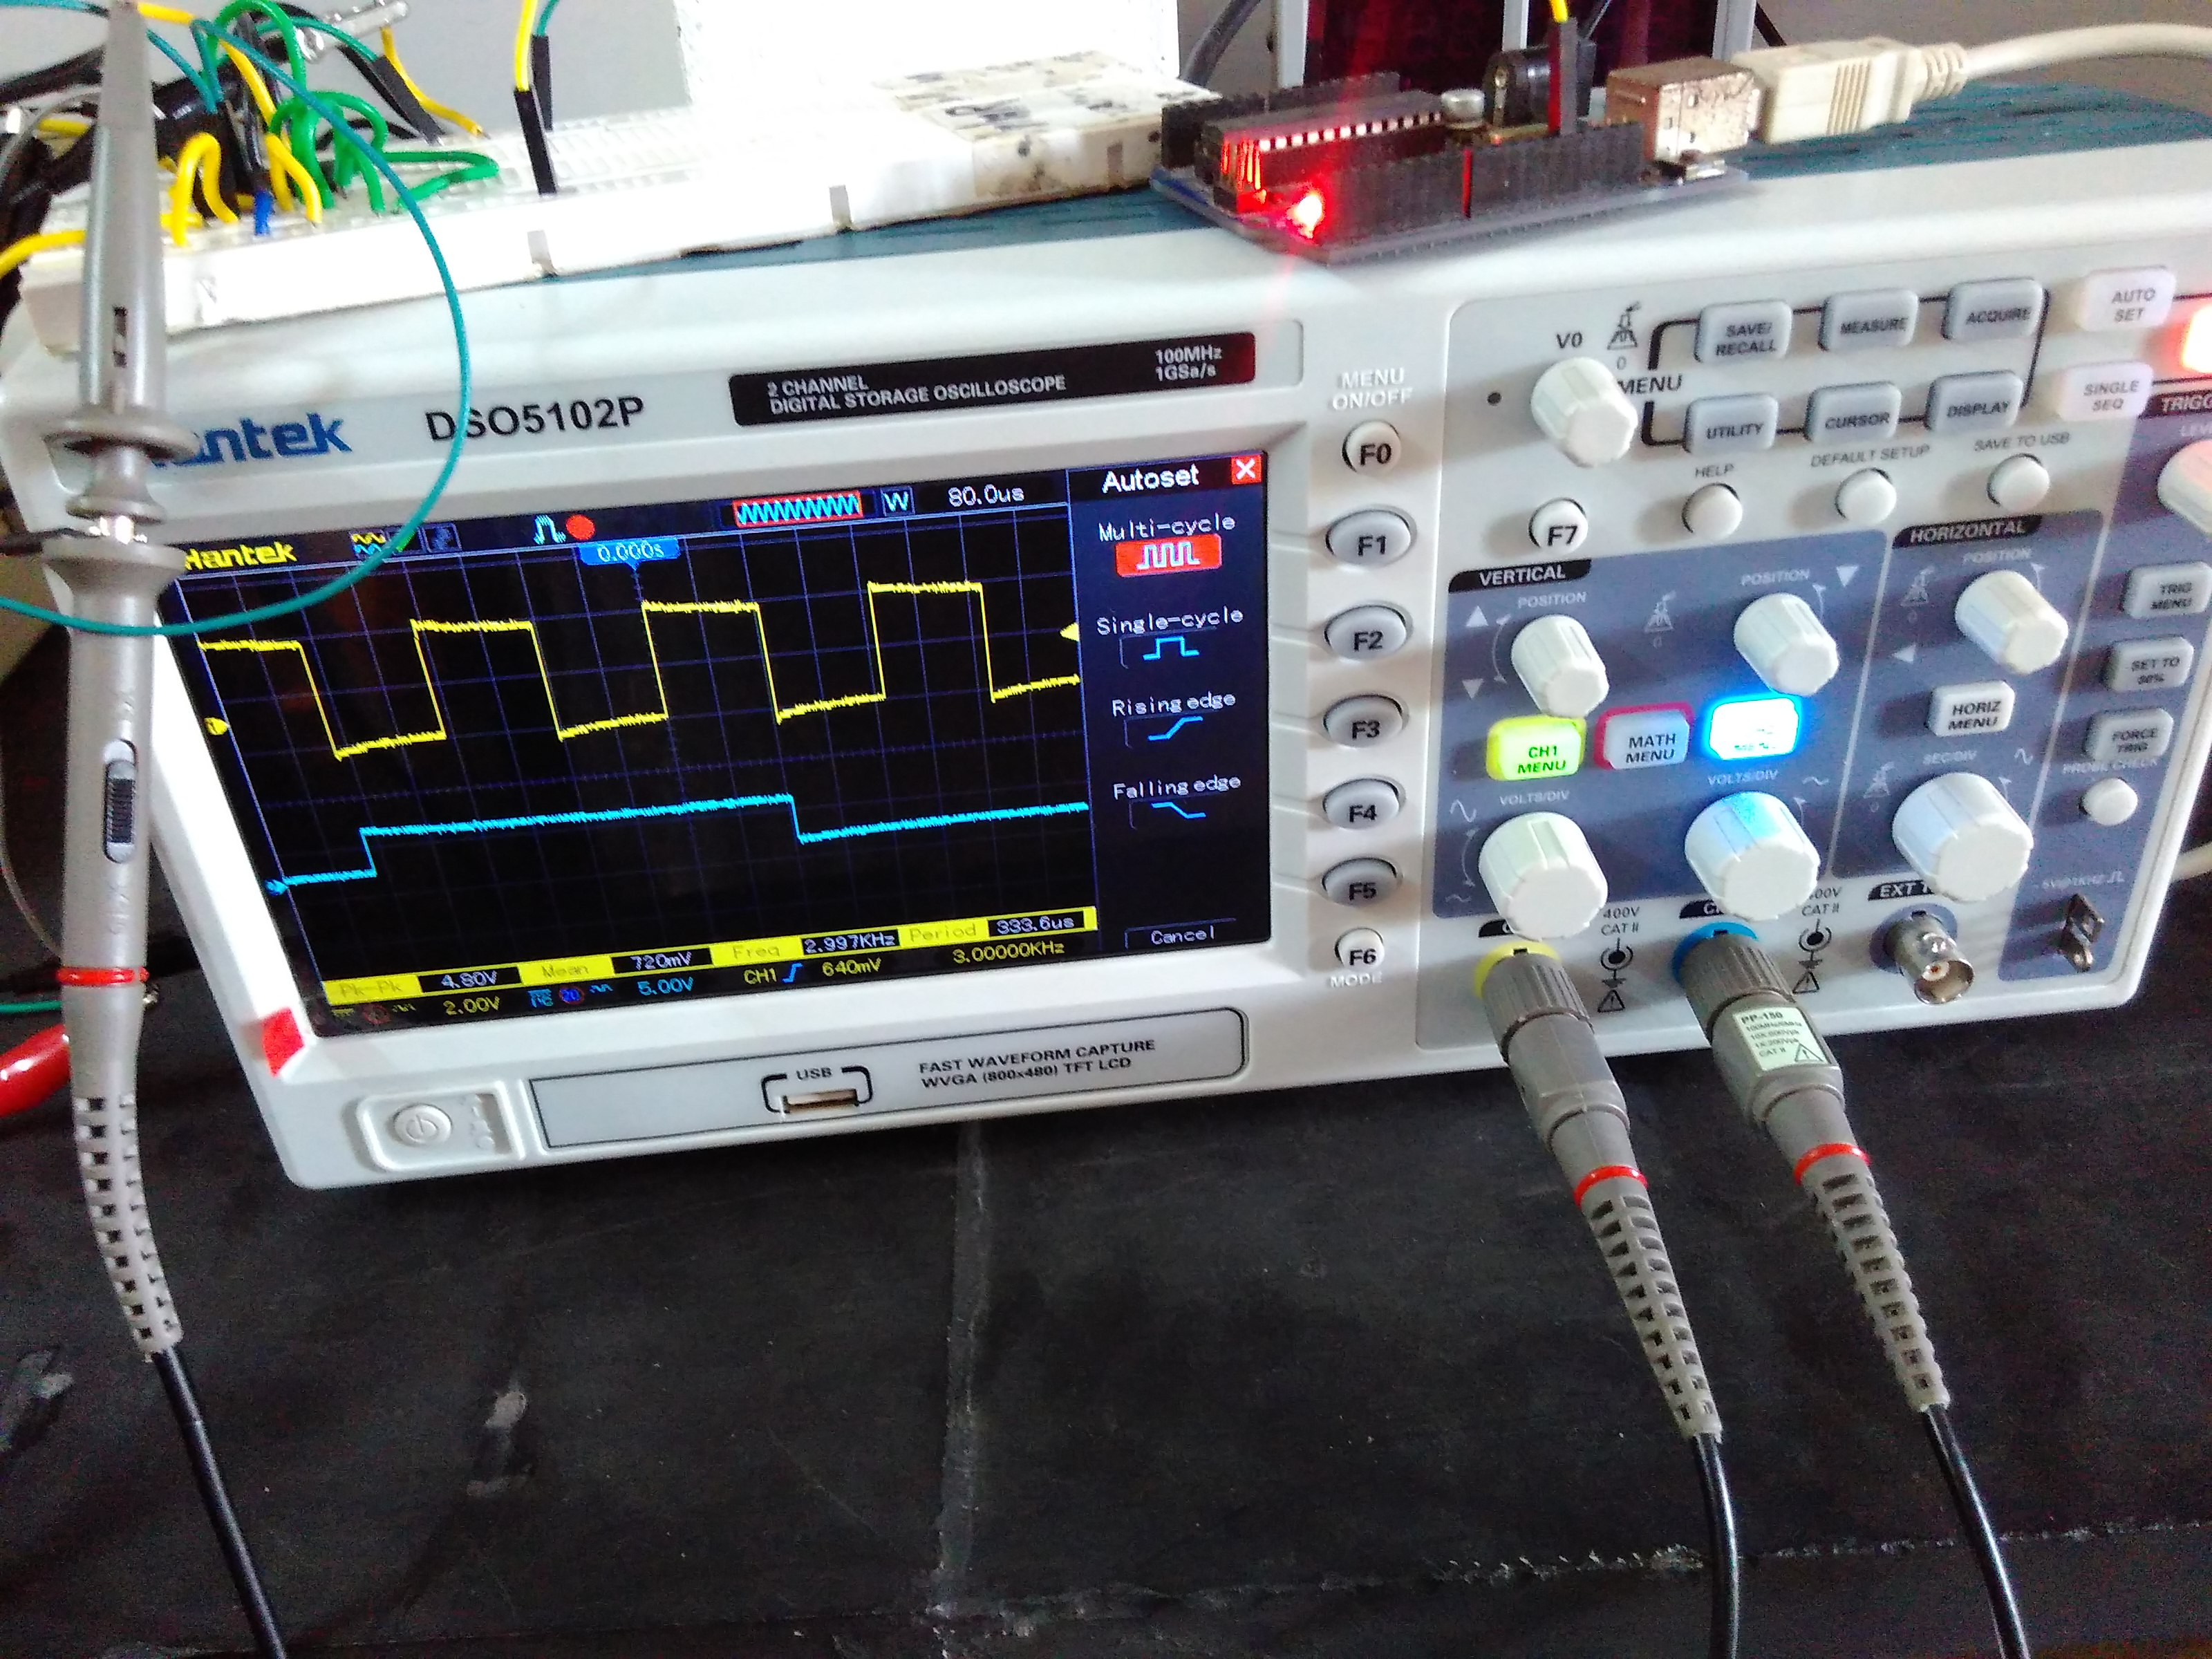
In electronics, initially I displayed my name using Seven Segment Display(SSD). I had already posted that in My First Blog. After that I wanted to learn more on SSD. So I was asked to make a digital clock. I have completed the first digit of the seconds. I used two JK flip flops (HD74LS76A), decoder (SN74LS47), a SSD (Common Anode) and Signal Generator. I first made the connections of JK flip flop on a breadboard. The input is clock signal which is generated from a signal generator of Frequency 1Hz. The combination of the two flip flops acts like a counter. Once the circuit is connected, I tested the output of the flip flop using an ocilloscope. I got the waveforms like this.
Then I took the decoder and connected the outputs to the input pins of the decoder. Decoder (converts the binary information to 2n outputs) is connected to the seven segment display. While doing decoder I was able to recall Karnaugh-Map which is the logic behind it. The output of the decoder is fed to the seven segment display. Once everything is done then it counts from zero to fifteen (f-represented in binary).
Since the one’s digit of the clock counts only upto nine and after that it should reset to zero. For resettting the digit to zero I used NAND gate. Binary representation of nine is 1001. When the Most Significant Bit and the Least Significant Bit are high(1) then it should reset to zero.
I have completed the first step only, but I feel happy that I learnt and understood what I did. I acknowledge Sanjeev, Sundhar and Ranjith for guiding me.
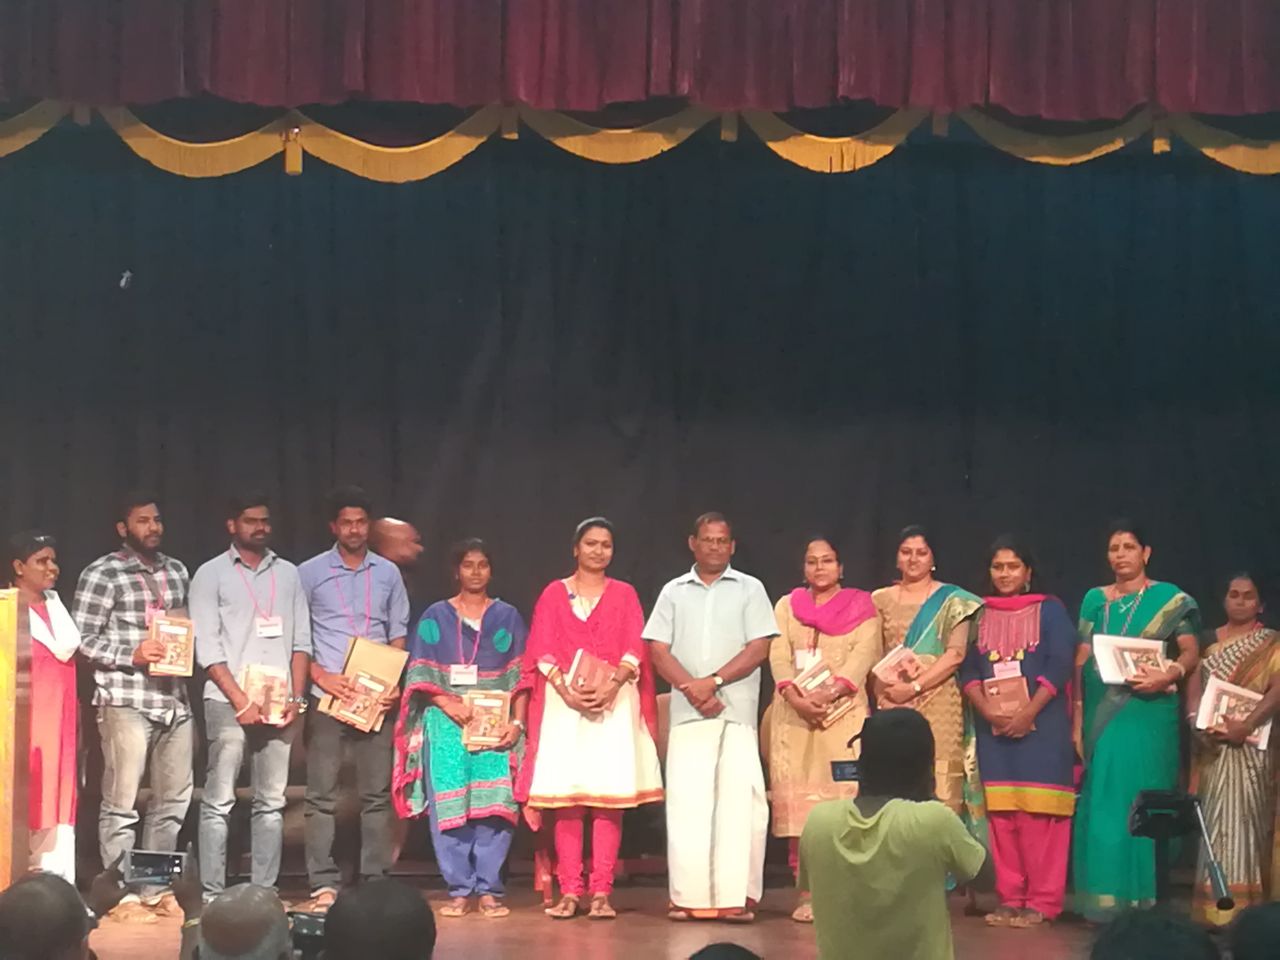
Sinthanai Sangamam is happened on 21/02/2018. It is a new kind of experience with around 600 teachers from different places. I have presented a paper about STEM land. The great thing is I got an opportunity to share about, my journey with the children in STEM land.The wonderful thing is that I am in STEM land. Why I came to STEM land is, I want to learn more about electronics that is why I came to STEM. I have learned about electronics what I have learnt that came as a few product that is inverter, display my name using 7-segment display, mobile charger, solar powered charger etc..Then I learned some of the programming from students that is scratch and geo gebra these program will be used in mathematics. These things I have explained in very shortly. In Sinthanai Sangamam everyone shared their experience with the children. How they interact with the children, what method they are following in their school, what kind of projects their students done and how we can connect to science and maths in our real life. The one main thing what I learnt is there should not a gap between children and teacher.
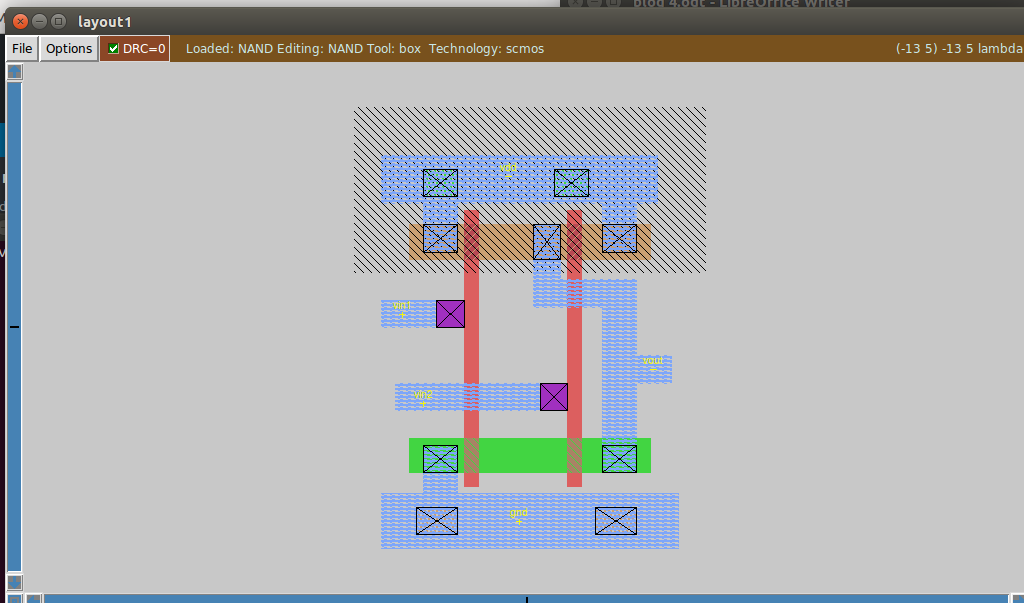
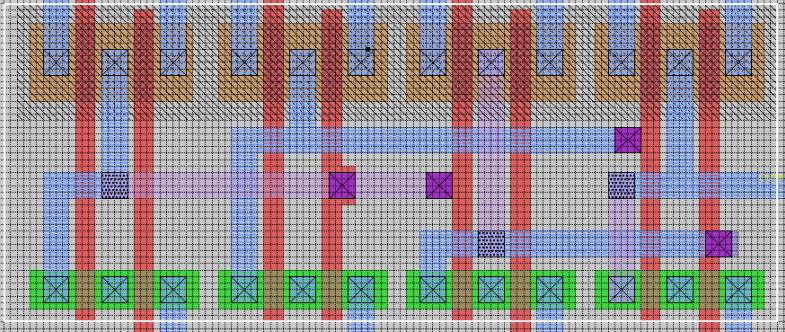
VLSI Layout
In VLSI layout course I learned to design a gates using NAND. Then I have checked the NAND gate truth table with the help of bread board, battery and multimeter. I learned to use magic tool, how to extract and how to simulate the layout.
I learned the cross section of CMOS and what colour coding we have to use for the each components.
We met Parul when we presented our paper (“Fostering responsibility in learning in rural schools) in TISS Mumbai. She is a management trainee in BPCL. She wanted to learn more about STEM land so she visited STEM land last Sunday. She came with her parents.
She saw all the Montessori materials we used and asked how they were used and for what purpose. Then she was keen in understanding how children learn multiplication tables using Vaughn cube. We explained her the pronunciation and the corresponding numbers. She tried finding it herself and was happy that she understood it. She also shared it with her parents. She learned about the 3D printer and designed a 3D object in Blender. We showed her some projects made by children in scratch and Geogebra.
Her parents were trying to solve some cast puzzles. We all played dimension games and were explaining about how STEM land works and what we do there. Parul enjoyed STEM land and wanted to support us on our research work.
I’m back after two week gap, I notice lot of things happened here in two weeks.
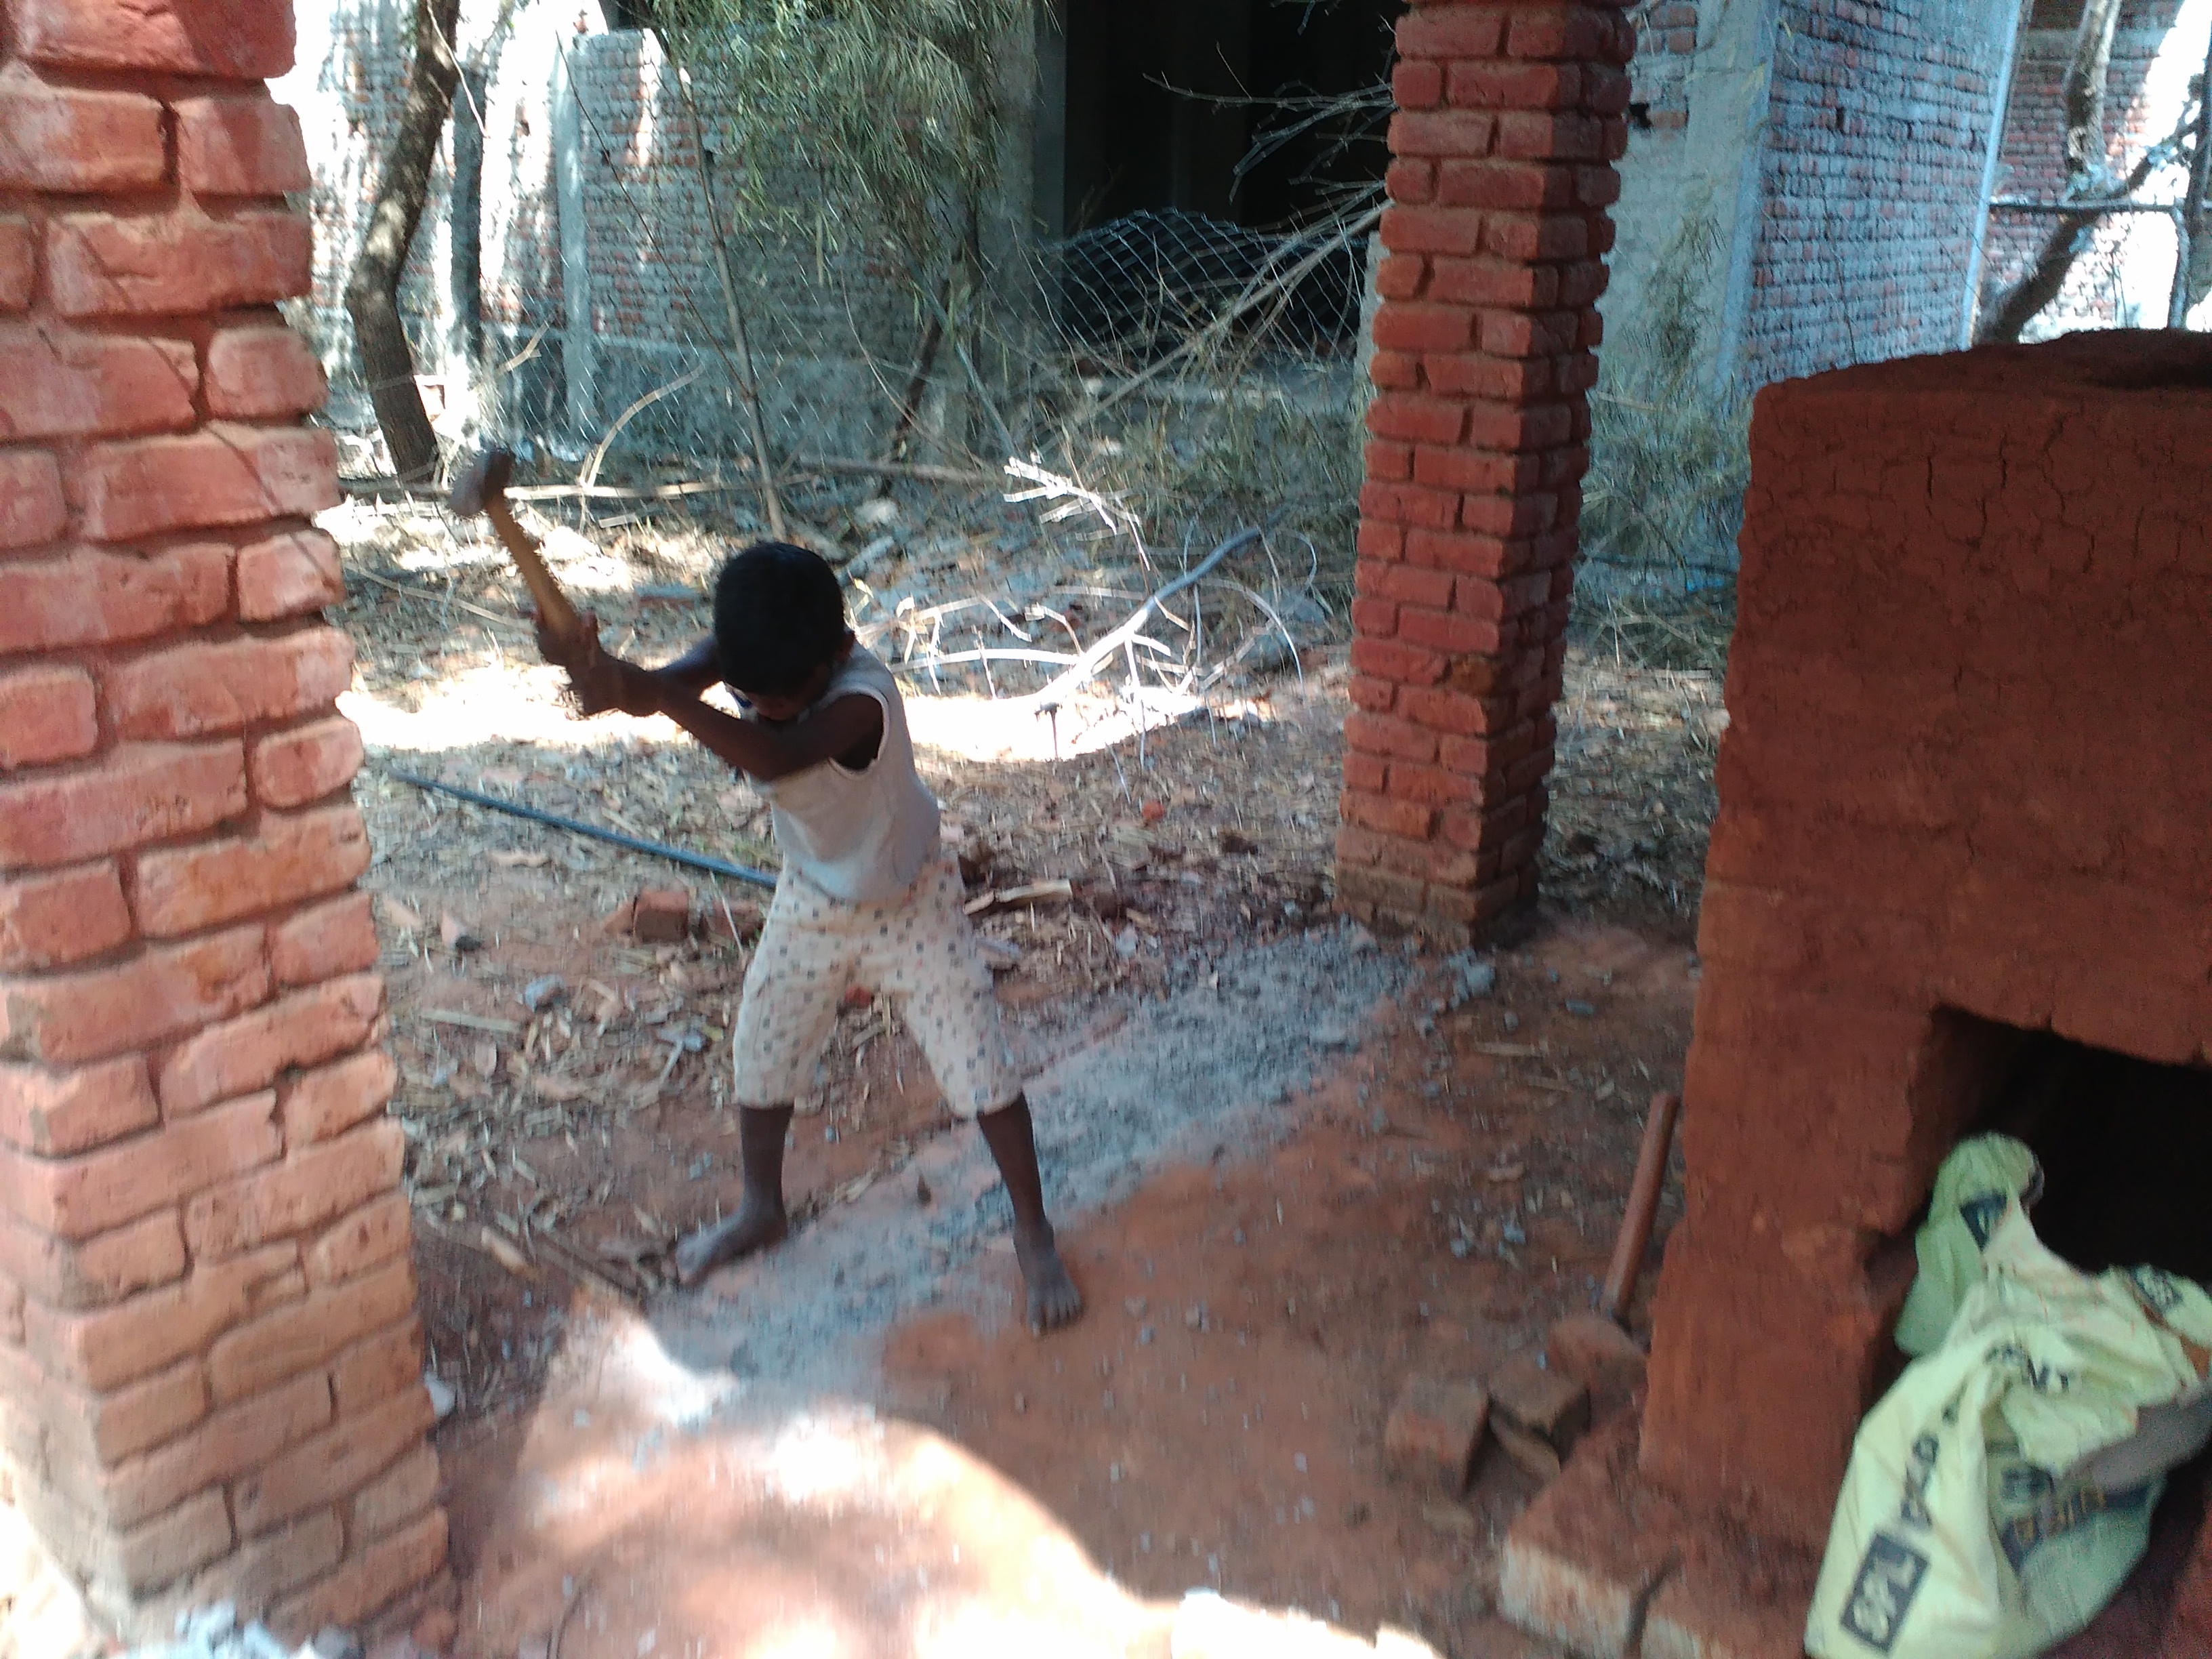
I worked on an EBD (Education by Design) project with children in Isai Ambalam School. They had built a red mud and brick oven, but are concerned that in the rainy season the red sand get eroded by water. They want build a short wall to protect the oven from flow of the water during the rains.
Now they are in the process of cleaning and breaking and making the floor plain to raise a wall from there. It was amazing experience with children and they are eager to finish it soon.
In this week, I learned many more things including
A tool called magic used for VLSI layout. I did the layout of an Invertor, NAND gate. Then I learned how to create a hierarchy and import a NAND gate layout and use it to create XOR gate by wiring using different layers of metals to avoid a short circuit.
I learned to use Geogebra and have used it to solve a linear equation. This worked for me and it was new to me. It is increasing my interest in mathematics.Now I am eager to solve many equations. Whatever we enter an equation the tool puts the waveform for it. For example, I have taken 3x+2y=0 is a linear equation. From that diagram we can easily identify that is linear equation. This was surprising for me.
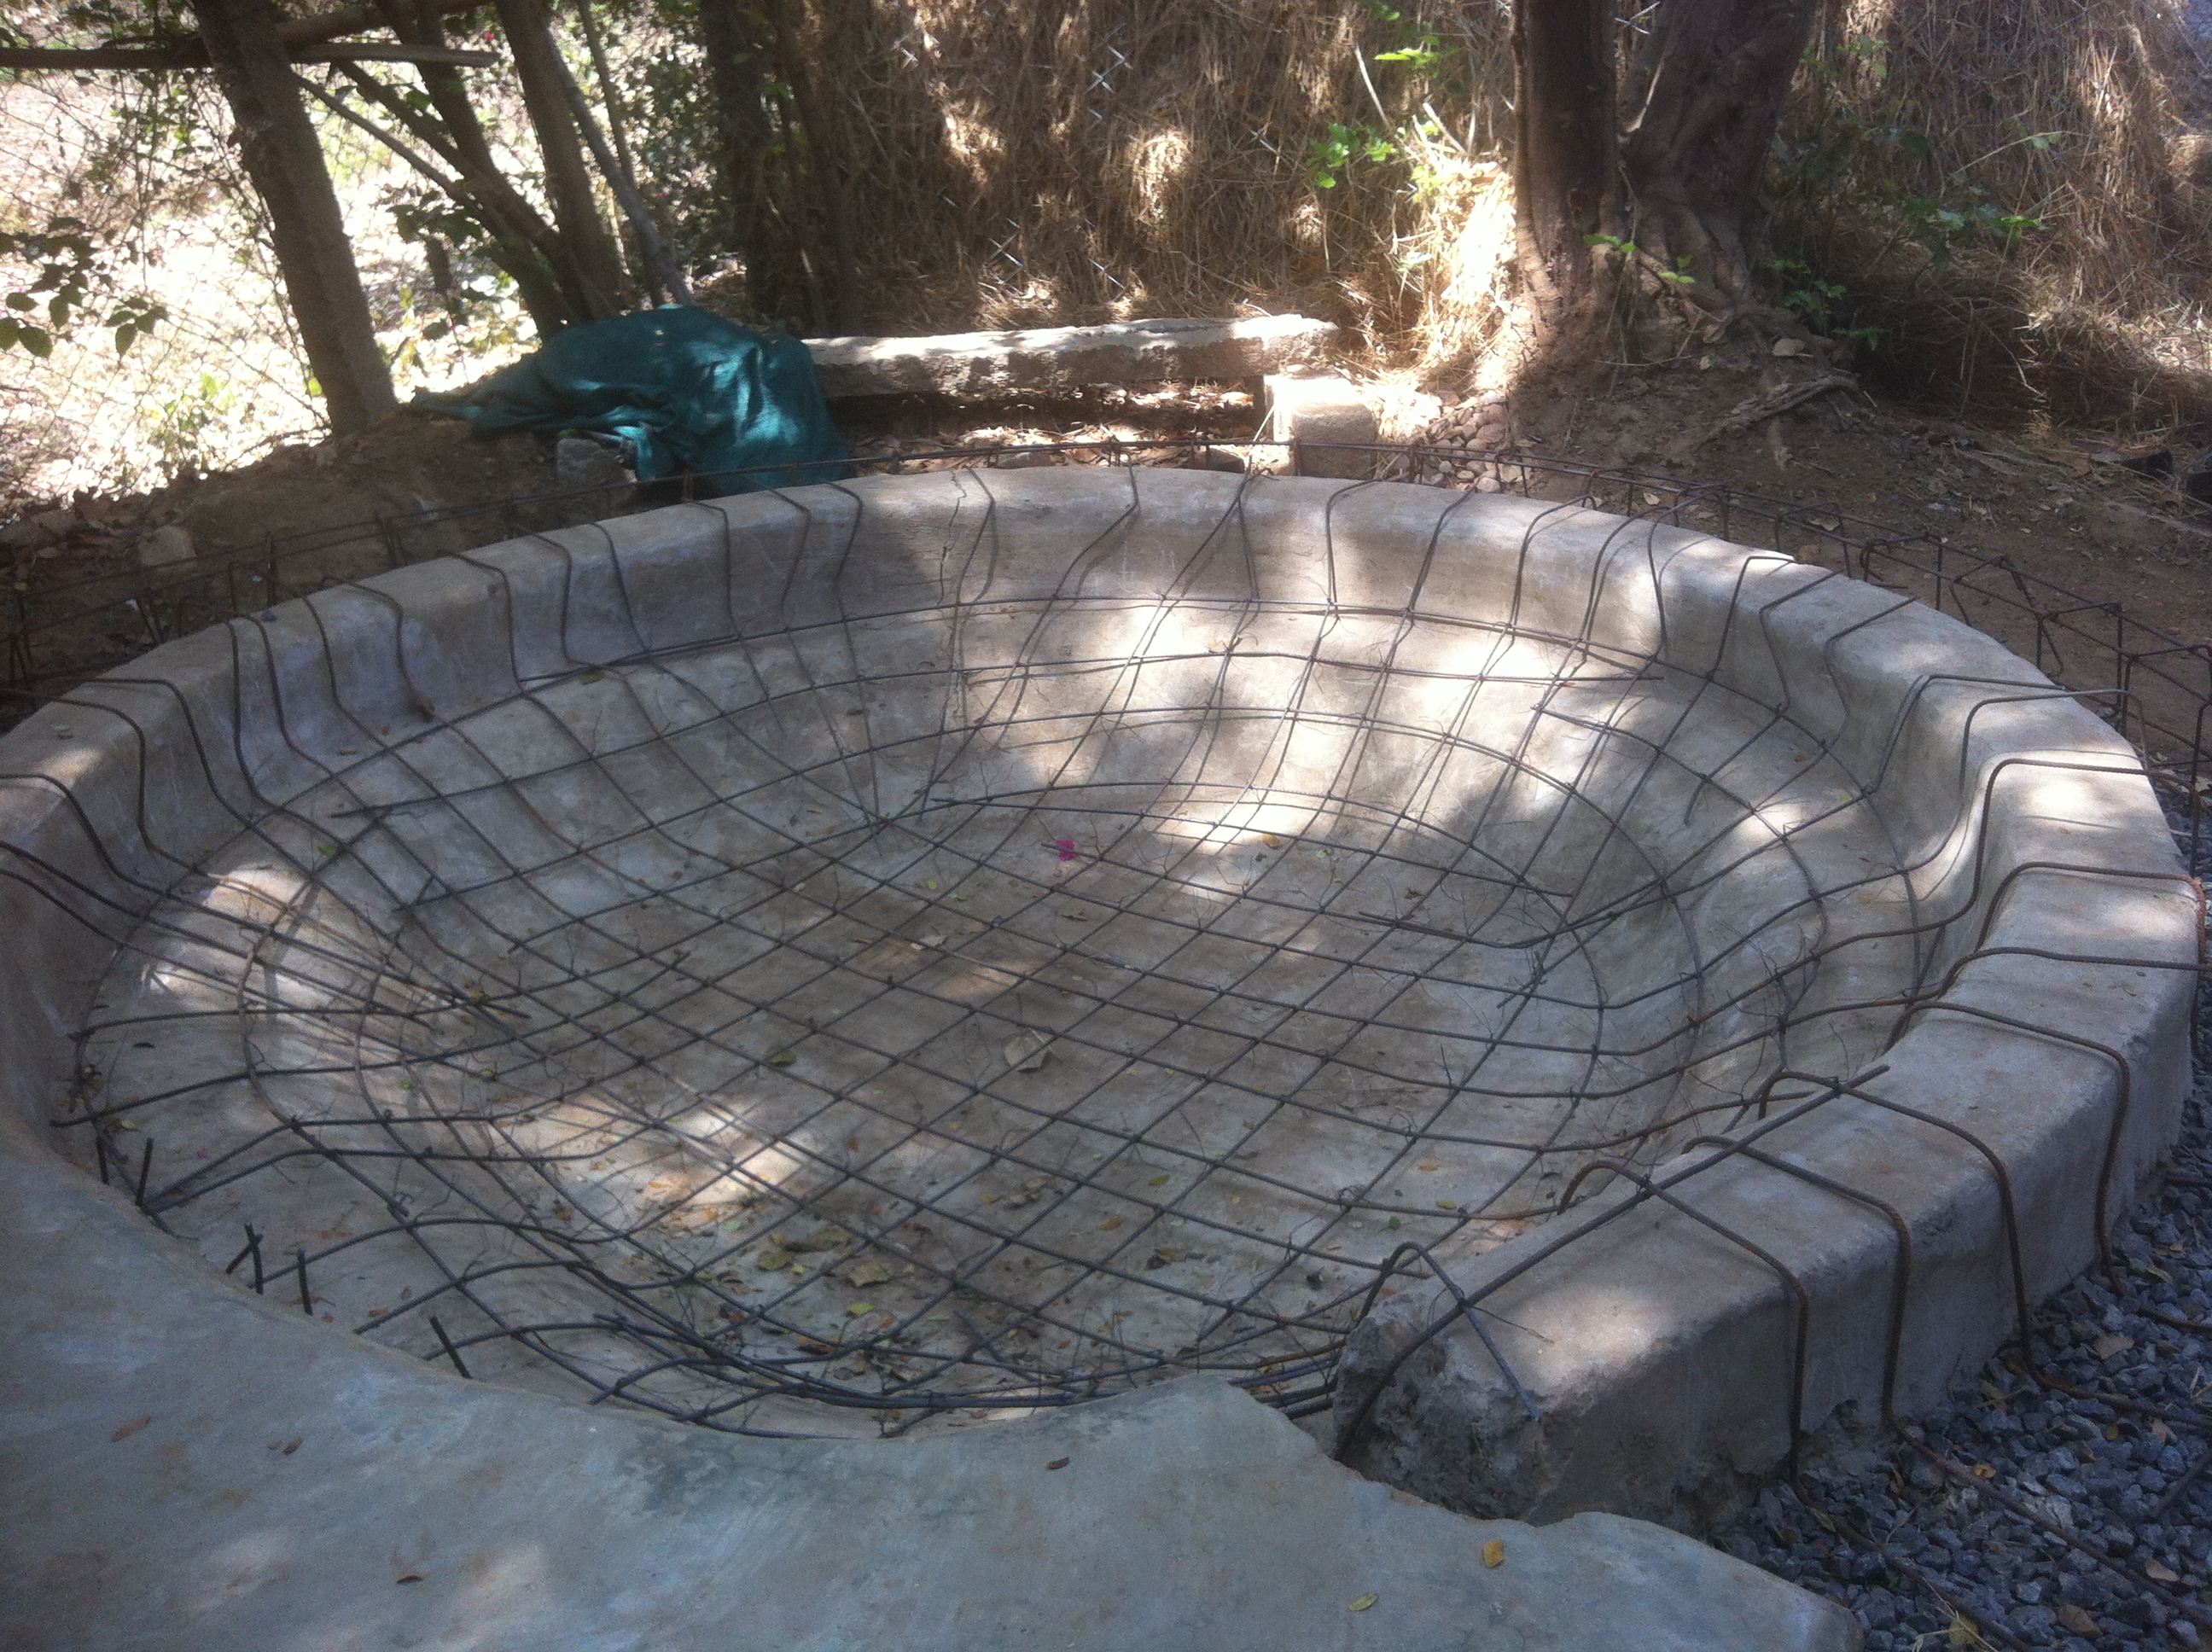
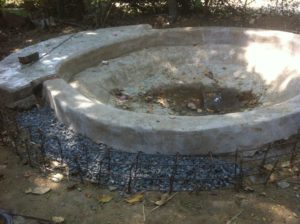
I worked on EDB (Education by Design) with students at Isai Ambalam school.The pond which they have built before was cracked by roots of old trees .So because of that students want to reinforce the pond.Now they are in process of adding iron rod and concrete item so that the pond won’t get break again.It was wonderful experience with them.Is very good to see like that students they were full of energy.
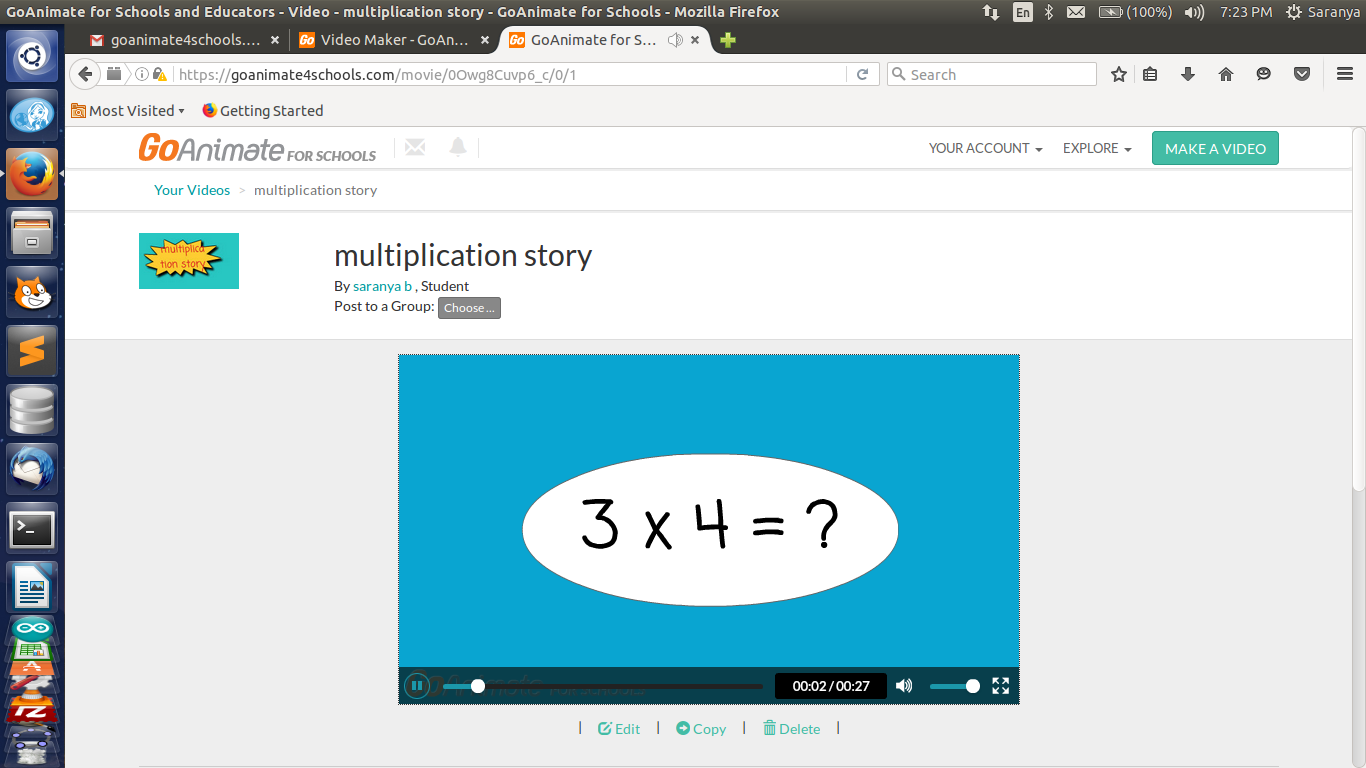
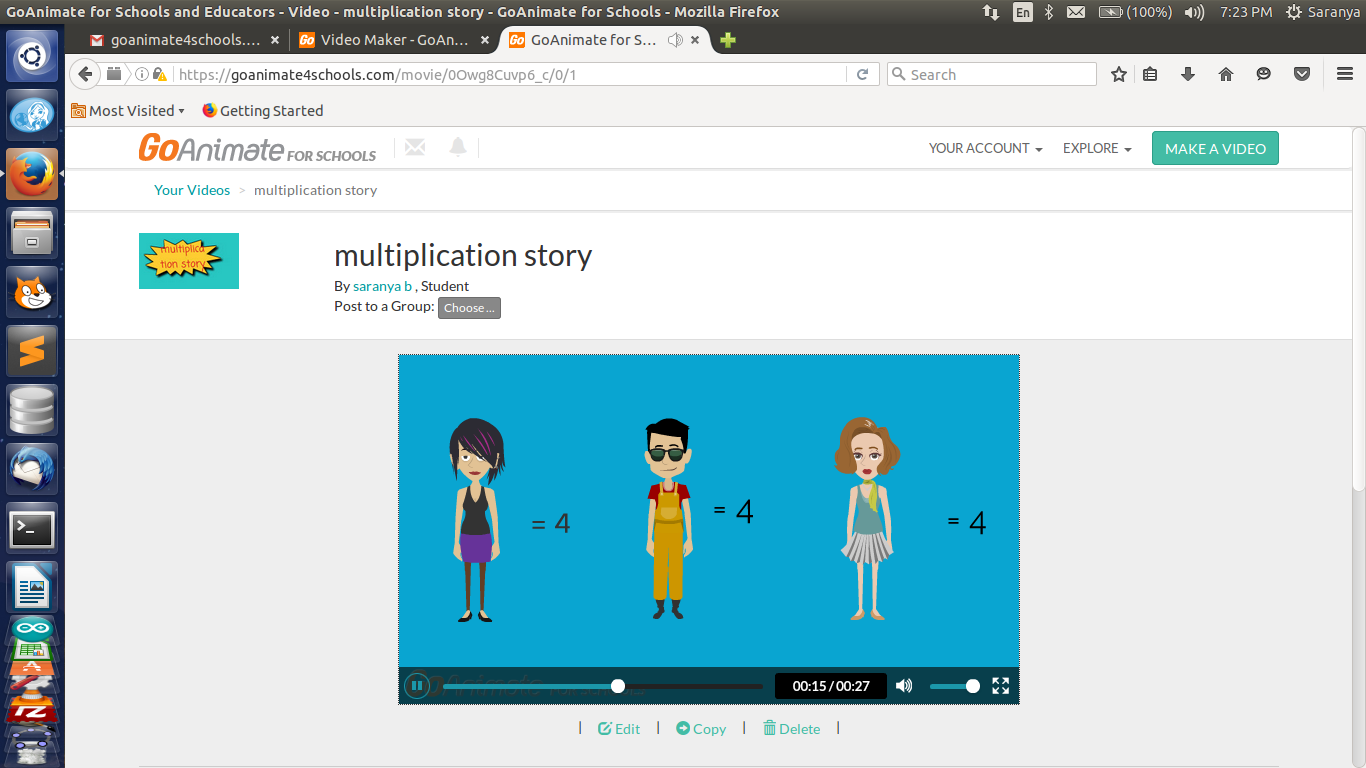
I also made a small animated video with Goanimate.com it was great idea. It gave an idea of how I can convey something that feels more interactive. It was fun and awesome because whatever we want convey to the students we can convey by making an animation video. It was my first experience with goanimate.I made a video about multiplication story. Saranya Multiplication Story by SanjeevRanganathan on GoAnimate
Here are some snapshots in case you cannot see the flash content above.
(I.e) there are 3 children, if I gave 4 bananas to each of them how many bananas did I give in all? The answer also I have shown.The answer is 12(add there number of bananas each have and we will get the answer easily).
Raman Young Science Innovator Award is a contest for students studying from III to X standards grouped into three. Students from IIIto IV, V to VIII and IX to X. We heard about this contest and started registering for it on 31st January. The registered students got their login credentials through their mail after 31st January. We submitted their projects on the last date on 10th February (extended to 12th February). Eight students submitted their innovation projects from Isai ambalam School. They are Ayush Jena, Suresh and Vasanth Kumar from class VII. Balamurugan, Kaviya, Sabari anandh and Yuvasri from class VI and Sharani from class V.
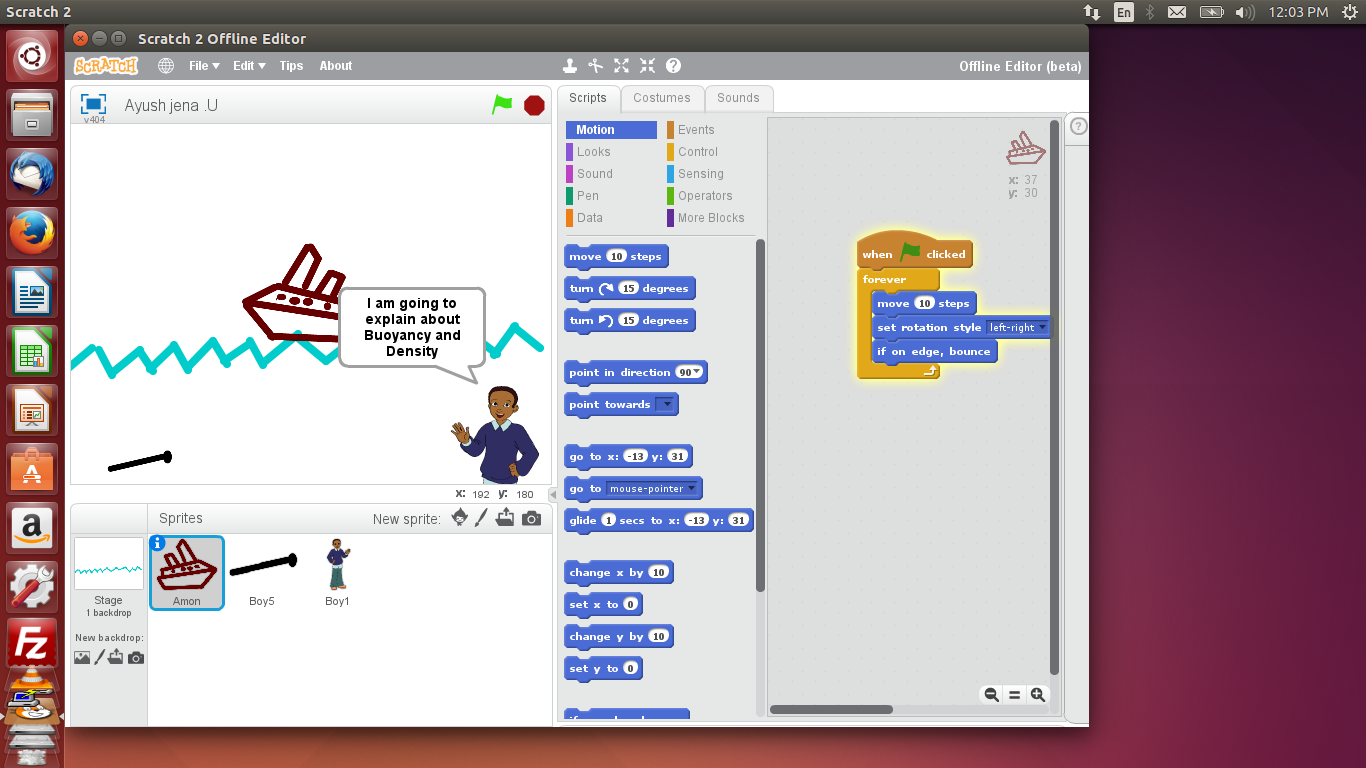
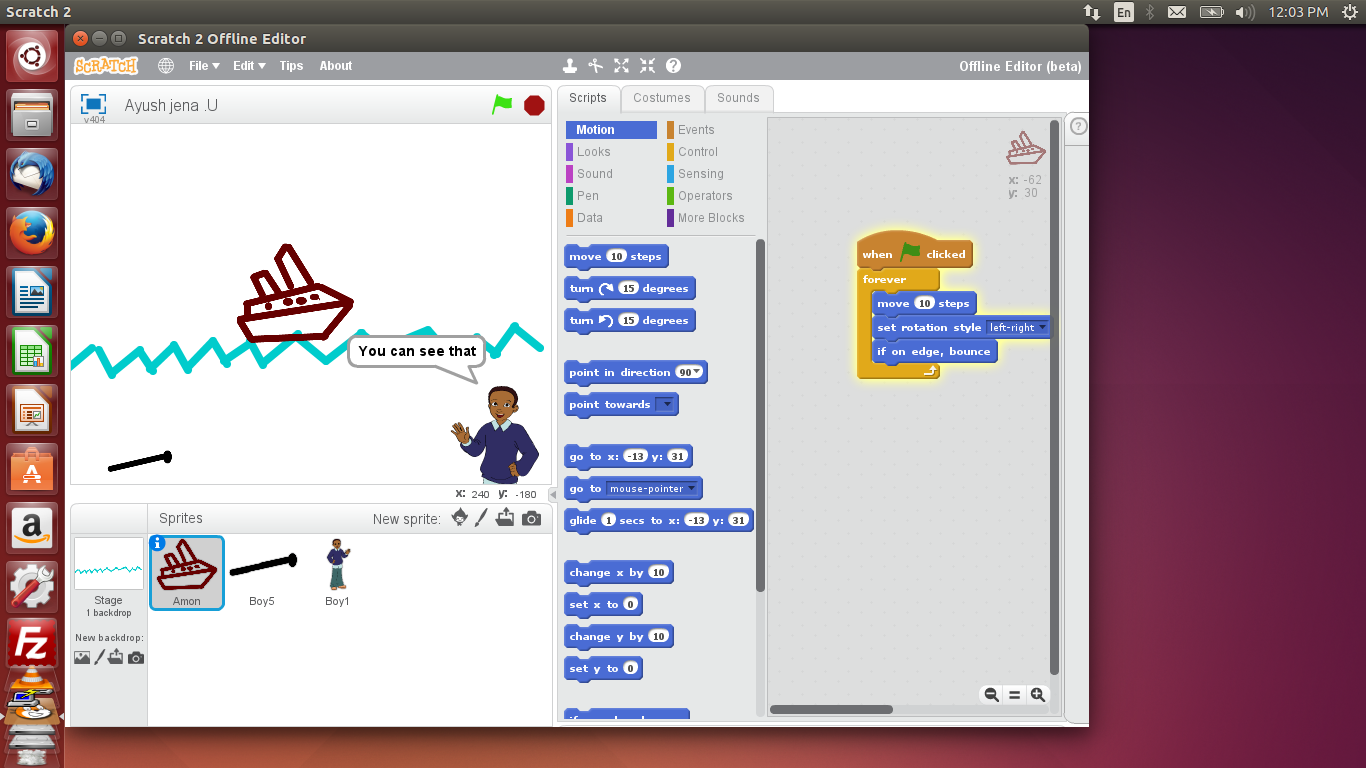
Ayush Jena (Class VII)
Ayush chose the topic buoyancy. He made an animation using scratch which explains the buoyancy of ships.
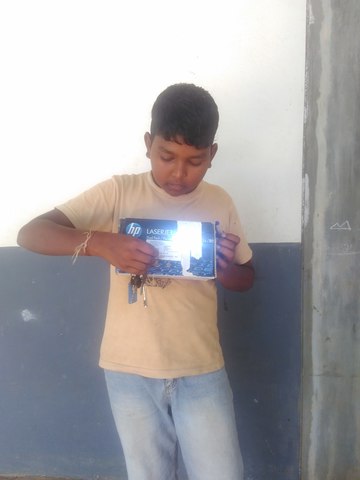
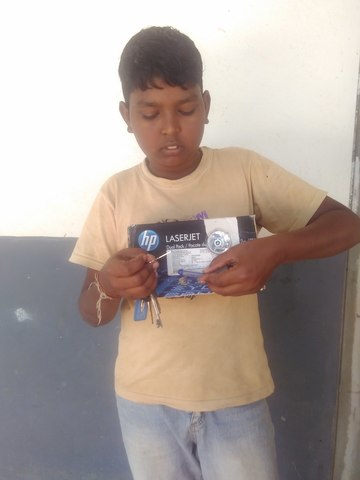
Suresh (Class VII)
He made his project on conductors and non-conductors.His main objective of the project is to find if the material is a conductor or non-conductor.He made a circuit and placed in inside a box.If the material is a conductor then the light will glow. If the light doesn’t glow then the material is not a conductor(non-conductor).The materials he used to make this project are wires, bulb, battery, box and iron.
Vasanth Kumar (Class IX)
Vasanth Kumar chose the topic Plant Kingdom. He took banana and he made an animation using scratch.In his animation he explained the benefits of bananas, scientific names and different things about it.
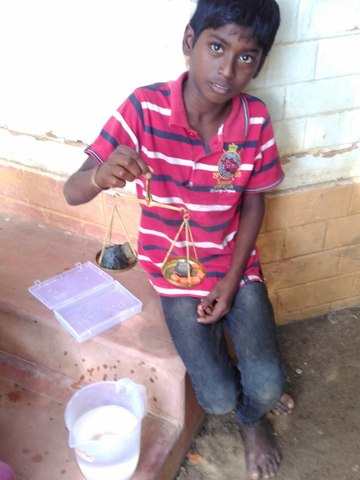
Balamurugan (Class VI)
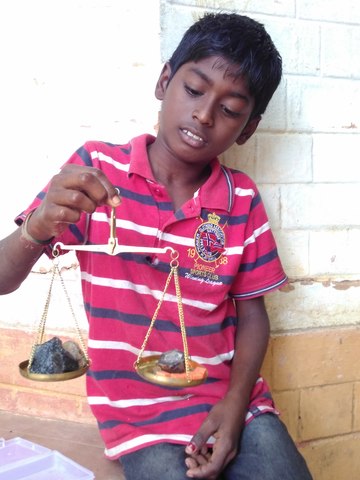
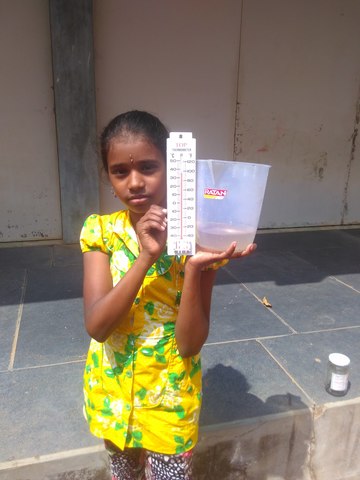
He chose the topic density. He took a bowl of water and filled water upto 100 ml. Then he put some stones in the bowl until the water level rises to 110 ml. Then he took the stones in the bowl and weighed them with a weighing machine. It was 100 gm, which is equal to the rise in the water level.
Kaviya (Class VI)
Kaviya made her project in convection. She experimented by using coloured ice cubes. She was able to see the colour of the ice cubes get sink in the water. She observed that the speed of the speed of the ice cubes dissolving in water.
Sabari Anandh (Class VI)
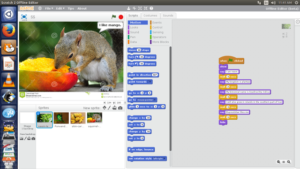
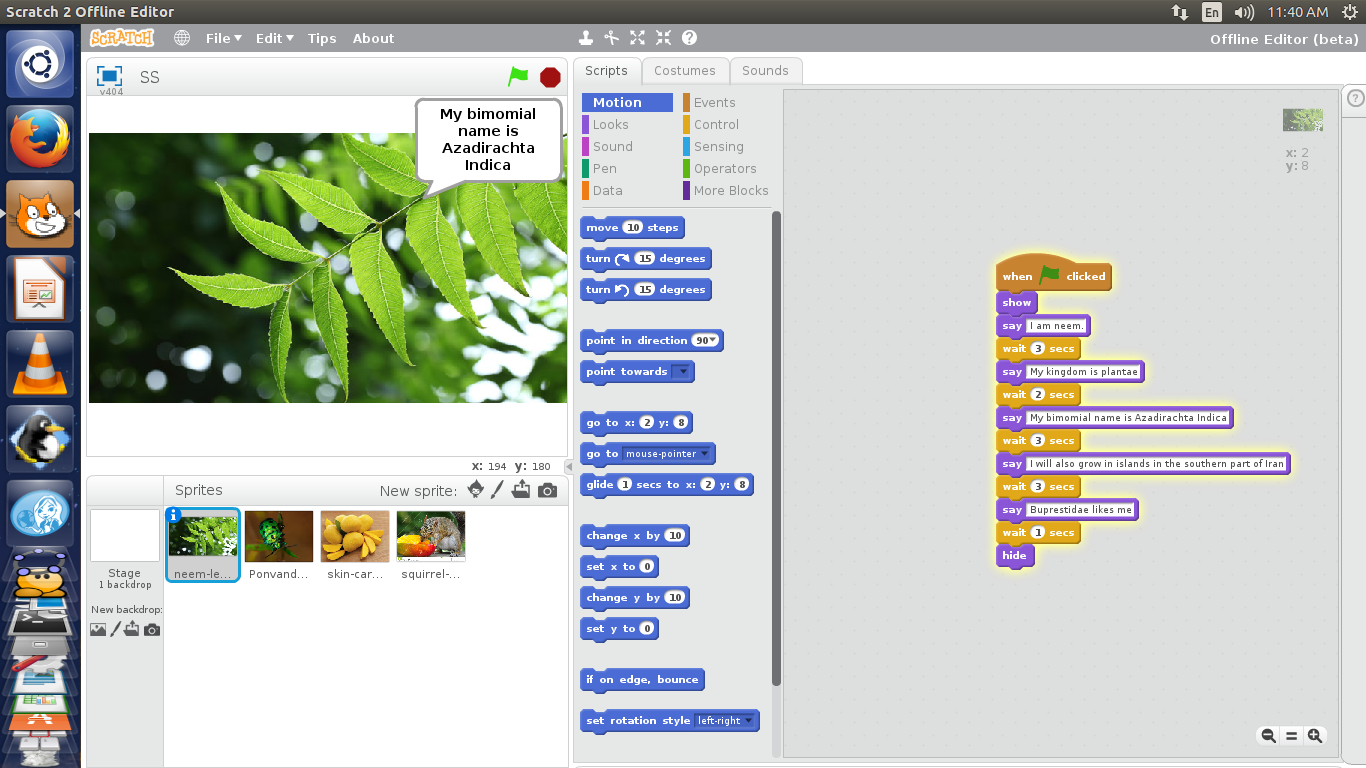
Sabari chose the topic Plant Kingdom.He made his project using scratch. He selected neem, squirel, mamgo and described their important characteristics. Then he explained what is the connection between them using scratch.
Yuvasri (Class VI)
Yuvasri chose the topic melting point. She tested the melting point of ice cubes. She understood why the ice cubes melts when heated and what happens when heated.
Sharani (Class V)
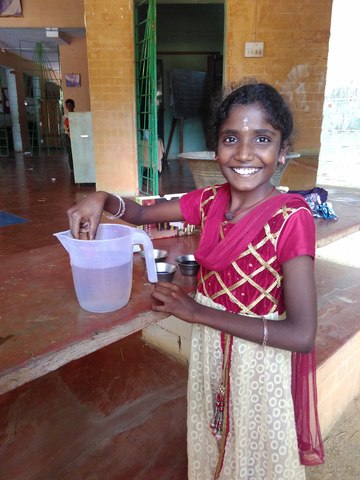
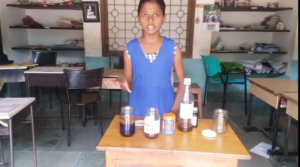
Sharani chose the topic density. She took honey, vegetable oil, soup oil, coloured water and syrup. She poured all the liquid one by one glass bottle. Honey settles down because it has density greater than one. Similarly she formed five layers in the bottle.
We are conducting a basic VLSI course. Around 16 participants from in and around Auroville are coming in to learn. We are only focusing on Digital layout and understanding basic concepts.
Course outline:
Day 1:
Give an introduction to CMOS technology and fabrication process. Give an intro to CMOS Transistors and it’s working. Introduce people to stick diagrams.
Introduction to VLSI technology.
Introduction on CMOS transistors and working.
Demo on LT spice simulation tool.
Introduced CMOS Inverter and ask participants to simulate an inverter in LT spice.
Showed a video on fabrication process and manufacturing a chip.
Introduced stick diagram and how it helps to get started with layout. Participants drew a stick diagram for an Inverter.
Day 2:
Introduced magic layout tool.
Helped them to login to our central server through VNC. This helped them to avoid installing magic in their laptops. We haven’t figured out a way to install in windows so far, but Magic sort of works fine in Ubuntu platform.
Showed top view and cross section of a CMOS transistor. This helped them to understand the fact that layout is all about top view of the devices.
Participants laid out an invereter using magic.
Once that was completed we showed them to extract and create a netlist. Netlist helps us to understand the connection and cross check whether the layout we laid out is correct or not.
Day 3:
Introduced NAND gate
Laying out NAND gate. (Note: We gave a circuit diagram for a NAND gate)
Extracting NET list and with the same netlsit draw the schematic usind the netlist.
Whoever completes should layout a NOR gate and repeat STEP 2 and 3.
Day 4:
Introduced to gates. (OR, AND, INVERETER, NAND, NOR and EXOR)
Understand the truth table for all gates.
Introduced few rules like Involution law, Idempotency law and De Morgan’s law
Task 1: Using NAND gate create OR, AND, INVERETER and EXOR. Draw schematic and derive the logic for the same.
Task 2: Build those gates using DM74S00N and bread board and test whether their logic were appropriate.
Day 5:
Intorduced Hierarchy. Showed how to import models that can be used to create complex layouts.
Task: Layout an XOR gate importing the NAND gate built in the previous classes
Day 6:
Introduced IRSIM
Task 1: Test different layouts with IRSIM
Task 2: Whoever didn’t complete XOR should complete XOR and test it out using IRSIM
Day 7:
We wanted people to see a real layout and at the end of the course, layout a micro processor.
Showed them a layout of a real chip.
There are three main blocks necessary for a micro processor. ALU unit, Memory and Counter. We used full adder for ALU and Flip flops for every bit for a memory and counter.