Kirigami and Origami – Bala & Sundar

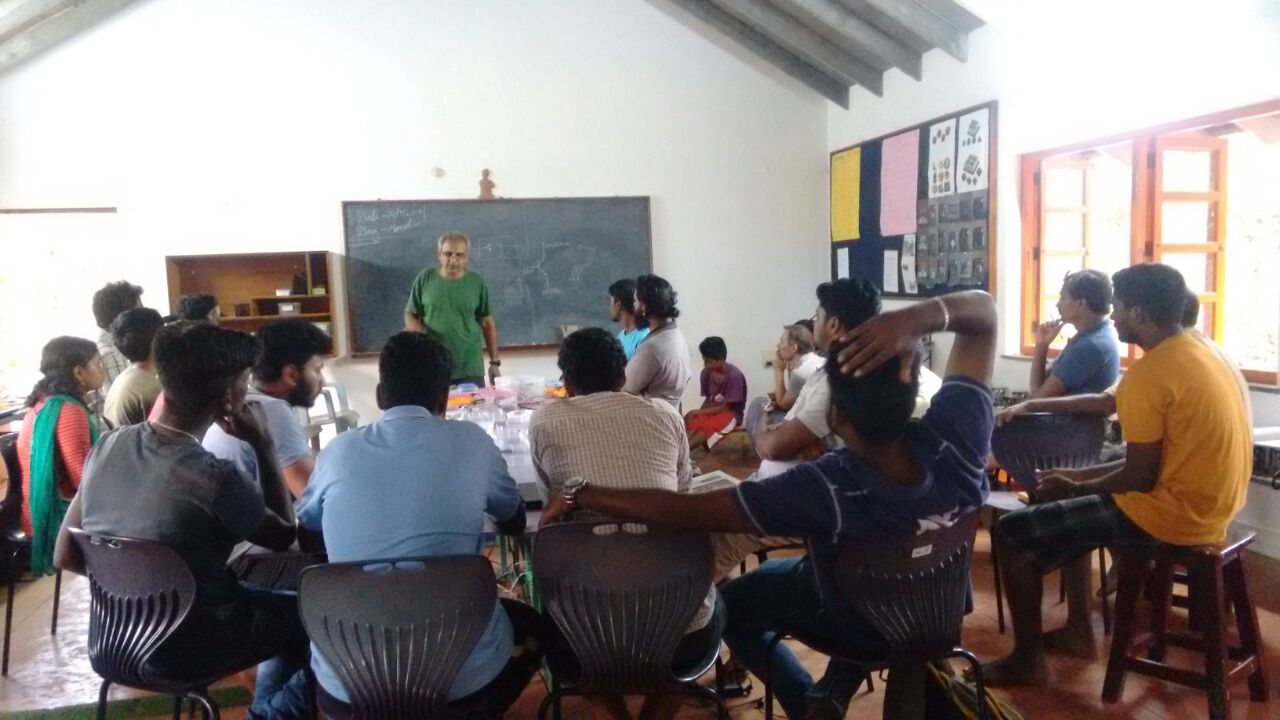
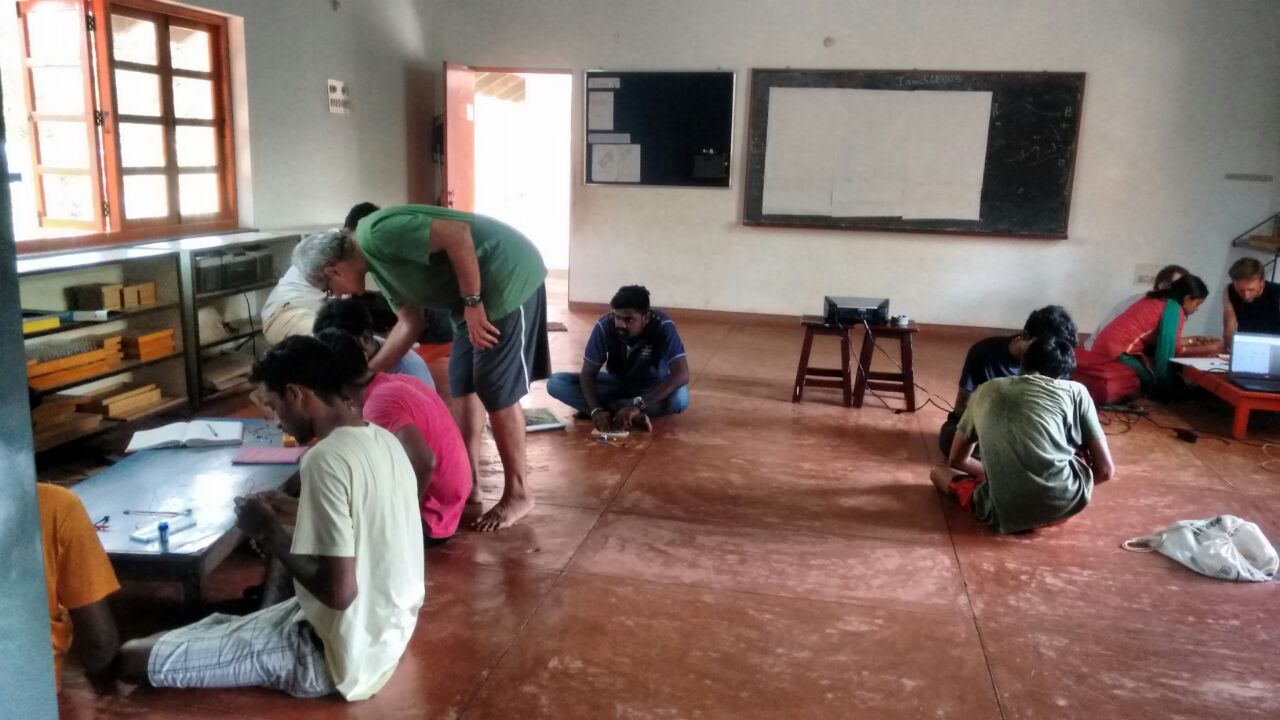
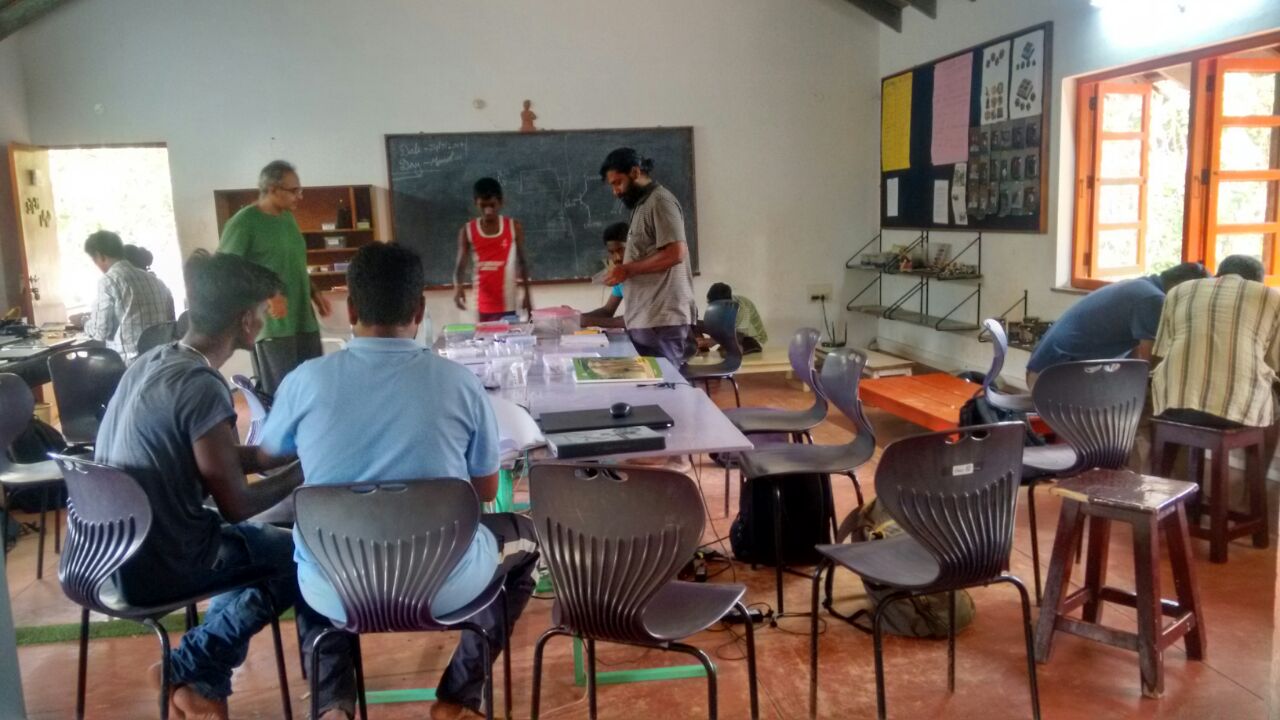
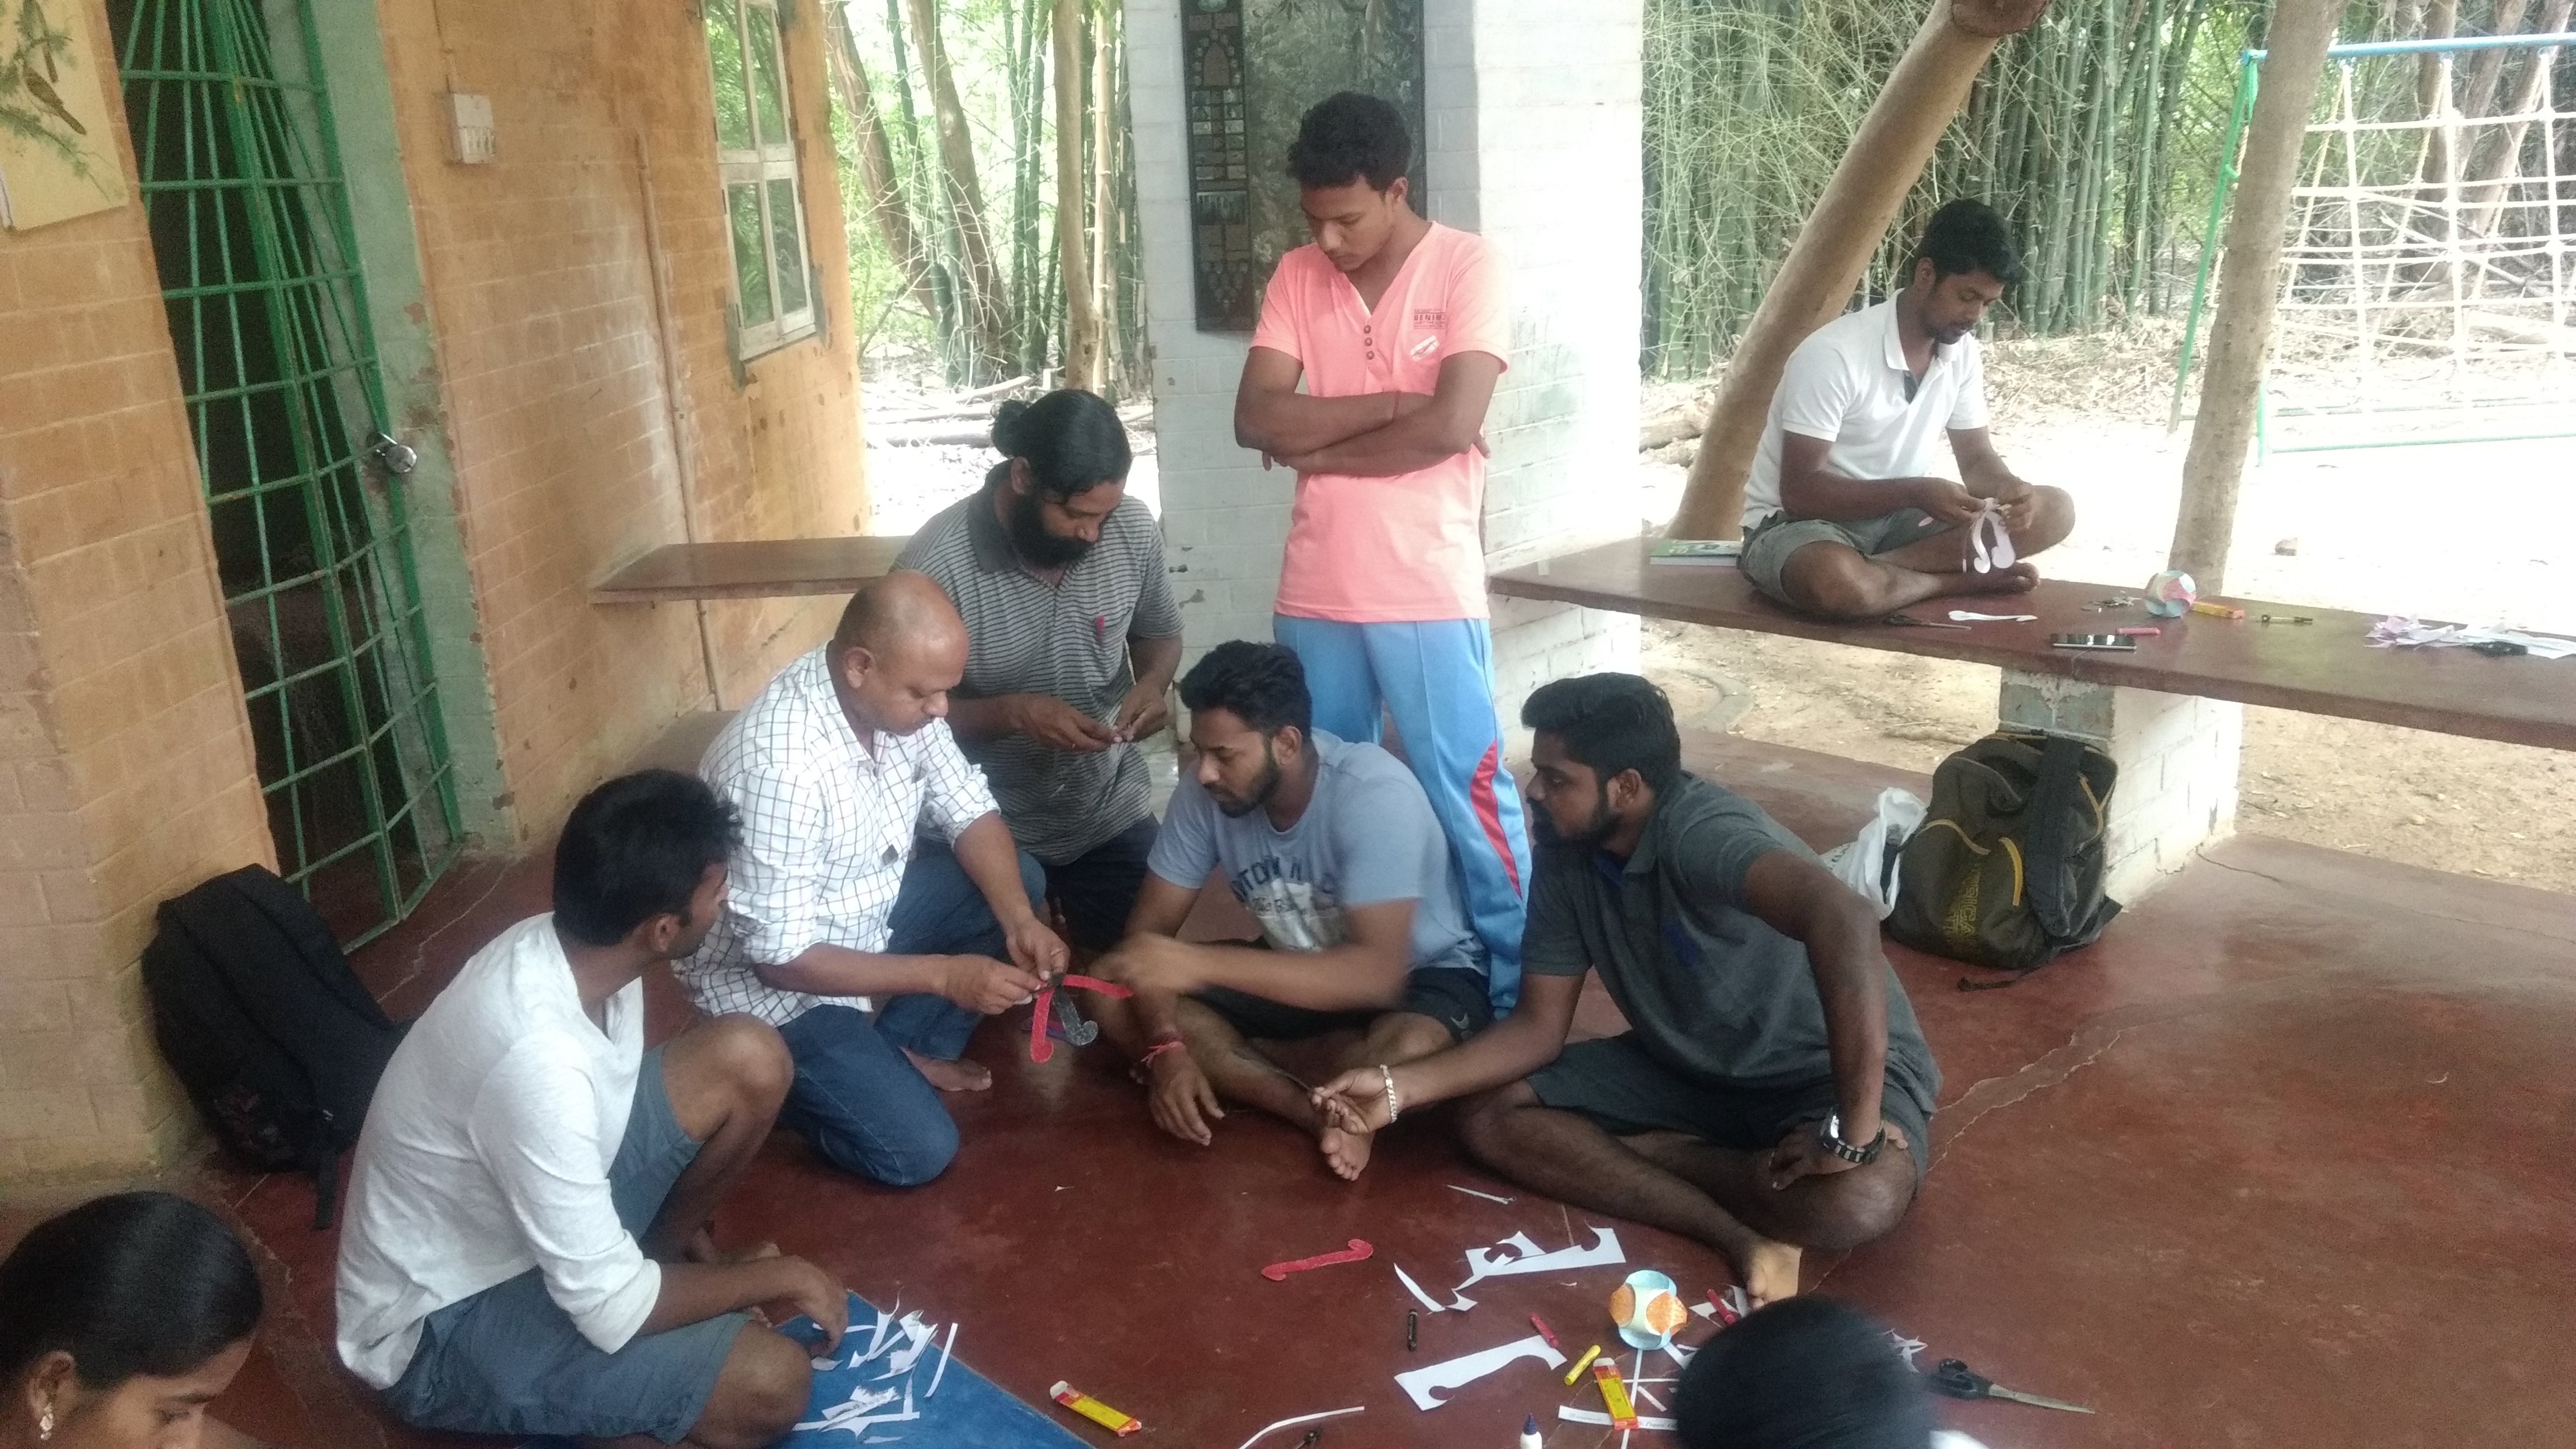
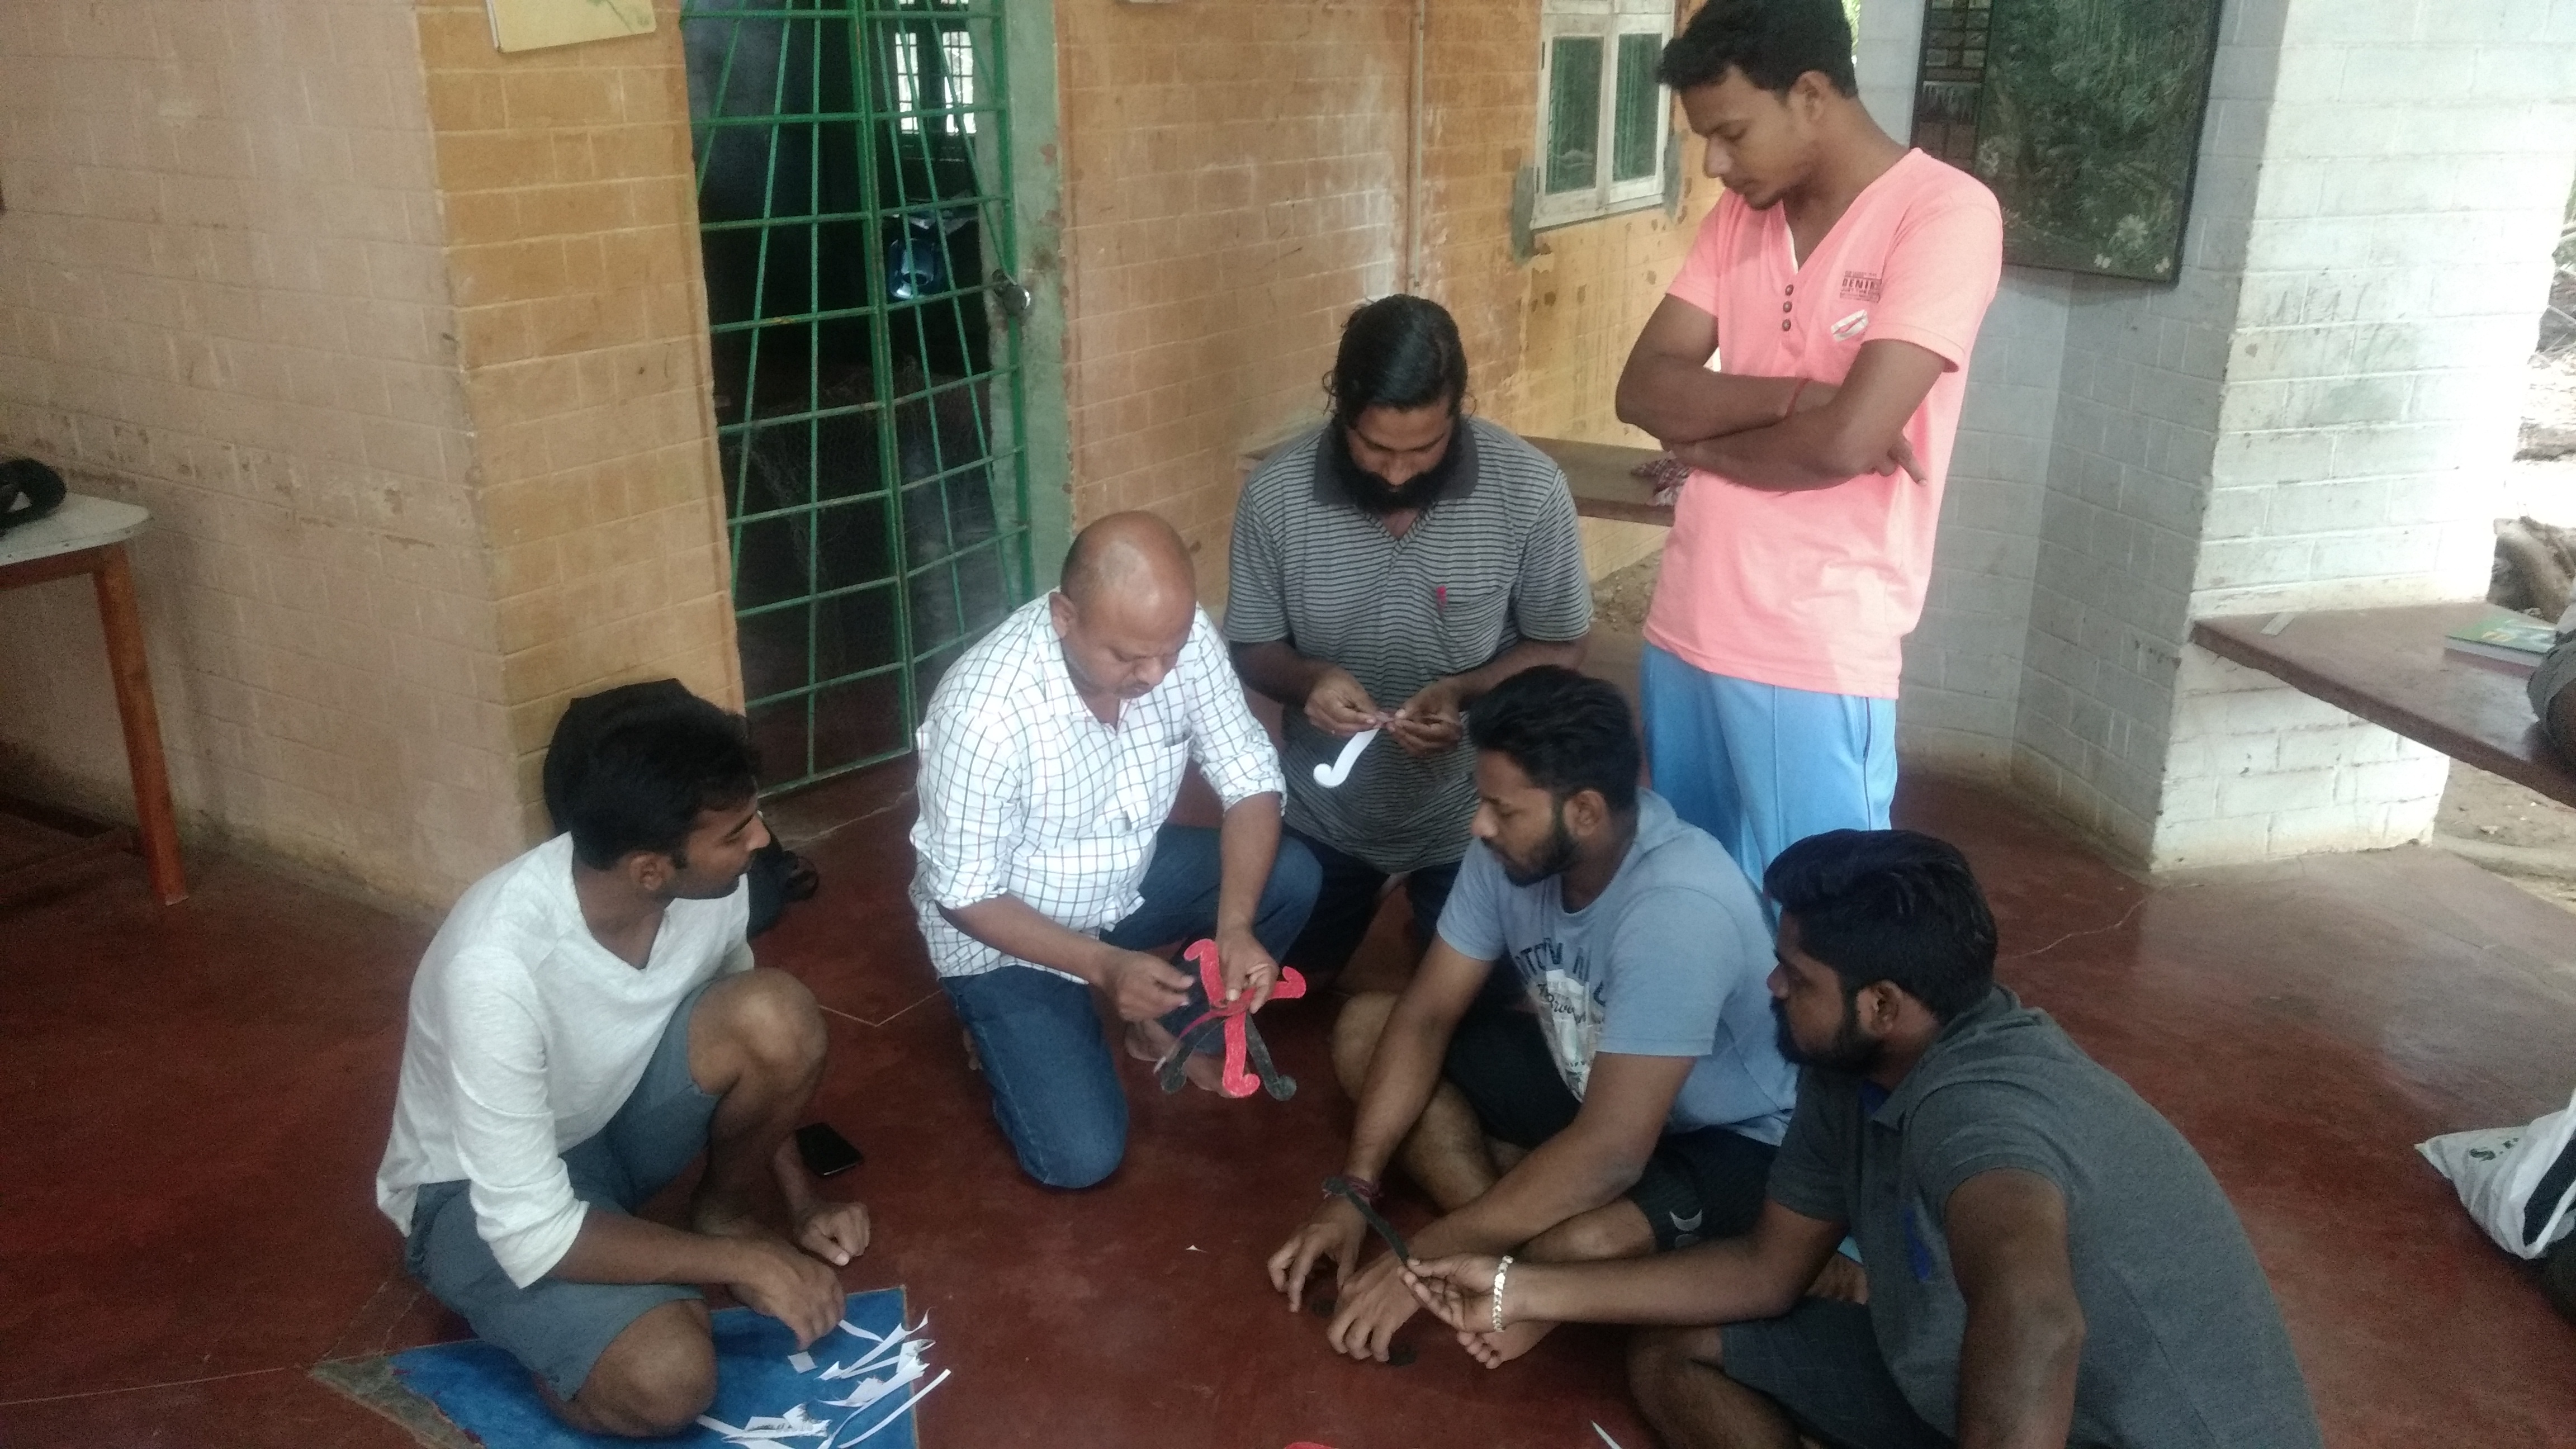
We had a visitor named Ravi Alugnati a very respected resource person in Math and Science languages and also does puppetry hands on activities. He showed us some of the things he had built in Kirigami We made different shapes both in Kirigami(cutting paper) and Origami(olding paper) with his guidance. The 8th and 9th graders of Udavi and some children in Isai Ambalam also enjoyed making different shapes. I found Origami little bit tougher than Kirigami as the steps to build a shape/object is more complex. I also got a feedback from him about my teaching when I was taking class for the 3rd graders in Isai Ambalam. The feedback was useful.

Kirigami : Ravi guiding the 9th graders in making a ball..
Origami : Fan, bird and a frog.. some objects we had made
Udavi 9th graders after finishing their ball
Isai Ambalam children working on kirigami
Some shapes we had made
Ball made using 6 strips of paper
Balls made after cutting out three rectangular papers

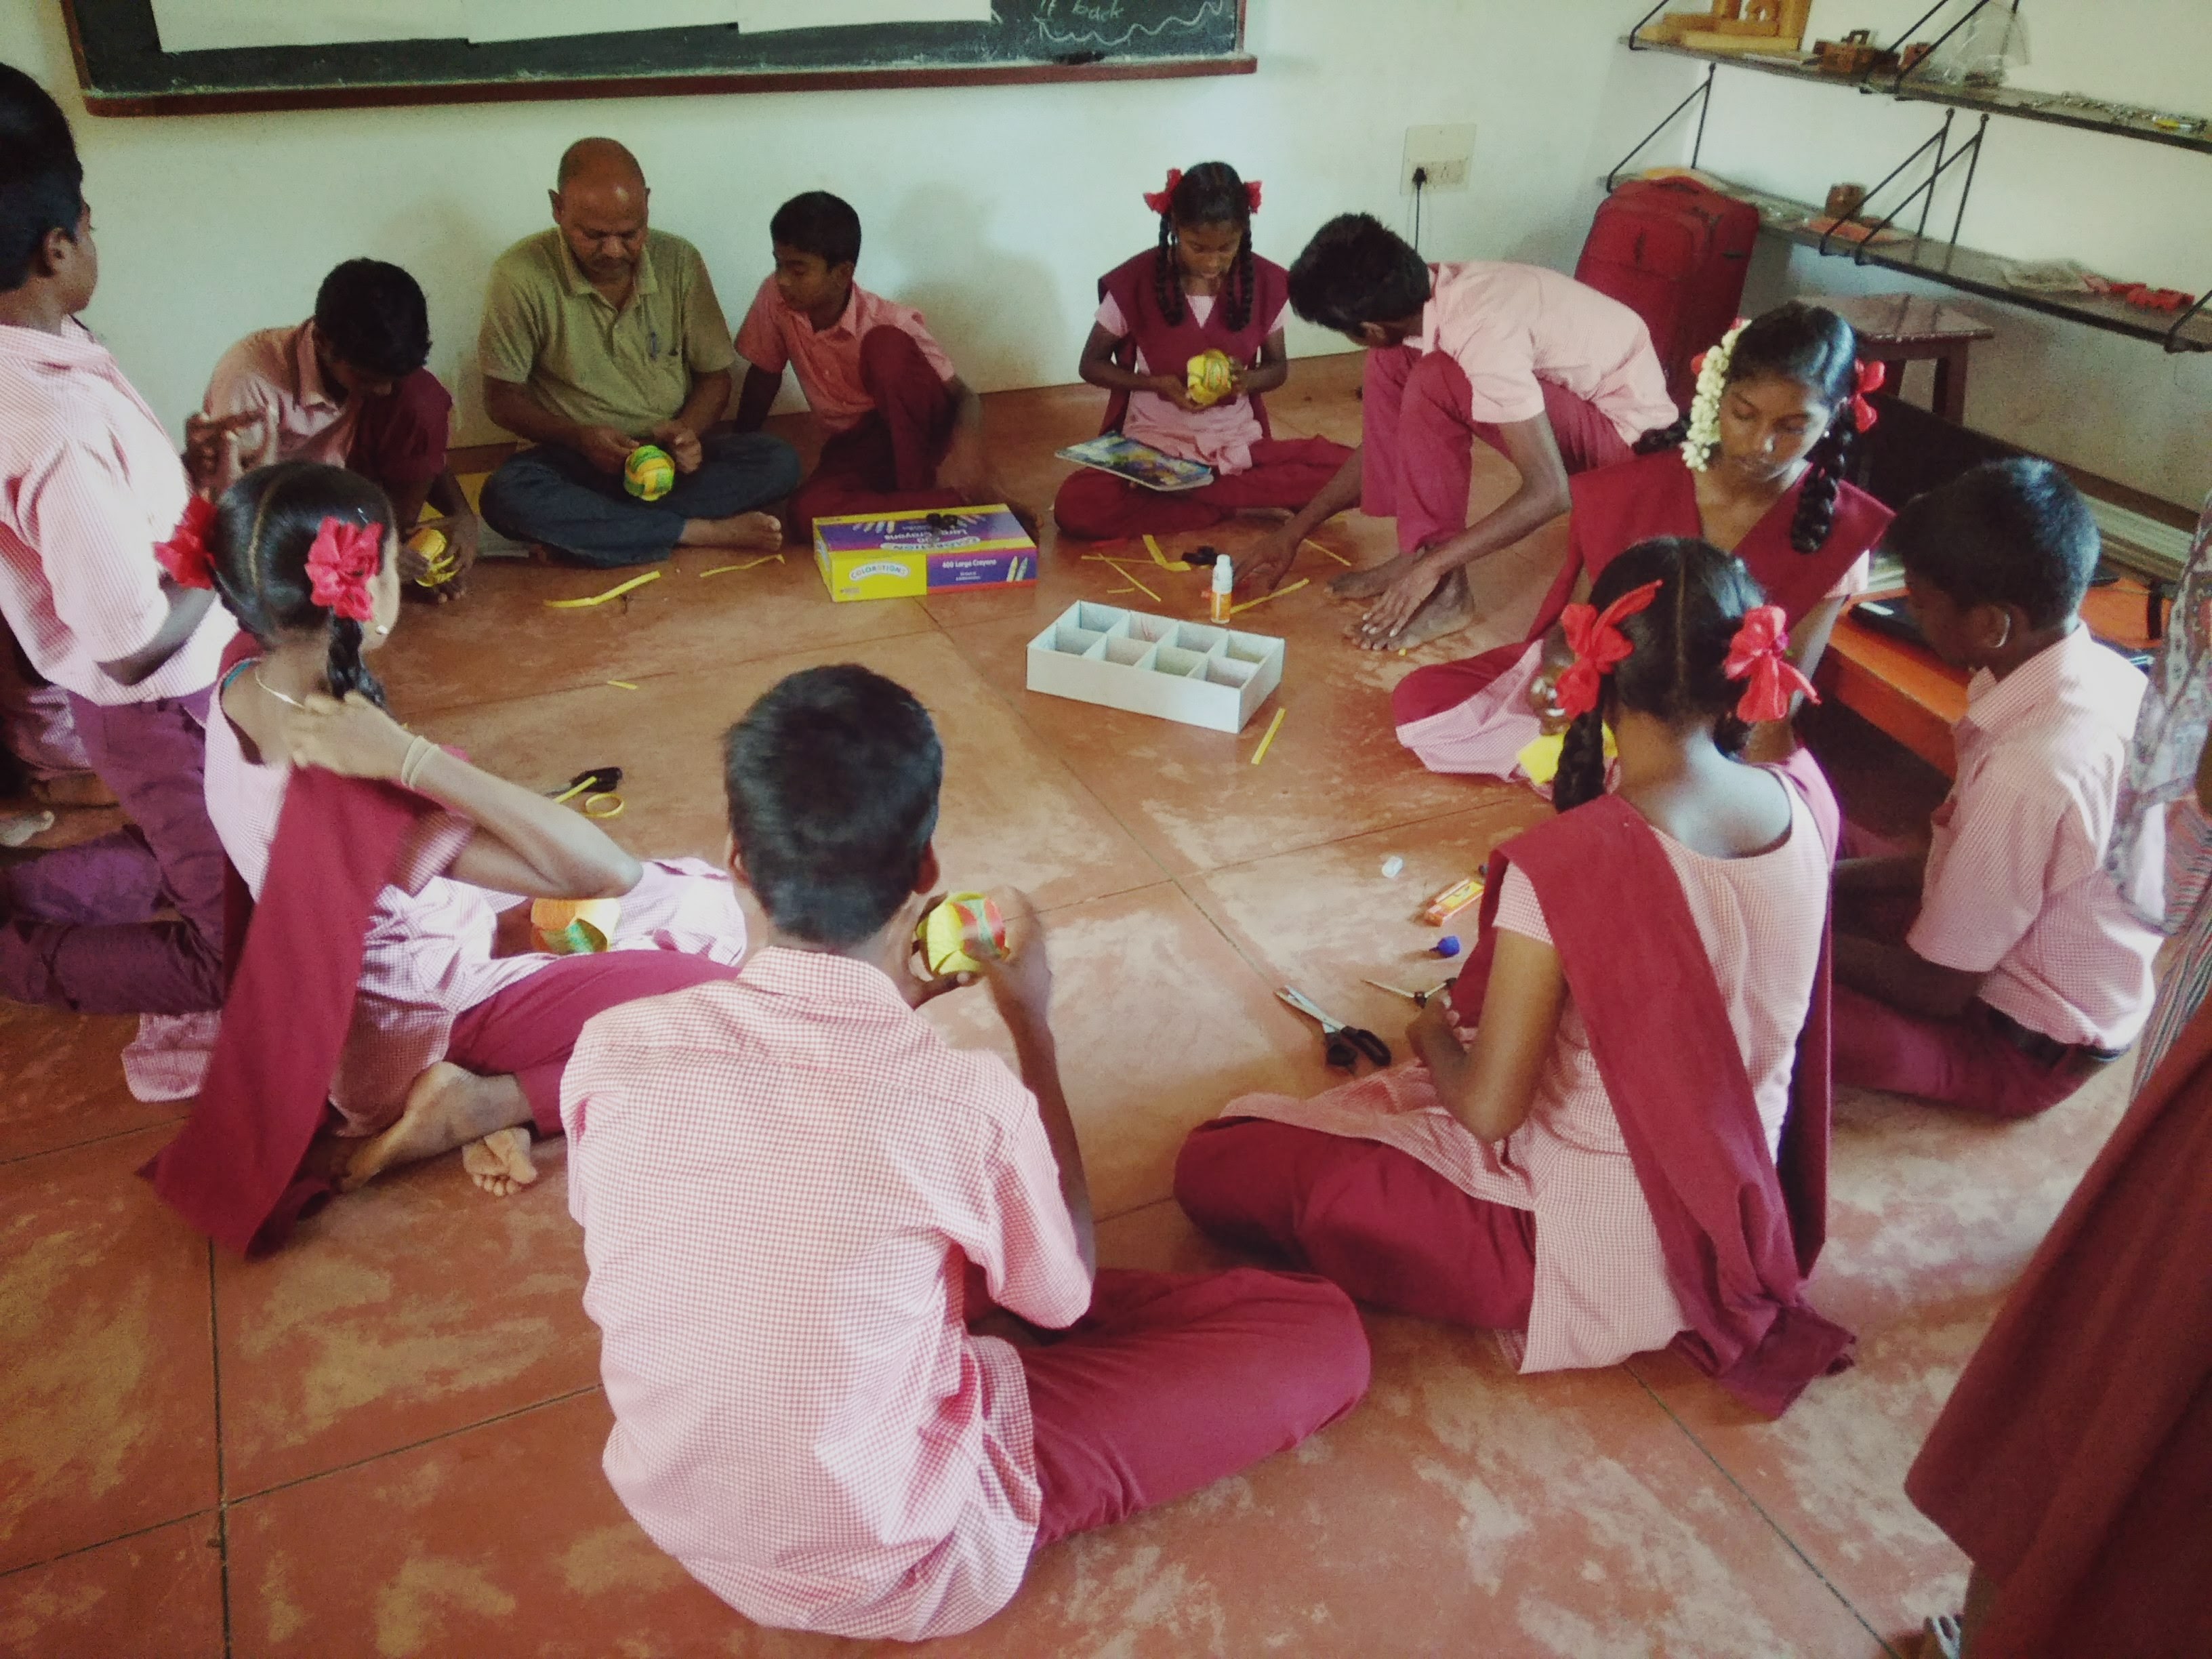
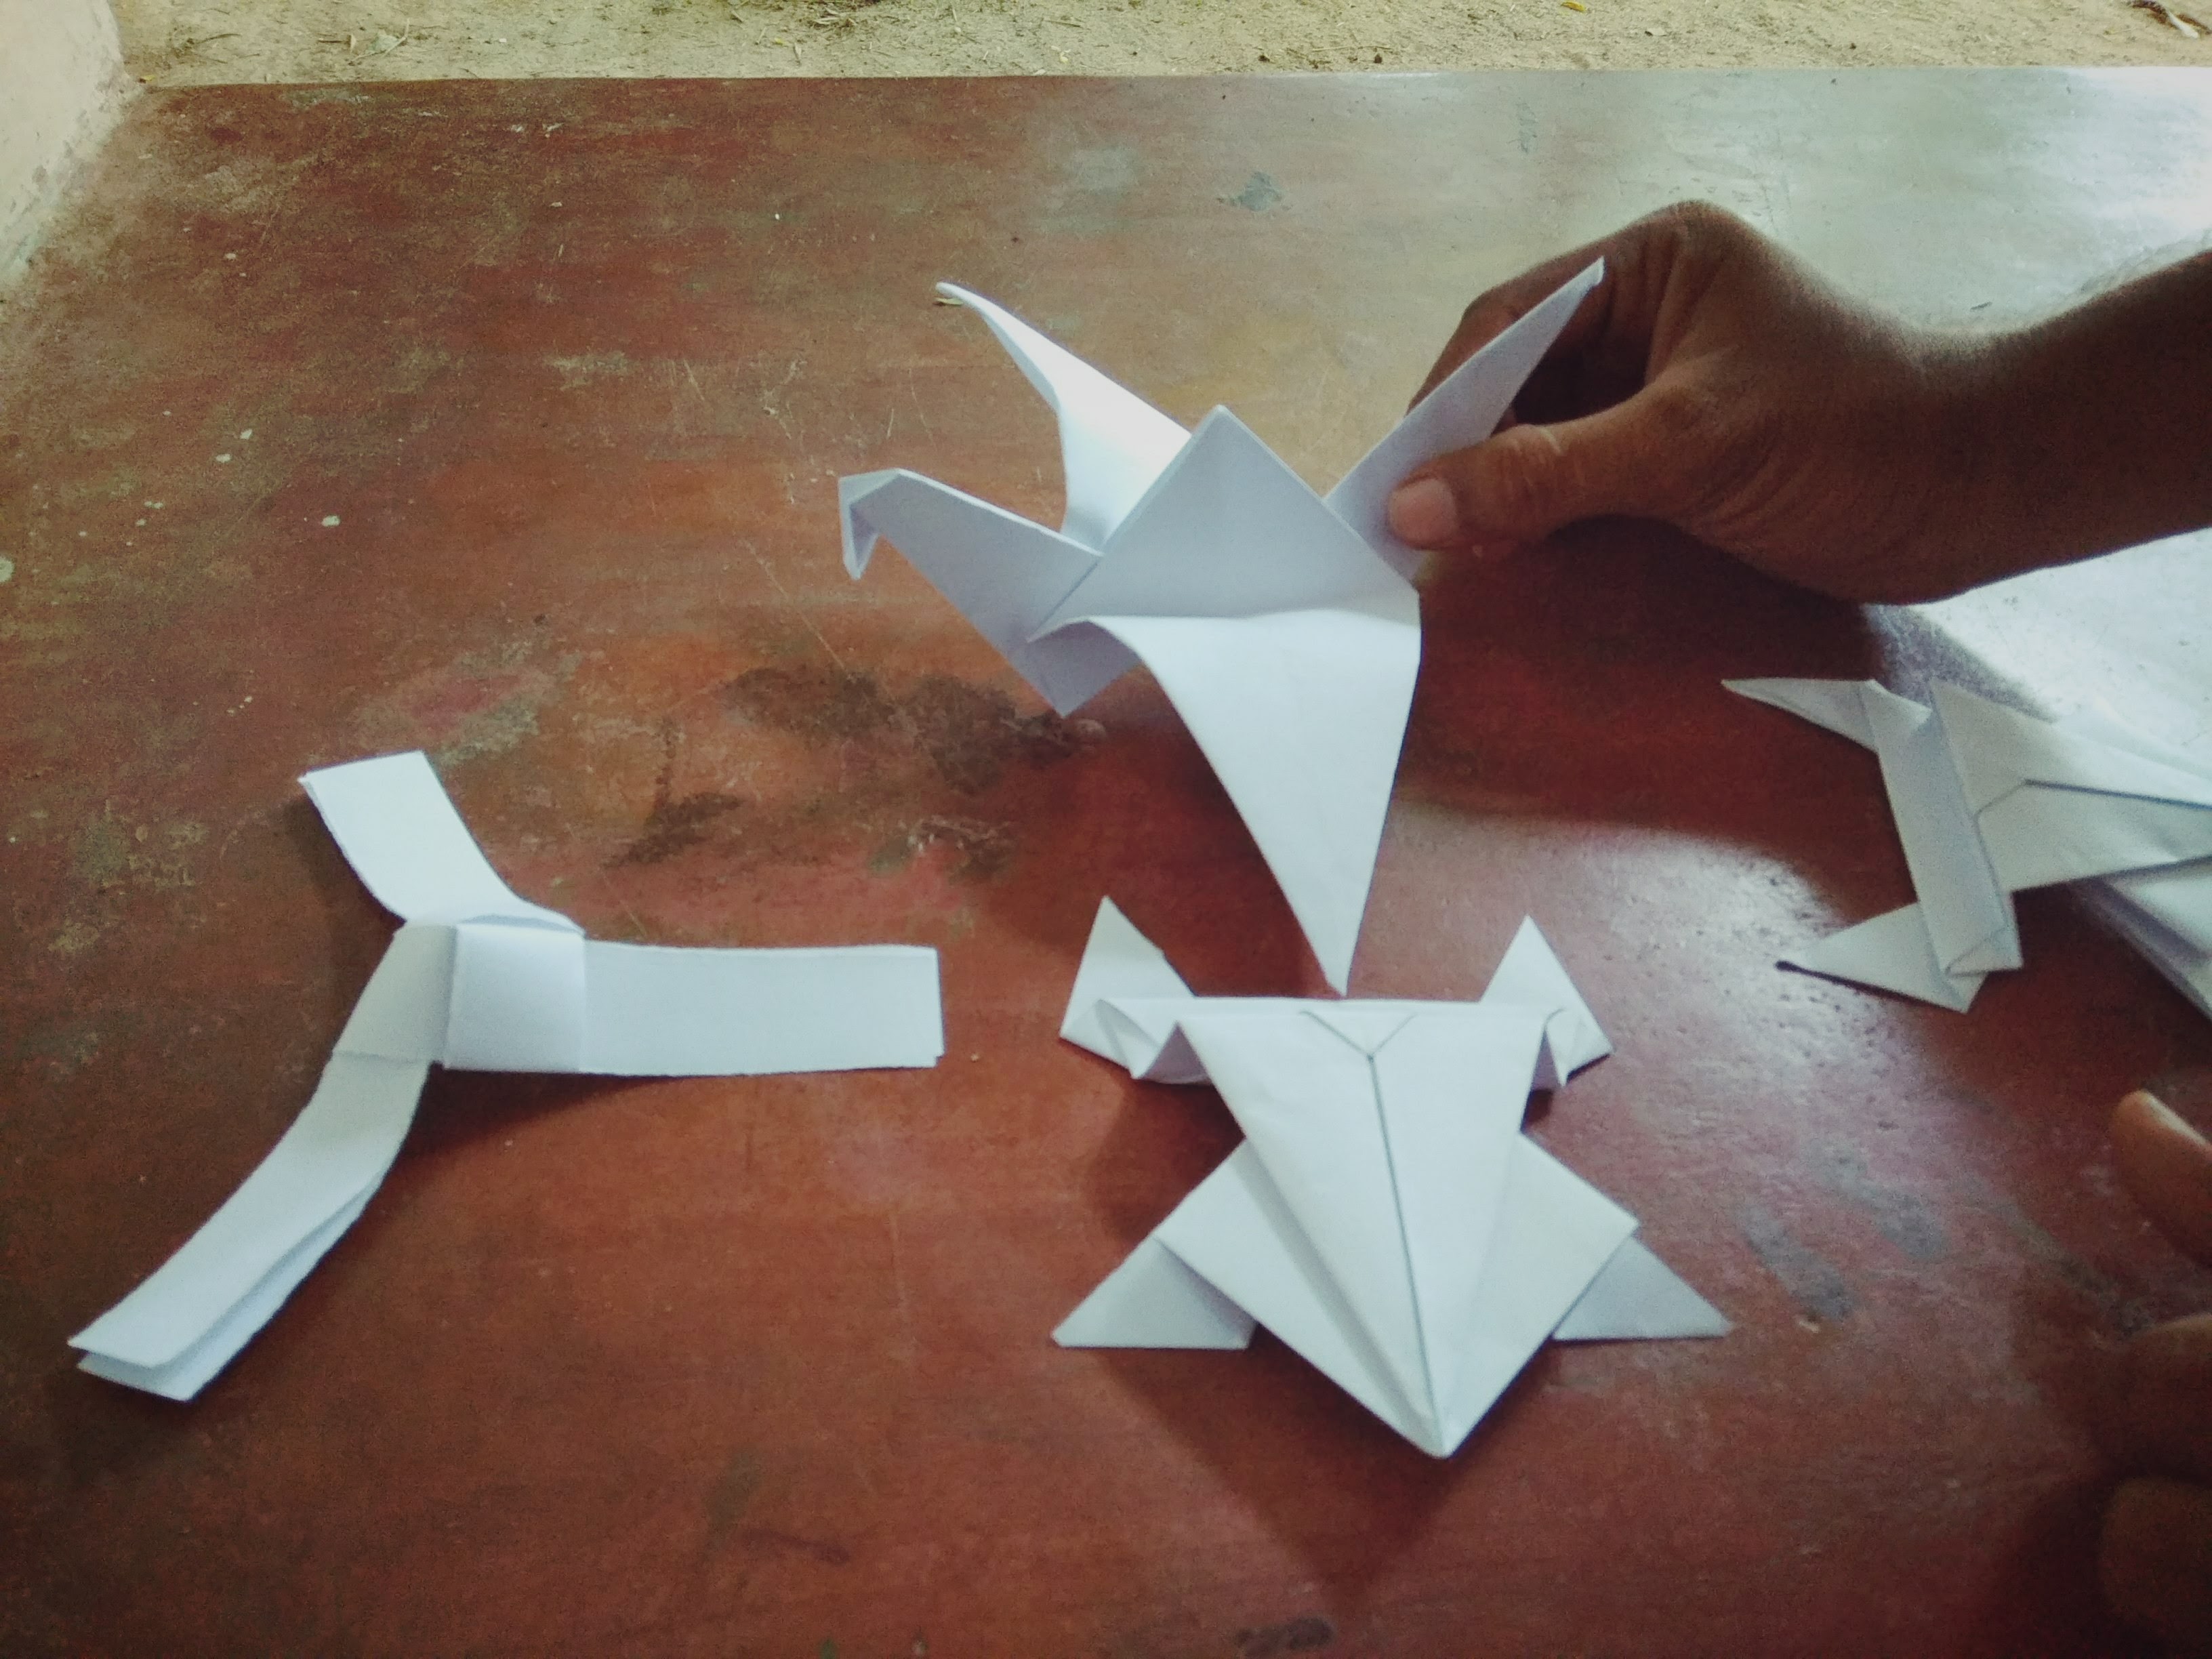
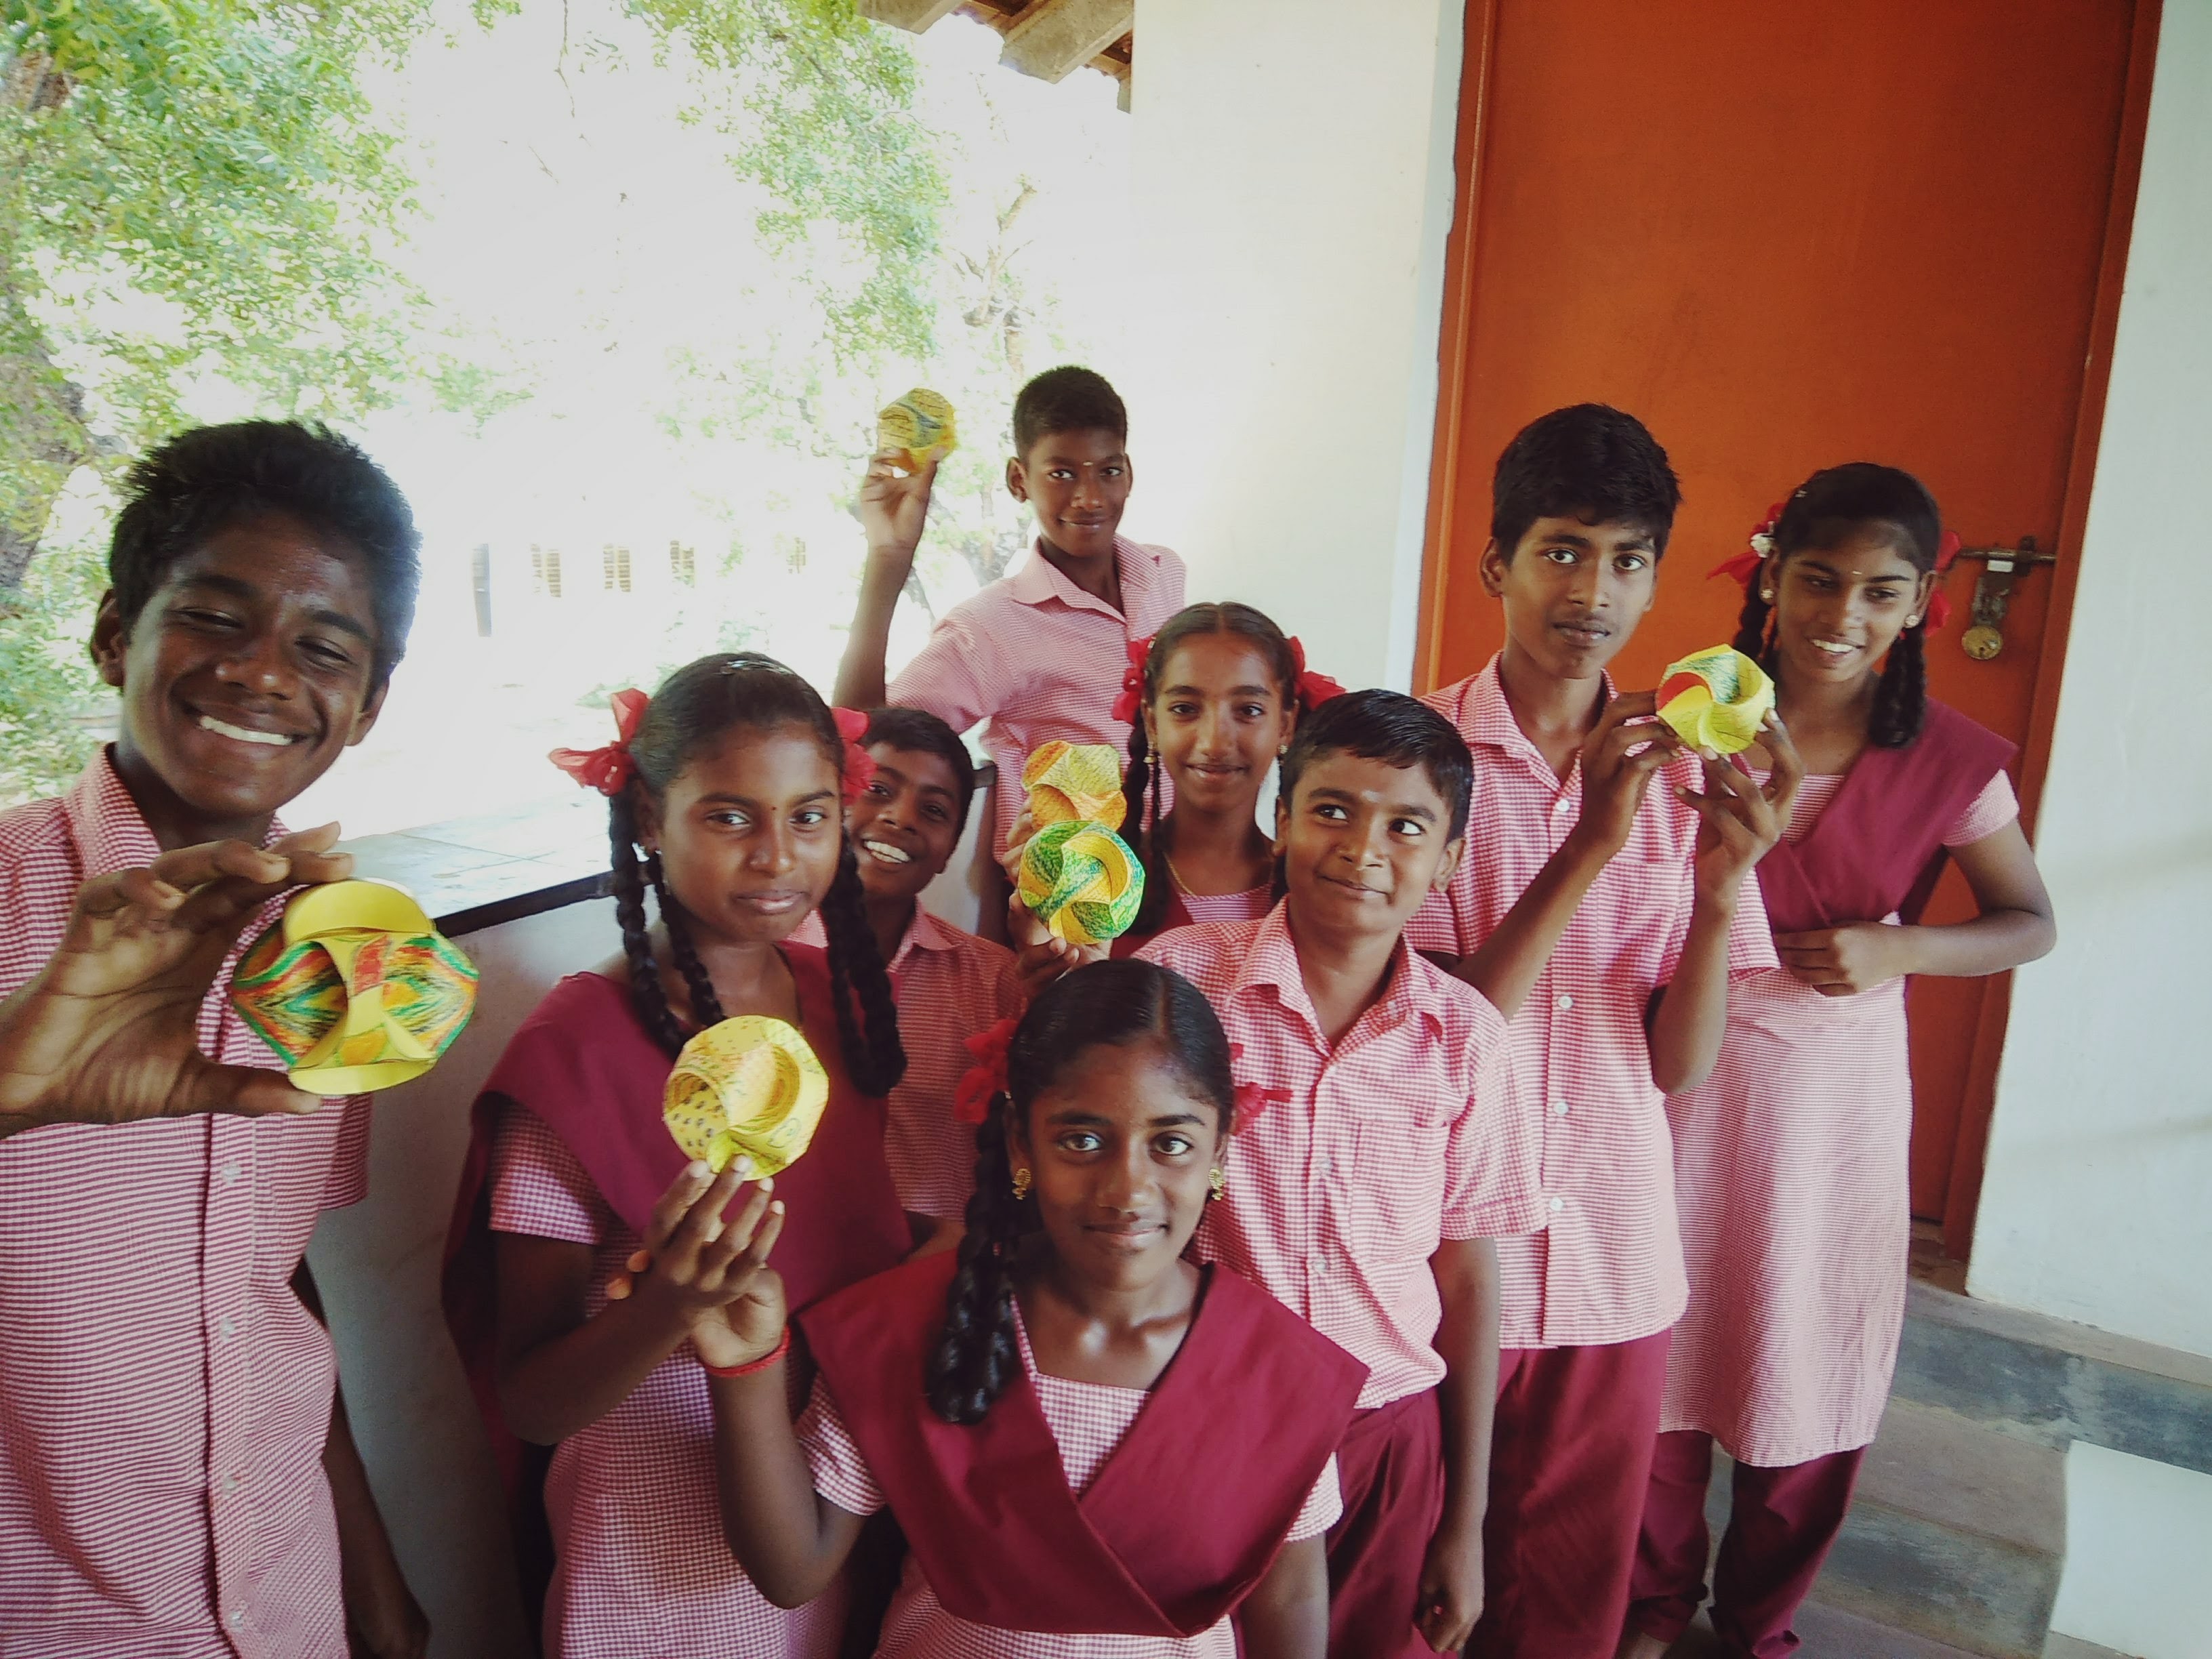
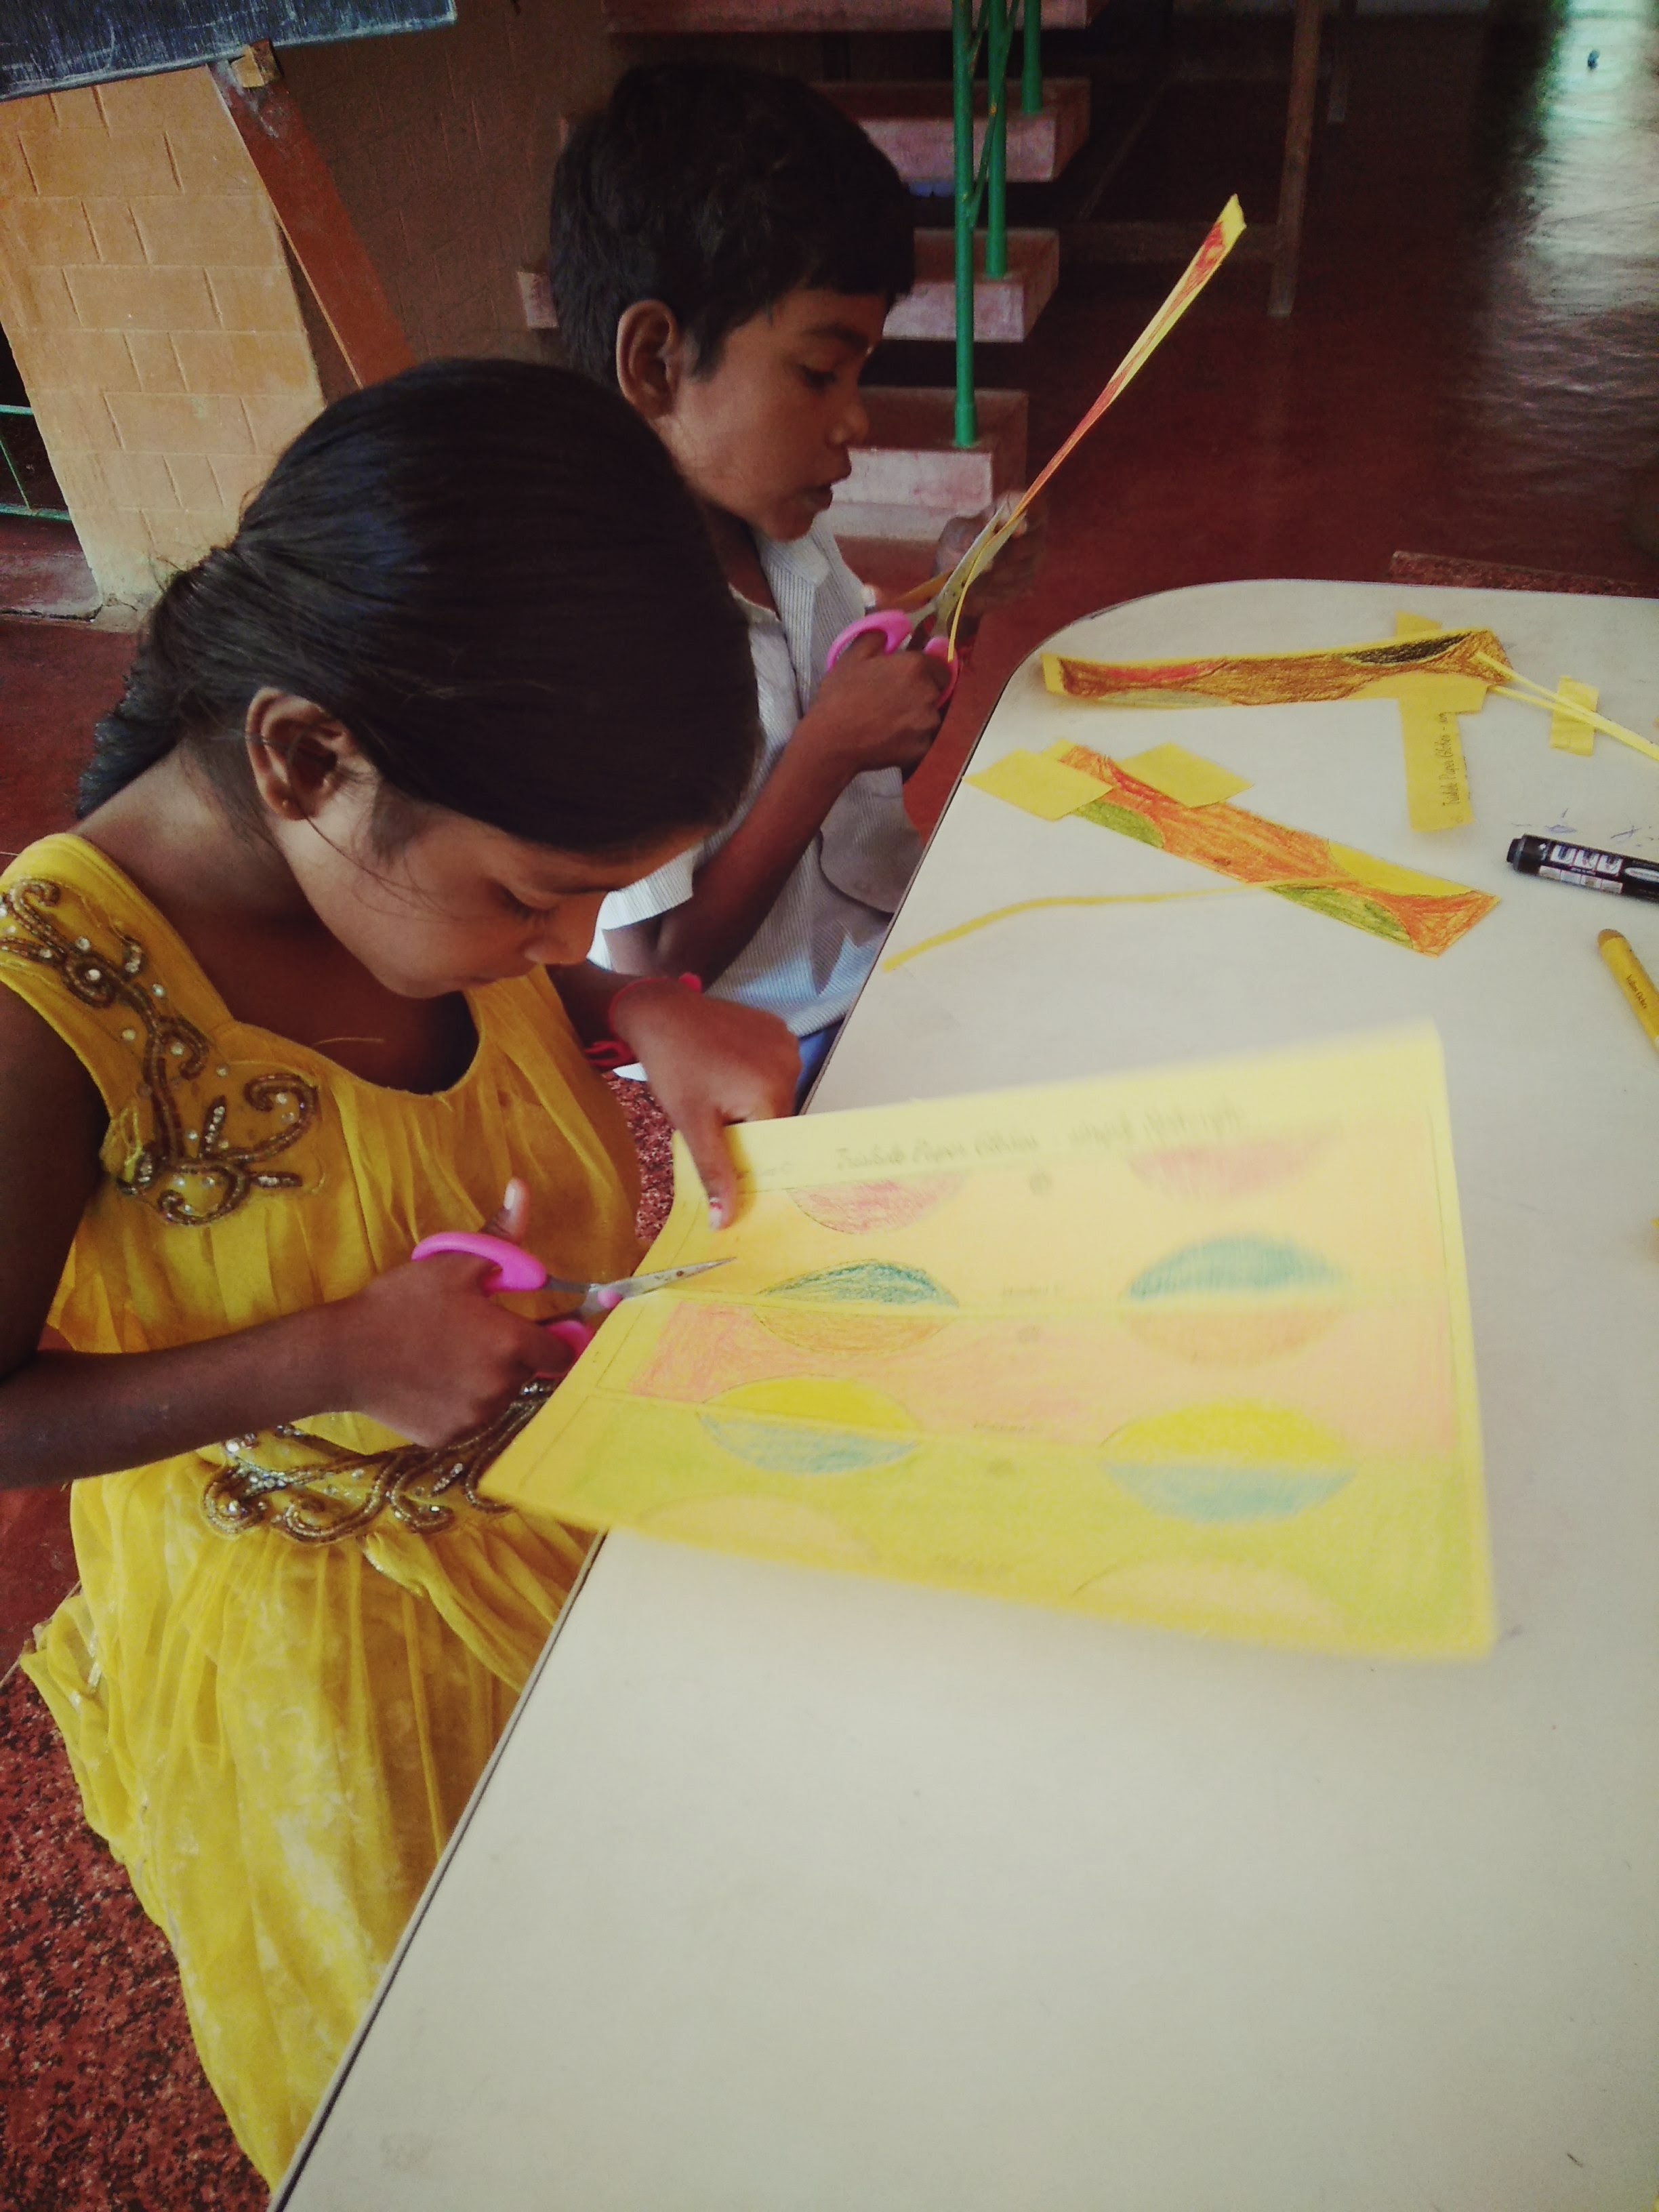
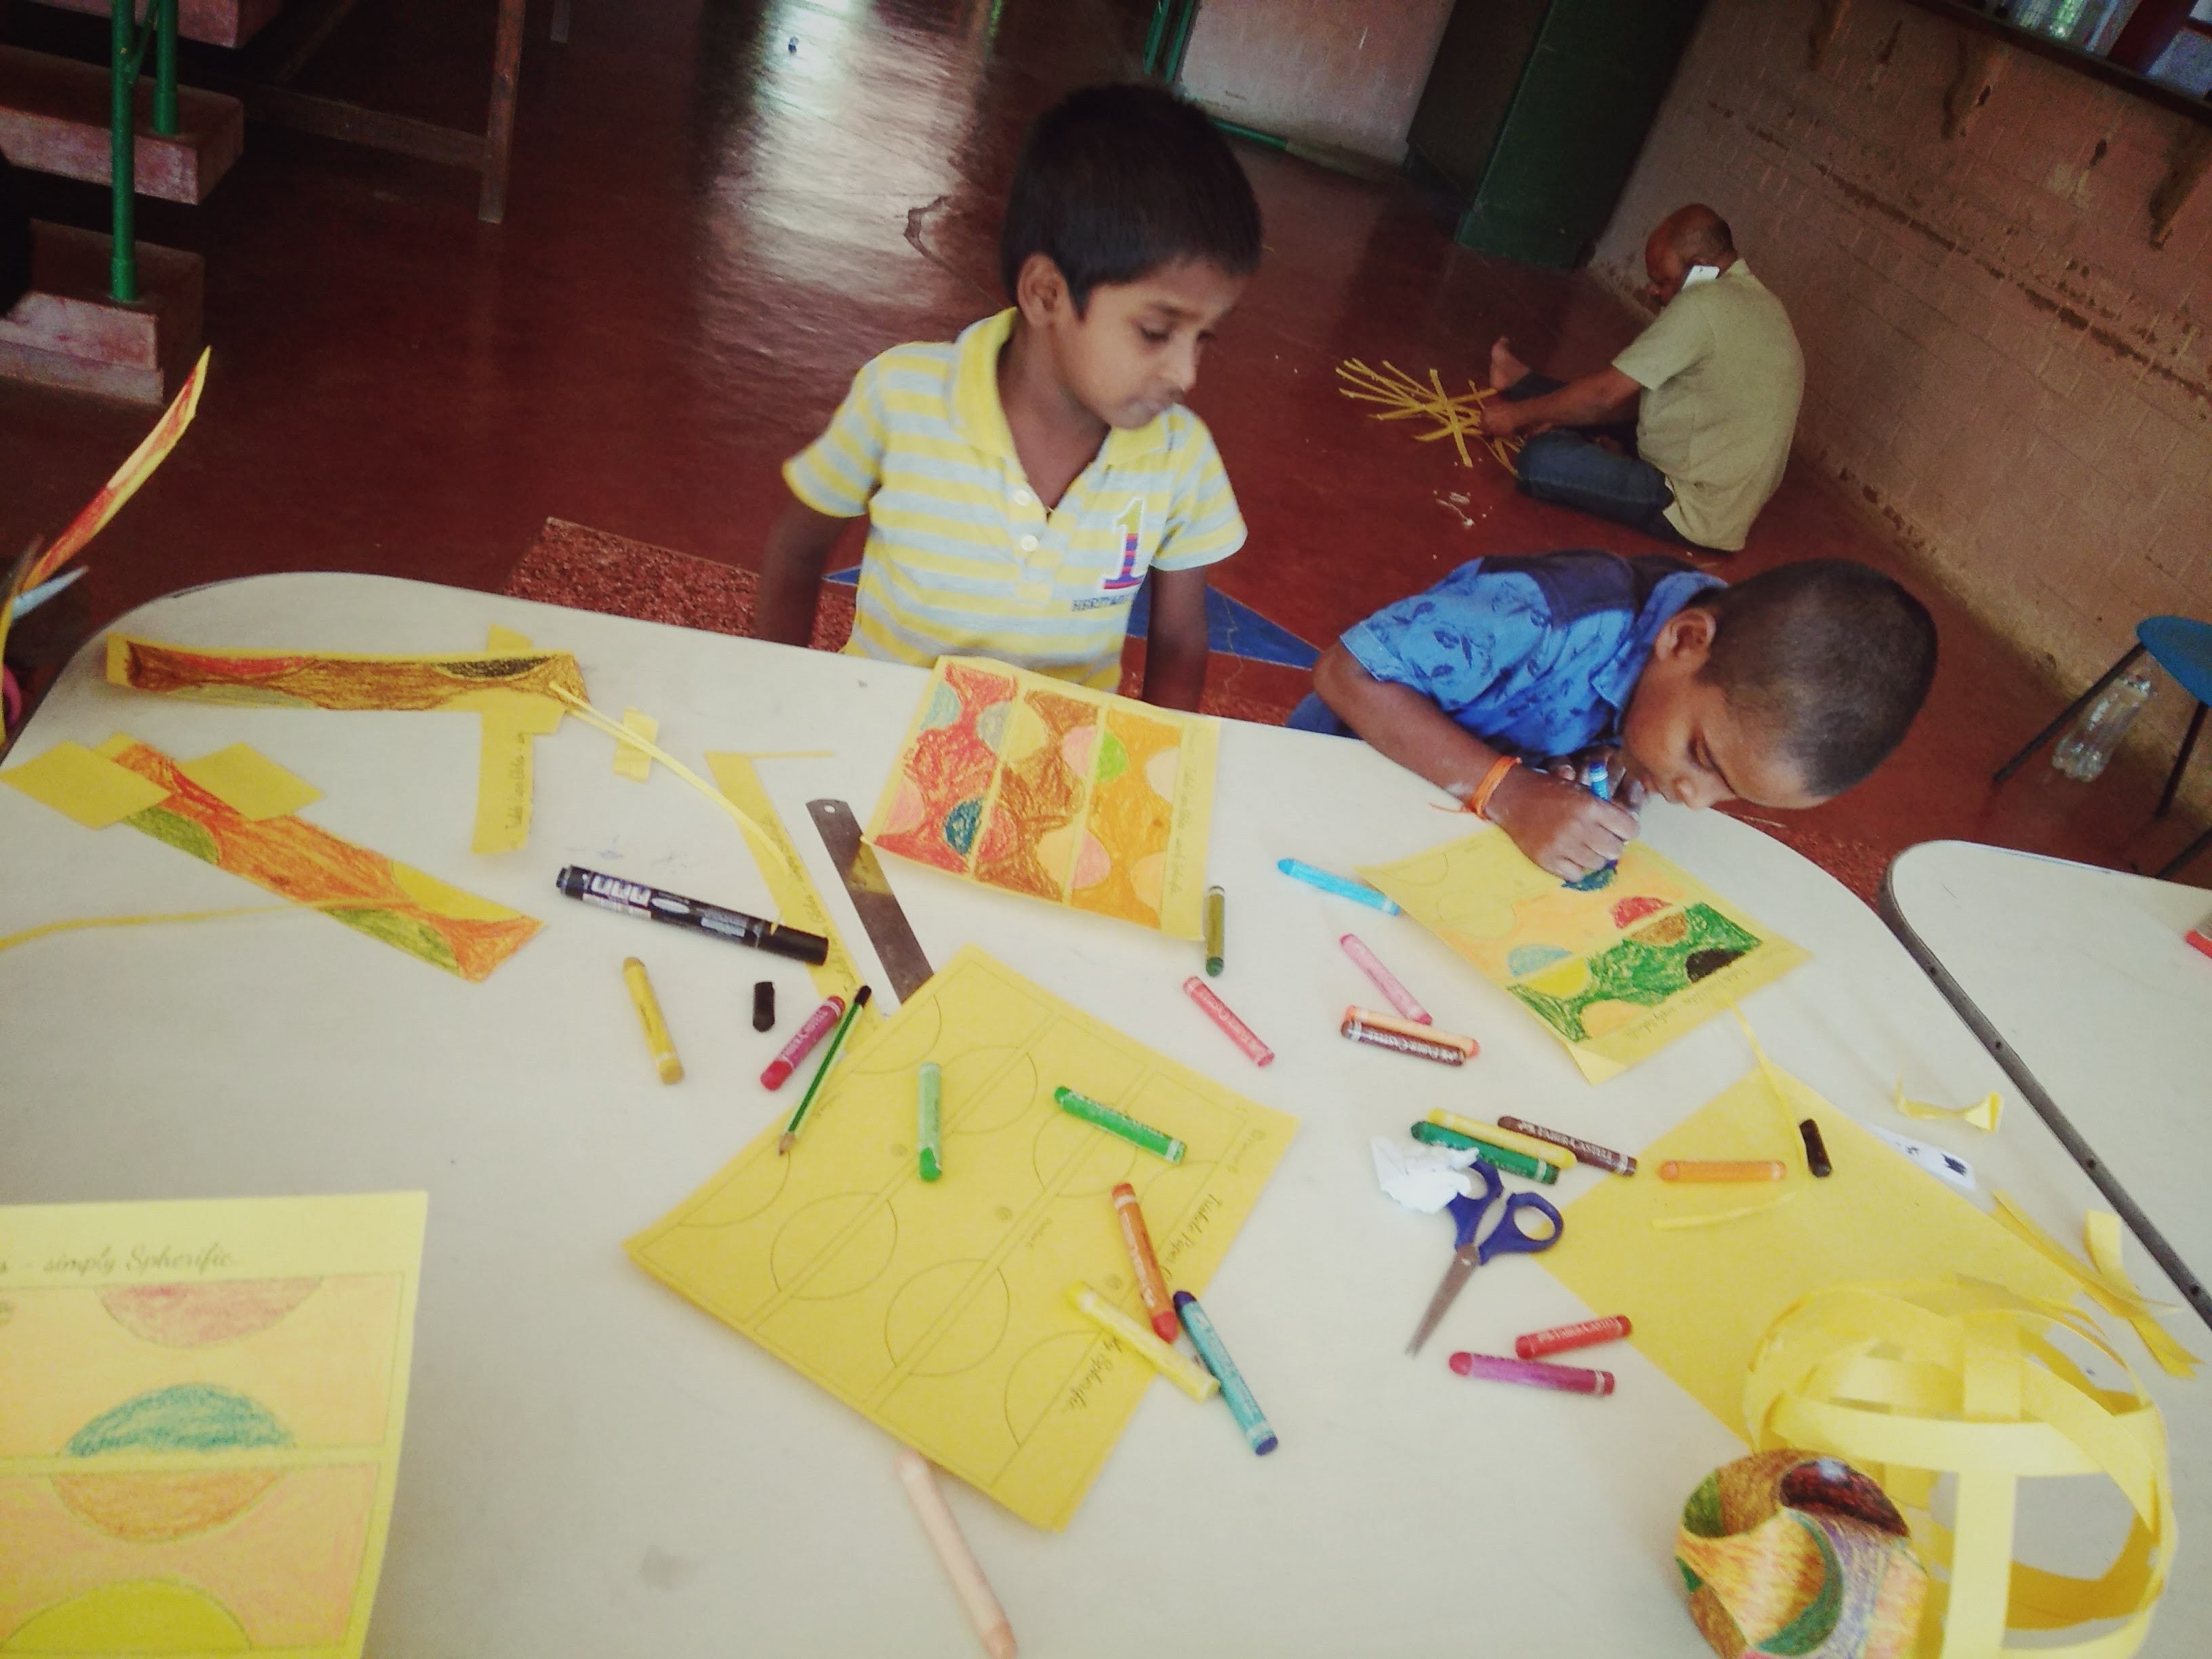
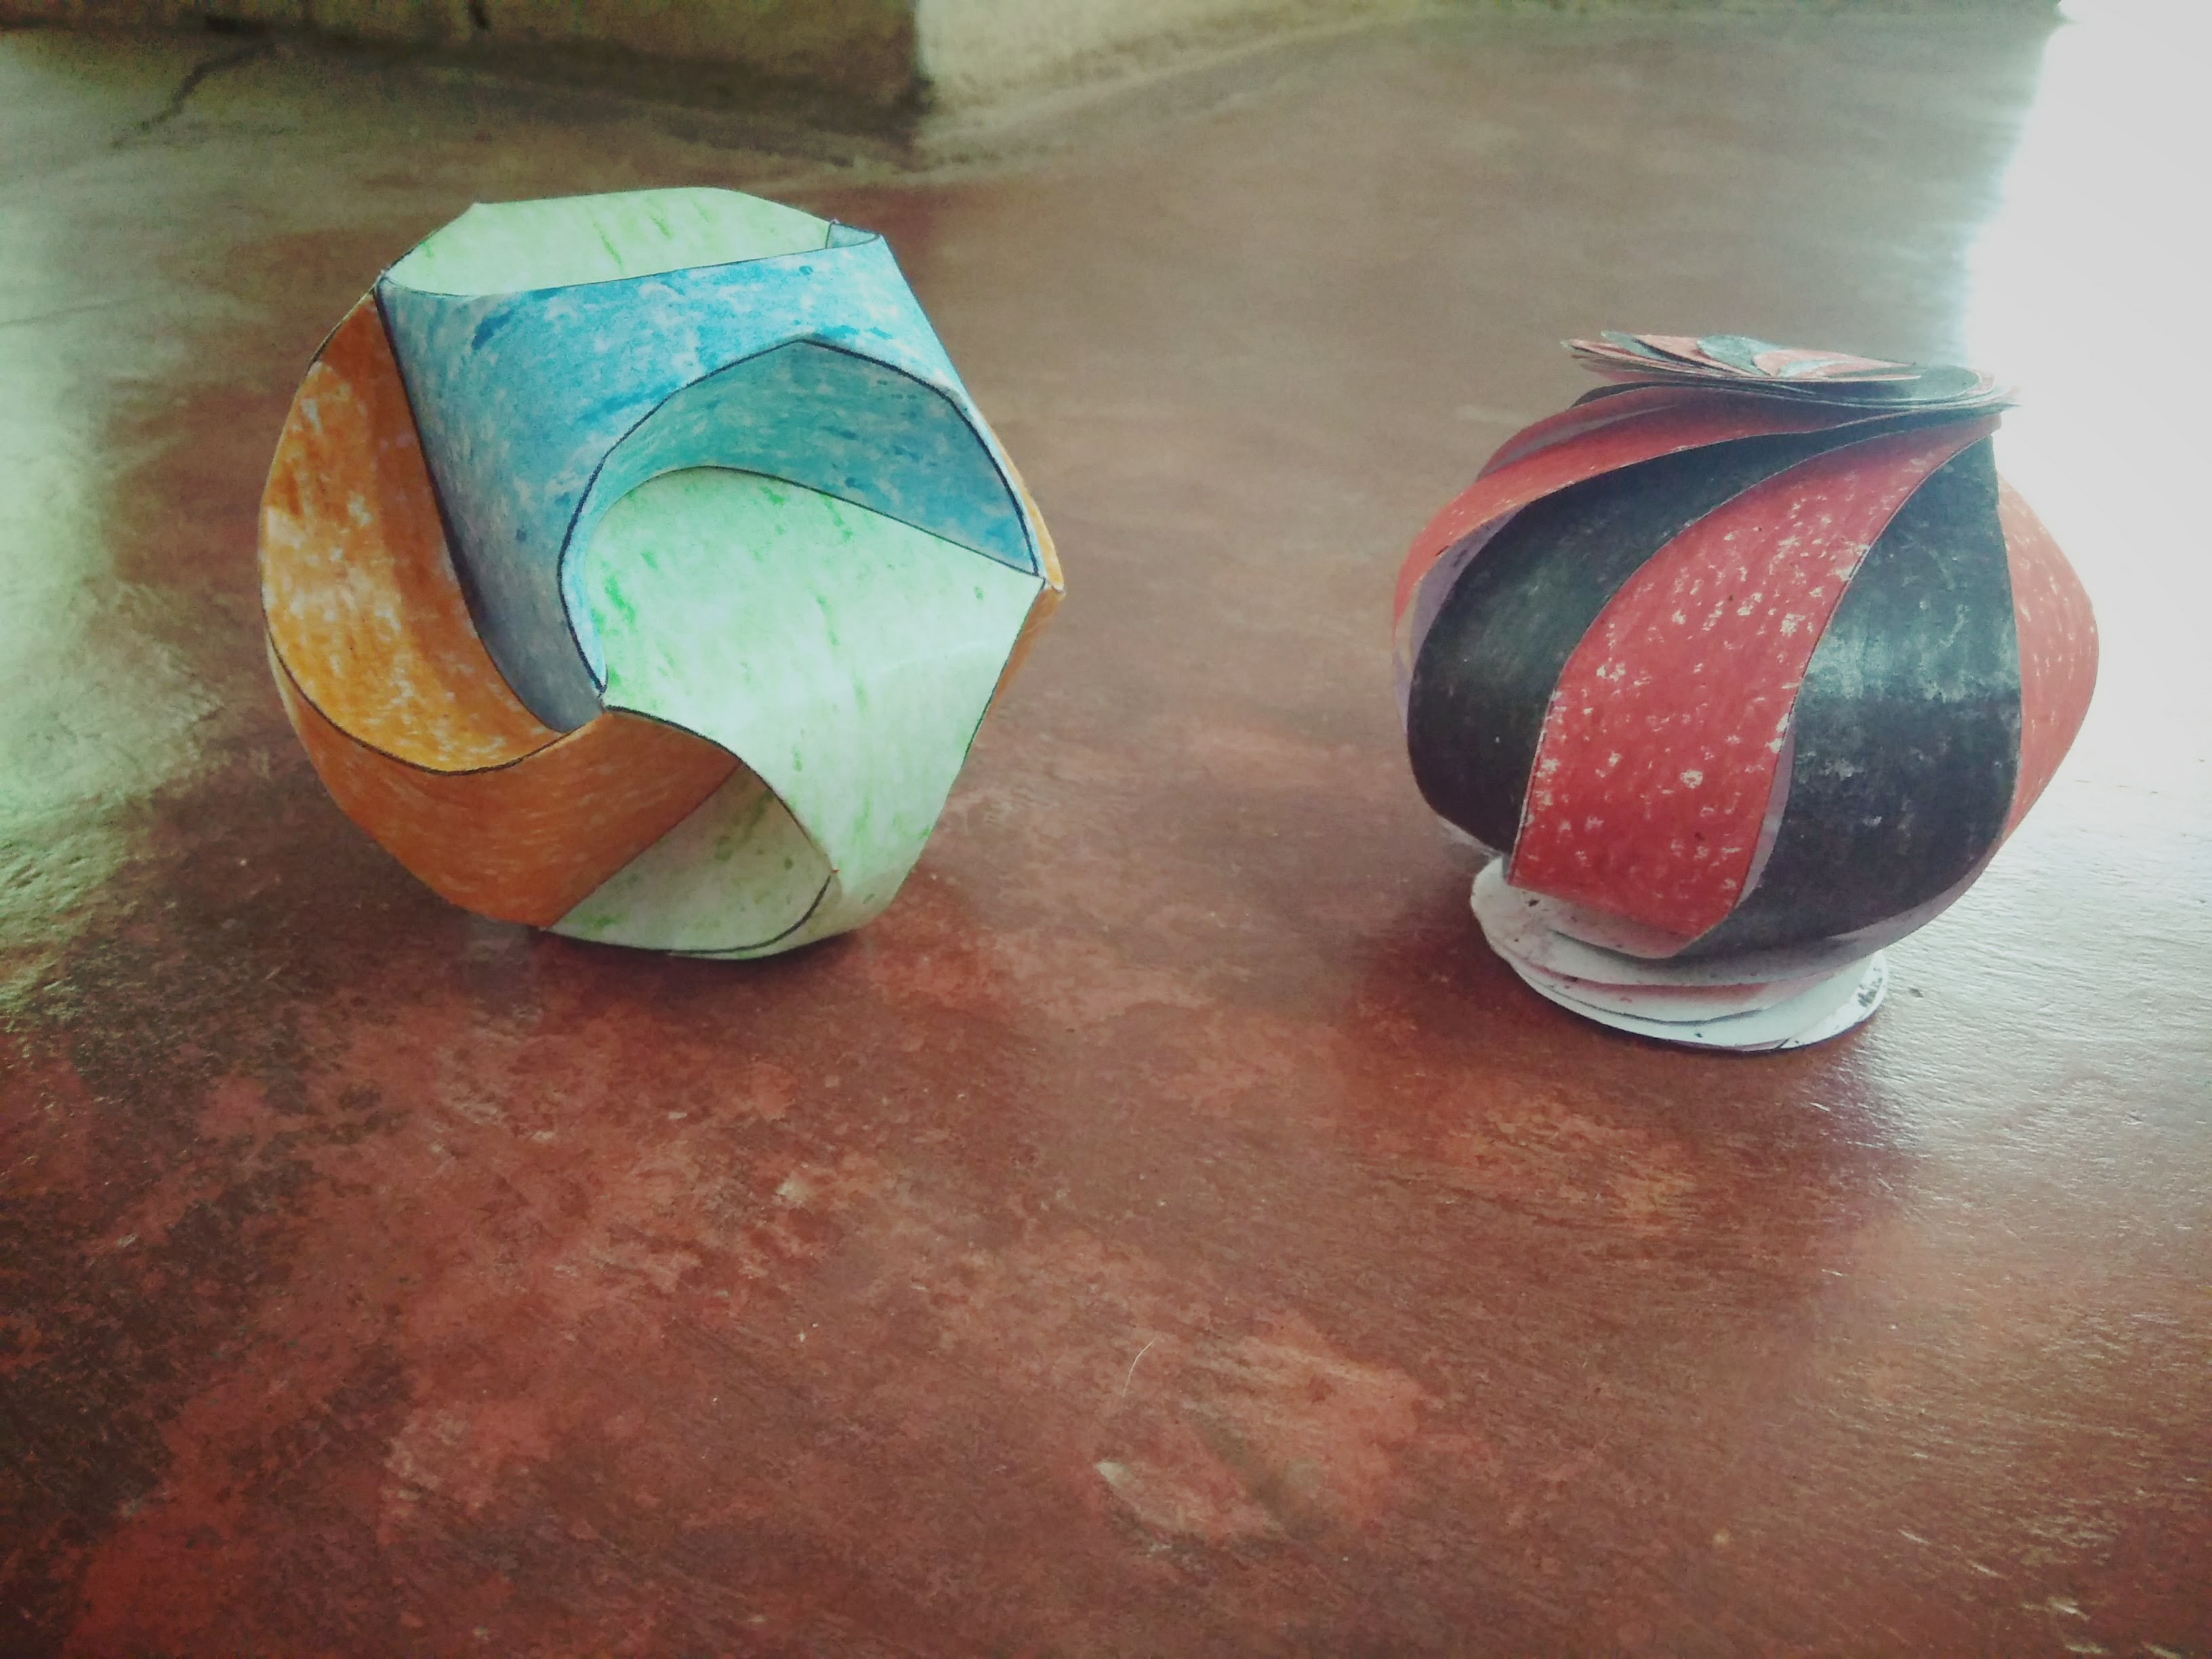
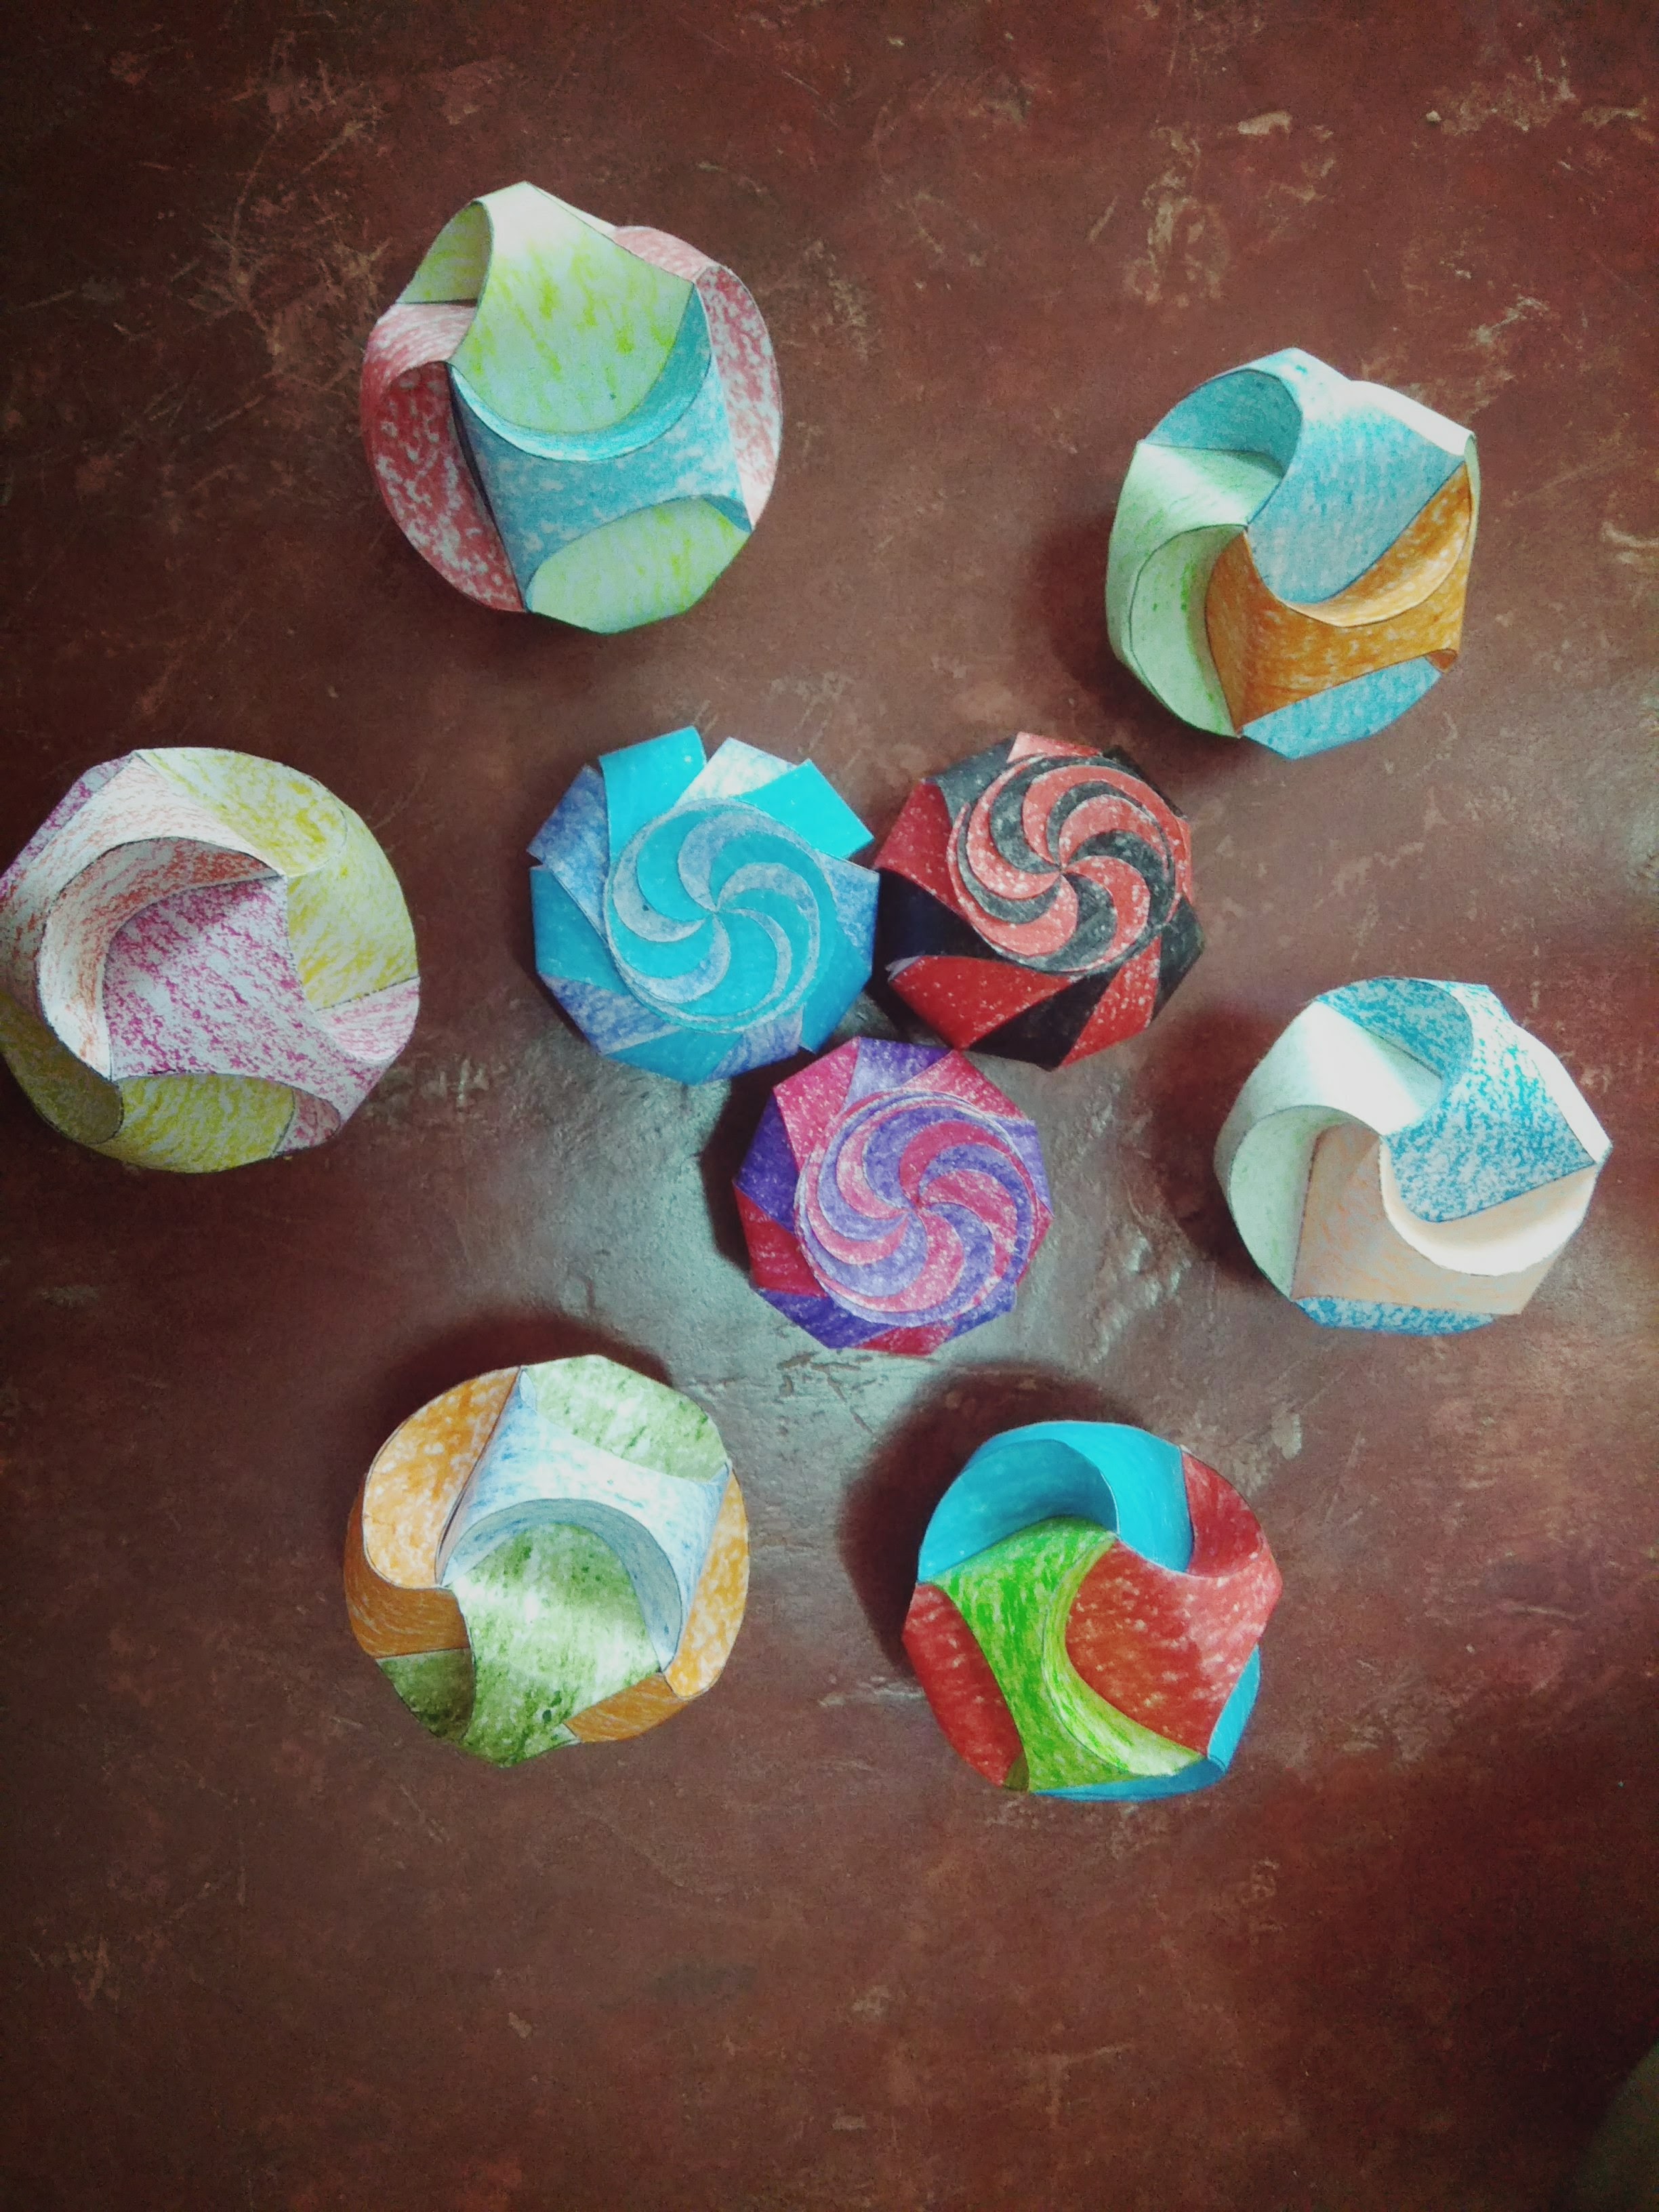
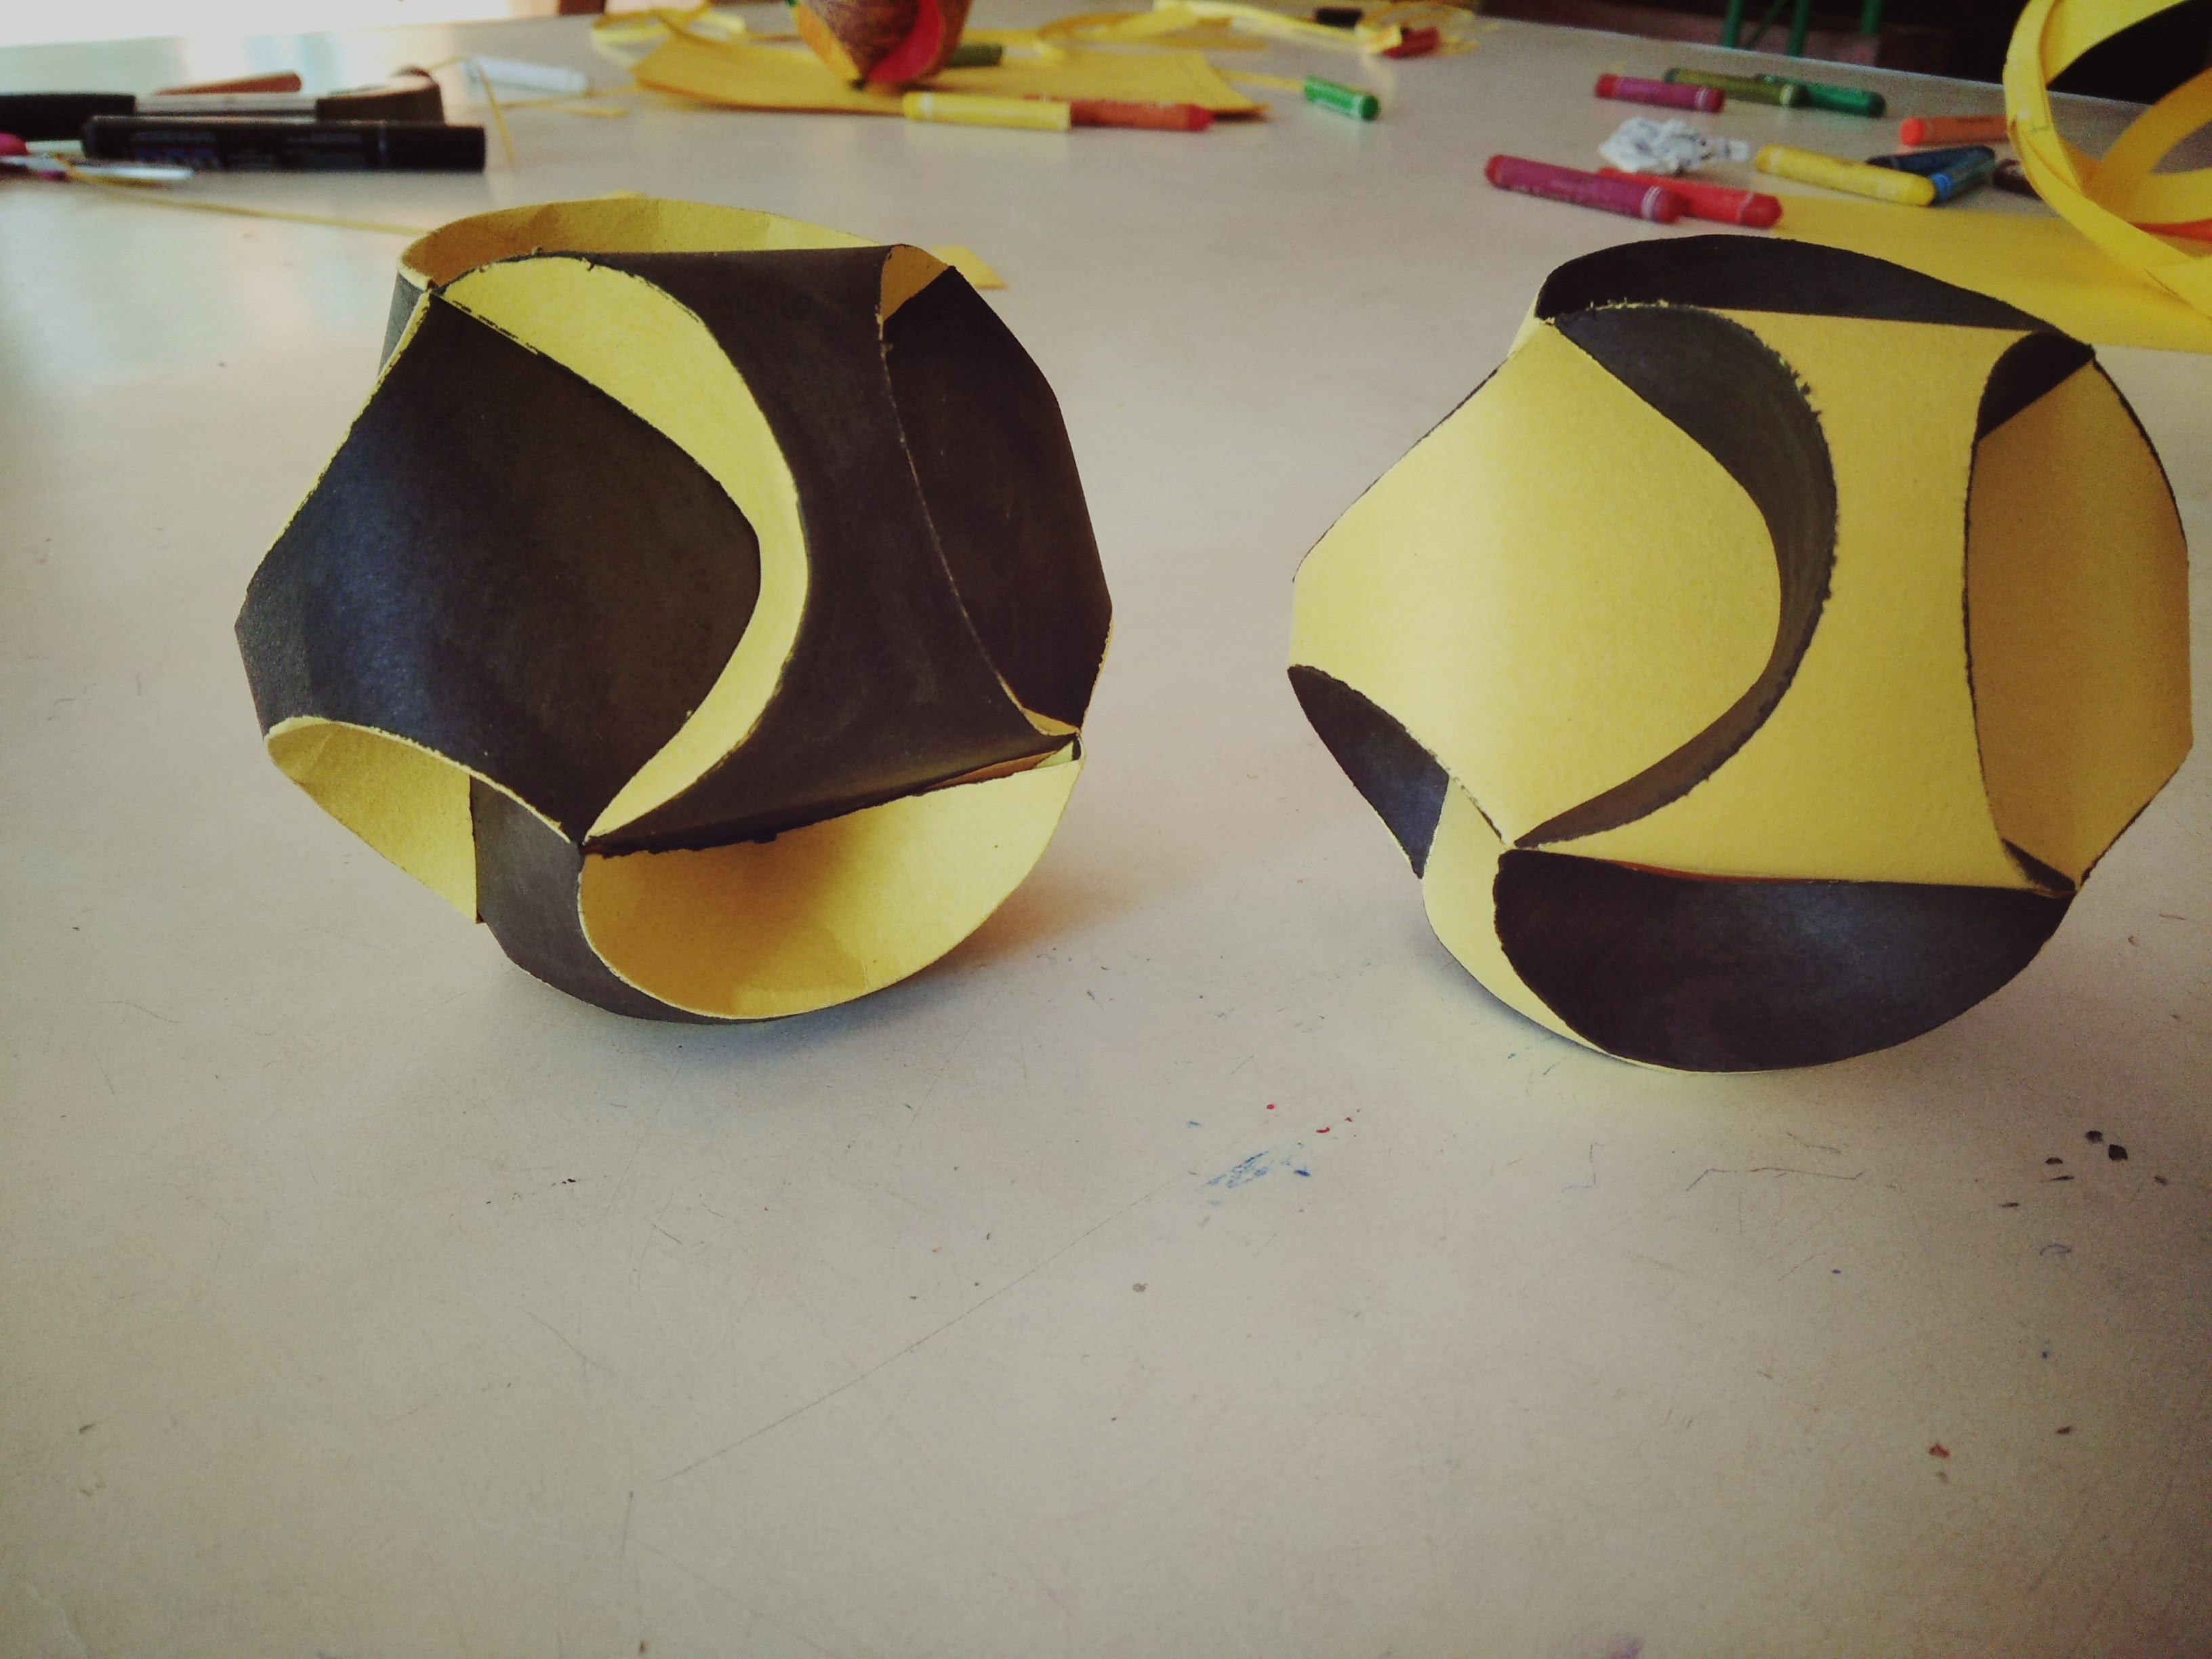
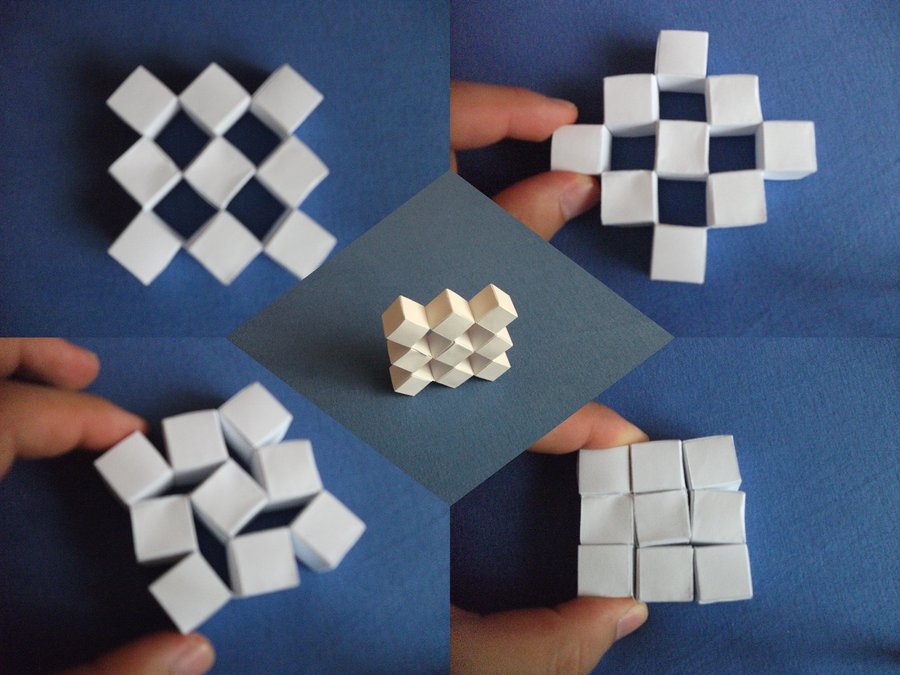
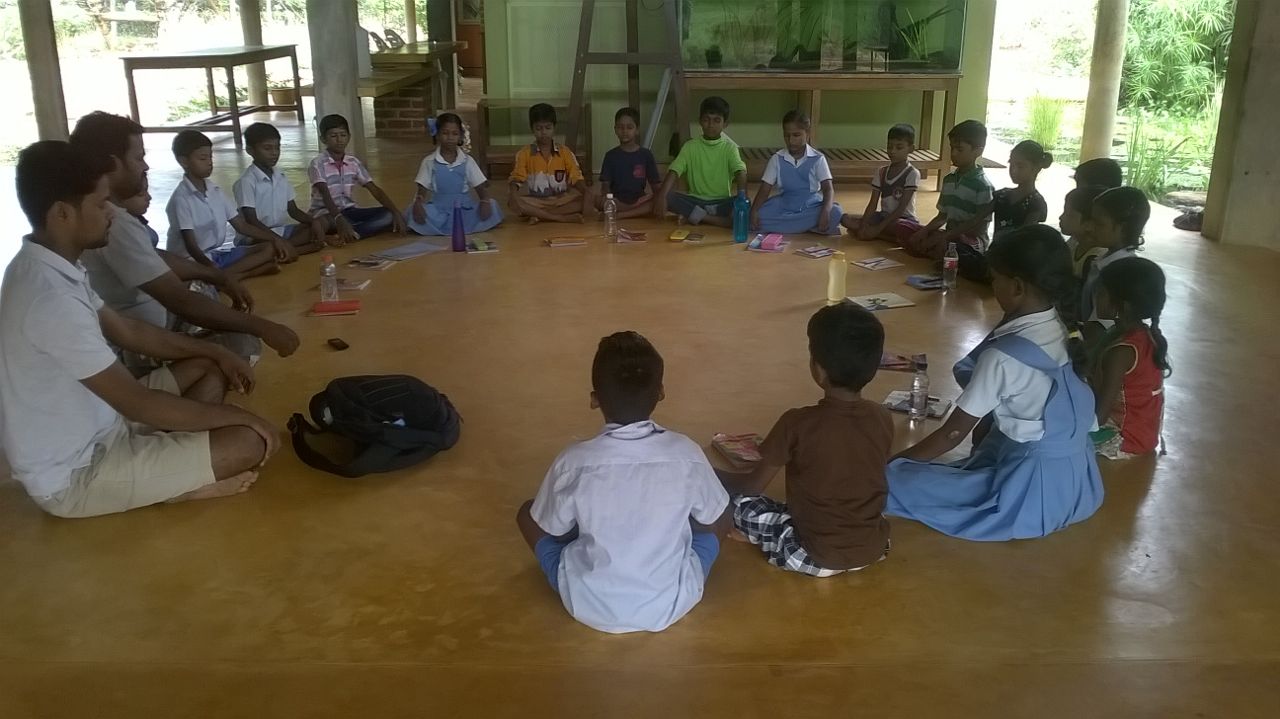
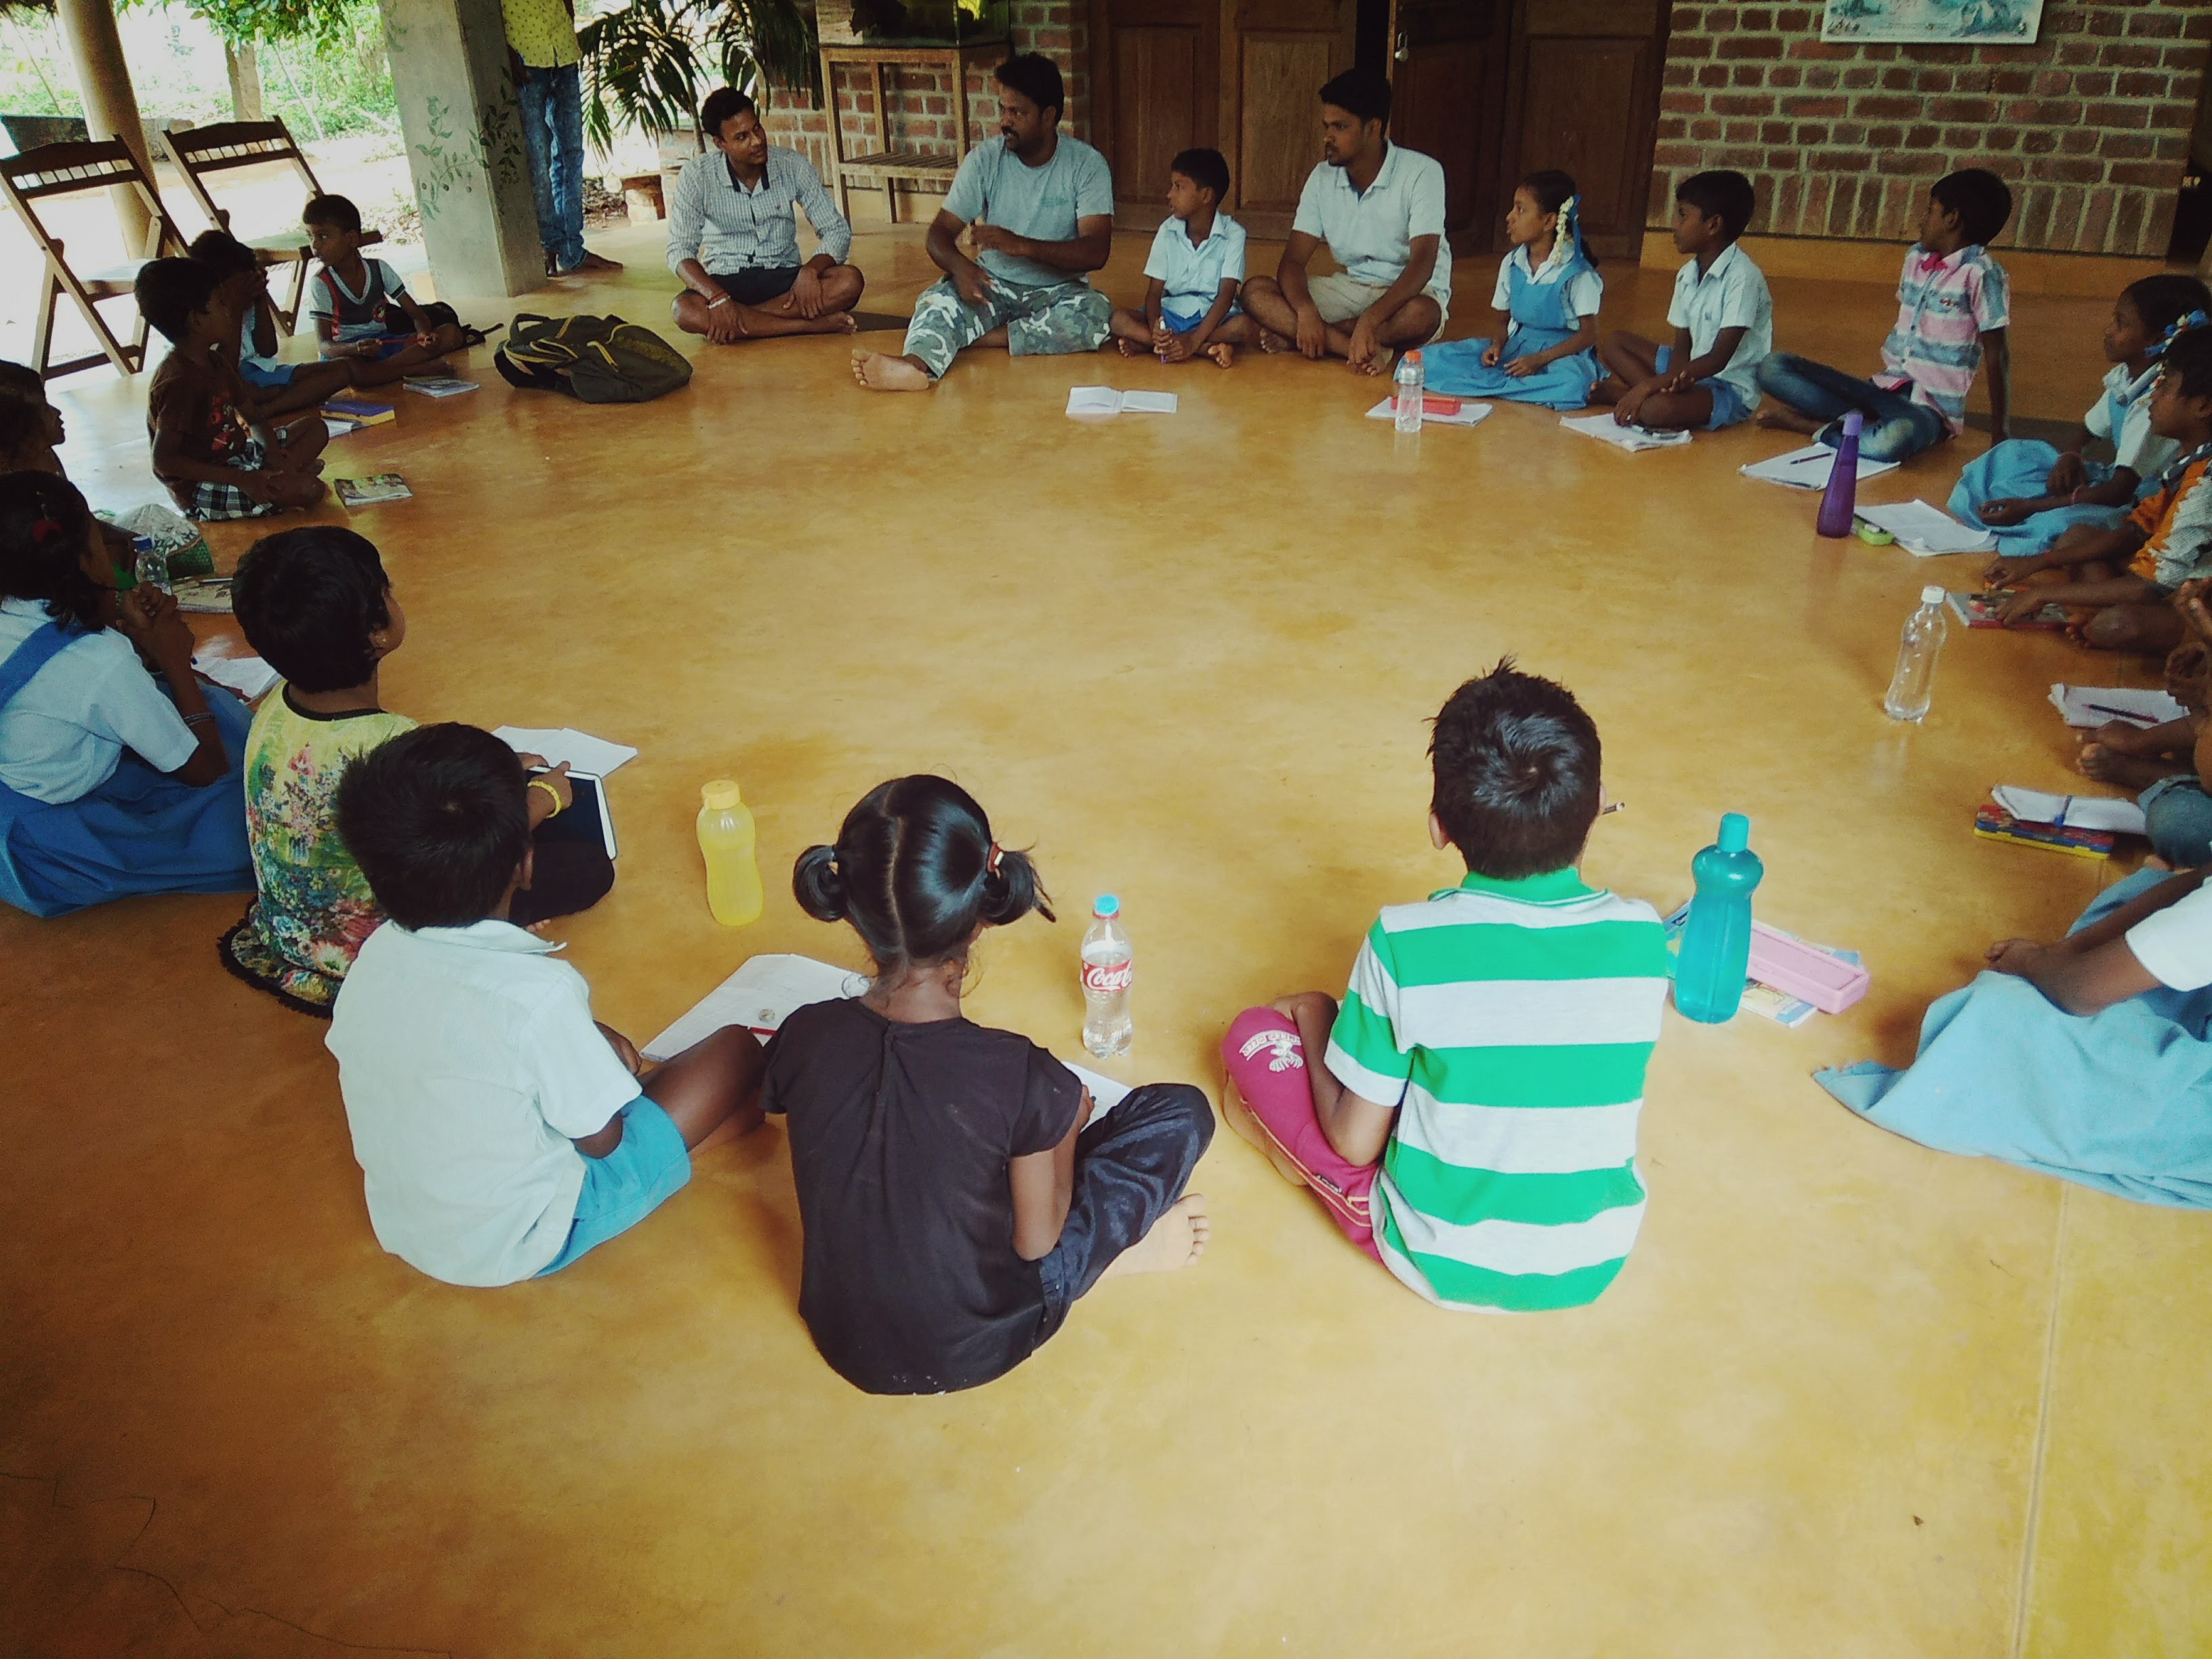
We started of by creating a ball that included folding of paper and interlinking different pieces. Shiva(teacher at isaiambalam school) and Pranav (Volunteer at STEMland) had jointed the workshop. During these sessions everyone was very focused, and figuring out how to link the different pieces together to form the object.

Ravi had also brought with him 3D shapes that personally dazzled me there where cubes that could be rotated and would again reform the cube.

Pebble Garden

Children from Isai Ambalam school went to visit Pebble garden. There he explained how to do mulching step by step. He explained how to do a bed and its size. First we have to collect dry leaves and branches. Then dip them in the water started to build a bed. Make a thin layer of with the dry leaves and add soil on top of the leaves. Do it for three time then add charcoal at the third layer. Again do the same process 4 time . Add charcoal in the 6  and 9 layer. After that he explained hoe to treat the charcoal. After doing mulching we have to wait for 2 month and then only we can use it for planting. Finally he explained the process of  vermiculture. It was an interesting trip to learn about mulching and about vermiculture.


Auro Orcharid – Gardening and Honey Bee’s

Naveen had planned a trip to Auro orchard with the isaiambalam school children. There were two groups. One were interested in the getting to know about the honey bees and the other on methods of bed techniques.

Uma Ramanan a member of the farm introduced us to Auro Orchard, the first farm designed to sustain Aurovilles people back in time.

The day started by looking at raised bed technique and types of vegetables that they have grown.

Children were able to seen how much the production had increased due to the raised beds. (On an avg a turmeric plan can only produce 300gm of product but here they were able to collect up to few Kg)

The Papayas they have are not hybrid varieties the seeds can be used to grow new saplings.

This flower has medicinal values (kills germs and is antibiotic in nature) and are loved by honey bees as they grow through out the year.

Then came the honey bees, Uma explained that the bees are farmers most important friend as they are the major pollinators, and they don’t use them to collect honey in the farm. but recently a bee hive had vacated the trunk as it had over grown its population and moved out. Hence they had to empty the wax.


Then the children had a group discussion on the the life cycle of bees.

And at last they were able to see the bee hives that were in the farm 🙂 .


The children had a wonderful time, and are eager for another visit to the farm.


Soldering the battery connectors

7th graders of Udavi school were soldering the battery connectors with the header pins to use them on the bread board during their activity class. While soldering the connectors they learnt how to solder things and also learnt the names and the use of the components which they used for soldering. When they made some mistake they were able to de-solder it by themselves and corrected their mistake. They worked as team and helped each other to complete their task.

Pythagoras Theorem – Real Life Usage

I’m doing an EBD (Education By Design) with 7th and 6th graders. In order to understand the difficulty I showed them a building and asked them to draw an outline of it.


The building was polygonal in shape. They had a great time with that building and it had taught them a lot. For example – meter conversion, angles. At last them came up with its outline as shown in the figure.


Though it was small, it gave them some confidence and clarity on what they are trying to do.  We need to measure the length of a fence. But that was covered by plants,


On another day, we need to measure the length of a fence. But that was covered by plants, bushes and trees and it was not straight too. So it was little difficult to measure it. We had a discussion on how to go about it. I raised few questions every time they came up with some solutions to that situation. They realized every solution has its own drawback after analyzing it. So I thought that would be the perfect time to introduce the Pythagoras theorem for practical use.

I calculated the length of a tree without measuring it directly. They were amazed. They said that they want to know how I did it. I told them but it was little hard for them to understand as they didn’t know anything about square and square root.


I have used Dennis cubes to learn square, square root, cube and cube root. After that, I have used a simple and fast method the find out the square root. Children felt it was like a game and that went well too. using the Pythagoras theorem they measured that place height and base. With that, it was easy for them to find out the fence length.


They have used both measuring tape and distance meter.

Measuring Kitchen tank Volume in Isaiamabalam School

Children wanted to make a recycling water system to water the magic garden. We thought of using the waste water from the kitchen to water the plant since so much of water is daily used to wash the vessels, clean vegetables etc. To know the amount of water used daily for the kitchen we need to know the volume of the tank. Kavitha told that the volume of the kitchen tank was 2000 L.

To make sure of what we know already we measured the height and circumference of the cylindrical tank in order find the volume of the tank.

Measure height:

  • To measure the height of the tank we used a bamboo stick.
  • Children marked the height of the tank on the bamboo stick.

Measure Circumference to determine radius:

  • We used thread to know the circumference.
    Children took the thread around the circular shaped ring and marked on the thread.
  • The challenging part was we was not able to find the measuring tape. Then we came up with an idea to use the metre scale chiildren already used.

We found that the height of the tank was approx 3 m and Circumference to be around 3.14 m.

Through this we found out that the radius was half a meter.

Finally we found out that the tank volume was approximately 2355 L.

This might be an error with calculating the circumference of the circle because we found the distance outside the ring and not inside.

Measuring the circumference of the circle with the one meter scale and the left over part was measured using a 30 cm scale
From Left: Ajay, Gurumoorthy, Pravin, Kalai
Children measuring the length of the bamboo stick to measure the height of the tank. They used the same thread to measure the length. They marked 3 m on the thread in order to do this
Children calculating the volume of the tank

Basic electronics course

 We do basic electronics course In STEM Land for people who are interested in electronics. This course is offered by Nagendra krishnapura an associate professor in the VLSI group of the department of Electrical Engineering of the Indian Institute of Technology, Madras. We started the course on 22nd of July. It is a 12 weeks course. Around 22 youths in and around Auroville have registered for this course. Monday and Wednesday is the video session from 5.15 P.M to 7.00 P.M. On Thursday it is the session for discussion on the doubts from the video and helping with the assignments.On Saturday it is the practical session by Sanjeev Rangathan where things are learnt by doing hands on activities. Last Saturday we were glowing up the LEDs with Capacitors and measured the brightness of the LED by connecting it with resistors. This Saturday we learnt about transistors and switches and to control the LEDs by connecting the switches in Series, parallel and toggling. We all enjoyed the session as well as we learnt. 


Exploring Botanical garden

3rd graders and 5th graders went for a walk around the botanical garden in Auroville. Sathiyamoorthy was guiding us.

Prathap, Bala and myself were along with the children. We started with a circle and Sathiyamoorthy gave a brief introduction about what the children should do and the type of plants they were expected to see around the Botanical garden. He was basically telling about 4 types of plants.

  1. Epiphytes (Plants that has the roots outside the soil.)
  2. Xerophytes (Plants that grow in dry areas. (Eg., Cactus))
  3. Semiphytes (Plants that grow in land.)
  4. Parasites (Plants that grow on other plants and trees.)
  5. Hydrophytes (Plants that grow in fresh water.)
  6. Halophytes (Plants that grow in salt water. Note: These types of plants are not there in Auroville Botanical garden)

Then the children went around and Sathiyamoorthy explained about the plants. He talked about the survival techniques, leaf structure and mainly names of the trees and plants.

Children played a maze game. A garden with a maze structure was built there. Children enjoyed getting lost and finding the paths. Children also reflected at the end of the session.

Starting the session with Concentration
Introduction by Sathiyamoorthy
Epiphytes
Epiphyte garden
Explaining about the root
Maze garden..
The Xerophytes garden
Laasya (2nd grader) writing the plants names.
Explaining various Xerophyte plants
Reflections after the walk
Lemon grass tea for the children
Children enjoying the tea


Multiplication using Ganit Mala

I used the Ganit Mala with the 3rd graders of Isai Ambalam to demonstrate multiplication. They were able to understand that multiplication is a sum of additions. They were able to write 2-10 multiplication tables. Some children worked in pairs and some worked alone. They were fairly engaged with the material they were using.

They were also able to do 2 digit addition and subtraction using the Mala.

Fixing the tube light in Isai Ambalam

In Isai Ambalam prayer hall two tube light were not working. One student asked how to fix it. Then all the student wanted to learn how to fix a tube light. So we started how current flows in a closed loop. Using the tester we showed how to check  the plug point. We wrote  the parts that are present  in a tube light connection. We explained the function of each part . Then they drew the circuit connection in their note book. Next we removed the tube light and started checking the circuit connection. We found that the choke in the tube light didn’t work. We replaced a new choke in the same frame and it worked. Then in our school library the tube light didn’t work.