episteme 6 – Mumbai

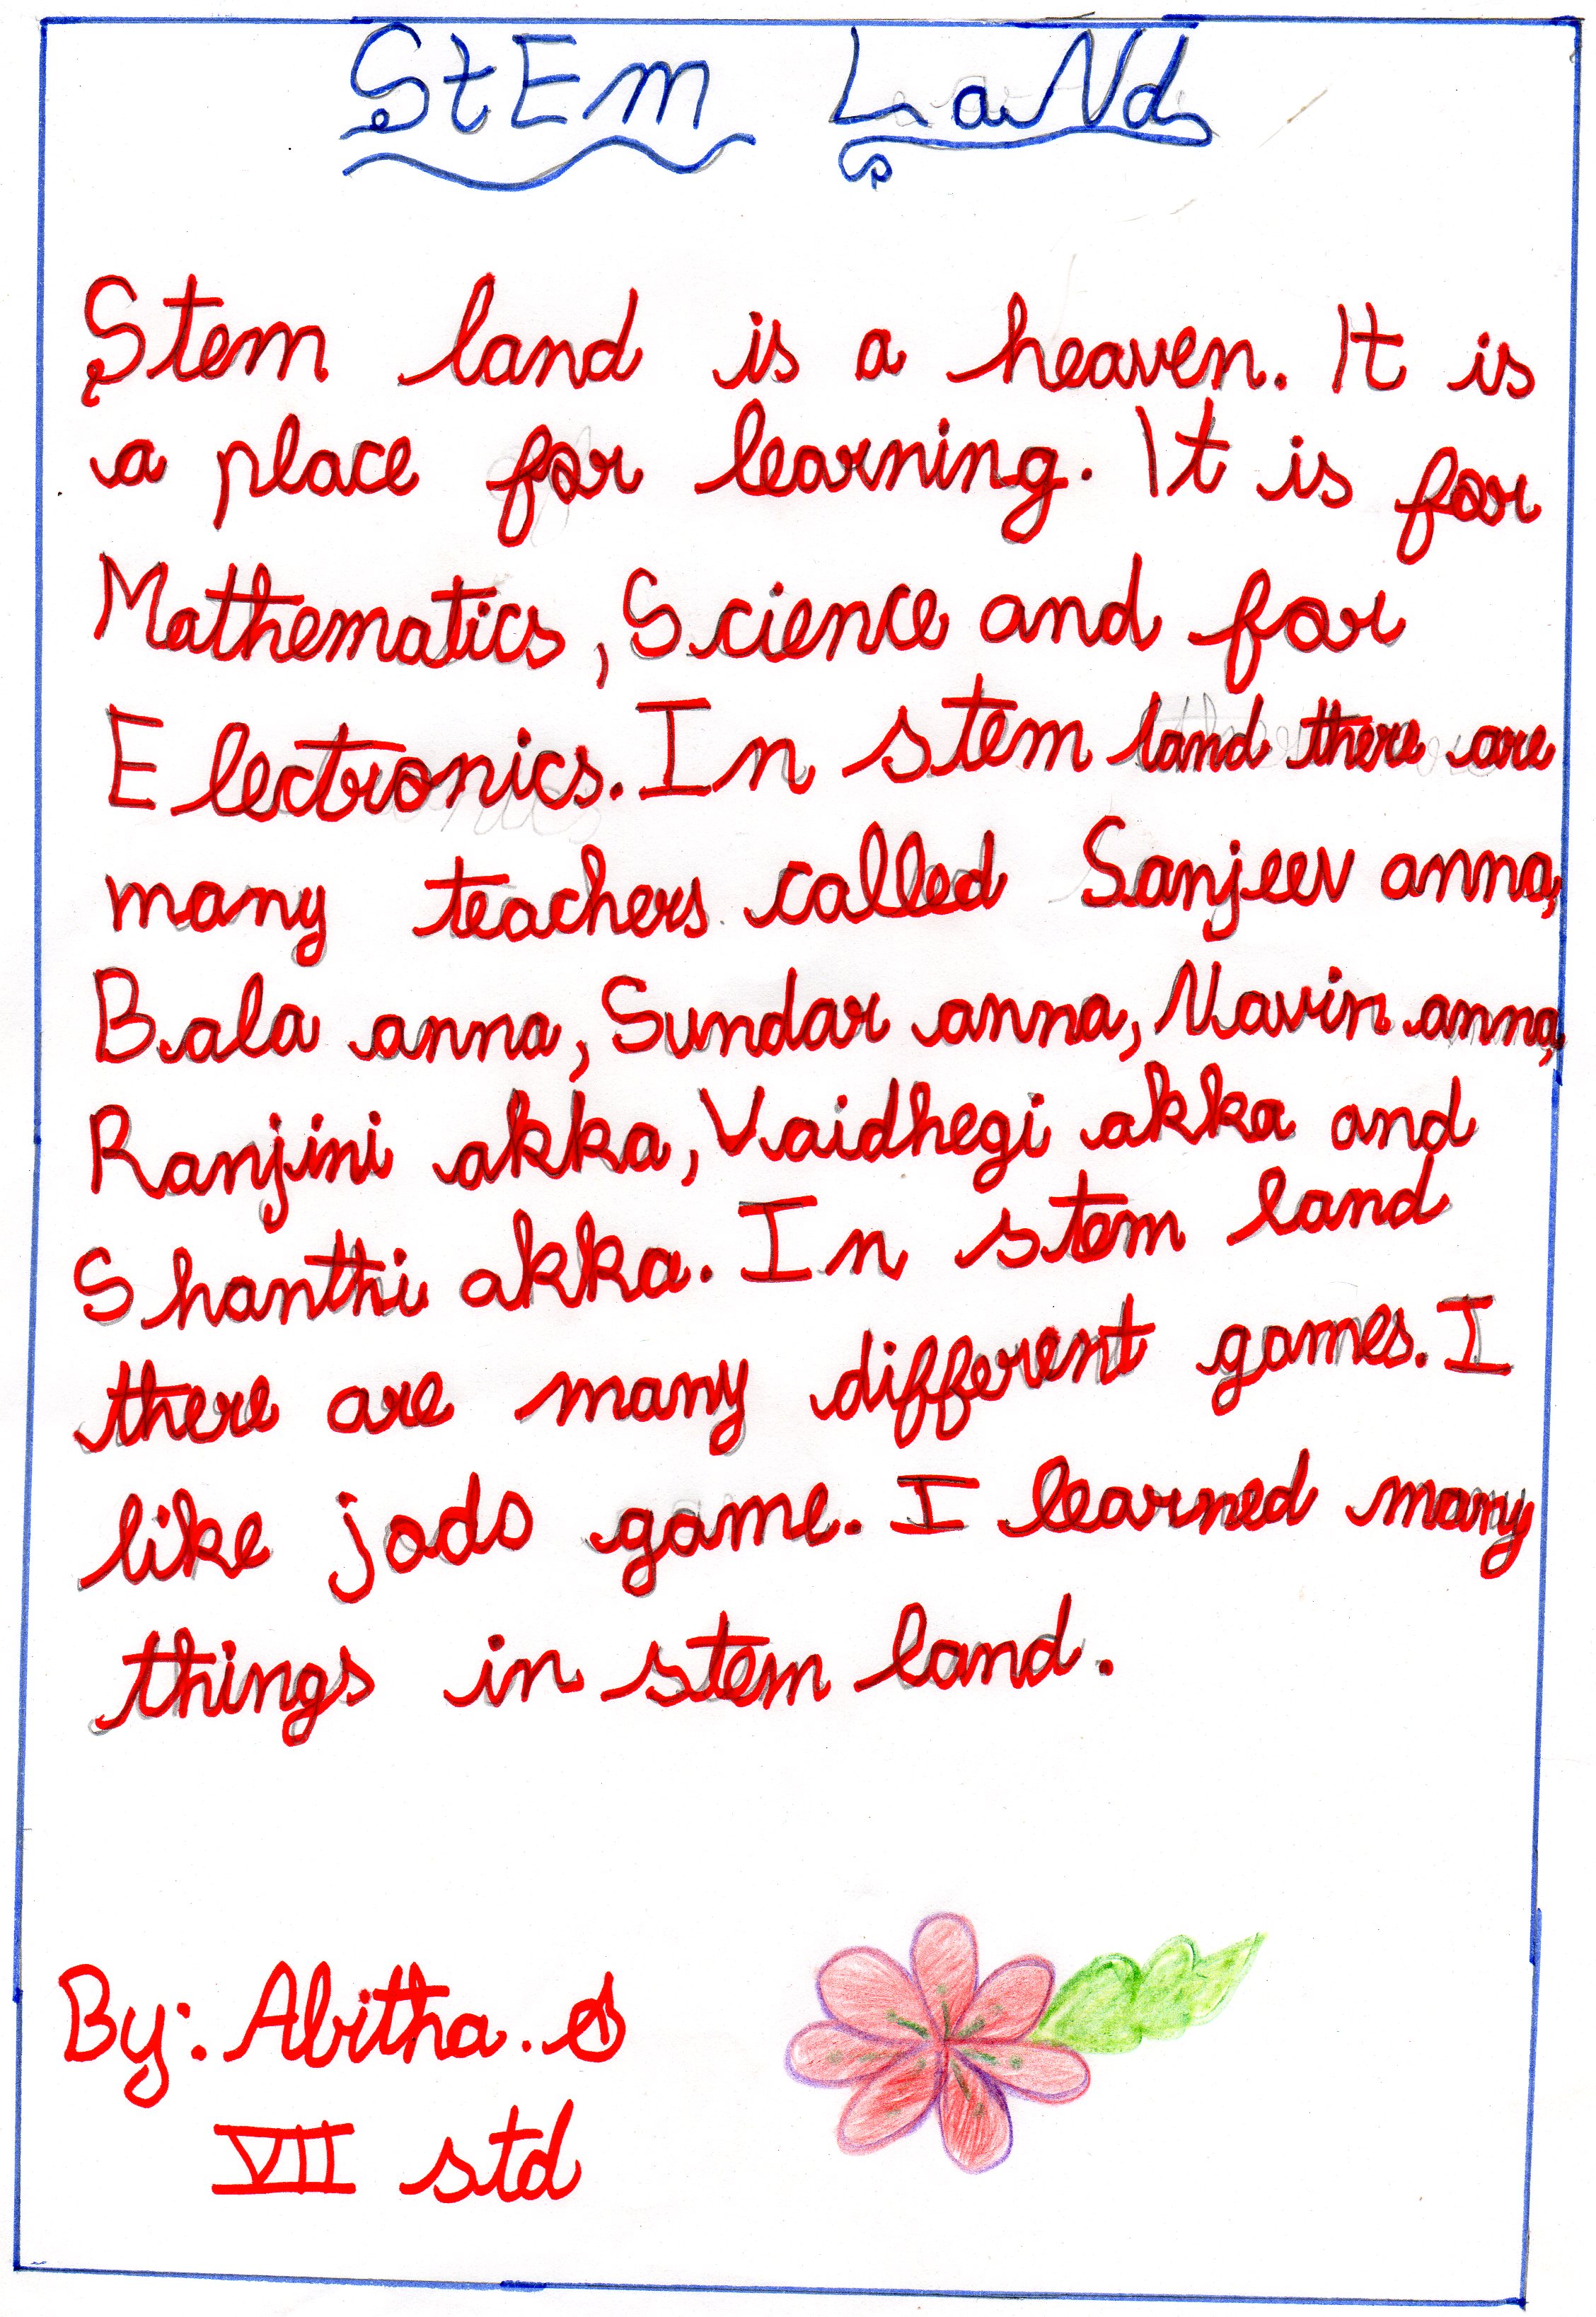
We attended a conference on STEM education in Homi Bhabha Centre for Science Education, Mumbai (Dec 15 – Dec 18, 2015) . Several papers were presented. But the one that stood out for me(or maybe those that I understood completely ie, excluding our paper!) was the one on Action Research. I liked it because I could in some ways connect to it. It little bit reminded of the things that happen when I am in class. It was about a needle worker cum teacher trying to bring the students under control. She got help from her facilitator to tackle the issue. I liked it very much. The other one I found interesting was the one about Stemland leadership and fellowship programme(held in the States). It was about a programme for teachers where they were asked do to various activities.

We here at Aura Auro Design have conversations about our classes and children, which I thought was very much similar to Action Research. I learnt from this conference that documenting the work we do in STEM land is important.

Tkinter Toplevel Widget

The Toplevel widget work pretty much like Frame, but it is displayed in a separate, top-level window. Such windows usually have title bars, borders, and other “window decorations”.

The Toplevel widget is used to display extra application windows, dialogs, and other “pop-up” windows.

ref: http://effbot.org/tkinterbook/toplevel.htm

Debugging of Harmonium Circuit

Maker space of STEM land is used for building new things based on Electrical or Electronics ( sometimes 3D). As the first step, students started to learn soldering using veda kits (soldering kits).  One of students ( Yuvaraj, from 8th grade) soldered the kit of Harmonium. Unfortunately that did not work. So we simulated the circuit first in order to make sure there is no bug in that kit design. As expected no bug in the design.

Harmonium@4khz
Harmonium@4khz
Harmonium@2.6khz
Harmonium@2.6khz


Harmonium simulation file.

Then started debugging the circuit and found the bug in placement of the IC ( Flipped). Now Yuvaraj happy!!!!.

Name Board of Stem Land

On the day of inauguration students ( Yuvaraj & Preethika) built seven segment display to display “STEMLAND” using arduino without any pre plan (fig-1). Then some of the students (Anushwathi, Praveen, Sundar, Sharmila) wanted to make it as name board for Stemland by soldering it properly(Fig-2).

IMG_20151009_121819674
Fig-1
StemLand
Fig-2

In addition to that, There is another name board  available for the Stemland ( second door) which was made using 3D printer.

Stemland

Using Blender

To print using the 3D printer, we require a software which has 3D graphics and animation. I used blender, an open software that is supported in Ubuntu. Can be downloaded form the following link.

x x11

https://www.blender.org/download/

The 3D printer recognises .stl files as input and builds on them .

some useful keys to use in blender:

Shift A – add objects
Tab – edit / object mode
Space – tool selection
S – Scale
A – select all in edit mode
C – select object tool
Alt  + Shift – select all
B – box select
R – rotation, can be applied with axis, + (degrees)
E – extrude, can be applied with axis
Z – Mesh mode / solid
Shift + D – duplicate object
G – Grab can be performed along any axis, and scaling also included
Ctrl B – Bevel smooth edges
Ctrl R – Loop cut
Ctrl ‘+’ – Mesh select

View:

Camera – Numpad 0
Top – Numpad 7
Bottom – Ctrl + numpad 7
Front – Numpad 1
Back – Ctrl + numpad 1
Right – Numpad 3
Left – Ctrl + numpad 3

Subdivide mesh:

1.Edit mode
2.Tools
3.Add

Project a hole or shape in a object:

1.shift + A, choose – curve – circle
2.place where u want it to be
3.on top of another object to be cut
4.Shift and select other object
5.change to edit mode
6.project knife
7.and delete the face

Solidify object:

1.edit mode
2.select faces
3.space select solidify

blender

Totto-Chan

I finally finished reading this book. Its about the life of a little girl in japan. I thoroughly enjoyed every part from the book and how everything was described. Loved the the two characters – Totto Chan and her Headmaster. It was a little bit saddening towards the end for me but I guess that’s how life goes sometimes. Recommend everyone to read it. I haven’t read many books but I felt that this is one awesome book!

TottoChan

Alice Program

Alice is a programming which support the creation of 3D animation. Student can create a program to animate his or her own imaginative environment ( people, animals, objects & places). A student (Rathinavel) from 8 grade made a program in Alice ( find below) . He created a  program which visualize the environment of  seashore and the sea. Indeed, he is the first student who did full fledged program in  Alice.

Before Testing a Chip or PCB

  • Check model of all components.
  • Check if the board is close to what we expect.
  • Check resistance of the materials.
  • Do the measurements  that can be done without powering it up.
  • Check simulations.